


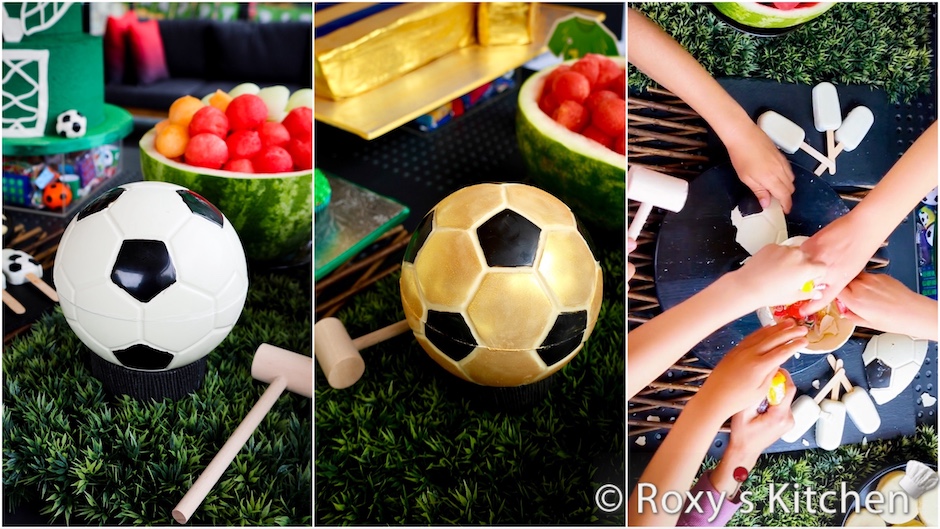
In this post I’ll show you how to make Chocolate Soccer Ball Piñatas. These were the highlight of our soccer-themed birthday parties last year. The kids’ cheers and laughter resonated as my boys joyfully broke the piñatas and all of the kids went bananas collecting the sweets that were hiding inside.
Before getting started, make sure to check out all the soccer-themed posts on my website to see lots of soccer-themed dessert ideas, party games, snacks, decorations and much more!
Ingredients/Supplies
- candy melts* OR good quality couverture chocolate chips/callets (I use Callebaut callets) that needs to be tempered
- 450 g (1 lb) white
- 100 g (1/4 lb) dark chocolate
- 6 g (1.3 tsp) of cocoa butter (I used Mycryo) per 550 g (1 1/4 lbs) of chocolate – only if you need to temper chocolate; if using candy melts this is not required
- black oil-based food colouring
- white and blue oil-based food colouring if you are using white chocolate and you want to make it whiter as it usually has a more yellowish tone
- a small flat paint brush
- 2 half-sphere polycarbonate chocolate molds (soccer pattern) – mine were14.5 cm (5.7’’) in diameter
- for the base on which the chocolate ball is placed: a 10 cm (4’’) circle cutter wrapped in some black ribbon / tape / band to make it look better; or you can create a ring of chocolate
- small candies of your choice
- a pan wider than your polycarbonate mold
- edible gold luster dust & a fluffy brush if you want to make the golden soccer ball
Directions
Read below the instructions on how to melt and temper chocolate. For the rest of the steps that show how to make the chocolate shells and how to assemble the chocolate soccer ball piñata, I have created this video tutorial which you can watch on my YouTube channel:
Melting the Chocolate
Candy Melts
In this method, we’ll use candy melts – i.e. chocolate that is already tempered.
Start by melting the candy melts in a microwave-safe bowl. Melt it in three 30-second increments, stirring after each; then reduce the time to 10-second increments, stirring after each, until the candy melts reach a temperature of 42°C (107°F).
Allow the chocolate to cool, at room temperature, to 29-31°C (84-88°F) before you start working with it.
If you cannot find black candy melts, you can use brown ones. Then, colour the melted candy melts using black oil-based food colouring.
Real Chocolate & Tempering Method
When using real chocolate, you need to temper it mainly for three reasons:
- Proper Texture and Snap: Tempering chocolate ensures that it has the right texture and a satisfying snap when it sets. When chocolate is tempered correctly, it will be glossy, smooth, and firm. This is important for creating professional-looking molded chocolates with a nice sheen and a pleasant mouthfeel.
- Stability at Room Temperature: Tempered chocolate will remain stable at room temperature, which is essential for molded chocolates. If chocolate is not tempered, it may not set properly, leading to a soft, sticky, or dull appearance. Properly tempered chocolate hardens evenly and maintains its shape.
- Ease of Release: Tempered chocolate is less likely to stick to the mold when it sets. This makes it easier to release the molded chocolates cleanly and intact, without any unsightly imperfections or breakage.
Melt the chocolate until it reaches 42°C (107°F). You can use the microwave to melt it 5-10 seconds at a time, stirring it each time. Or you can melt it using a double boiler.
Allow the chocolate to cool at room temperature to 34°C (93°F) for dark chocolate or 33°C (91°F) for milk, white or coloured chocolate.
Colour the chocolate using oil-based food colouring. Add a few drops of black food colouring to the melted dark chocolate to get black chocolate.
Add a few drops of white oil-based food colouring and blue colouring just as much as you get on the tip of toothpick when you dip it in once. This will ensure your chocolate has a nice white colour instead of the more yellowish hue that plain white chocolate usually has.
Then, add cocoa butter powder and mix it in until it reaches a temperature of 30°C (86°F).
The milk, white or coloured chocolate should have a temperature of 29°C (84°F) when you work with it. The dark chocolate should have a temperature of 31°C (88°F). If it cools off too much re-heat it in the microwave for a few seconds again.
Making the Soccer Ball Chocolate Shells
Have the black chocolate melted as per the instructions above.
Use the flat paint brush to carefully brush the chocolate on each pentagon shape inside the mold.
Note that these soccer molds are usually made up of two hemispheres. So repeat the process to paint all the pentagons in both molds. Also, don’t forget to paint the half pentagon shapes closer to the edge of each mold. I forgot to do this for my first chocolate soccer ball piñata but fixed my mistake for the second chocolate ball I made.
Place the molds in the fridge for 5 minutes so that the chocolate sets.
Then, remove the molds from the fridge and wait a few minutes until the condensation that forms on the surface of the mold & chocolate goes away. Repeat the same steps to paint another coat of black chocolate. Place the mold in the fridge for 5 more minutes.
Get your white chocolate ready in the meantime. Melt it and colour it using the instructions in the previous section.
Remove the soccer ball molds from the fridge and allow them to come to room temperature so that the condensation disappears.
Work with each hemisphere mold at a time. Take one of them and pour a little more than a quarter of your melted white chocolate into it. Then, gently move it around to coat the entire surface evenly, letting the excess chocolate drip in your bowl.
Turn the mold upside down over the bowl of melted chocolate to let any remaining excess chocolate drip out. Also, use a spatula to scrape off the excess chocolate from the top of the mold, leaving a clean edge.
Place this in the fridge for 10 minutes.
Then, repeat the steps to coat the second hemisphere mold with white chocolate and place this in the fridge as well.
Once the chocolate has set, take the molds out of the fridge and repeat the same process to coat each mold in white chocolate one more time.
Place the molds in the refrigerator.
Note that if your chocolate / candy melts started to harden, you need to pop them in the microwave for 10 more seconds until you get the right temperature.
Releasing the Chocolate from the Polycarbonate Soccer Ball Mold
After filling your polycarbonate molds with melted chocolate, make sure you allow the chocolate to cool and set fully. This usually takes about 20 minutes in the refrigerator. The chocolate should pull away from the mold slightly when it’s ready, thanks to the slight contraction of the chocolate as it cools.
You can flex the mold a bit to try to release the chocolate easier. Hold both ends of the mold and gently flex it. This will help release the chocolate shell. Be patient and gentle; if the shells are properly set, they should come out with ease.
If the chocolate shell is still stuck, you can use a gentle, upward pressure to release it. Avoid using excessive force, as this can cause the shells to break.
If the chocolate shell still appears to be stuck, you can carefully invert the polycarbonate mold.Gently tap the mold on the work surface. You can tap it all around the edges and the top surface.
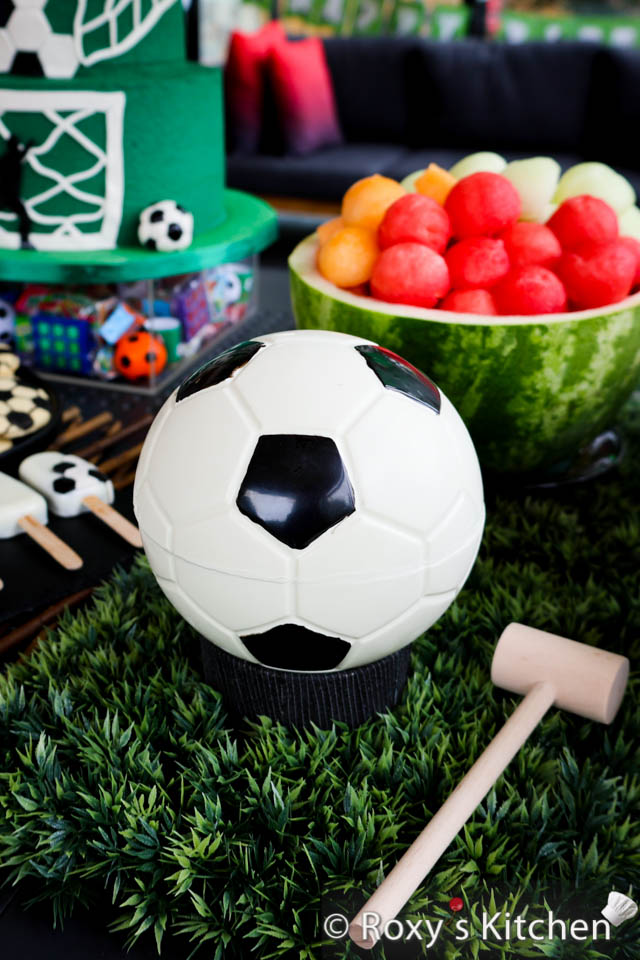
Filling the Chocolate Soccer Ball Piñata with Candy & Sealing It
Firstly, you need a base on which to place your chocolate soccer ball. I simply used a round cutter that I wrapped in some black stretchy ribbon / band. You can also make a ring out of chocolate.
If you usually have warm hands, it is best to use gloves when handling the chocolate shells to ensure they don’t melt when you touch them.
Heat a flat pan on the stovetop over low heat. You want it to be warm but not scorching hot.
Hold the first chocolate shell against the flat, heated surface (the hot pan) for 2 seconds. This will create a partial melt on the flat edge of the shell.
Place this on the base. Fill the chocolate shell with lots of candy.
Hold the second chocolate shell against the flat, heated surface for 1 second.
While the edge of the chocolate is still slightly melted, immediately press it firmly against the flat edge of the other chocolate shell, matching them together to form a complete sphere. Hold them together for a few seconds until the chocolate starts to set and hold them in place. Make sure you position the chocolate shell properly to align the hexagons and pentagons.
Inspect the seam where they were joined and if you see any excess melted chocolate, wipe it quickly with your finger.
Keep in mind that this method requires some practice to achieve a seamless join between the two hemisphere shells. Be careful not to overheat the chocolate, as it can lead to a messy or uneven seam.
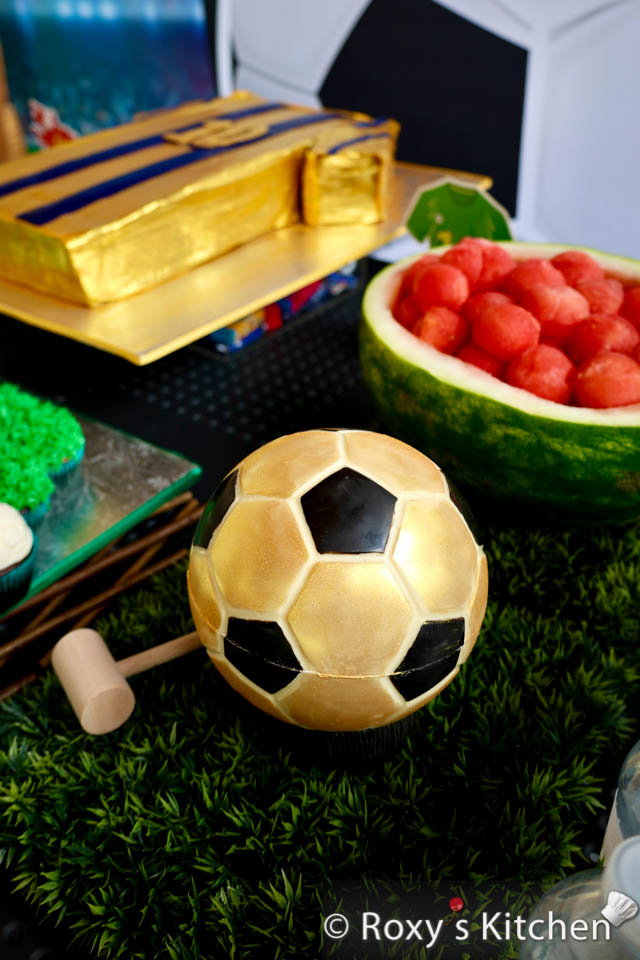
You can brush edible gold luster dust on the white hexagons if you want to make a golden soccer ball.
This post contains Amazon.com affiliate links. If you purchase a product through an affiliate link, your costs will be the same but I will receive a small commission which is used for hosting and running this site. I appreciate your support!


[…] The highlight of this soccer-themed dessert bonanza was an edible chocolate soccer ball piñata, this time a gold & black soccer ball. The kids’ cheers and laughter resonated as the birthday boy joyfully broke the piñata and they all collected the sweets that were hiding inside. The kids had a blast with this piñata, just like at our little one’s birthday party! You can find the full tutorial on how to make this Chocolate Soccer Ball Piñata here. […]