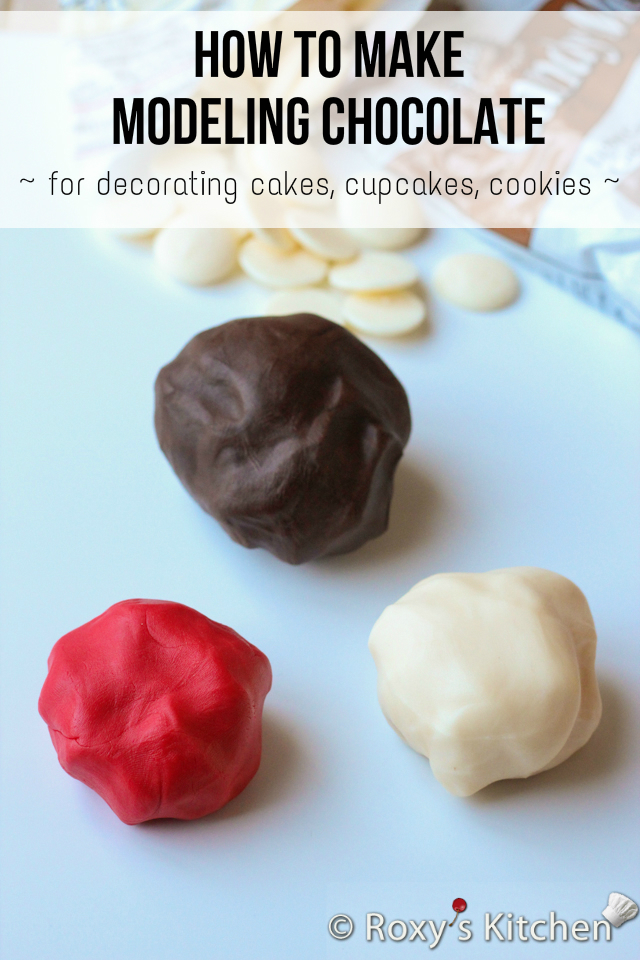
Modeling chocolate is perfect for covering cakes, cupcakes, or cookies. You can sculpt it into shapes, press into silicone molds, make decorative flowers or all kinds of toppers for your cakes or cupcakes. It’s the perfect alternative if you don’t want to use fondant and it tastes so much better as well! However, it tends to be more expensive. The good news is that you can make it at home with just two ingredients.
Ingredients
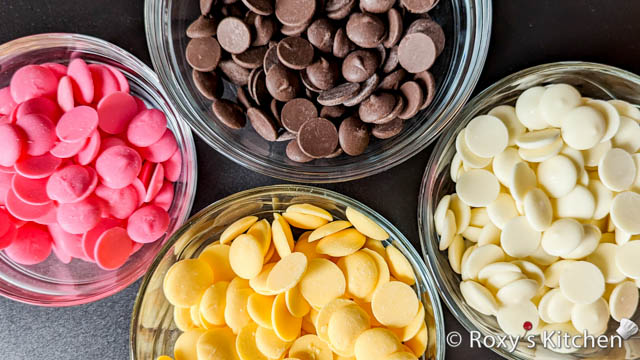
- 340 g (12 oz) candy melts in any colour or flavour you like – I used cocoa, white and red candy melts
- 70 ml (1/4 cup or 2.4 oz) light corn syrup
- oil-based* food colouring (optional)
You can also use regular semisweet or white chocolate instead of candy melts but add 1/3 cups corn syrup for 200 g (7 oz) semisweet chocolate or ¼ cup (2.4 oz) corn syrup for 200 g (7 oz) white chocolate. Use a good-quality couverture or baking chocolate.
* Oil-based food coloring is the preferred choice for coloring chocolate because it is specifically designed to work with fats and oils, which are the primary components of chocolate. Oil-based food coloring is made by suspending food coloring in oil or glycerin, which helps to disperse the color evenly and prevent clumping.
Using water-based food coloring in chocolate can be problematic because chocolate is hydrophobic, meaning it repels water. When water is added to chocolate, it can cause the chocolate to seize or become lumpy and grainy, making it difficult to work with and compromising the quality of the final product.
Directions
Watch this video to see how to make it or read the instructions below.
Microwave the candy melts for 30 seconds. Stir thoroughly microwave for another 30 seconds. Then stir again and continue to microwave 10 and then 5 seconds at a time until smooth and completely melted. Do not overdo it as the candy melts can seize and become thick and grainy in a matter of seconds.
Allow the melted candy to cool a bit. If you add the corn syrup when the melted chocolate is too hot, the cocoa butter or oil will start rising to the surface.
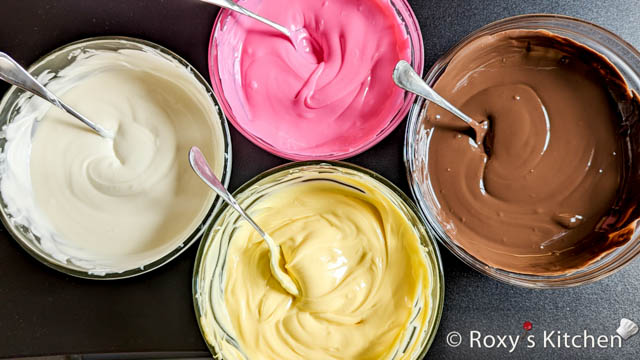
Add corn syrup and stir to blend.
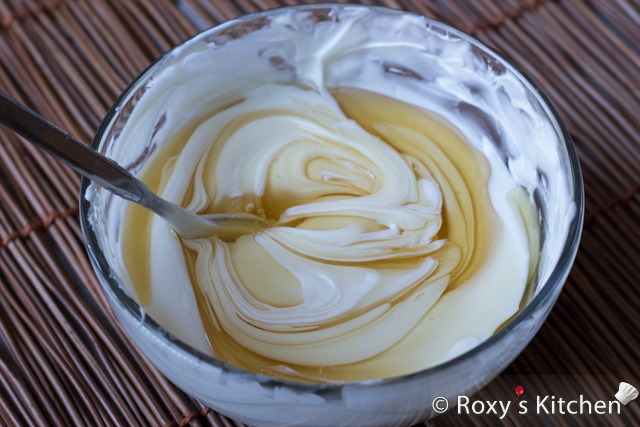
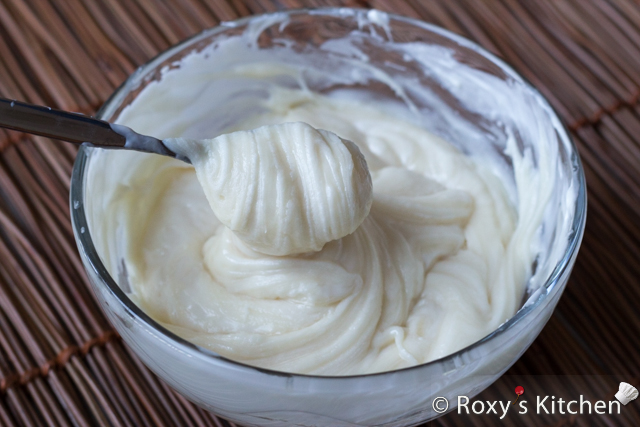
Initially the mixture will be thin but it will start to thicken very quickly. Once it starts to thicken it might not look as smooth and homogeneous (especially the white and coloured chocolate).
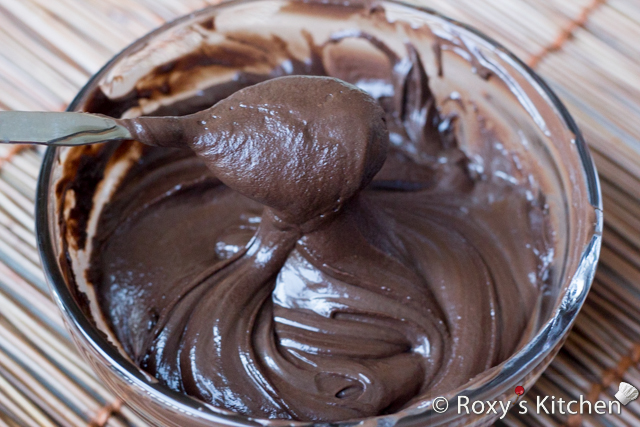
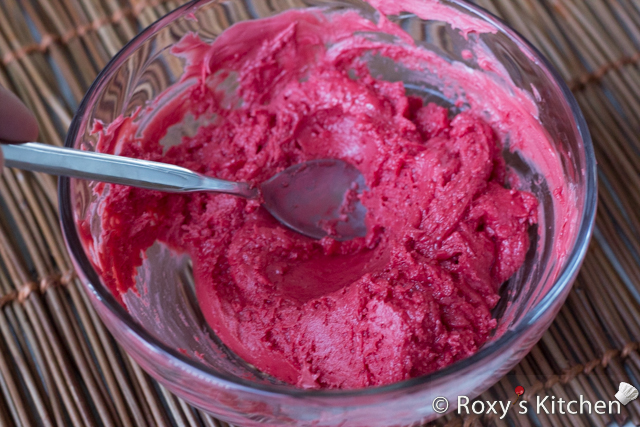
Knead it out a little bit and it will start to come together. The texture will be smoother and the kneading will also help work out some of the excess cocoa butter from the chocolate.
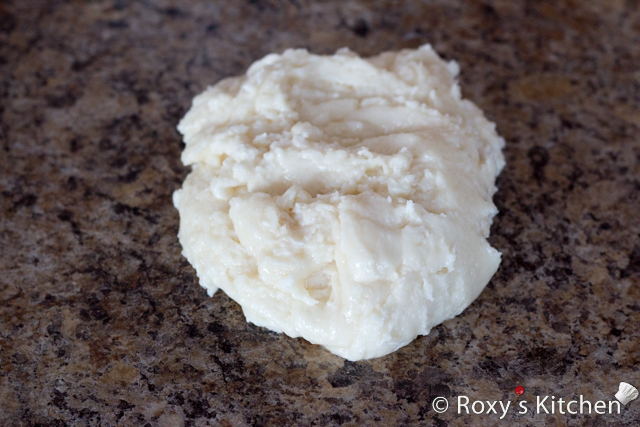
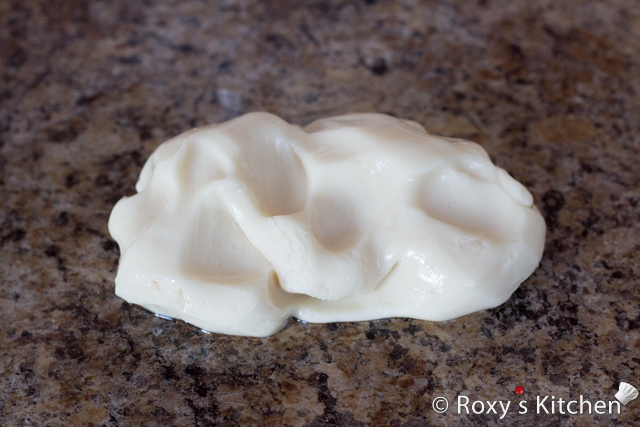
Cover the modeling chocolate in plastic wrap and store it at room temperature until needed.
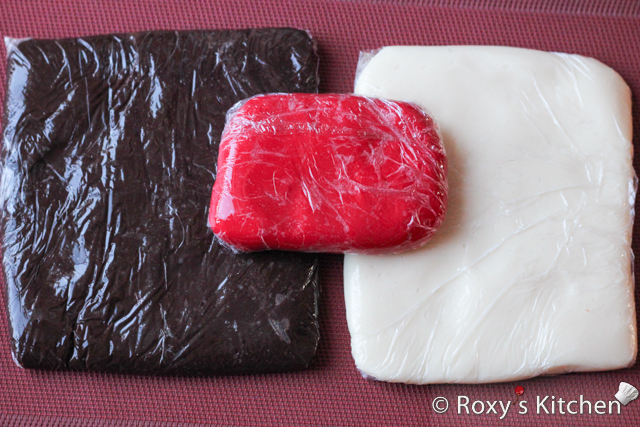
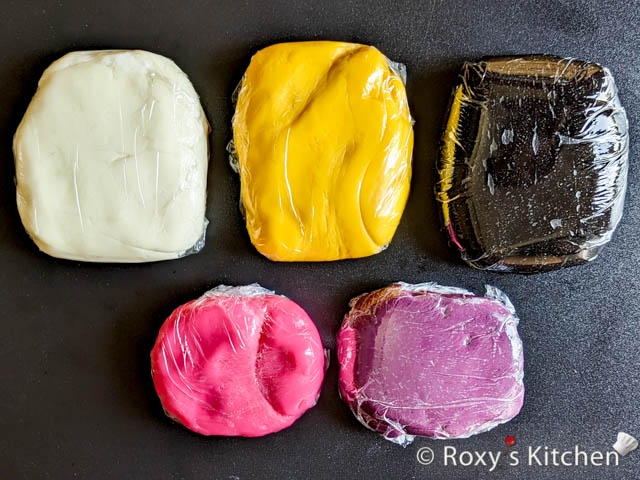
When you want to use it, if it hardens too much just warm it up in the microwave for a few seconds and knead it again until it has a workable consistency.
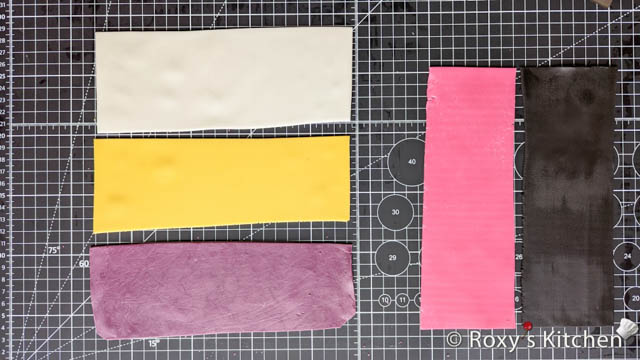
The modeling chocolate will be very hard the next day so warm it up a few seconds in the microwave and start kneading it until it gets softer and pliable. Then, start shaping your decorations or roll it out on a surface dusted with cornstarch or powdered sugar to cover your cakes or cupcakes.


Would i be able to use glucose instead of the corn syrup?
What can u use instead of corn syrup?
how long will the modeling chocolate last
It can last for several months as long as you store it wrapped tightly in plastic wrap or an airtight container.