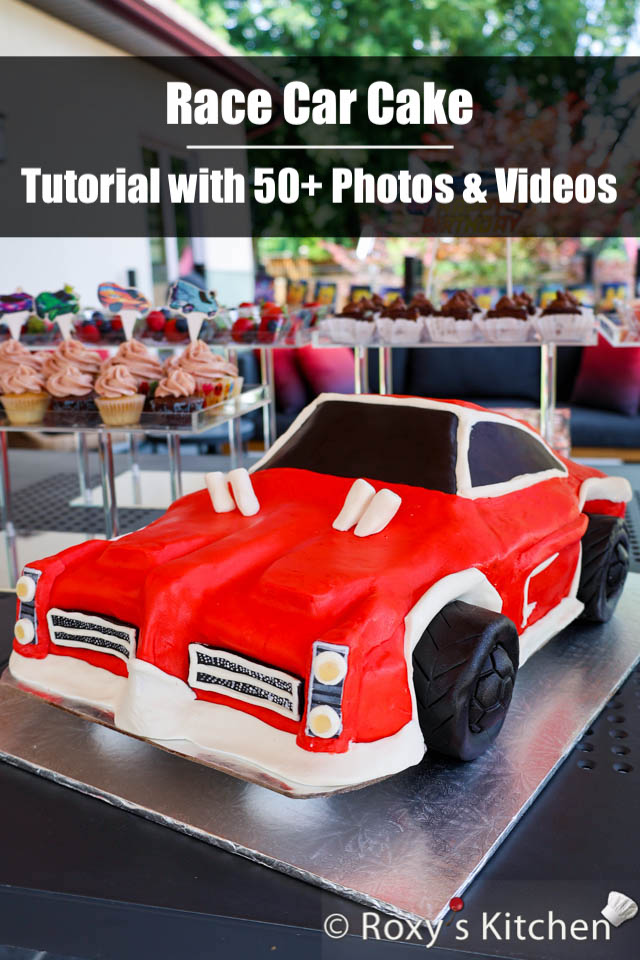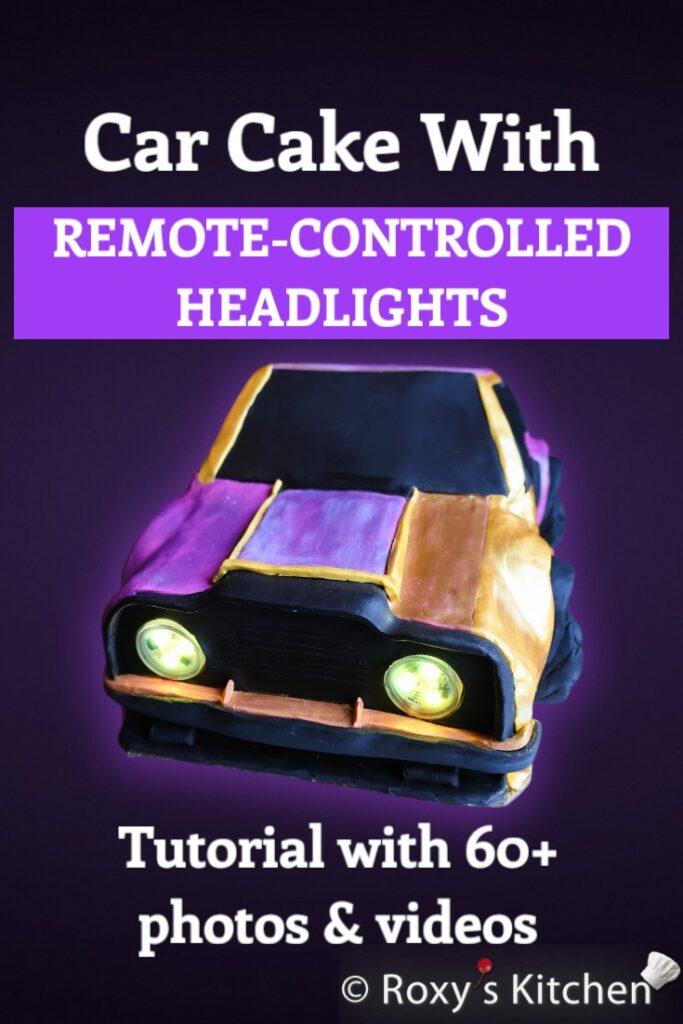
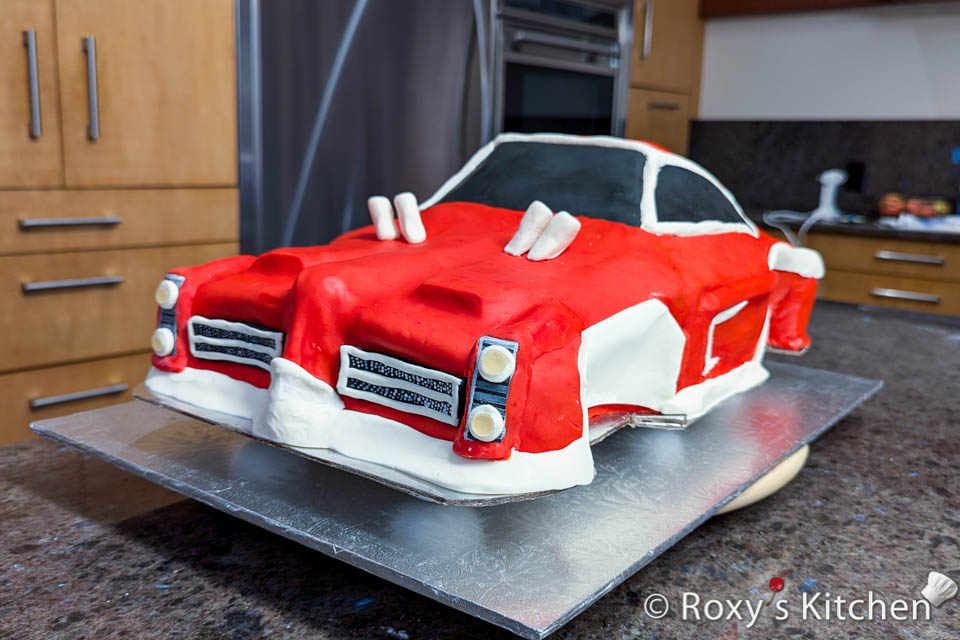
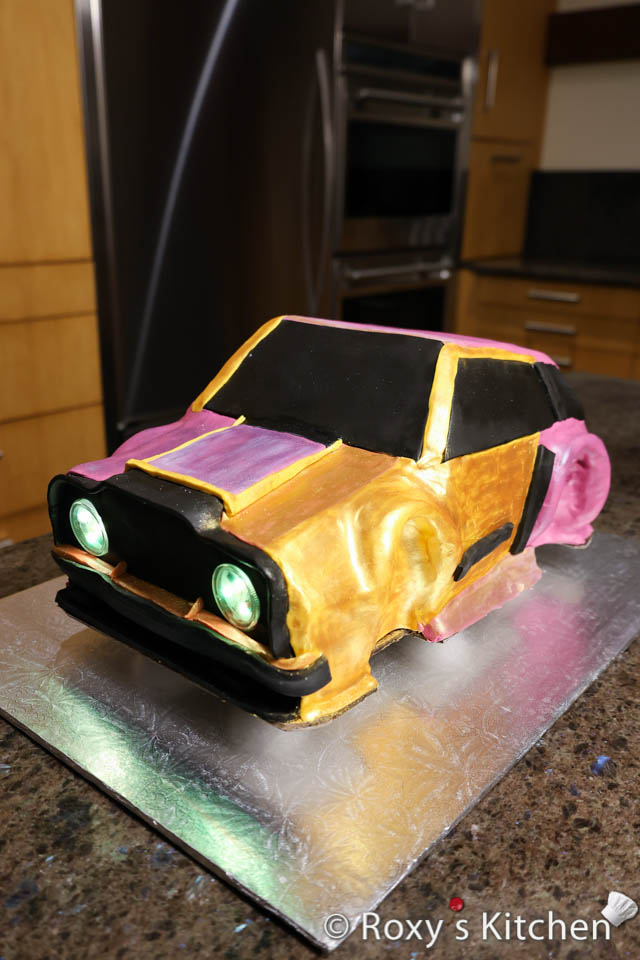
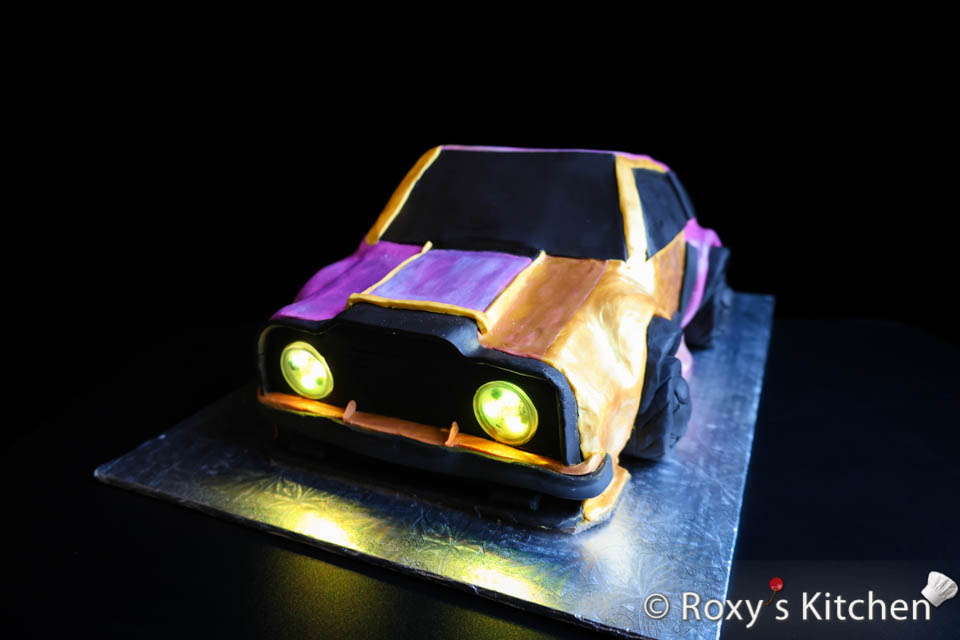
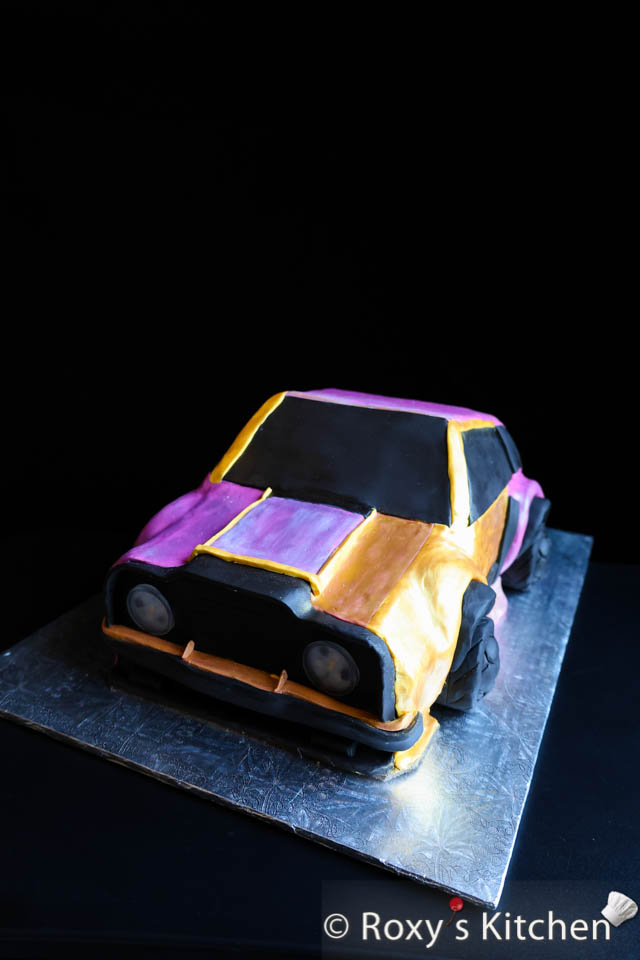
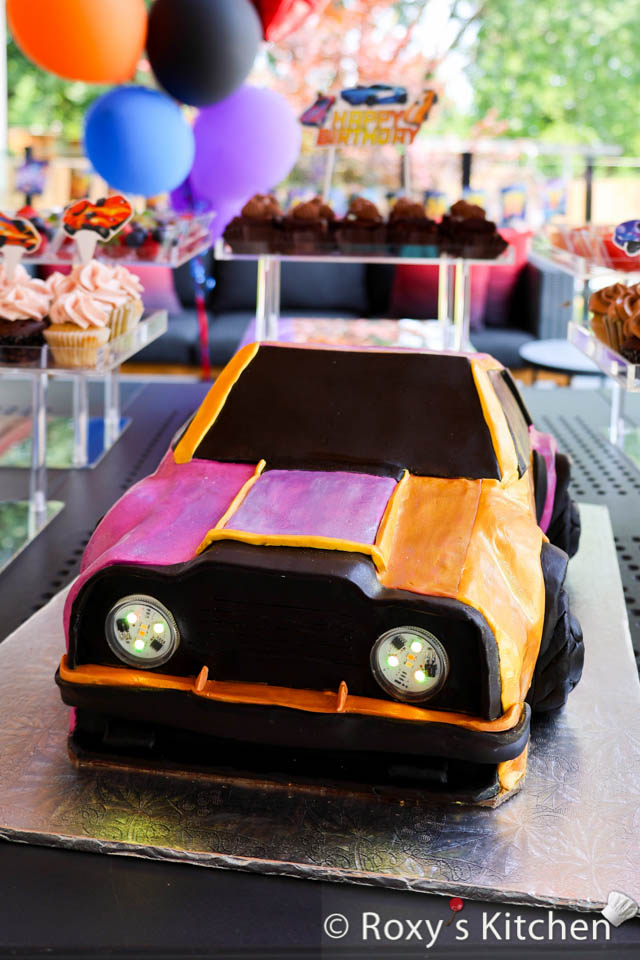
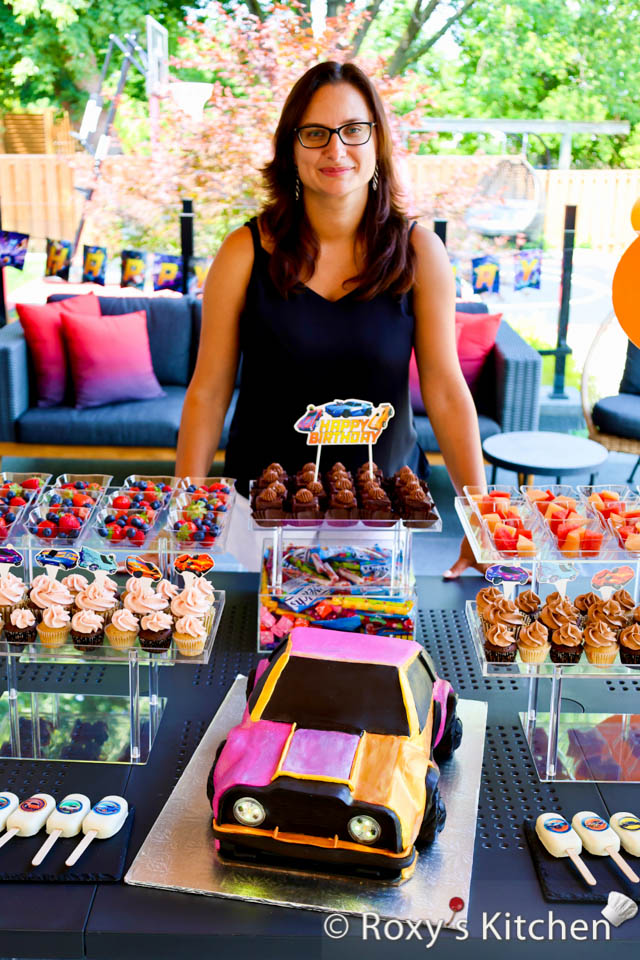
In this post, I’ll show you how to make a Car Cake with Remote-Controlled Headlights. My kids are Rocket League fans so I threw race car-themed birthday parties for them. I made two car cakes, along with cupcakes and race car-themed cakesicles to match the theme. I’ve already posted a tutorial showing how I made the Red Race Car cake (does it look like Dominus ?). In this post, I’ll walk you through how to create this Fuchsia and Golden Race Car cake (does it look like Fennec?), complete with headlights that can be turned on and off using a remote.
Make sure to check out my posts from this Birthday Party for Rocket League Fans series to see lots of dessert ideas, party games, snacks, decorations and much more!
Ingredients & Recipes
The amount of ingredients you need depends on the size of your race car cake. Mine was 23 cm x 33 cm (9’’ x 13’’) and 17 cm (6.5’’) tall. What you need for this cake size:
- Three sheet cakes – one of mine was 38 cm x 38 cm (15’’ x 15’’) and two were smaller 30 cm x 30 cm (12’’ x 12’’). I made a small Moist Chocolate Cake and two Chocolate Sponge Cakes – a big and a small one. The moist chocolate cakes are much easier to work with when carving the cakes. My older son loves that chocolate sponge cake so I had to make it work as well. The ingredients in this moist chocolate cake recipe are enough for the small sheet cake. For the chocolate sponge cake, I made both sheet cake sizes and I doubled the ingredients in this recipe.
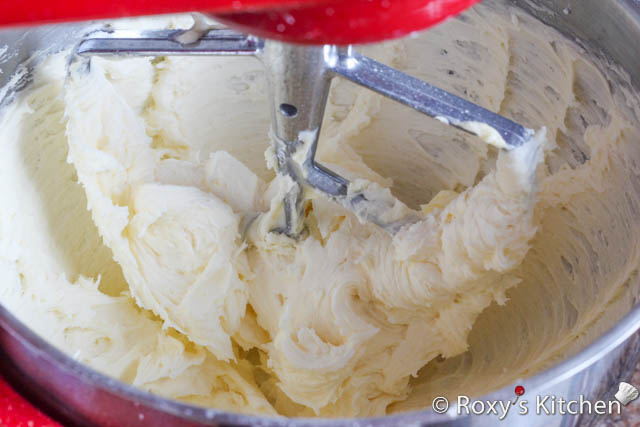
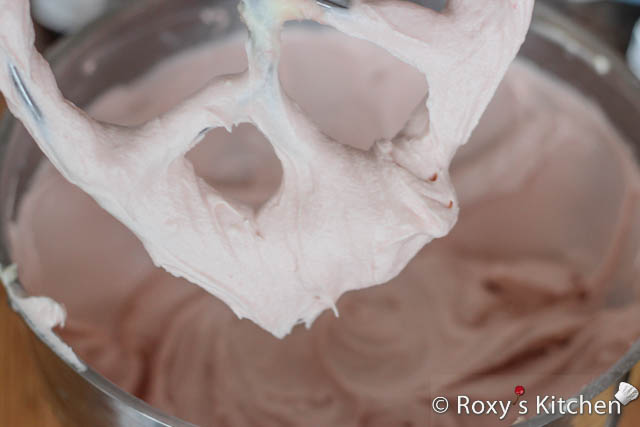
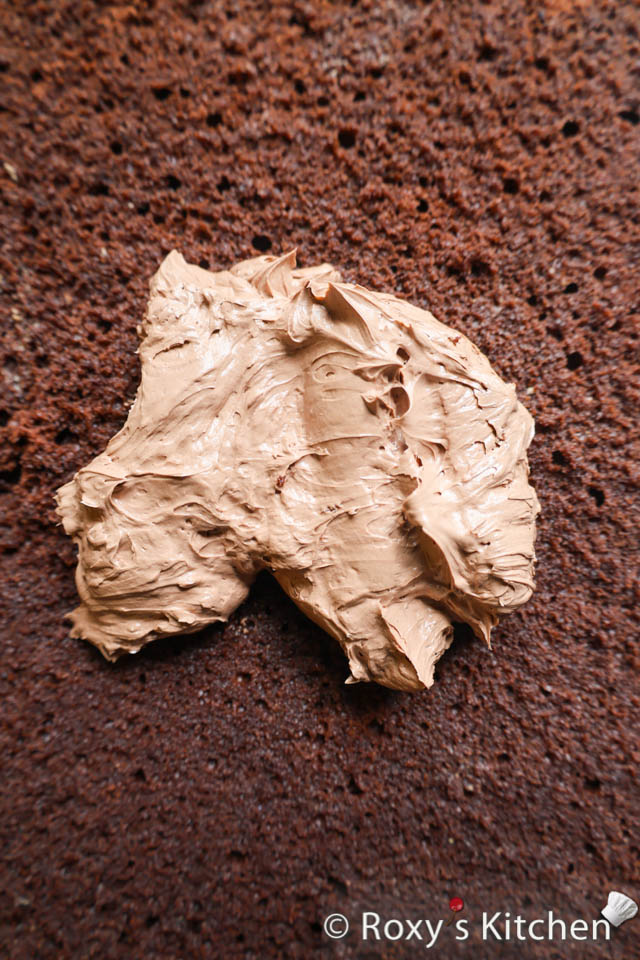
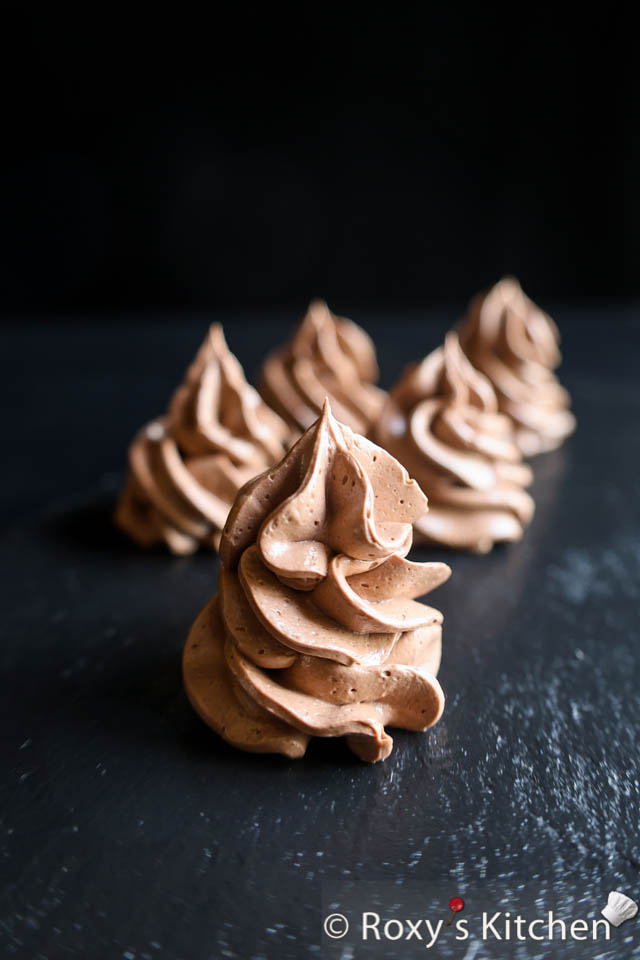
- Frosting of your choice. For the filling I used Raspberry Cream Cheese Buttercream made using this recipe (about 3/4 of the quantity should be enough) plus a thin layer of raspberry jam (150-200 g). The chocolate sponge cake was filled with the chocolate ribbon buttercream using this recipe (multiply all ingredients by 2.5 to have enough filling).
- Ganaching the cake. I covered the cake with semi-sweet chocolate ganache (unwhipped/firm frosting) made out of 1 kg of semi-sweet chocolate (baking or couverture chocolate) and 500 ml whipping cream. Follow the instructions in this post to make the ganache.
- Raspberry/strawberry simple syrup (optional, if you want your moist chocolate cake extra moist). Boil 350 ml (1.5 cups) water with 8 tablespoons of sugar. When it starts boiling, add 2 tablespoons of vanilla extract and a few drops of raspberry- or strawberry-flavoured baking oil. Remove from the heat and let it cool off.
- Cappuccino simple syrup to moisten the cake. I used the cappuccino syrup in this recipe (multiply the ingredients by 1.5 to have enough syrup for the entire car cake).
- Modeling chocolate to cover the cake:
- 1.5 kg (3.3 lbs) of fuchsia modeling chocolate; I coloured white modeling chocolate using the fuchsia oil-based food colouring from Color Mill.
- 1.5 kg (3.3 lbs) of black modeling chocolate
- 900 g (2 lb) of yellow modeling chocolate
- Some shimmer / pearl / golden luster dust to brush on the cake to make it shiny.
Note that you can use fondant too but it dries out faster and it’s not as easy to hide the seams as it is with modeling chocolate.
Other Tools/Items:
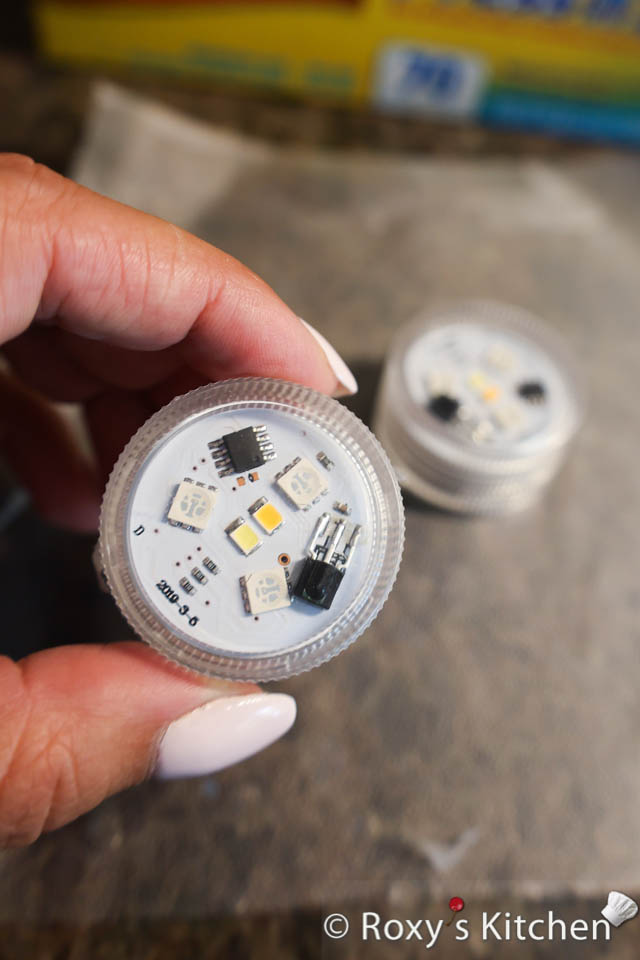
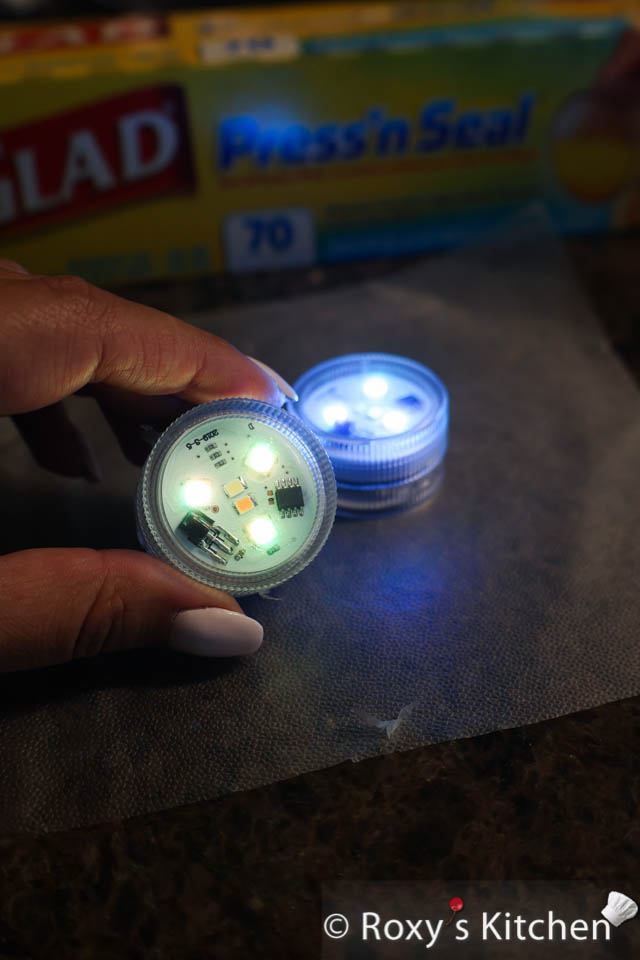
- For the headlights, 2 mini submersible LED lights with remote and press’n seal plastic wrap to wrap the part of the LED light that is inserted into the cake. I used these LED lights (affiliate link).
- two 33 cm x 48 cm (13’’ x 19’’) cake boards made of thickened corrugated cardboard, which is strong and not easy to bend
- a larger cake board than the one above to place the finished race car cake on
- 4 bubble tea/boba plastic straws or cake dowels
- 4-6 styrofoam balls, 4.5 cm (1.8’’) & a glue gun
- parchment paper
- a ruler
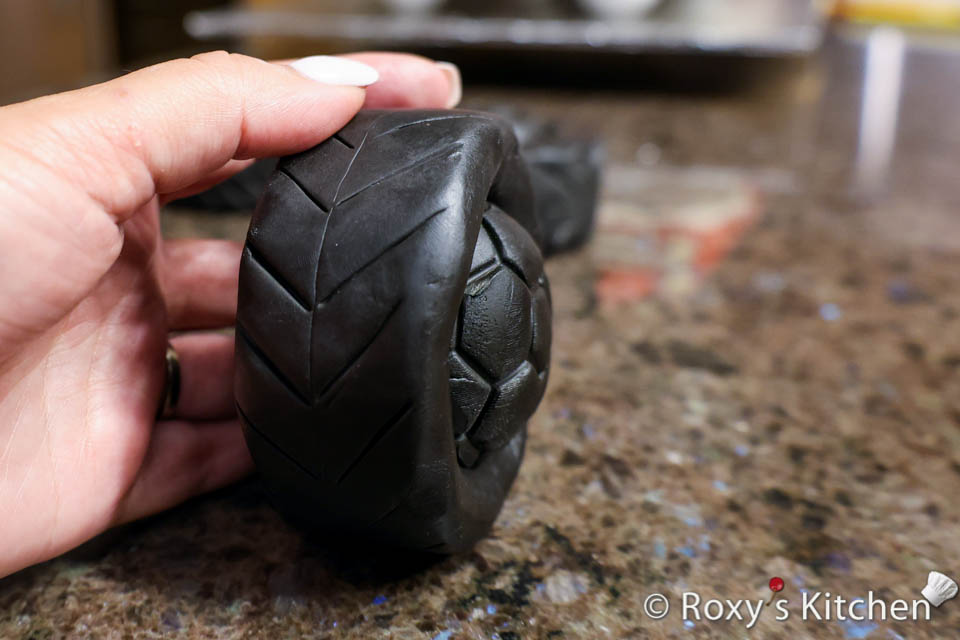
- a 6.25 cm (2.5’’) circle cutter, fondant blade tool and soccer ball silicone mold to make the tires and rims – I used the bottom part of this soccer ball ice cube silicone mold (affiliate link)
- fondant rolling pin
- X-Acto knife or any other sharp knife with a thin blade
- powdered sugar or cornstarch for dusting the surface
- edible glue
- a small paint brush
- small offset spatula
Directions
Watch this video tutorial or read the instructions below:
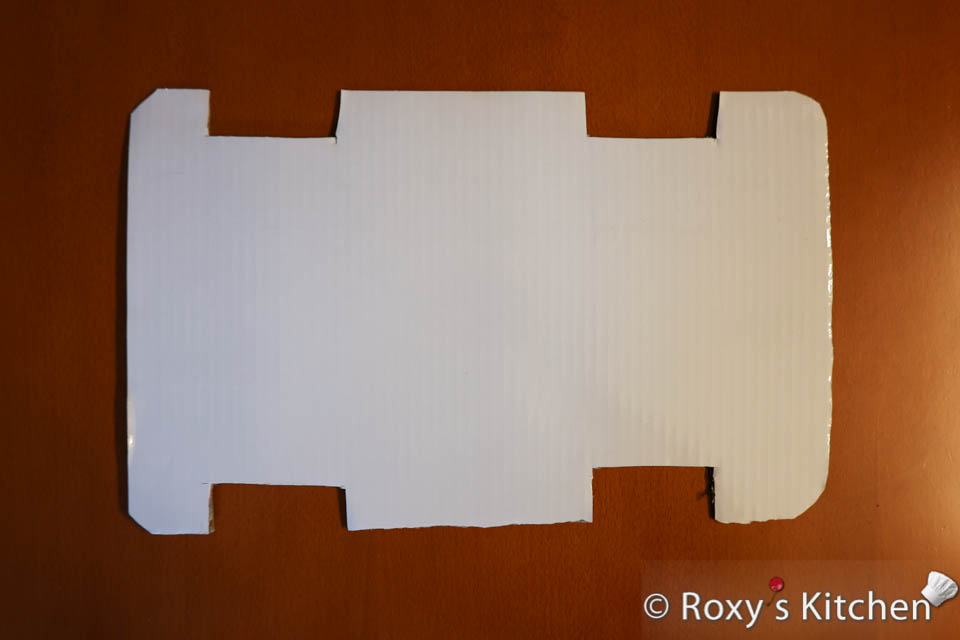
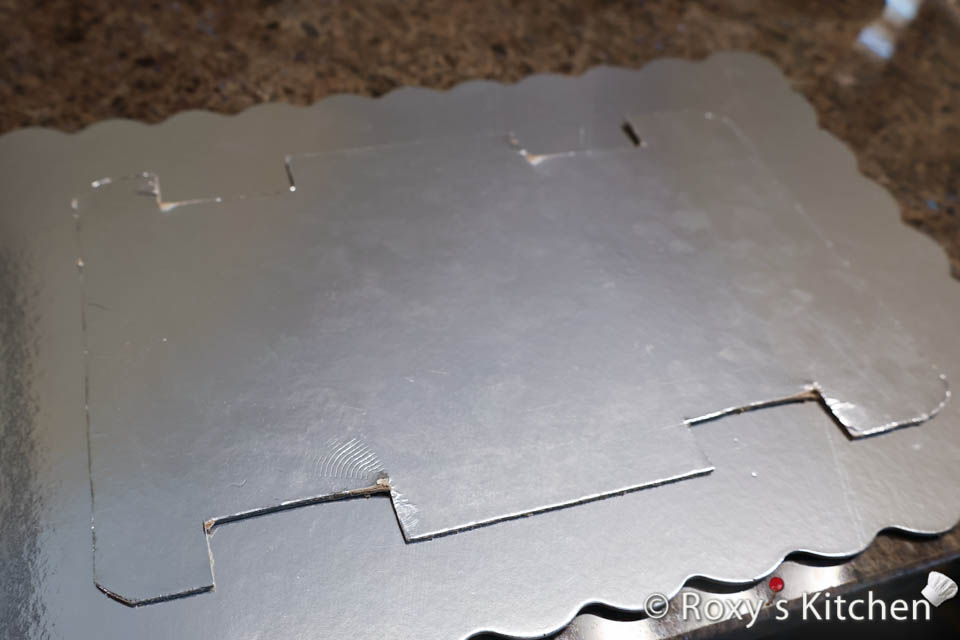
Planning Ahead & Creating Templates for the Race Car Cake
For all the 3D custom cakes I make, I create templates ahead of time to make it easier to carve and shape the cakes. For this race car cake, I used two 33 cm x 48 cm (13’’ x 19’’) cake boards. At least one of them (the one placed underneath the entire cake) should be made of thick corrugated cardboard. This type of cake board is strong and not easy to bend. The cake board placed in the middle of the cake can be a normal cardboard one as well. On the back of the cake board, I used a pencil to trace the shape of the car, which was 23 cm wide and 33 cm long (9’’ x 13’’). The wheels were 6.5 cm (2.5’’) wide, so the cutout was slightly bigger than that (7.6 cm / 3’’).
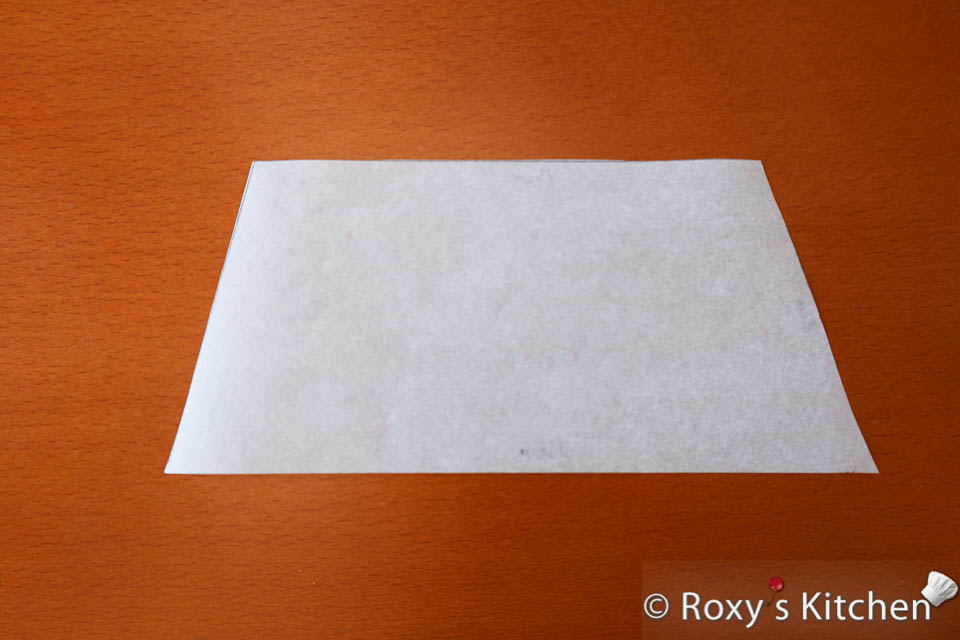
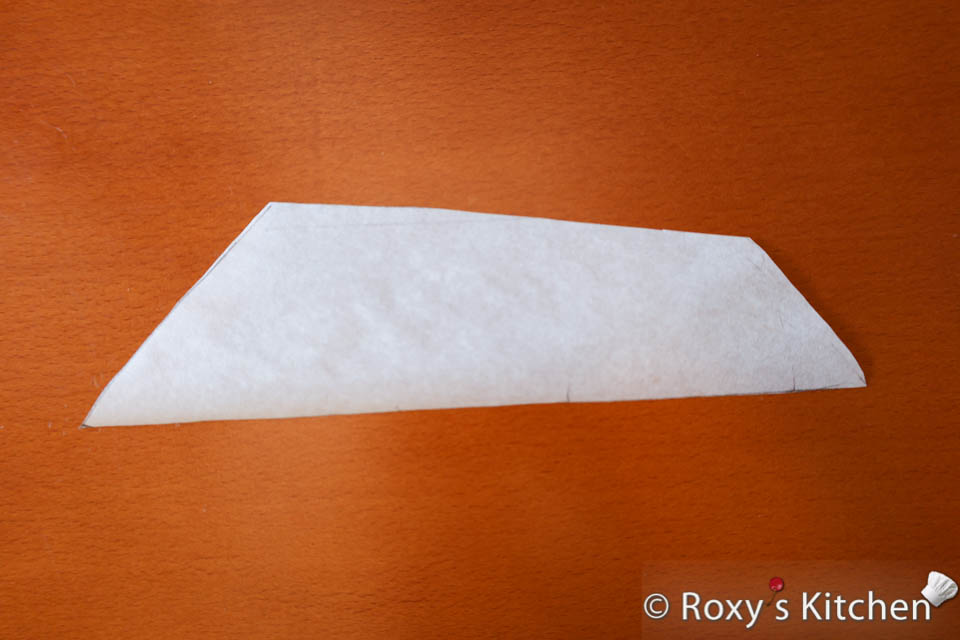
I also made templates out of parchment paper for the car’s windshield and side windows. The windshield had an 18 cm (7’’) bottom base, a 13 cm (5.1’’) top base, and sides of 8 cm (3.15’’). The side windows had a 21 cm (8.3’’) bottom base, a 13 cm (5.1’’) top base, one side of 8 cm (3.25’’), and the other side of 5 cm (2’’).
So, it’s important to plan ahead and create your templates before you start stacking, carving, and decorating your cake.
Lastly, I always have printed pictures of what I want to make—whether it’s a design generated with AI apps or downloaded from the internet. Make sure to have printed pictures of your design handy!
Filling and Stacking the Cake
Bake your cakes and make the raspberry cream cheese buttercream and chocolate fillings using the ingredients and recipes provided above.
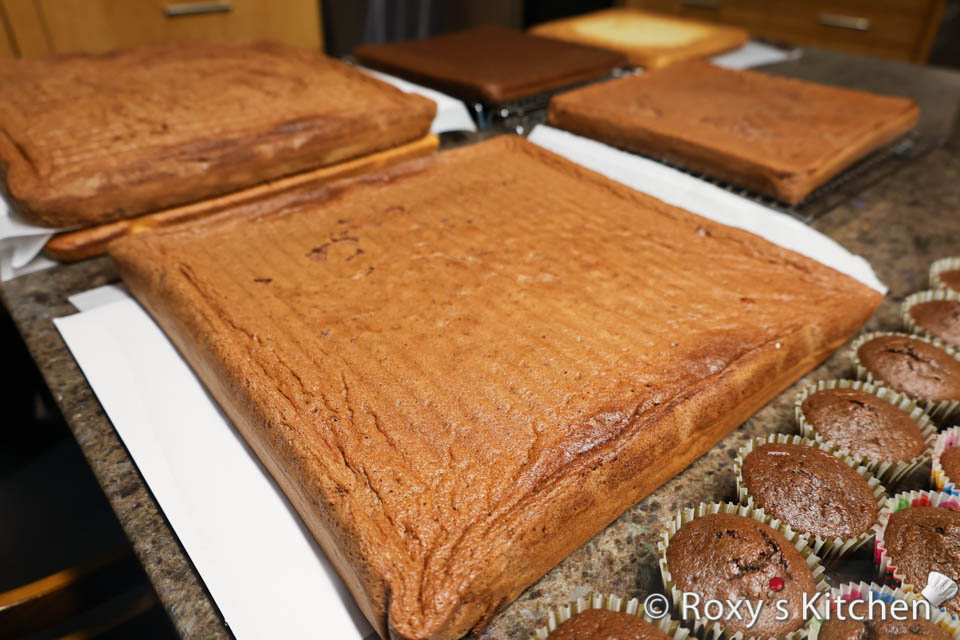
Now, let’s fill and frost our cake. My car cake had:
- 2 layers of moist chocolate cake filled raspberry jam & raspberry cream cheese buttercream
- The rest of the cake layers were chocolate sponge cakes filled with chocolate ribbon buttercream
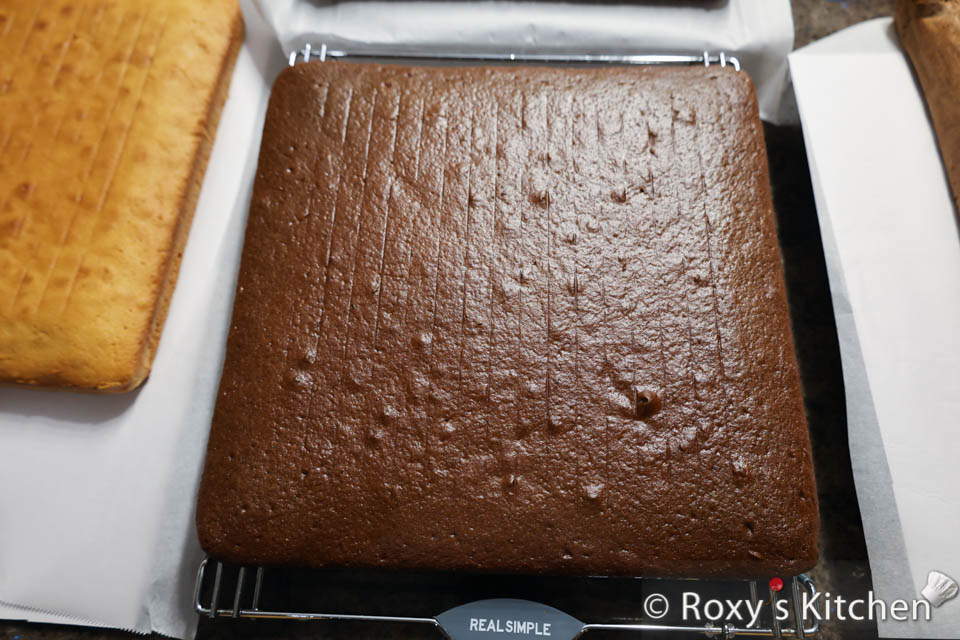
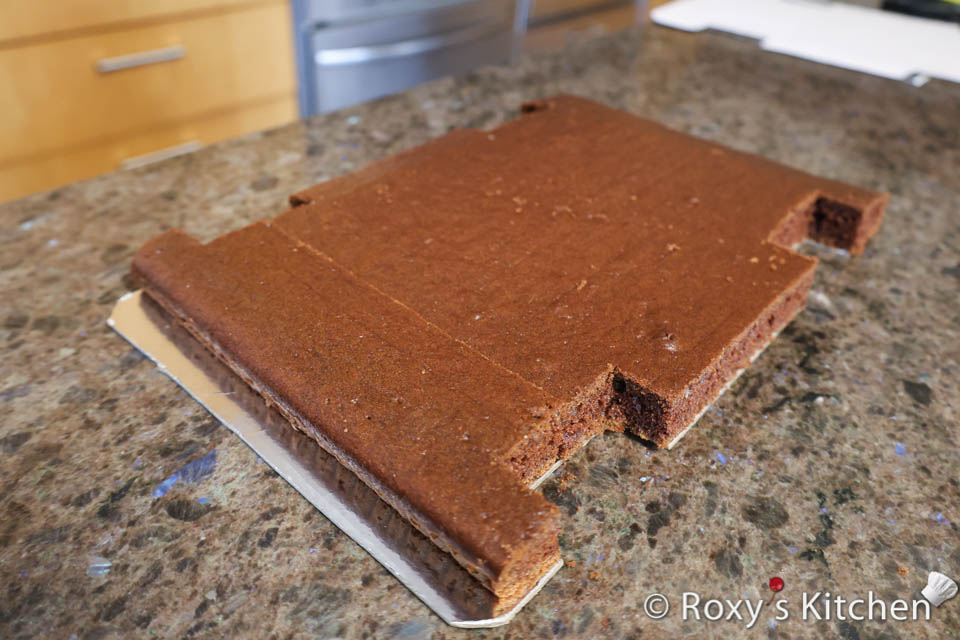
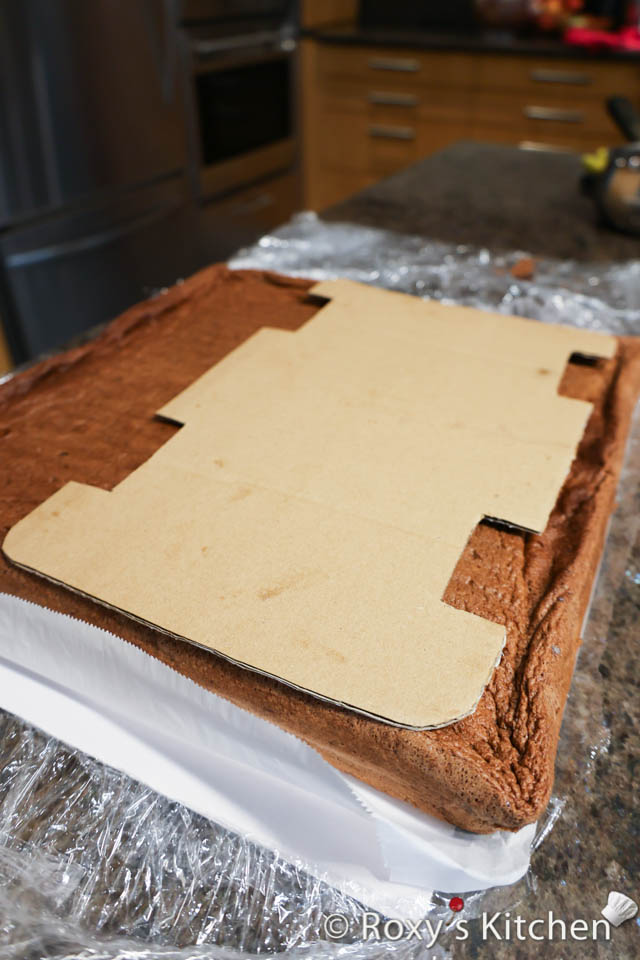
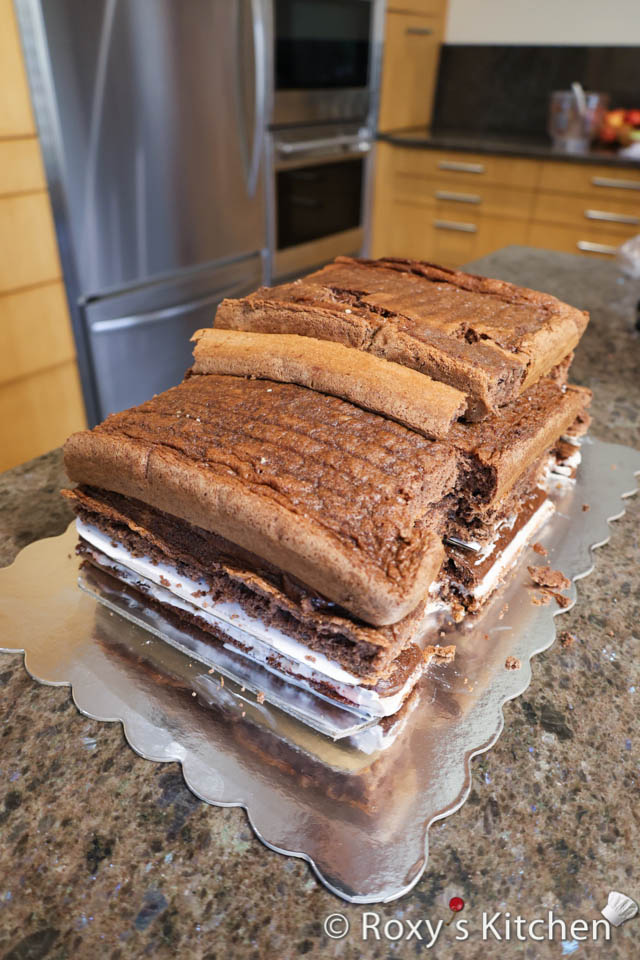
First, use the template to cut the shape of the car out of the moist chocolate sheet cake. Then, cut the cake horizontally in two and transfer the top layer to a separate cake board. Keep the bottom cake layer on the corrugated cardboard car template with the shiny side facing up. Since my sheet cake was not as long as my car, I had to use the leftover cake to build the back of the car. If you have a rectangular cake pan that’s as wide and long as your car, then you don’t need this extra step.
If using sugar syrup, moisten your first cake layer. Spread thin layer of seedless raspberry jam and a layer of cream cheese buttercream on top. Place the second cake layer on top and moisten it with sugar syrup.
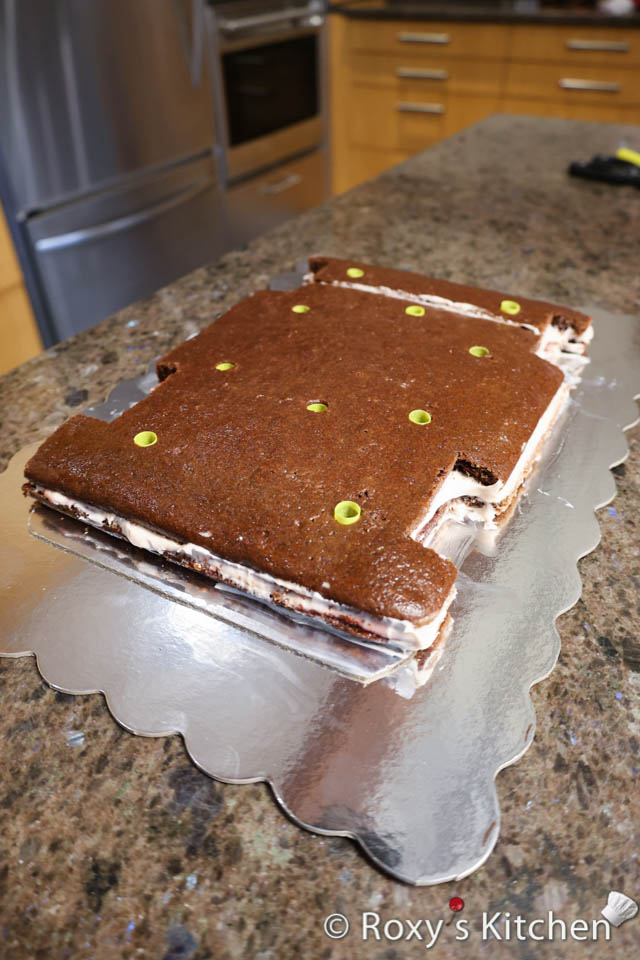
Now let’s add some support and stability to the cake. Cut boba straws or cake dowels to the height of the your cake and insert them into the cake, about 3.8 cm (1.5’’) away from the edge. I used 4 boba straws on one side of the car, 4 on the other side and 2 more in the middle.

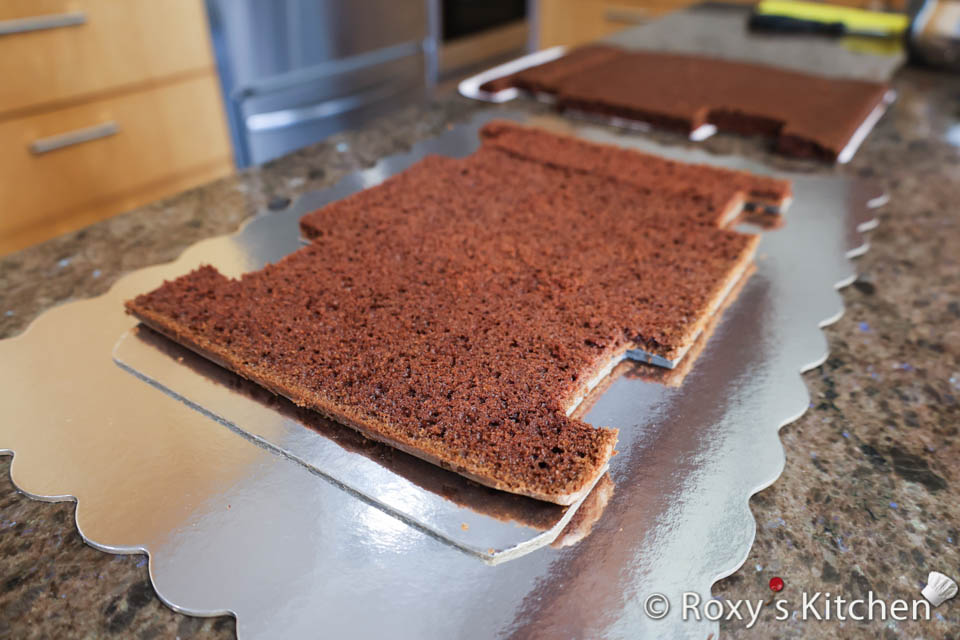
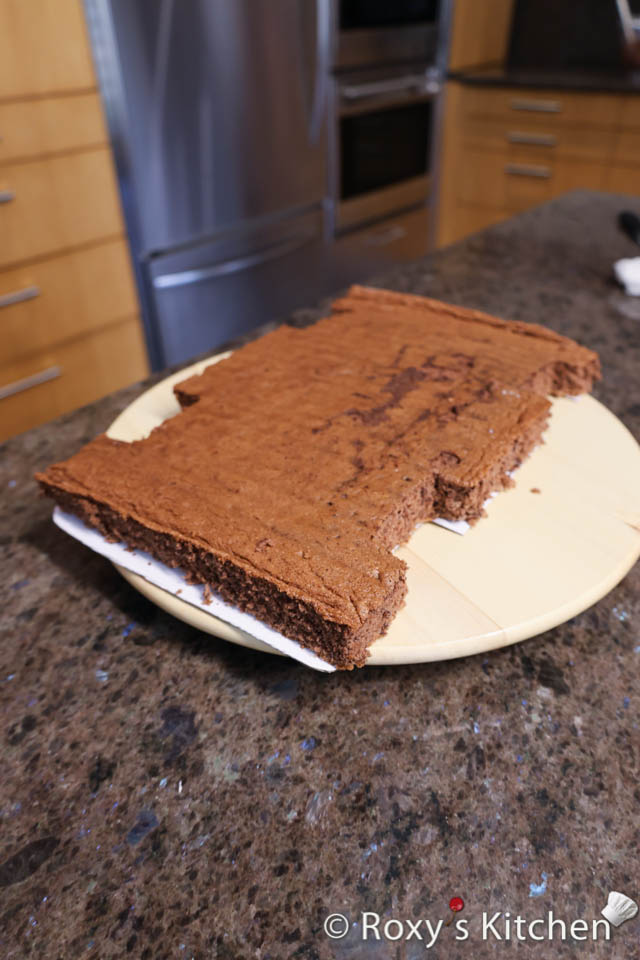
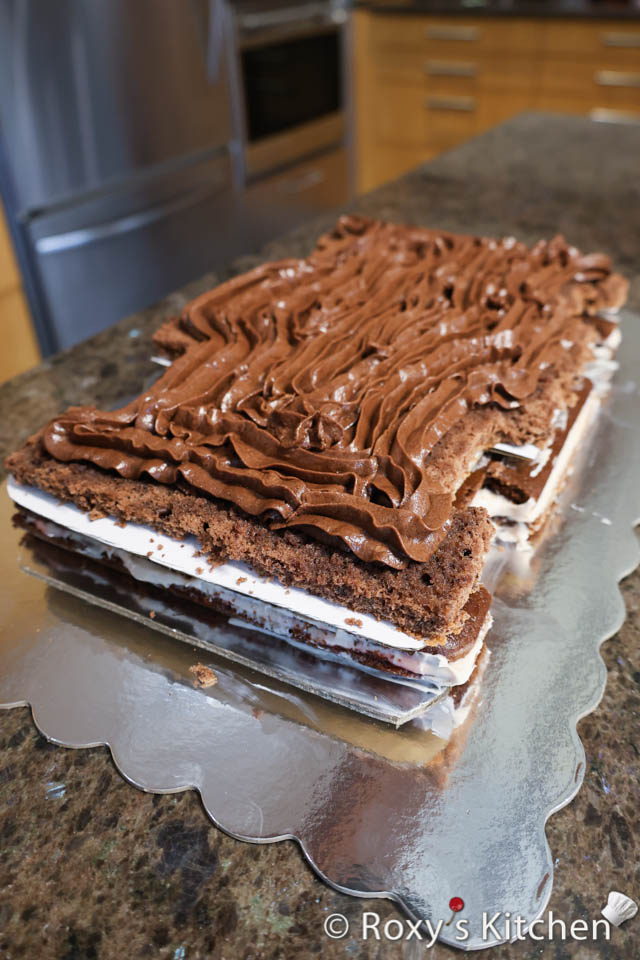
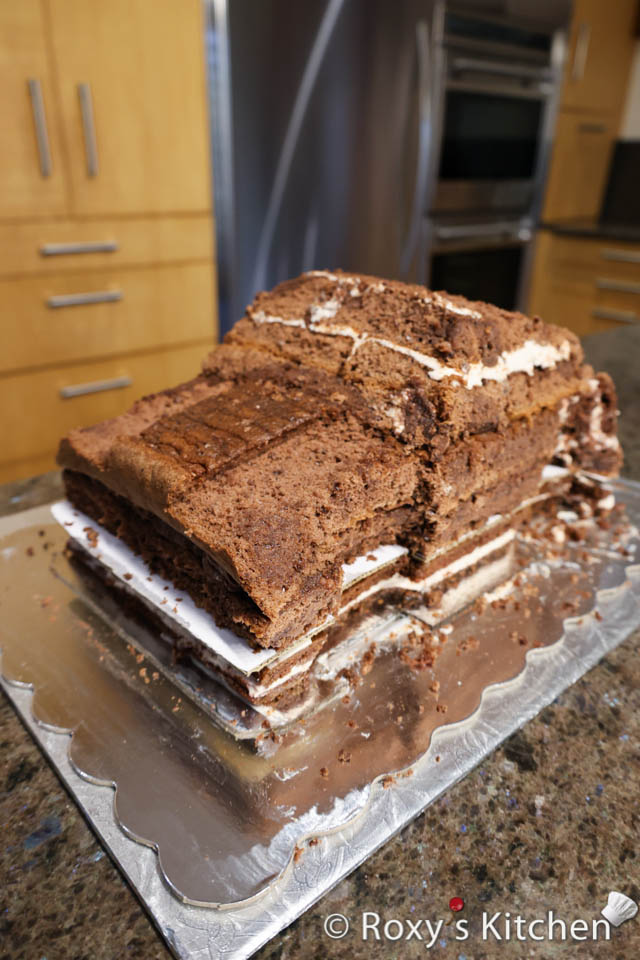
Next, cut the second sheet cake (the larger chocolate sponge cake in my case) using the car template. Make sure you go as close to the edge as possible to save a big piece of the leftover cake as this will be used to build up the back of the car. Cut the sheet cake horizontally in two and place one of them on your 2nd car template made out of the cardboard cake board.
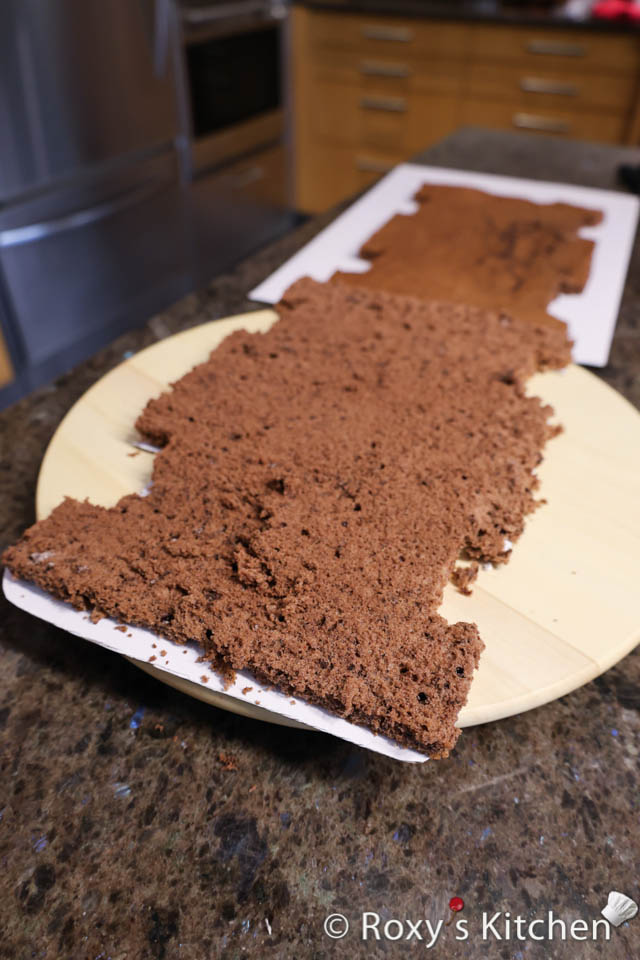
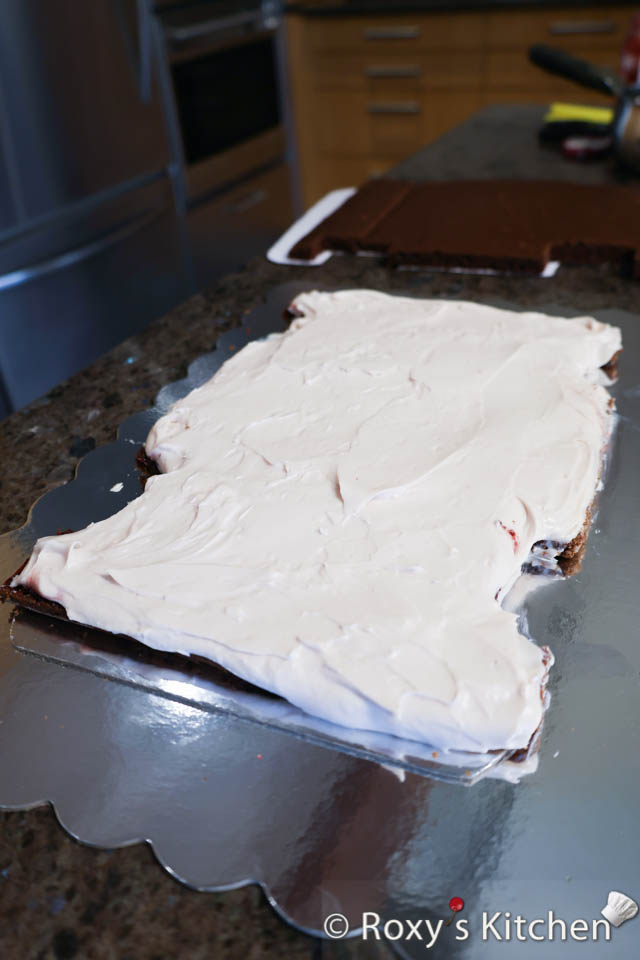
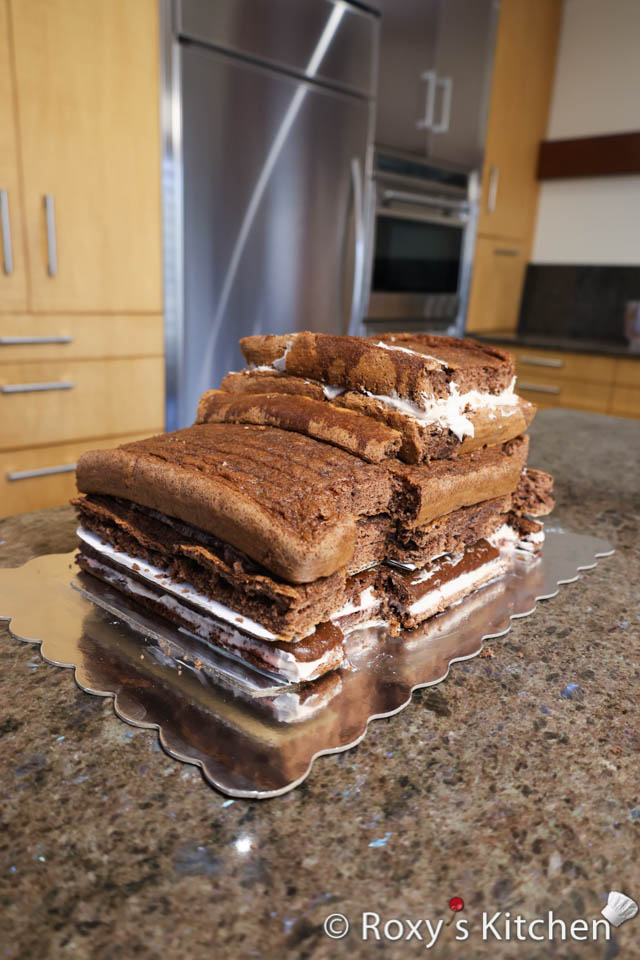
Spread a bit of frosting over your moist chocolate cake and the boba straws and place the car-shaped cake board with the first layer of chocolate sponge cake on top. Moisten it with the cappuccino sugar syrup. Spread a layer of chocolate ribbon buttercream. Then, place the 2nd layer of chocolate sponge cake on top. Moisten it with cappuccino syrup. Spread another layer of chocolate ribbon buttercream.
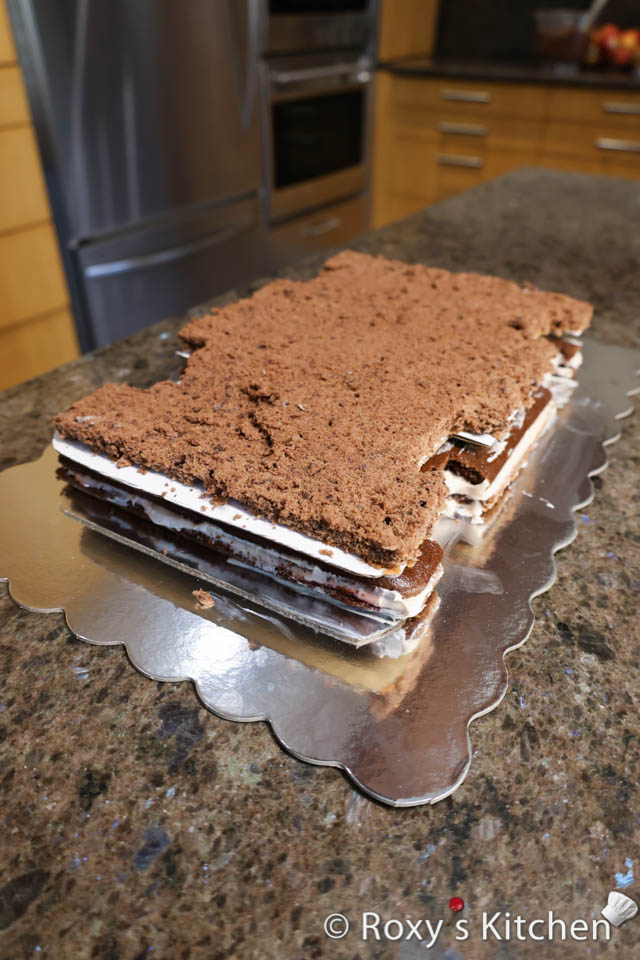
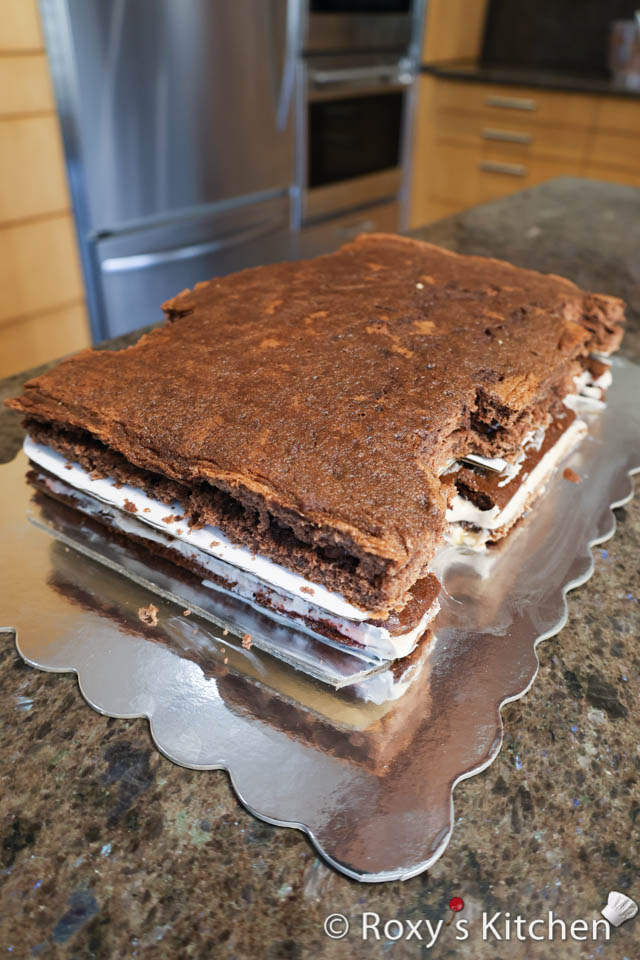
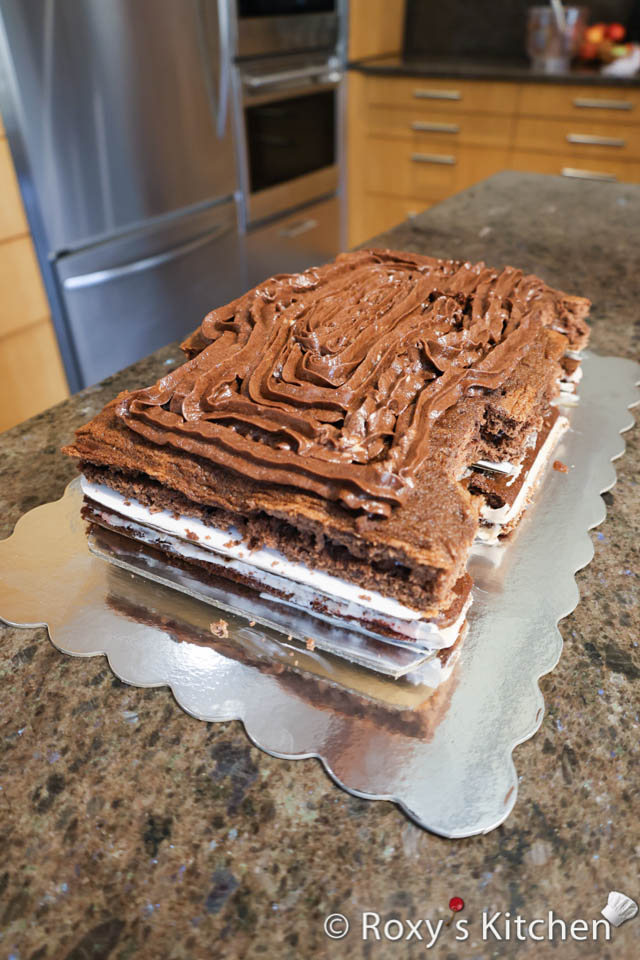
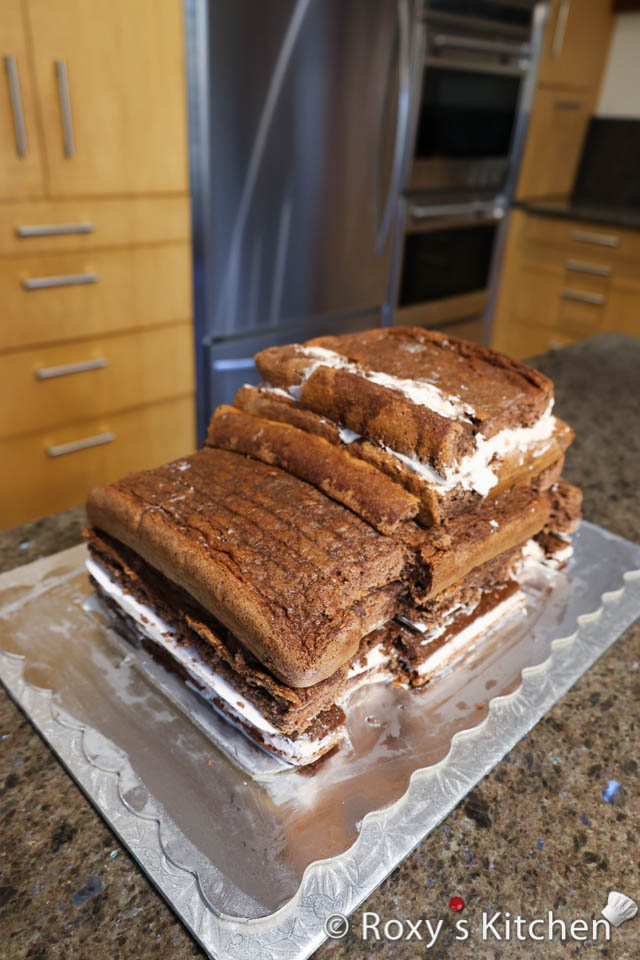
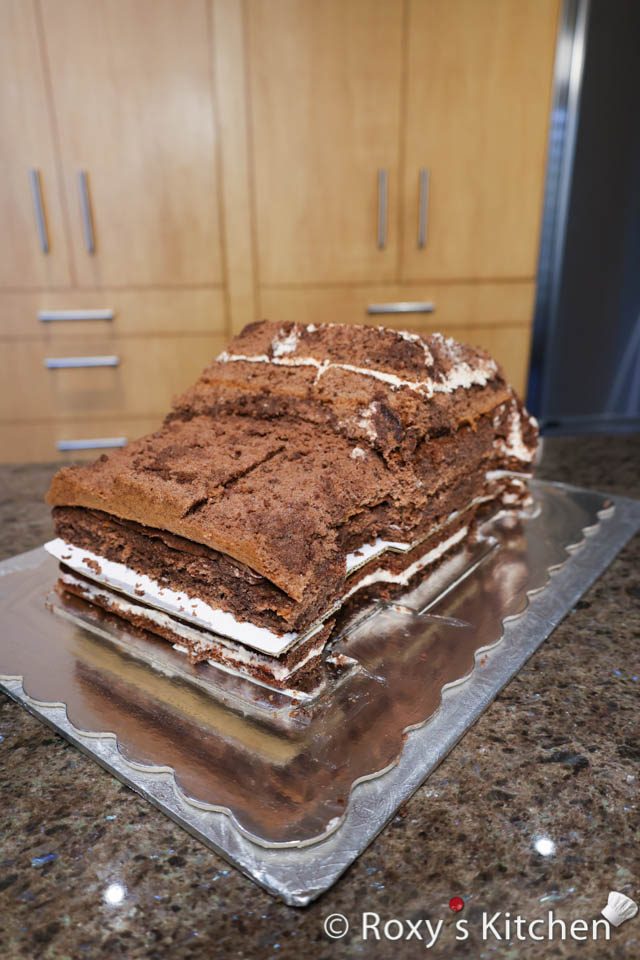
Place the smaller sheet cake on top to build up the car. Cut it around so that it has a similar shape as the rest of the car. Then, moisten it with syrup and insert a few boba straws to add some extra support on the back side of the car. This is because, as you build your cake up, the front of the car will be slimmer than the back, so you’ll need more cake at the back and less at the front. Spread some frosting, add a small rectangular cake board on top, spread frosting on top of the board and add more sponge cake from the middle of the car to almost the back of the car (about 3.8 cm or 1.5” away from the edge).
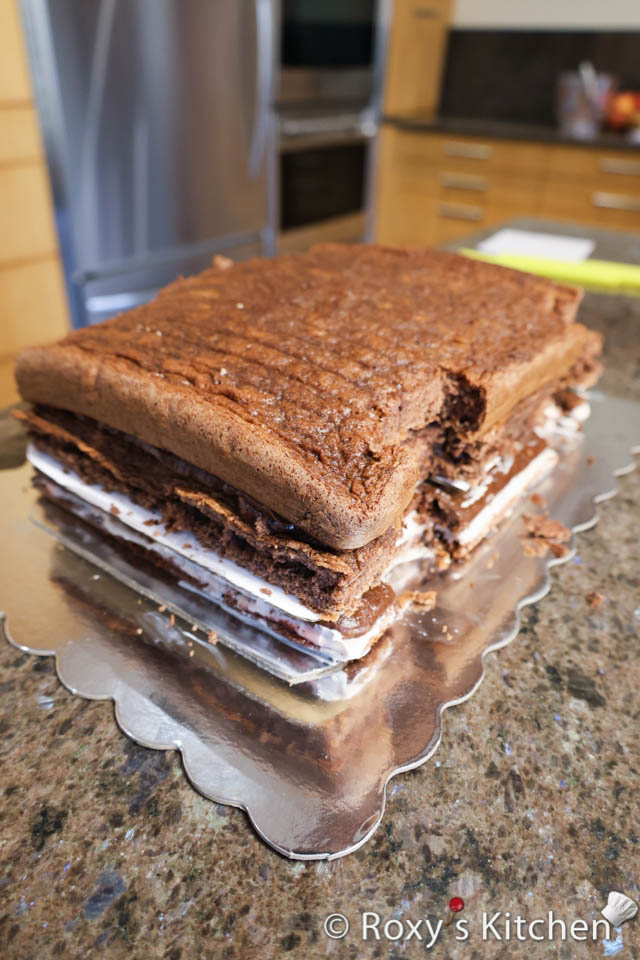
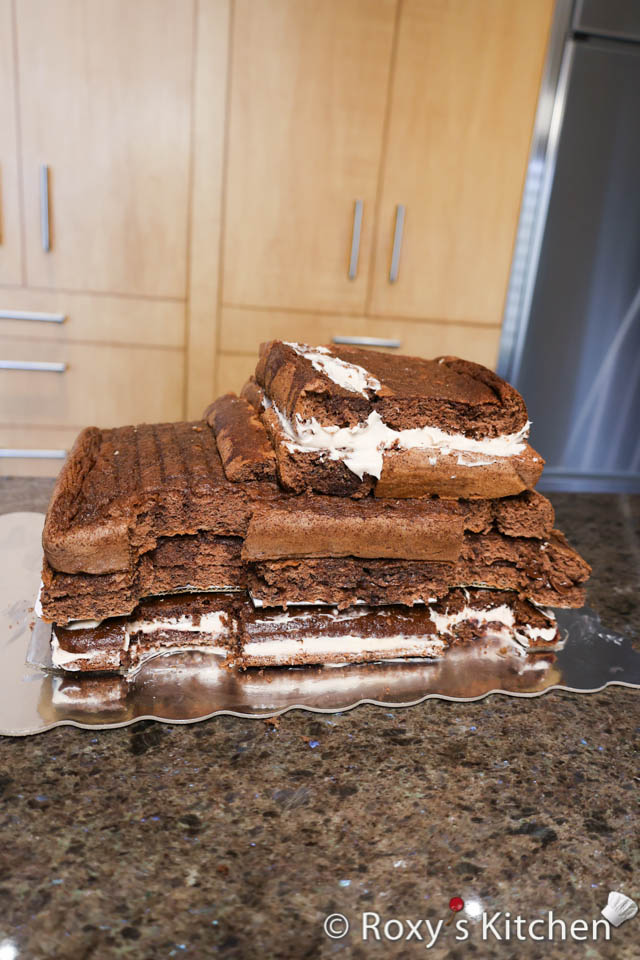
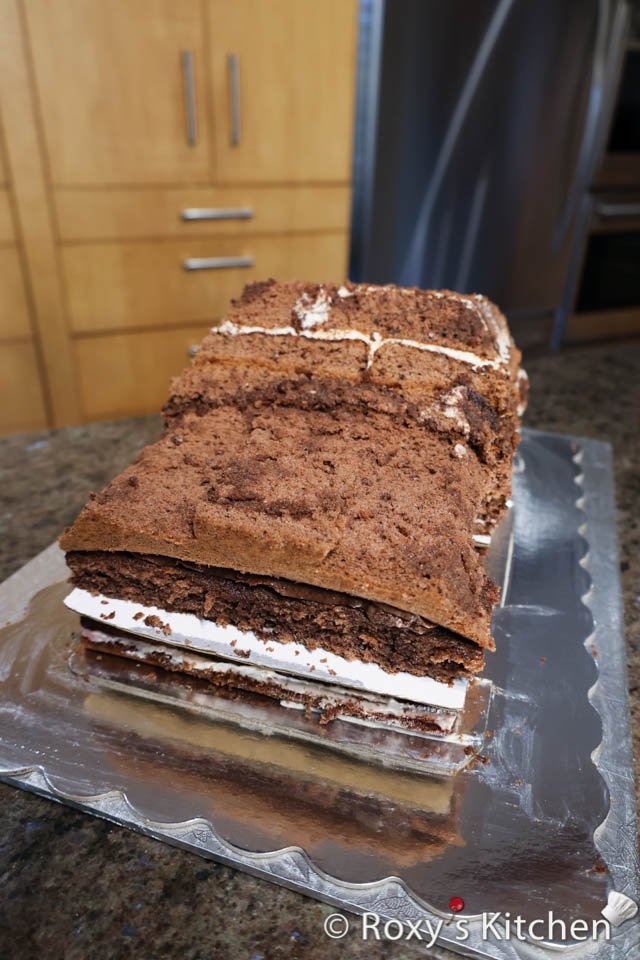
Keeping building the back of the car using your cake scraps and remaining frosting.
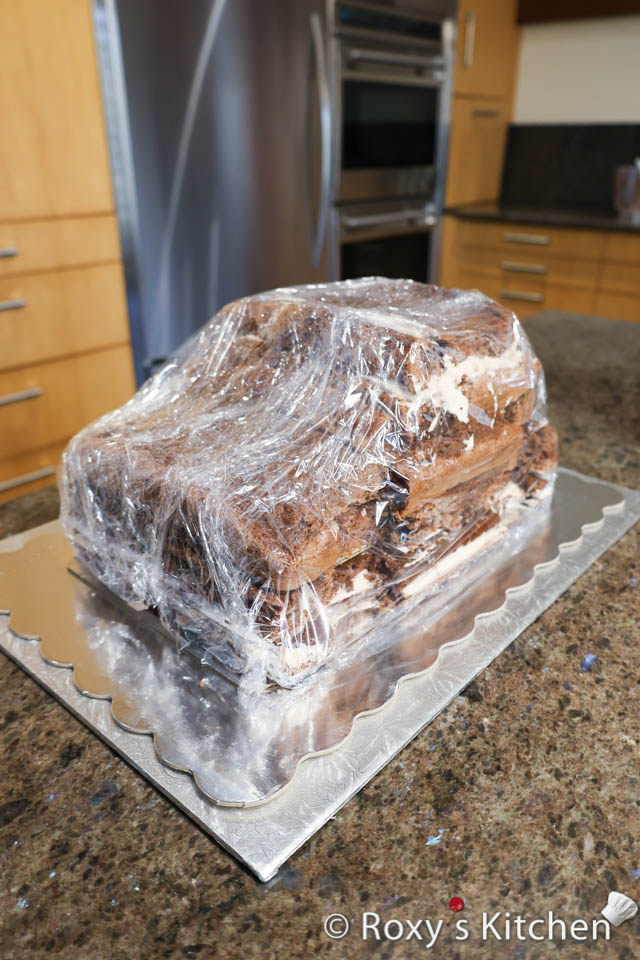
Once the cake is filled, cover it with plastic wrap and place it in the freezer for 2 hours. Freezing the cake makes it much easier to carve without it breaking apart.
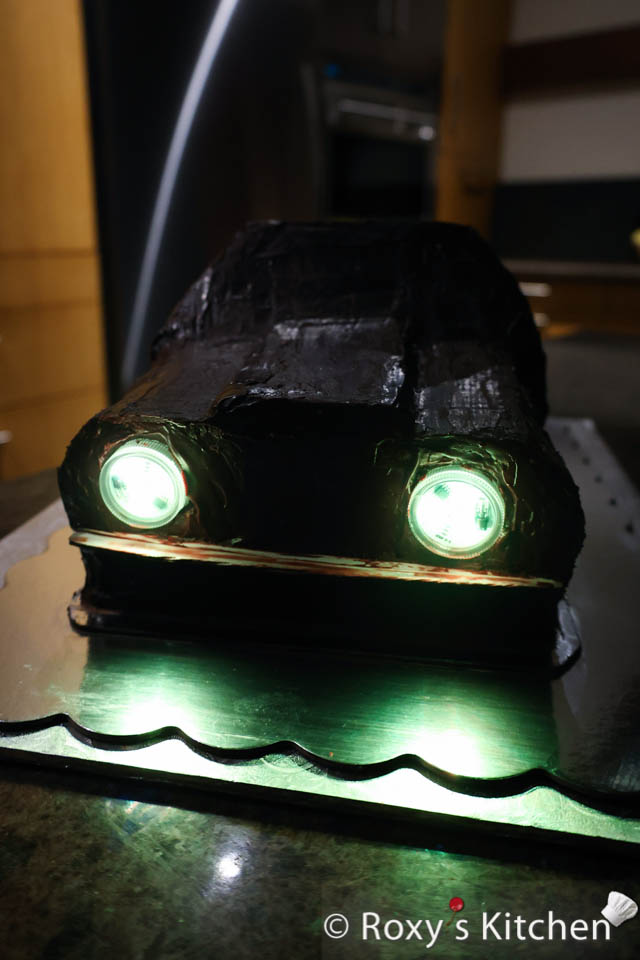
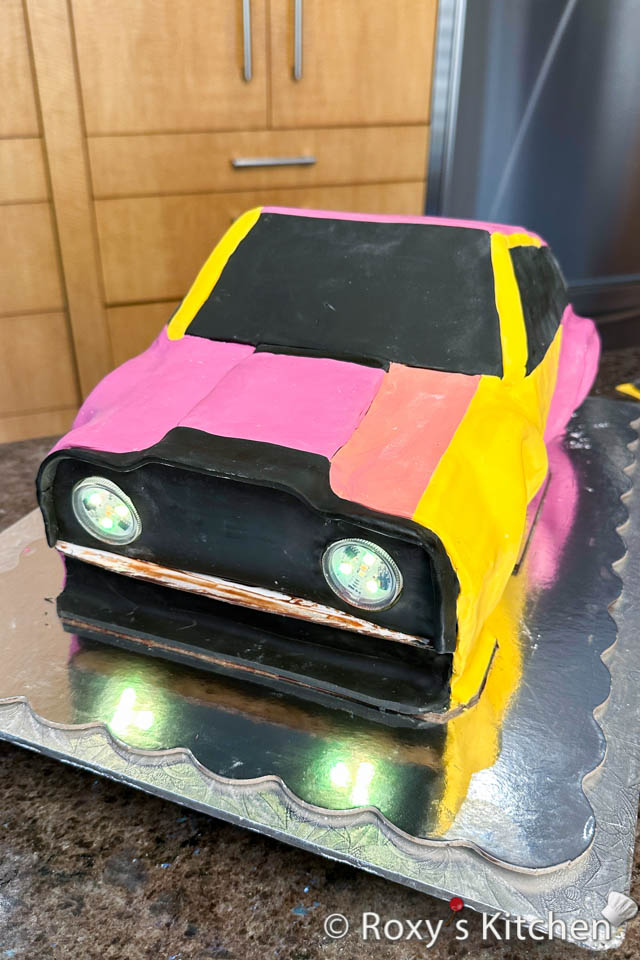
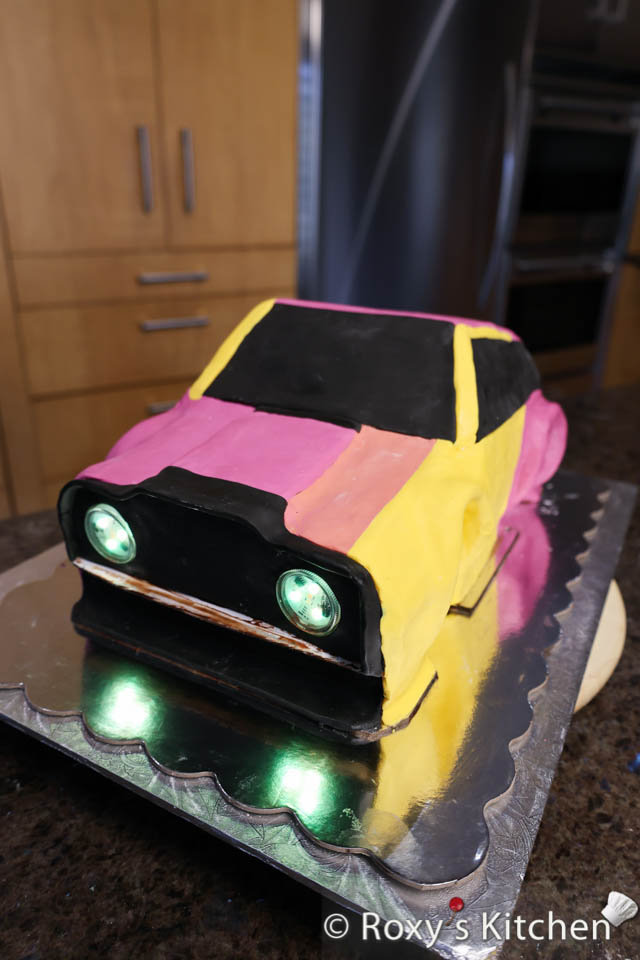
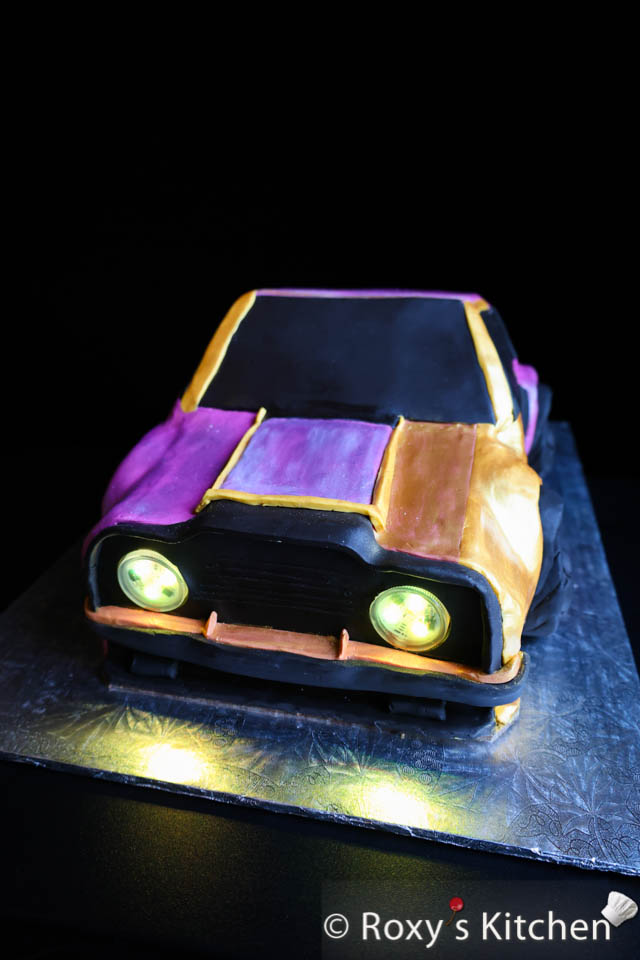
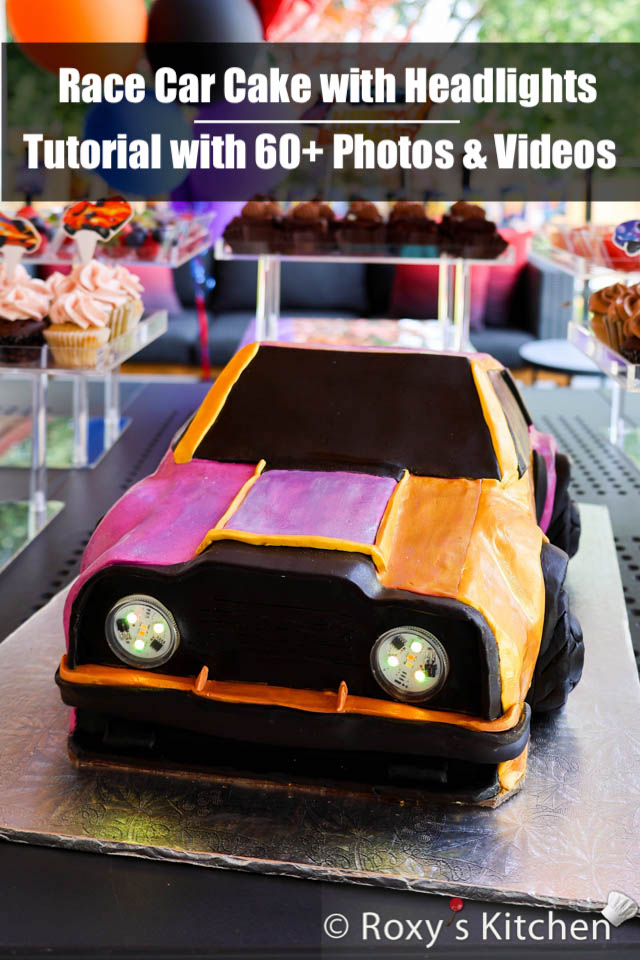
Remote-Controlled Headlights for Your Car Cake
Want to take your car cake to the next level? Add some wow factor with working headlights that light up and can be controlled with a remote! I used two mini submersible LED lights that turn on and off with a remote, giving the cake a fun, interactive twist. I purchased these LED lights. To keep things safe, I wrapped the back and sides of these LED lights in press’n seal plastic wrap. This ensures that the parts inserted into the cake stay free from any plastic, keeping everything clean and cake-friendly.

Carving & Ganaching the Car Cake
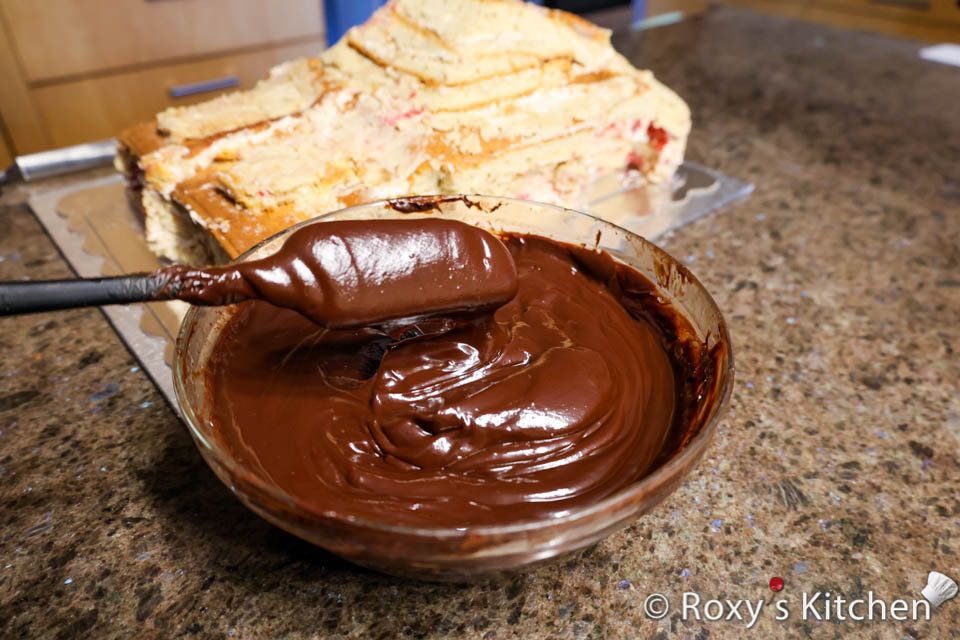
Make your chocolate ganache. Cover it with plastic wrap (touching the surface of the ganache to prevent condensation from forming). Allow it to cool at room temperature until it reaches a thick pouring consistency.
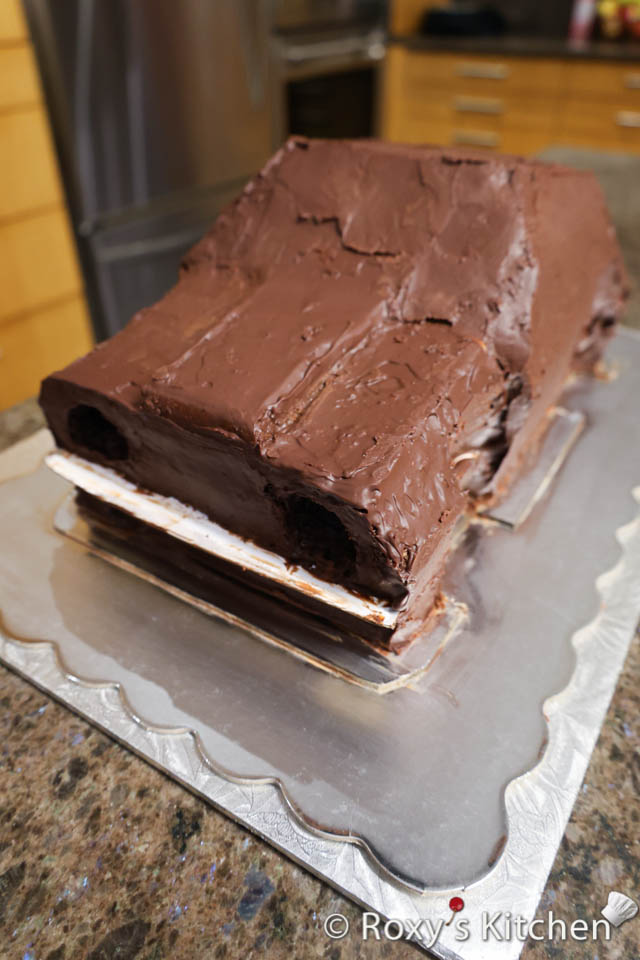
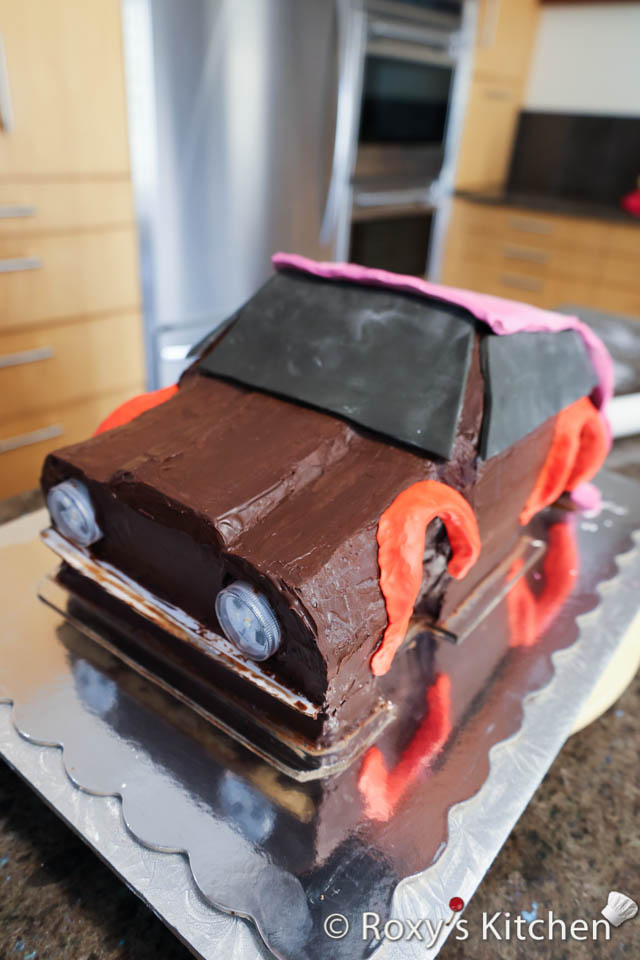
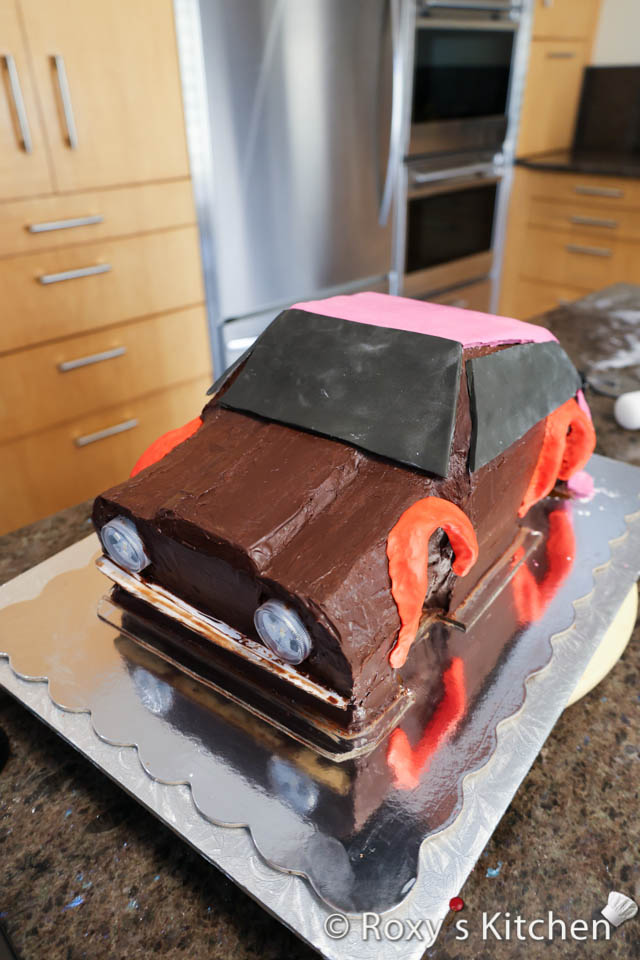
Using a serrated knife, carve the cake into the shape of a car. I did not use any templates for carving (other than the base cake board template), so you can watch the video to see how I carved and shaped the car cake to bring it to life. The only tip I can give you is to always have your car picture printed and handy to refer to while carving out the details. Don’t be afraid to cut into the cake to make more pronounced shapes. The angles and shapes will look less drastic once you cover the cake in modeling chocolate.
I made the area around the wheel as high as the wheel itself—actually, a bit taller.
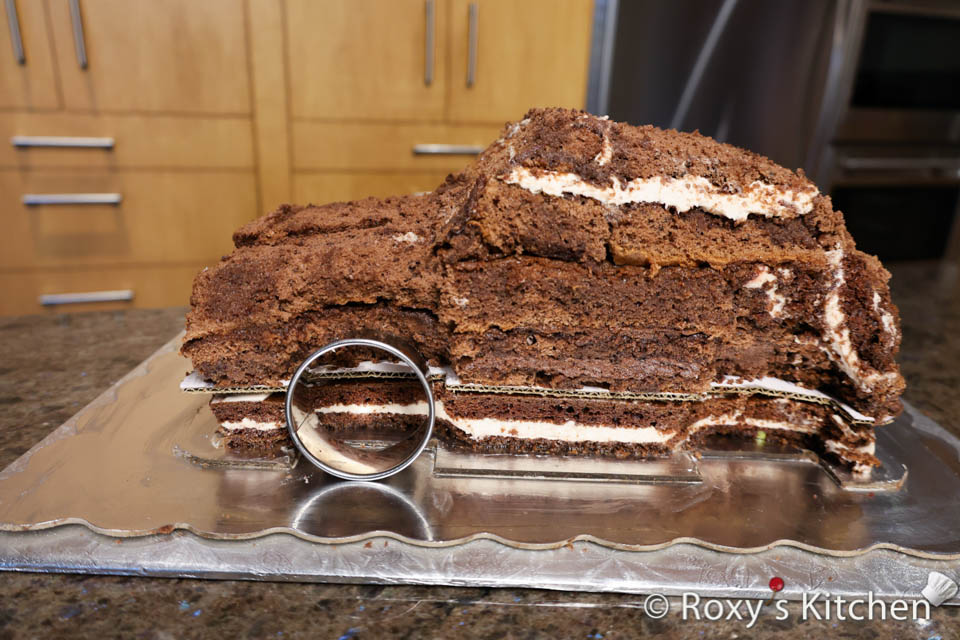
However, if you want the car and wheel placement to look even more realistic (with the chassis appearing lifted off the cake board), make the wheel cavity about 2/3 the height of the wheel. Then, follow the instructions in my other Race Car tutorial to create a ‘floating’ cake board that gives your car cake a more authentic, elevated look.

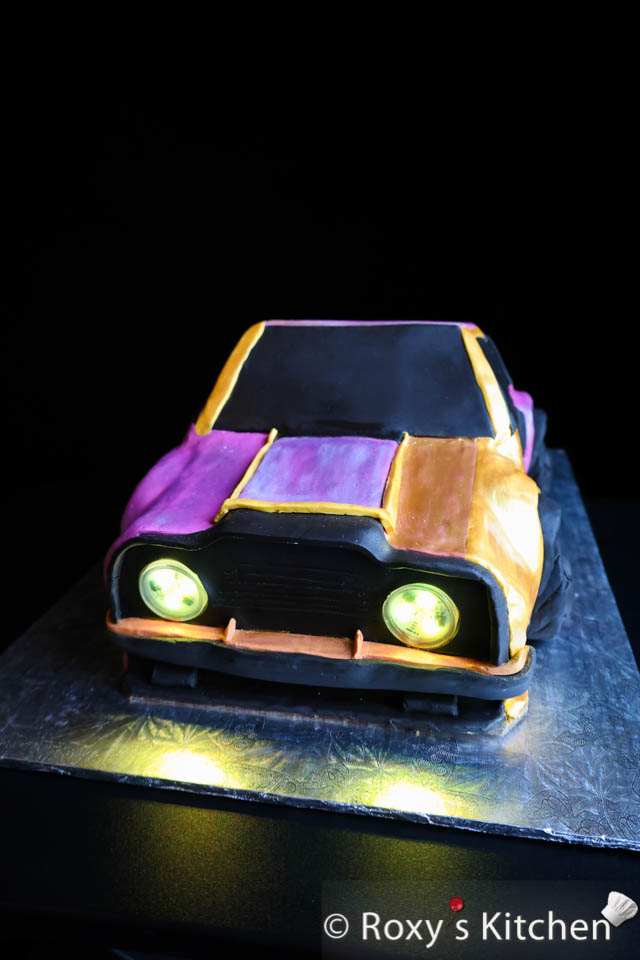
Use the tip of a small serrated knife to carve out the space for the headlights. Make sure you make the cavity slightly bigger than your LED lights so that there is enough room to ganache the cake and insert the lights in afterwards.
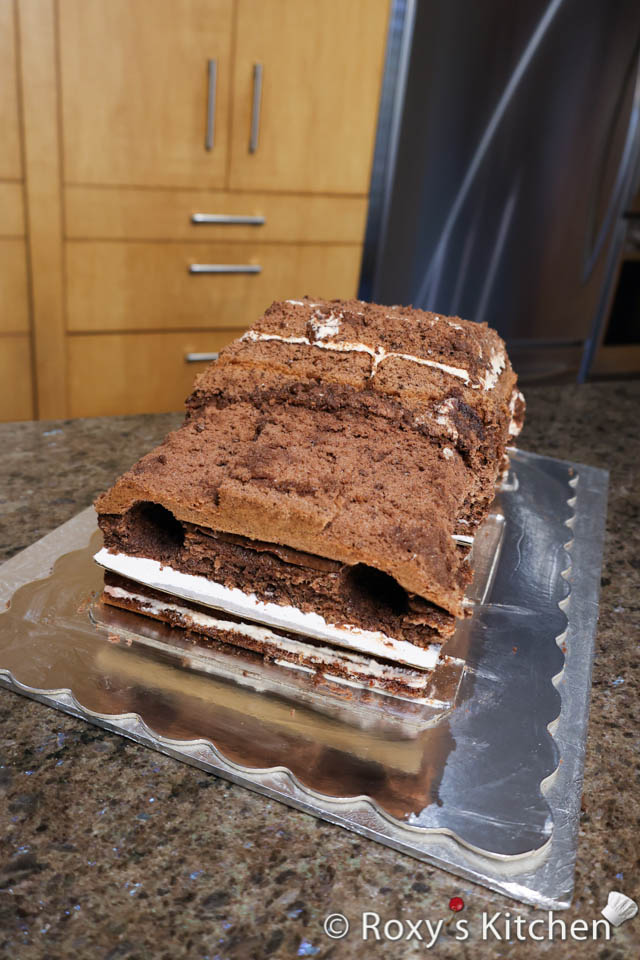
Note that your car-shaped cake board needs to be visible as you carve the cake. You need to leave enough space so that you can cover the cake with ganache, with the modeling chocolate and add the car design details made out of the modeling chocolate. Everything needs to sit on the cake board so you should leave at least 2.5 cm (1 inch) of cake board around the carved cake.
Use the cake scraps to fill any visible gaps and build up the car parts, such as the car hood. Then, place the cake in the fridge for 1 hour.
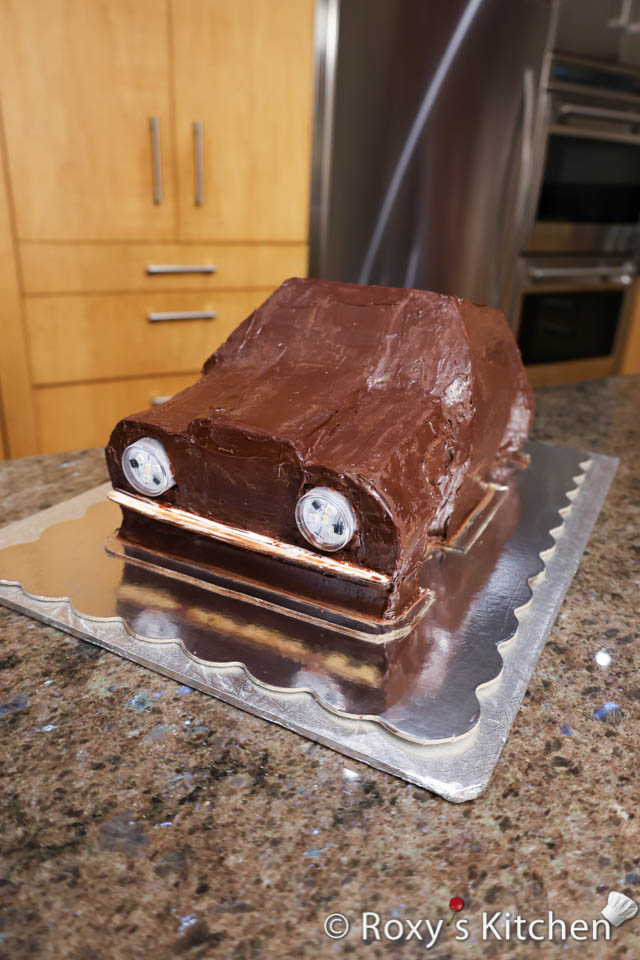
Crumb-coat the cake with a thin layer of chocolate ganache using a small offset spatula. Refrigerate the cake for one hour, then apply another layer of chocolate ganache, smoothing it out with your spatula. Keep the cake in the fridge until the chocolate hardens.
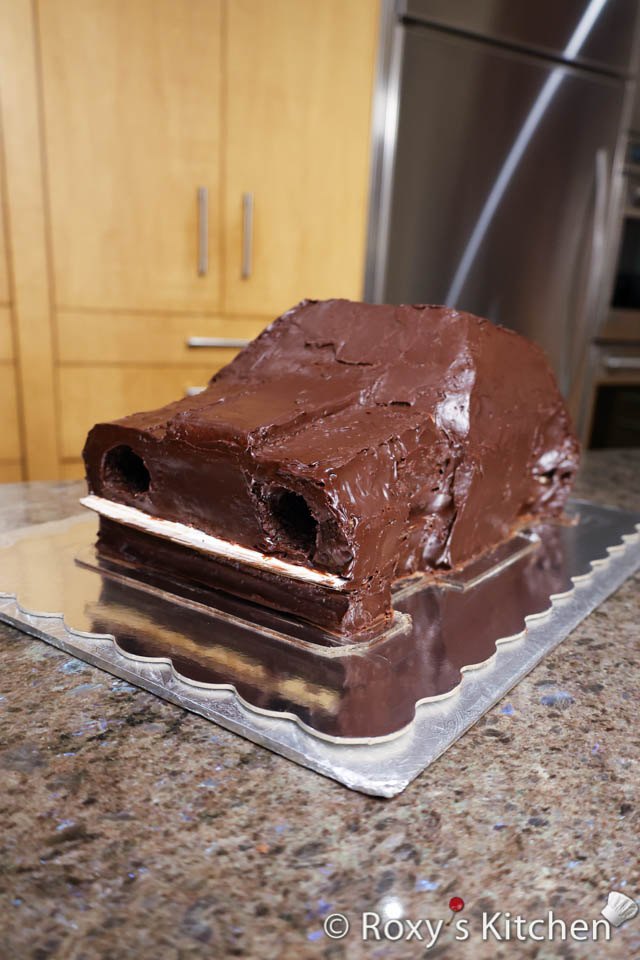
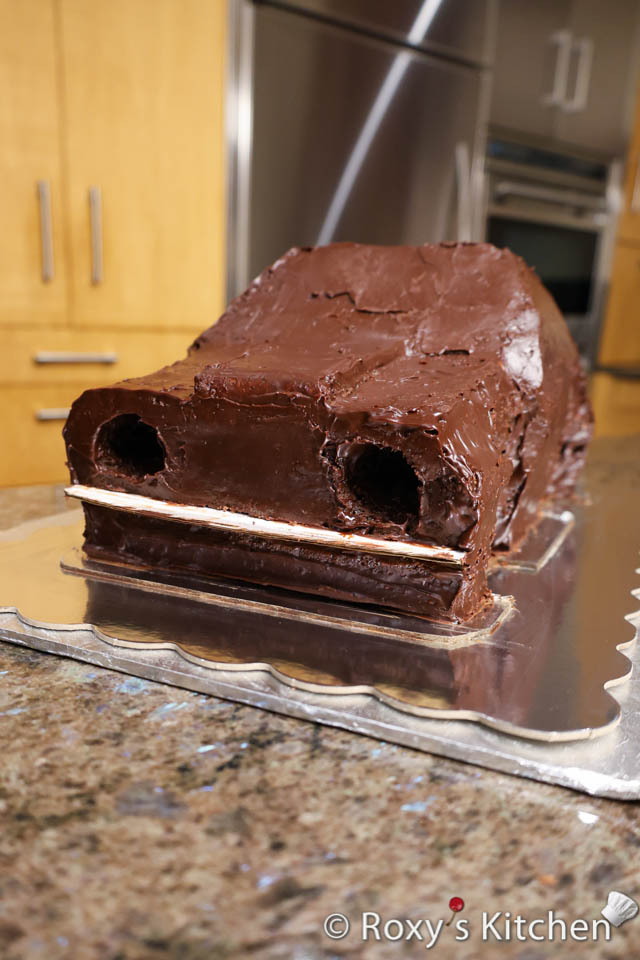
Insert the LED headlights in and crumb coat the cake with a final layer of chocolate ganache, smoothing it out as much as possible. Keep the cake in the fridge until the chocolate hardens.
Covering the Car Cake with Modeling Chocolate
Now, onto the fun part— giving this cake some colour! I covered the cake in modeling chocolate, but you can use fondant too. I prefer working with modeling chocolate as it’s easier to cover the cake in sections, hide the seams, and it doesn’t dry out as quickly as fondant. Plus, it’s much more delicious!
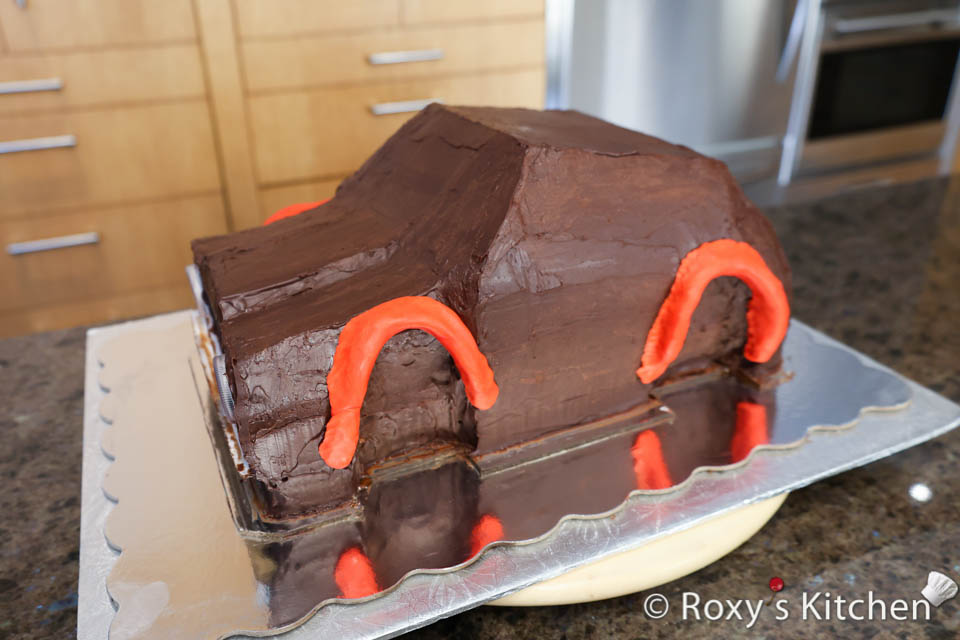
If needed, use a bit of modelling chocolate to build up the fender / wheel arch (the protruded part right above the wheel) before covering the cake in modeling chocolate.
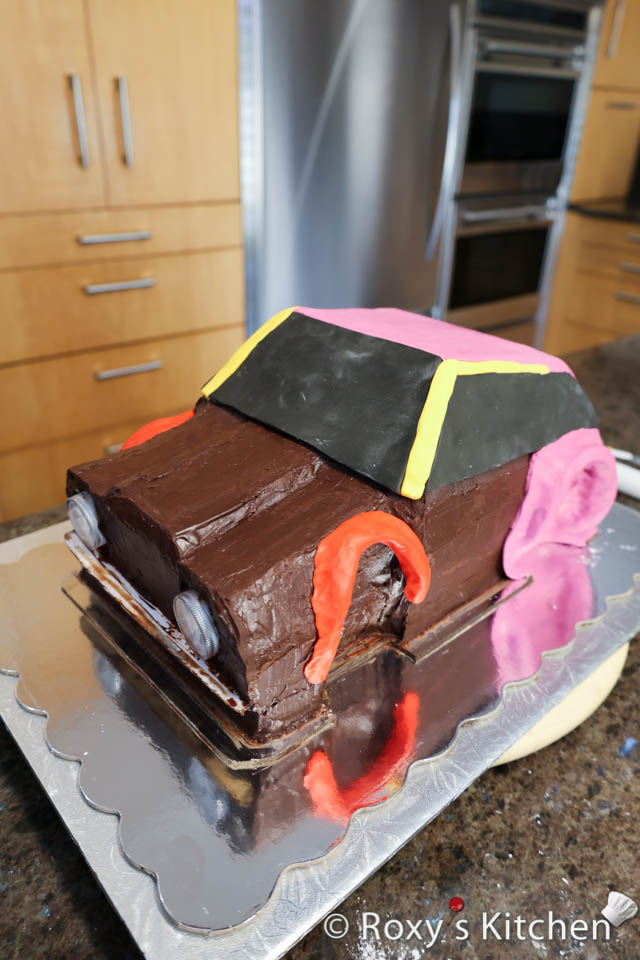
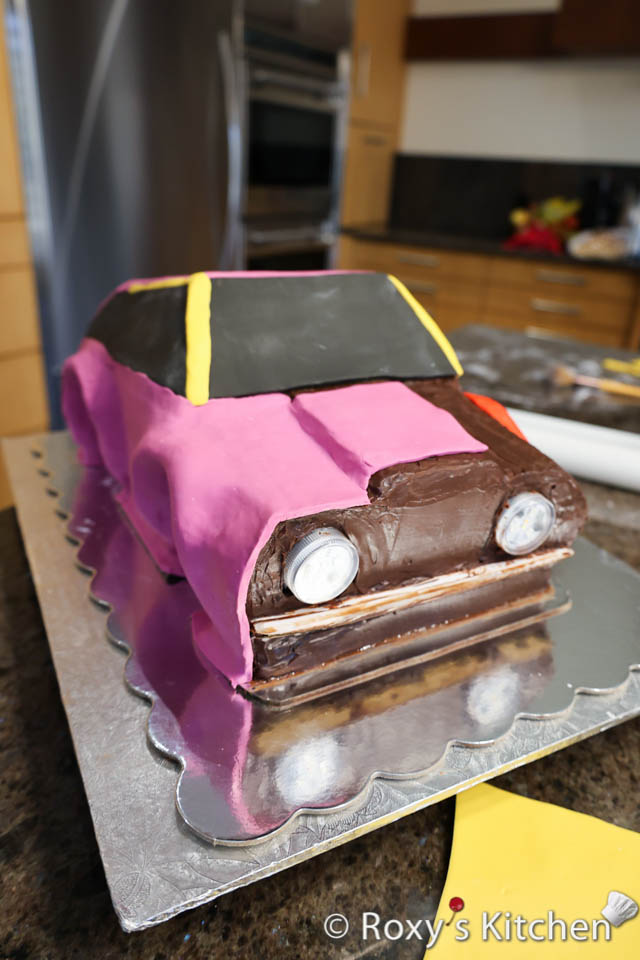
Knead your modeling chocolate until it’s nice and pliable. Dust your work surface with cornstarch and roll out the fuchsia modeling chocolate to cover the back of the car. Use a ruler to measure the part of the car that you want to cover, then cut the rolled modeling chocolate accordingly.
Place the rolled modeling chocolate on the cake and use a fondant smoother (or the palm of your hand) to smooth it out.
Next, use your parchment paper templates to trace and cut the windshield and side windows from rolled black modeling chocolate. Place them on the cake.
Use the fondant smoother and your fingers to smooth out the seams. The warmth of your hand will slightly melt the chocolate and make the seams hardly visible.
If you have any excess modeling chocolate, trim the edges using an X-Acto knife or any sharp knife.
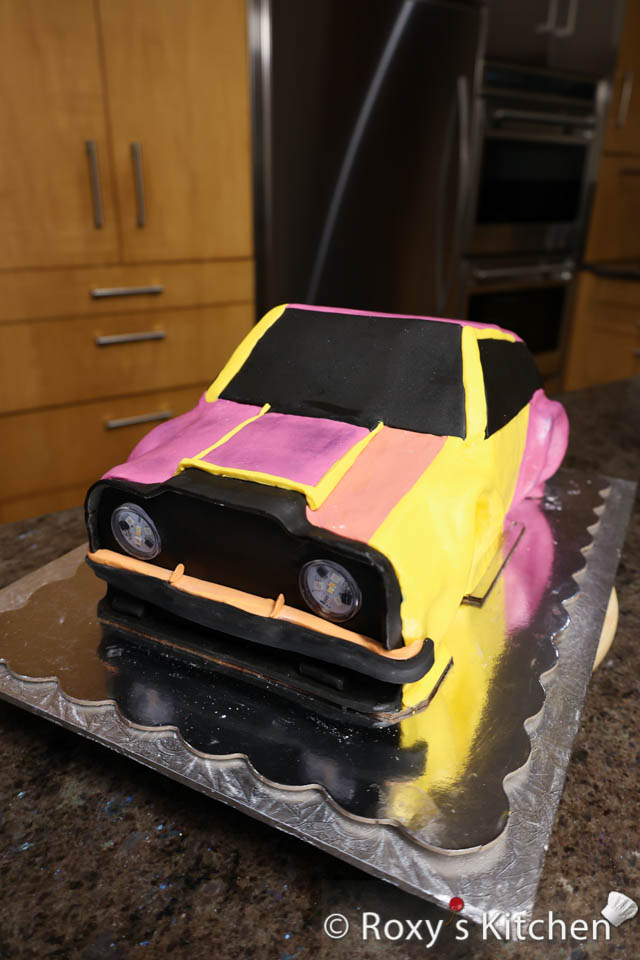
Roll out and cut thin strips of yellow modeling chocolate to cover the seams as seen below.
Continue rolling and cutting the modeling chocolate, covering your race car cake in sections and replicating as many of the design elements as you want based on your car picture.
Use edible glue to attach all these small parts to the car.
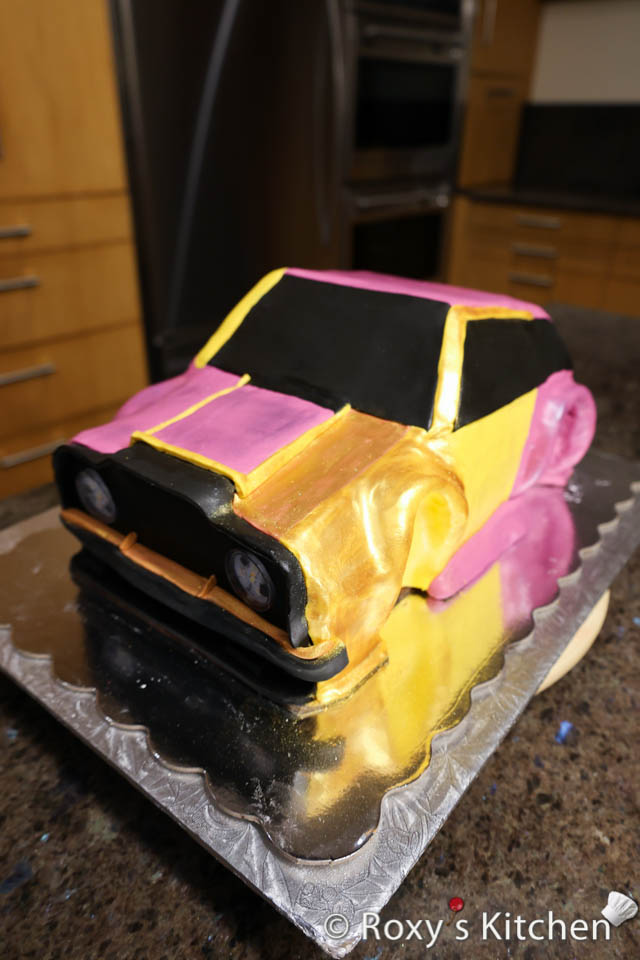
Finishing Touches
I wanted to make the car shiny so I used a fluffy brush to add some gold luster dust to the yellow parts of the car and some other purplish one to the fuchsia parts of the car. However, I ruined a bit the look of the car as I placed the cake in the fridge and when I took it out condensation formed on the surface of the cake. I did not have the patience or time to fix the condensation problem so I got some smudges instead of a nice finish.
Ideally, you should brush the cake with the luster dust right after covering your cake in modeling chocolate. Or, use these tips to get rid of the condensation if it forms:
💧 How to Prevent & Handle Condensation on Fondant and Modeling Chocolate Cakes
✅ Before the Condensation Happens – Prevention Tips:
- Let the Cake Adjust Gradually:
- Always allow the cake to come to room temperature slowly.
- Place the cake inside a cardboard box while in the fridge and keep it in the box as it comes to room temp. The box absorbs moisture and slows the transition, reducing condensation risk.
- Avoid Humid Environments:
- Use a dehumidifier or a small fan in the room when bringing cakes out to room temperature. This helps any surface moisture evaporate more quickly.
🧽 If Condensation Happens – What to Do:
- Don’t touch or wipe the condensation! This applies to both fondant and modeling chocolate—touching can smudge the surface or leave fingerprints.
- Let it air-dry naturally in a cool, dry place. You can use a fan (not pointed directly at the cake) to gently speed up the drying process.
🌟 Extra Tips (Specific to Each Covering):
For Fondant:
- Once dry, if it feels sticky, you can lightly dust with cornstarch using a soft brush to restore the matte finish.
For Modeling Chocolate:
- Because it’s oil-based, it can become shiny or greasy with too much moisture.
- If needed, lightly dust with cornstarch (for white/light) or cocoa powder (for dark) to reduce tackiness—just be gentle to avoid leaving streaks.
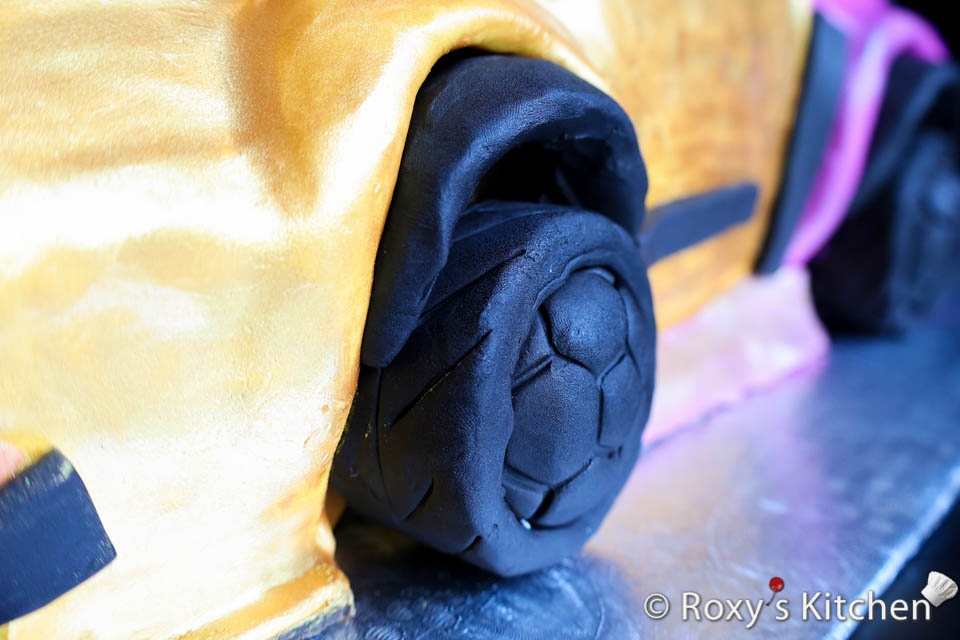
Now back to our car cake, I made the tires and rims using black modeling chocolate. Check out my other post to see how to make the tires.

I made wheel arches out of black modeling chocolate and then I placed the tires on the cake. Use edible glue (if needed) to attach all these car parts to the cake.
I hope you found this tutorial useful!
You might also like…