
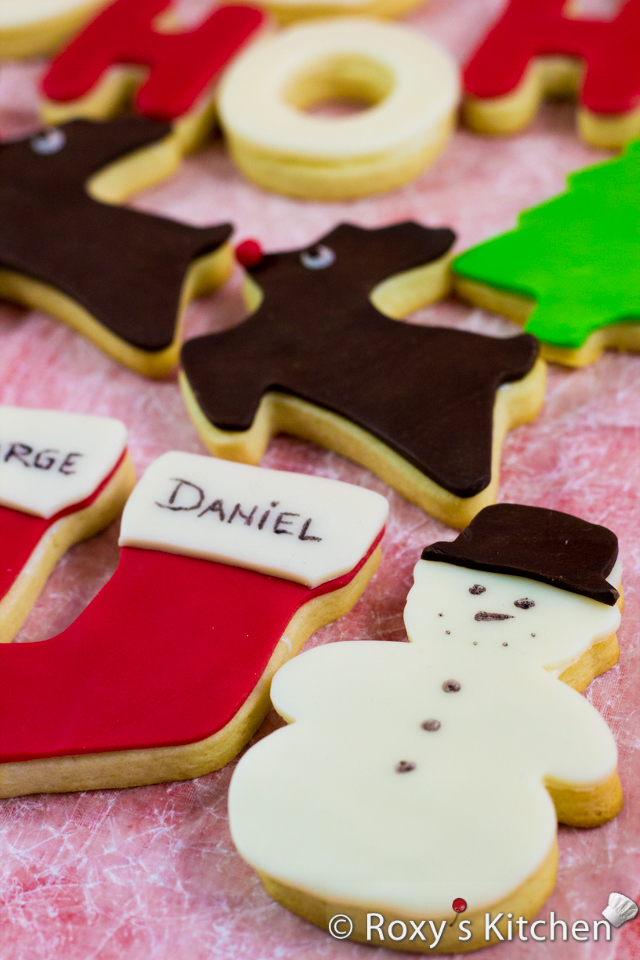
To ease you into the holiday baking spirit I decided to share with you an easy recipe for cut-out Christmas Cookies Covered with Modeling Chocolate. I didn’t cover them in royal icing or fondant mainly because I tried to stay away from too much sugar. So I used modeling chocolate instead which really put a delicious twist on the classic sugar cookies!!! Modeling chocolate is easy to work with and is perfect for covering cakes and cupcakes or for making decorative flowers and all kinds of cake or cupcake toppers.
But back to this recipe… you really need to try it out this holiday season! From snowmen, to Christmas trees, to reindeers, to personalized Christmas stockings, I’m sure everyone in the family will find a cookie to love!
All the cookie cutters I used are either from my 18-Piece Winter Holidays Cookie Cutter Set or the 101-Piece Cookie Cutter Set from Wilton, they are both fairly cheap and you can find just about any shape you need for your Christmas cookies.
Time: 70 min, Prep: 45 min. Cook: 8 min. per batch
Servings: ~30-40 cookies, depending on the size of the cookie cutters you use
Ingredients:
For cookies:
- 1.5 cups (2 sticks, 230 g) unsalted butter, at room temperature
- 1 cup (200 g) sugar
- 2 large eggs
- 2 tsp vanilla extract
- ½ tsp salt
- 3 ¾ cups (415 g) flour, sifted
For decorating cookies:
- Modeling chocolate in red, green, brown and white (you can use fondant as well if you prefer)
- 6-7 Tbsp melted chocolate or candy melts
- Black food marker
- Rolling pin
- Rainbow sprinkles (optional
Directions:
Cream the butter and sugar and beat in the eggs and vanilla extract.
Add the flour and salt to the butter mixture and knead the dough either using your hands or a stand mixer with a dough hook. Wrap the dough in plastic wrap and refrigerate for at least 3-4 hours.
Preheat the oven to 180°C (350°F).
On a lightly floured surface roll the dough until it’s about ¼ inches thick. Using the cookie cutters, cut out the dough and place the cookies in a baking pan lined with parchment paper.
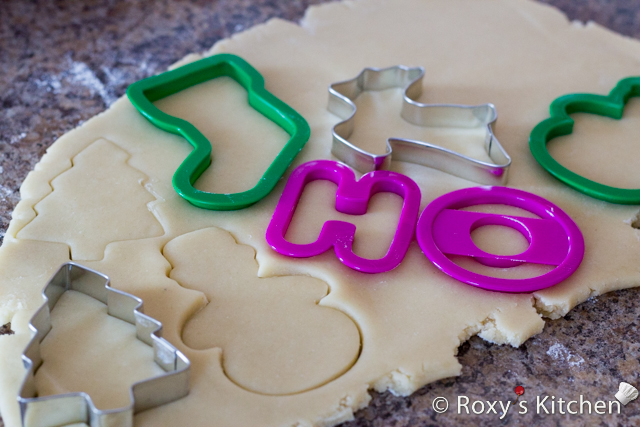
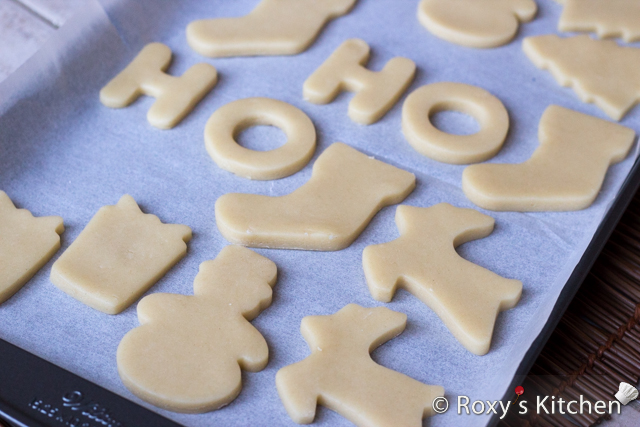
Bake for 8-10 minutes until the edges are firm to touch. Allow to cool completely.
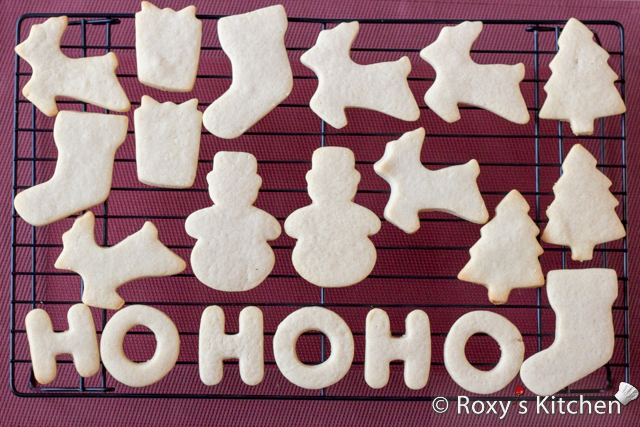
Start kneading your modeling chocolate until it becomes softer and pliable.
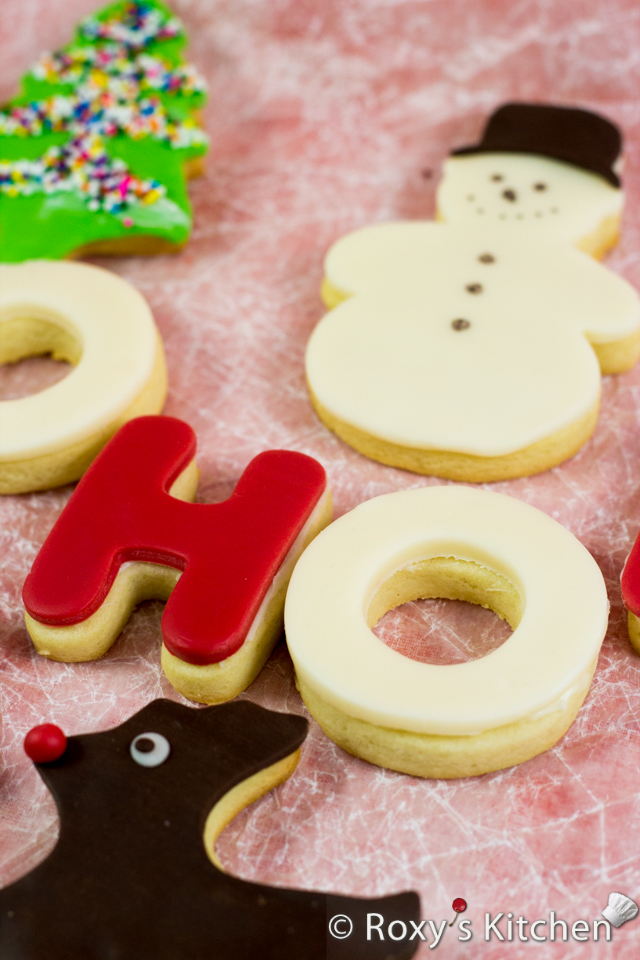
Roll out white modelling chocolate and cut out snowman shapes using the same cookie cutter.
Place them on top of the cookies using melted chocolate as glue.
Make the hats out of dark brown modeling chocolate and glue them on as well. After a few hours, when your modeling chocolate has dried out a bit you can use the food marker to draw on the eyes, nose and buttons.

Follow the same steps to cover the Christmas stockings with red and white modeling chocolate and write the names on…

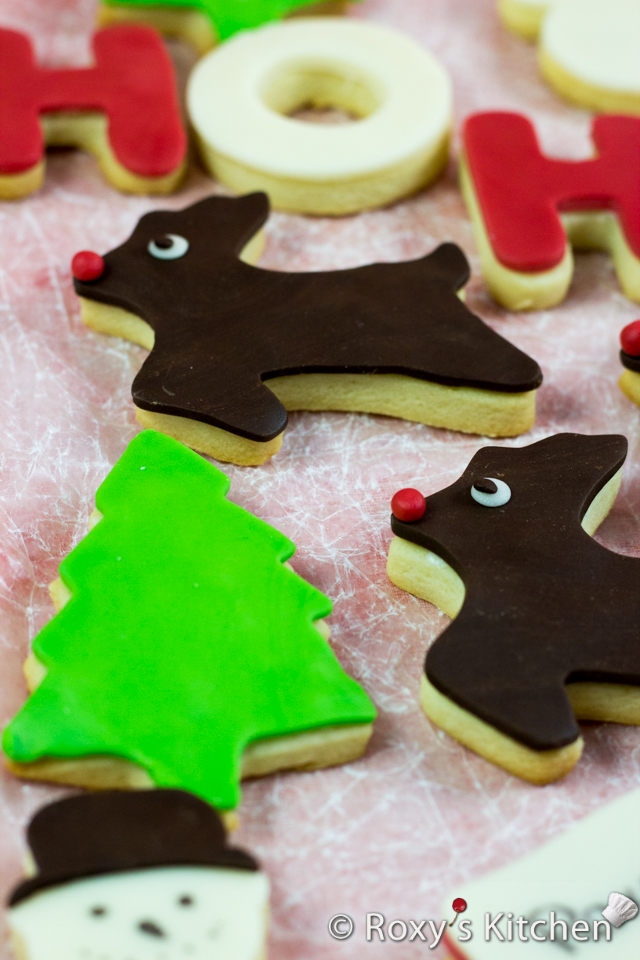
then the reindeer covered with cocoa modeling chocolate…
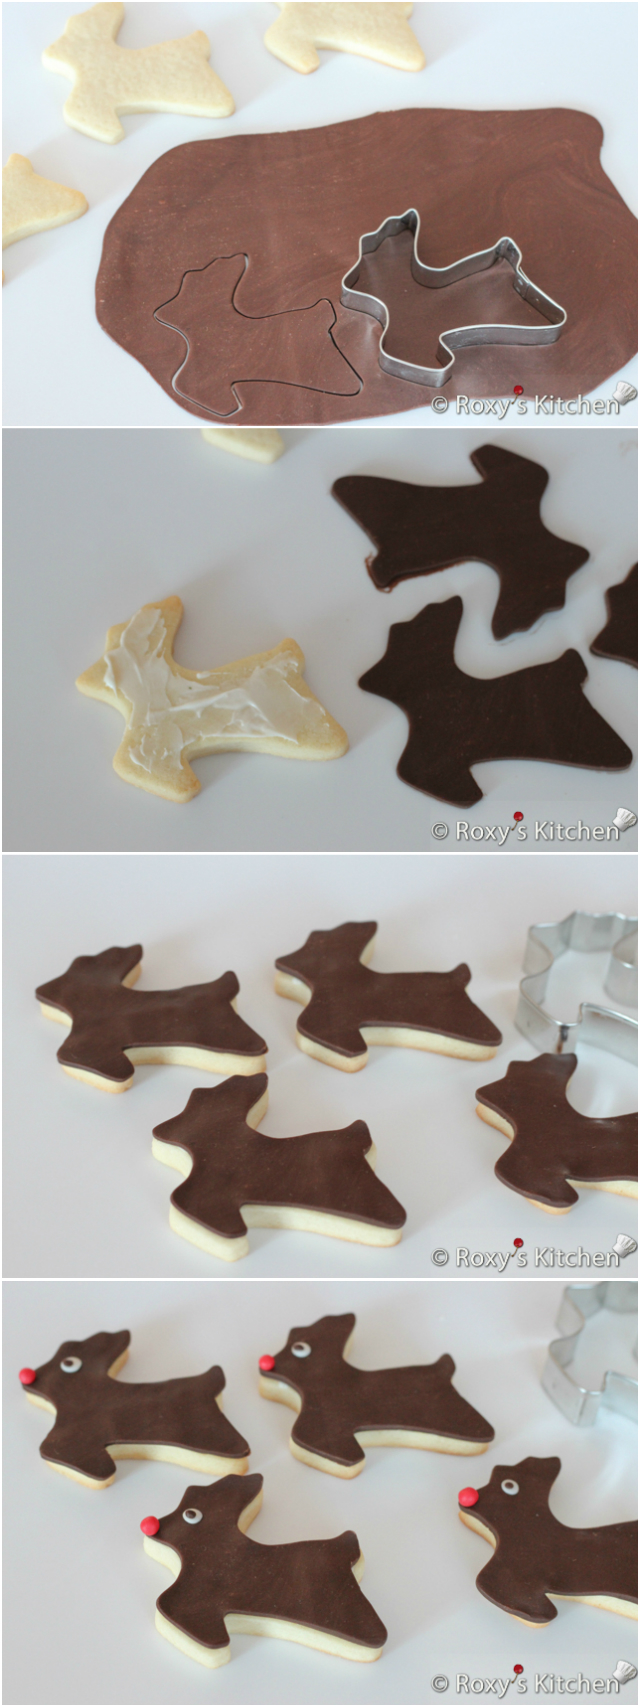
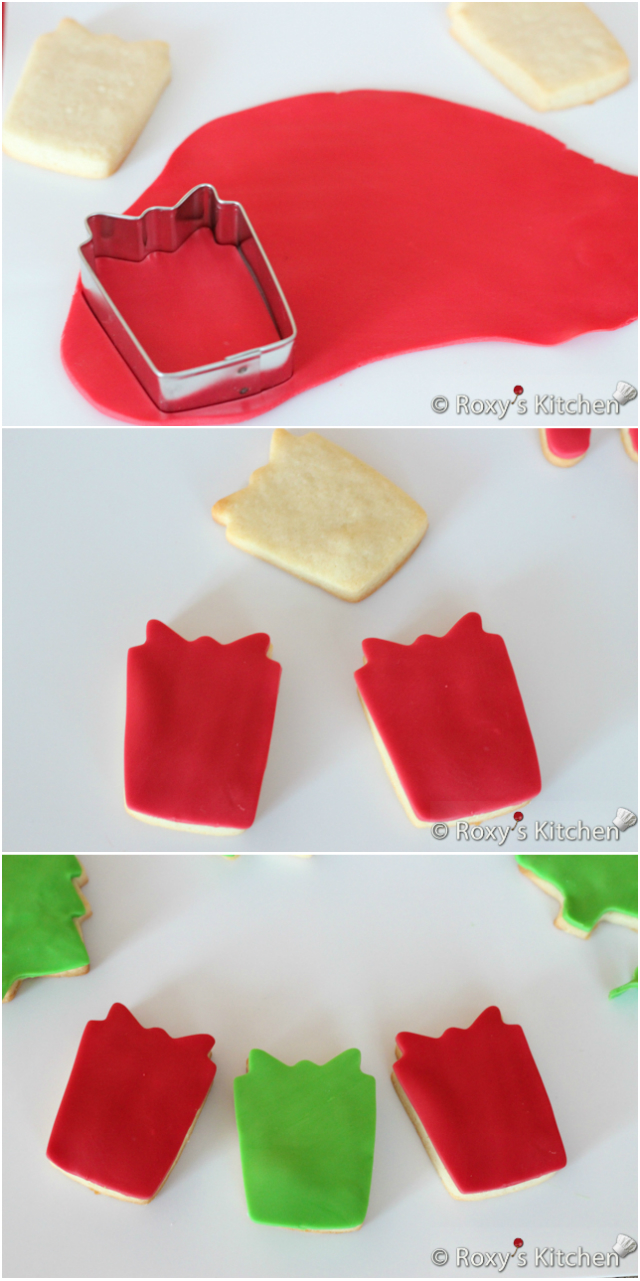
followed by the Christmas presents covered with red and green modeling chocolate…
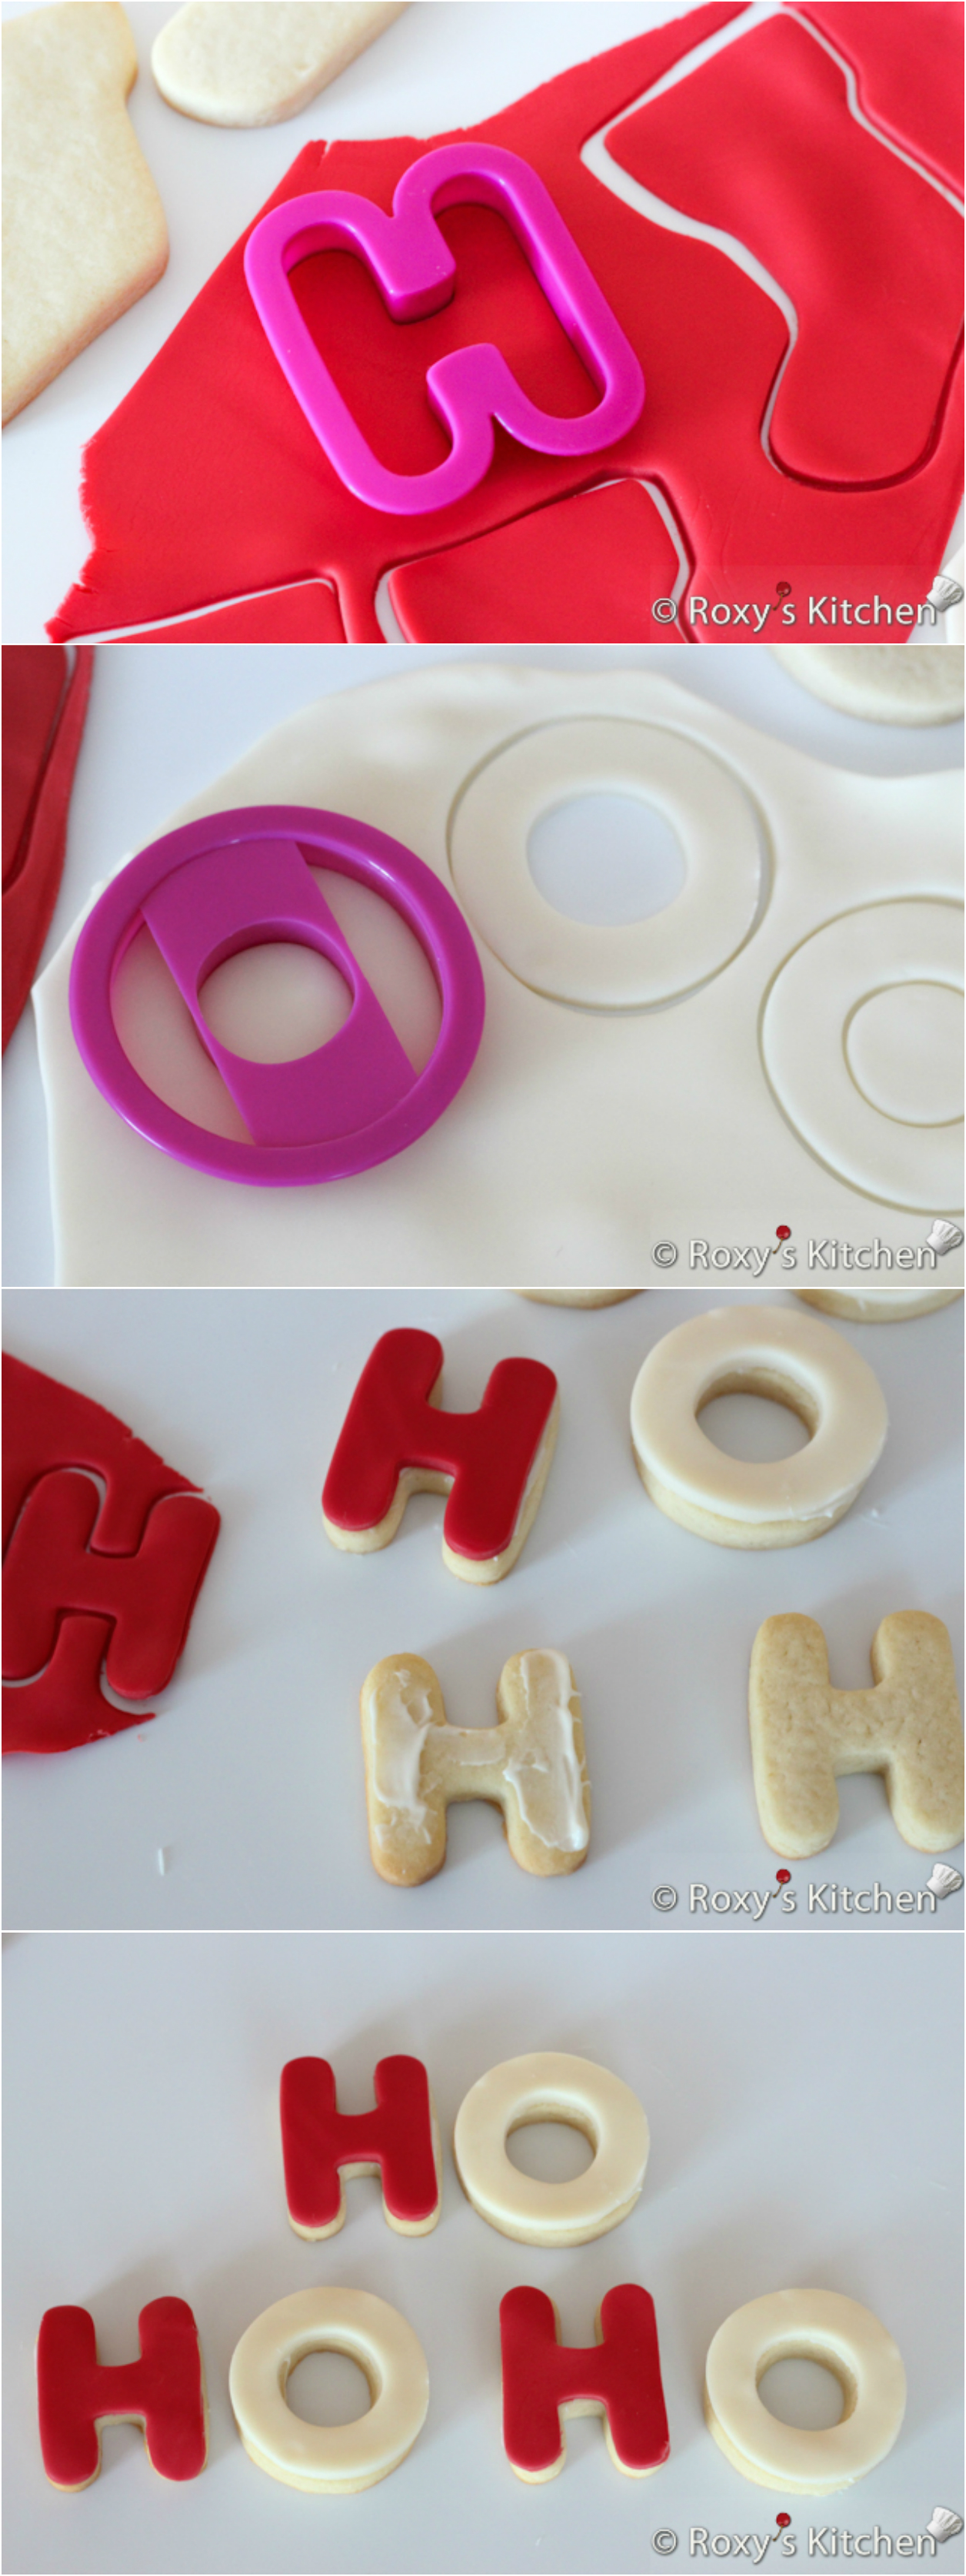
the HO HO HO cookies…
and lastly the Christmas trees covered with green modeling chocolate. If you want to add some fun sprinkles just brush some melted chocolate and quickly stick the rainbow sprinkles on top. Brush off the excess sprinkles and you’re done!



This post contains Amazon.com affiliate links for products I personally use and love. If you purchase a product through an affiliate link, your costs will be the same but I will receive a small commission which is used for hosting and running this site. I appreciate your support!


[…] the chocolate lovers. “Christmas Cookies Covered with Modeling Chocolate” from Roxy’s Kitchen will make cookie decorating way easier this […]