


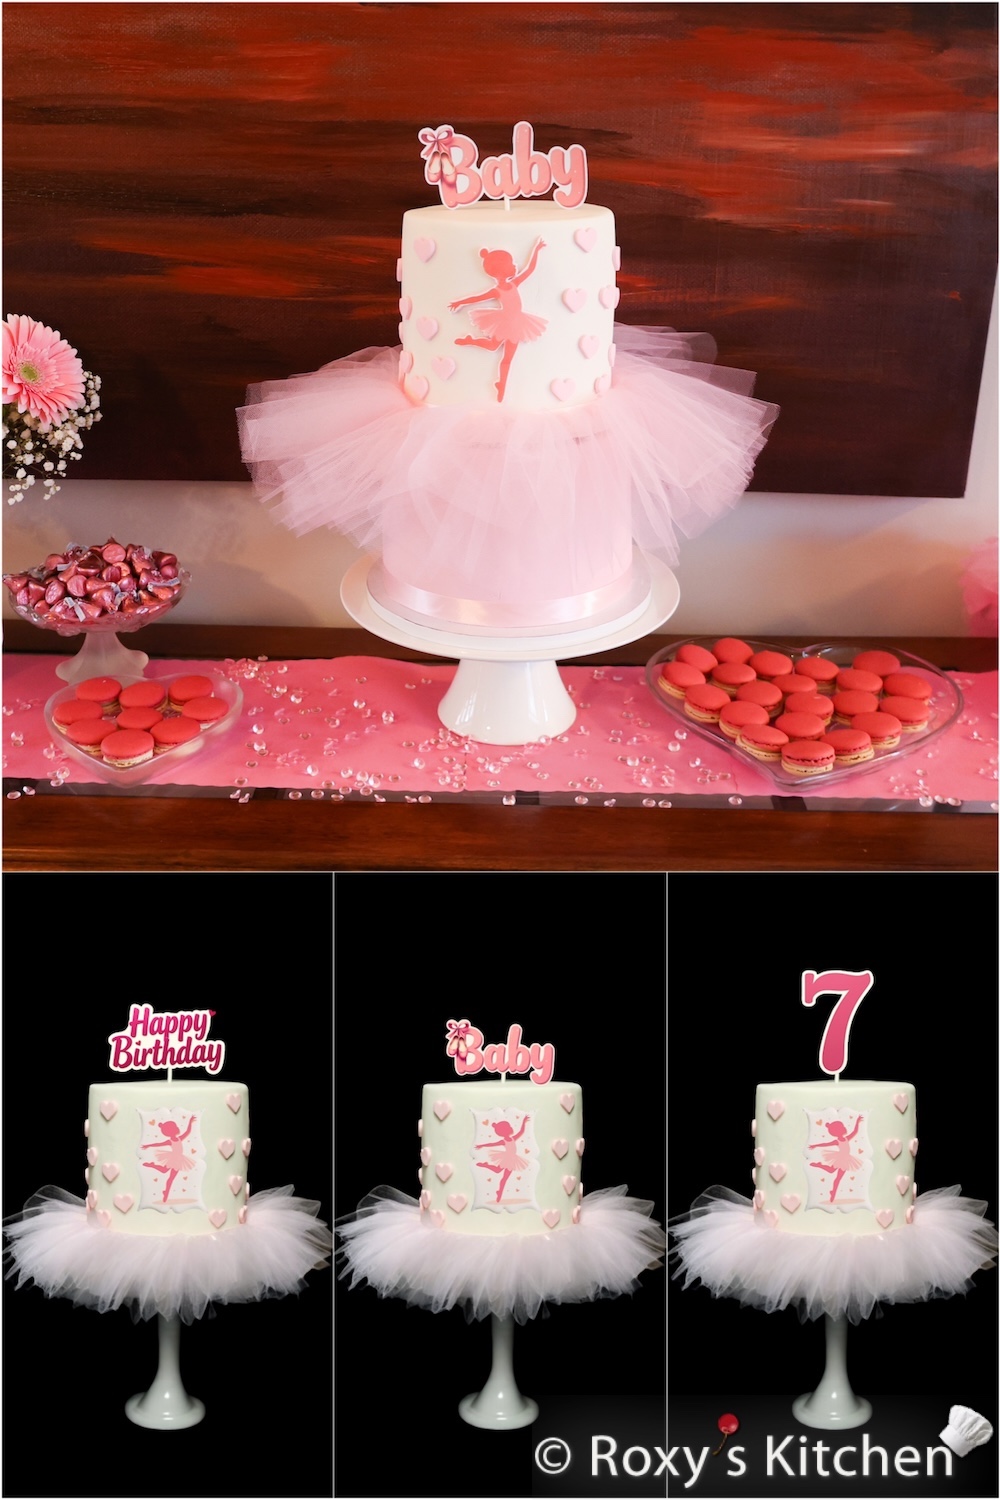
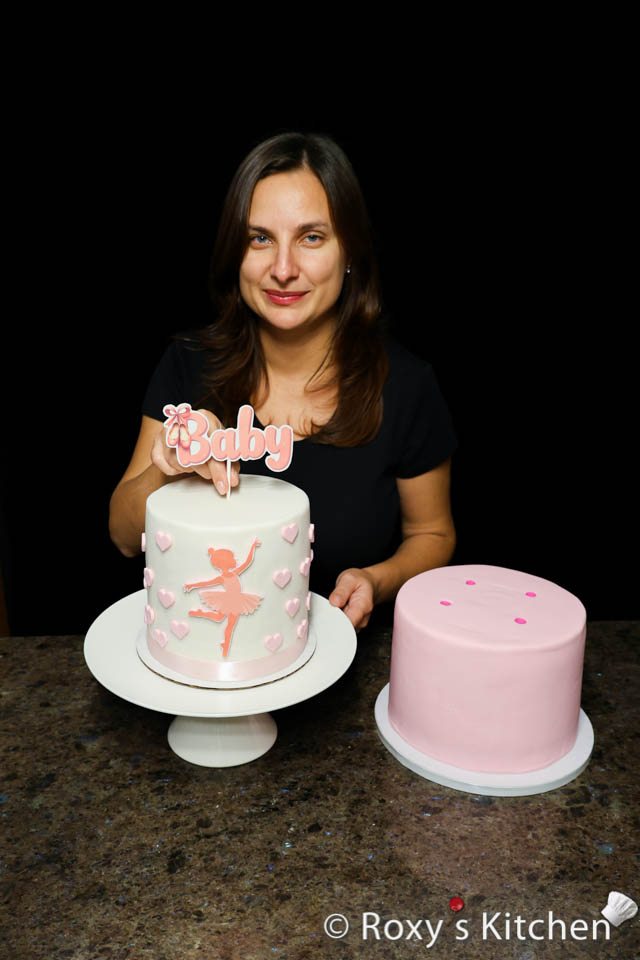
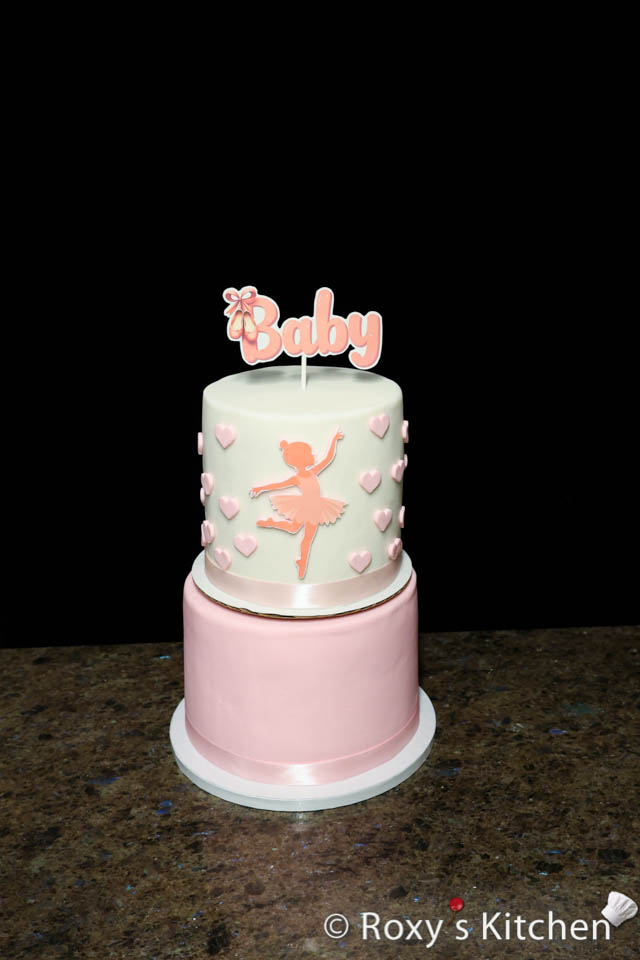
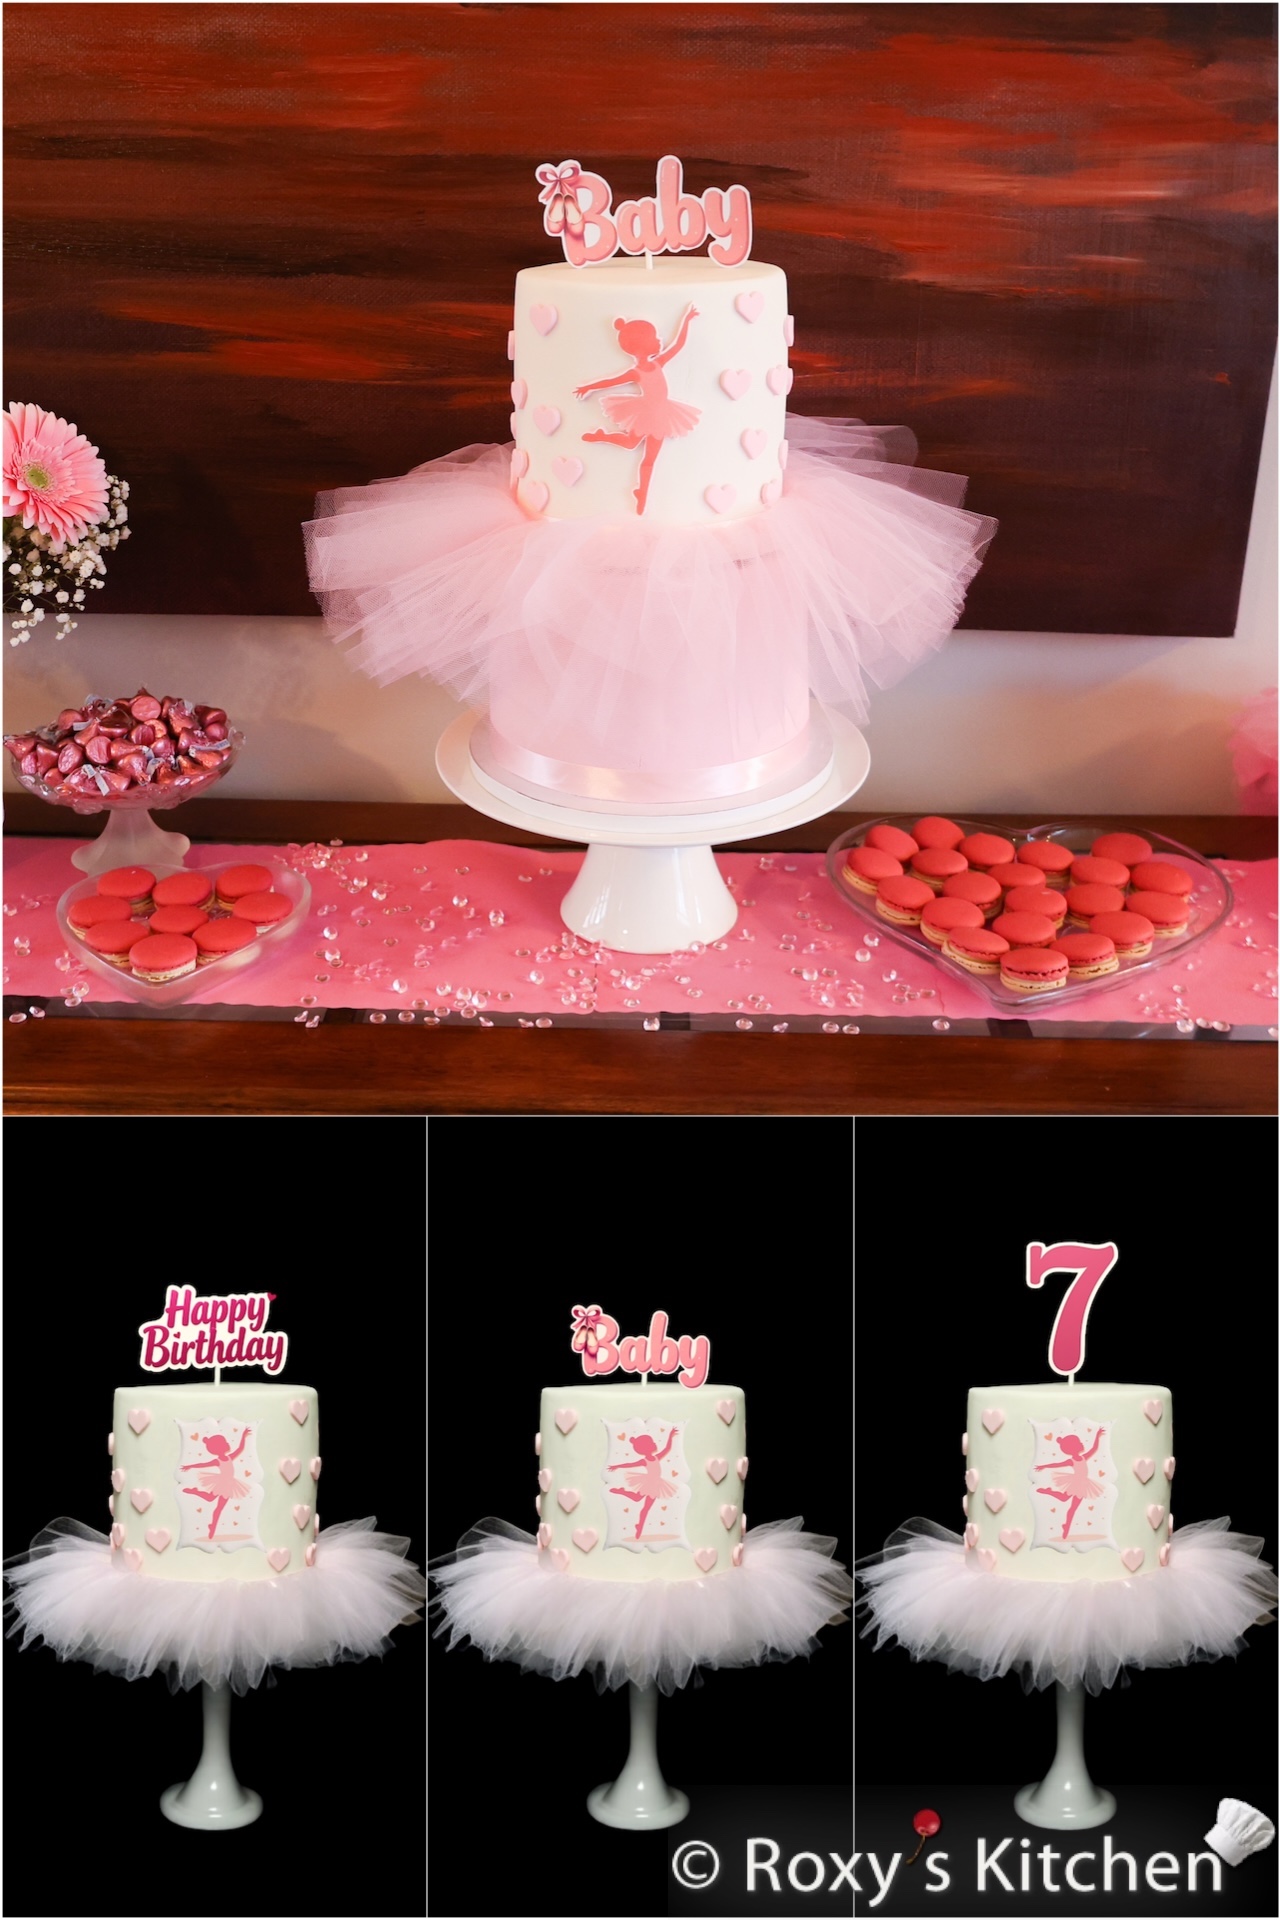
A Ballerina-Themed Cake with a tutu is both elegant and playful, perfect for a little one’s celebration or a baby shower. The two-tier design with a beautiful tutu and a delicate ballerina silhouette adds a touch of charm and sweetness to any event. In this tutorial, I’ll walk you through how to make this gorgeous cake step-by-step, from creating the tiers to assembling the tutu and finishing with the adorable ballerina & “Baby” toppers.
I made this two-tier Ballerina-Themed Cake for my goddaughter’s baby shower but it’s an adorable cake for any birthday party or special event for a little girl. You can make it as a two tier cake or a one-tier cake using the same step-by-step directions provided below.
Ingredients/Tools
- Store-bought or homemade cakes covered in a thin layer of buttercream or ganache (or any other frosting that is stable); the top tier is 6’’ (15 cm) and the bottom tier is 8’’ (20 cm). I made moist vanilla cakes and filled them with lemon mousse and strawberry mousse.
- For the vanilla cake, I used this recipe but with 9 eggs (make sure you adjust all the quantities listed, not just the eggs) and added 2 tablespoons of lemon bakery emulsion and 2 tablespoons of vanilla extract. You should have 1.75 lbs (800 g) of cake batter per 8’’ (20 cm) pan (I used two pans) and 1 lb (450 g) of batter per 6’’ (15 cm) pan (I used two pans as well) and a bit of batter left for about 12 cupcakes.
- Optionally, you can make the cake extra moist by using a simple syrup made out of 500 ml water, 12 tablespoons of sugar and a few drops of lemon and strawberry baking oils.
- For the strawberry mousse, I used this recipe but with 1.3 lbs (600 g) frozen strawberries, 550 ml (2.5 cups) whipping cream, 90 g (1/3 cup) strawberry syrup, 25 g powdered gelatine hydrated in 230 ml (4/5 cup) water, 160 g (1.5 cups) powdered sugar. This was enough strawberry mousse for 2 layers of filling per cake tier.
- For the lemon mousse, I used this recipe. This was enough lemon mousse for 1 layer of filling per cake tier (315 g of mousse for the 6” cake and 450 g of mousse for the 8” cake).
- The cakes were covered in a layer of white chocolate ganache made using a 3:1 ratio of white chocolate to whipping cream (i.e. 3.3 lbs or 1.5 kg of white chocolate & 500 ml or 2 cups of whipping cream). You can also use regular buttercream to crumb coat the cake before covering it in fondant.
- 10’’ (25 cm) cake stand or cake drum for the bottom tier
- 6’’ (15 cm) or 7” (18 cm) cake board for the top tier
- 4-5 lbs (1.8-2.3 kg) of white fondant
- 4 bubble tea/boba plastic straws or cake dowels
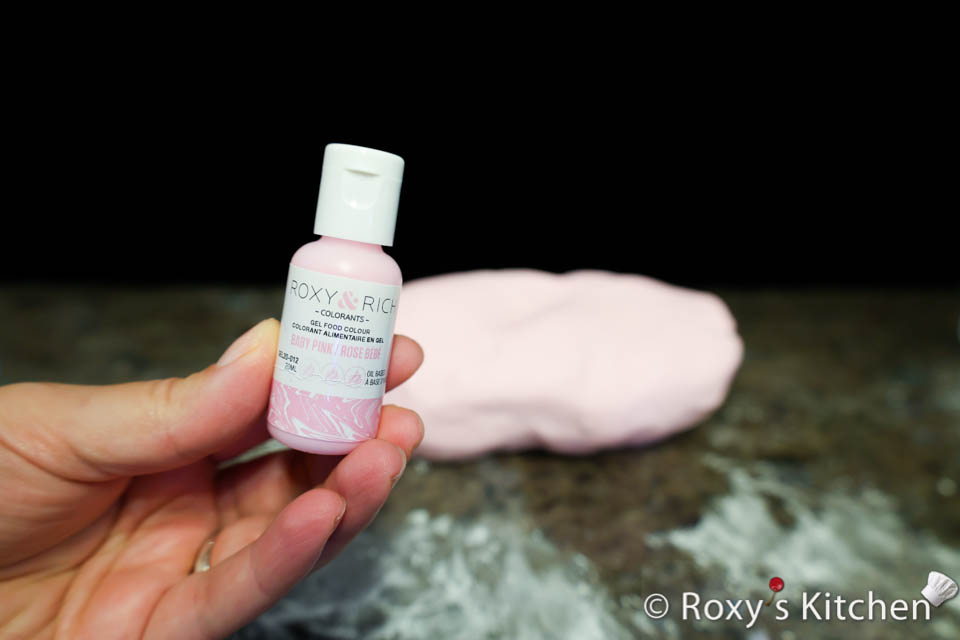
- Baby pink food colouring
- Edible paper & printer with edible ink (for the ballerina design attached to the front of the cake)
- 6’’ (15 cm)-wide pink tulle fabric (for the tutu) & pink string (for threading the tutu)
- Card stock paper to print the “Baby” topper; attach it to a lollipop stick or toothpick using tape or glue dots. You can find the “Baby” printable topper as well as other ballerina-themed birthday toppers here.
-
Product on sale
 Ballerina Cake & Cupcake ToppersOriginal price was: $8.16.$6.12Current price is: $6.12.
 -
Dancing Ballerina Coffee Mug$19.99
-
Product on saleBallerina Cake & Cupcake Toppers – Baby Girl / Baby Shower PackageOriginal price was: $8.00.$4.00Current price is: $4.00.


- 7/8’’ (2.25 cm) pink satin ribbon (to wrap around the base of each cake tier)
- Edible glue (or water for gluing decorations to cake and edible paper to fondant)
- Powdered sugar or cornstarch (for dusting work surfaces)
- Rolling pin
- Heart-shaped cutter (small size); I have a small cutter from this linzer cookie cutter set.
- X-Acto knife
- Food-safe brush
- Scissors
Directions
Watch this video tutorial or read the instructions below:
Bake and Fill the Cakes
Begin by baking your cakes for both tiers. I baked 2 cakes for each tier. You can use your favourite cake recipe or the ones I provided above.

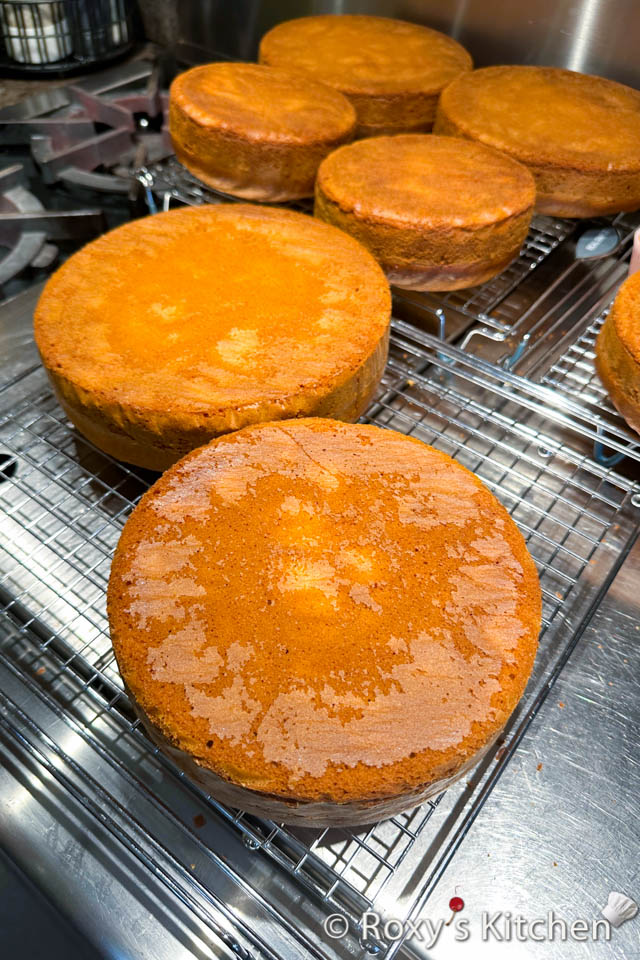
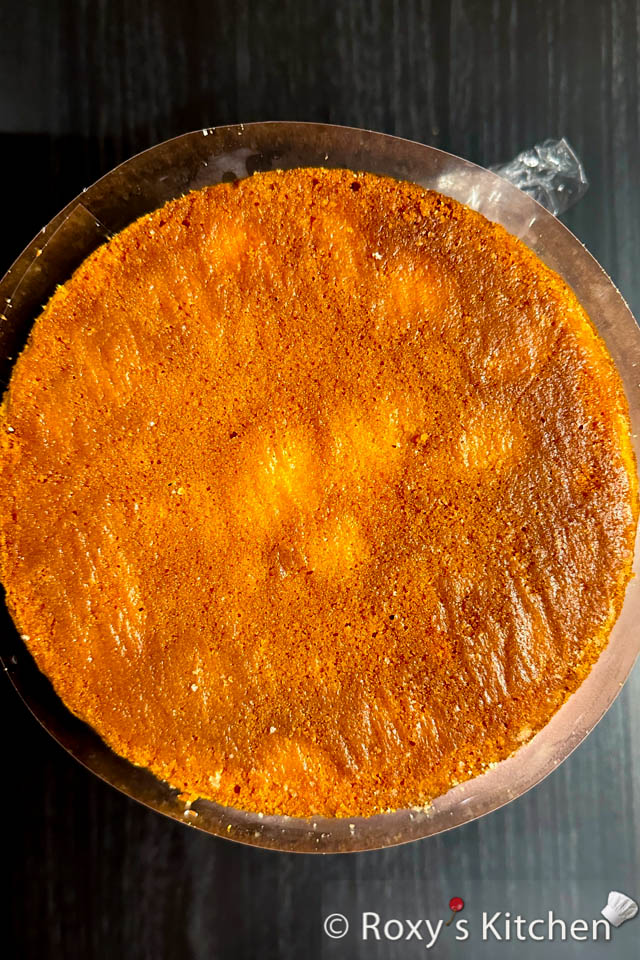
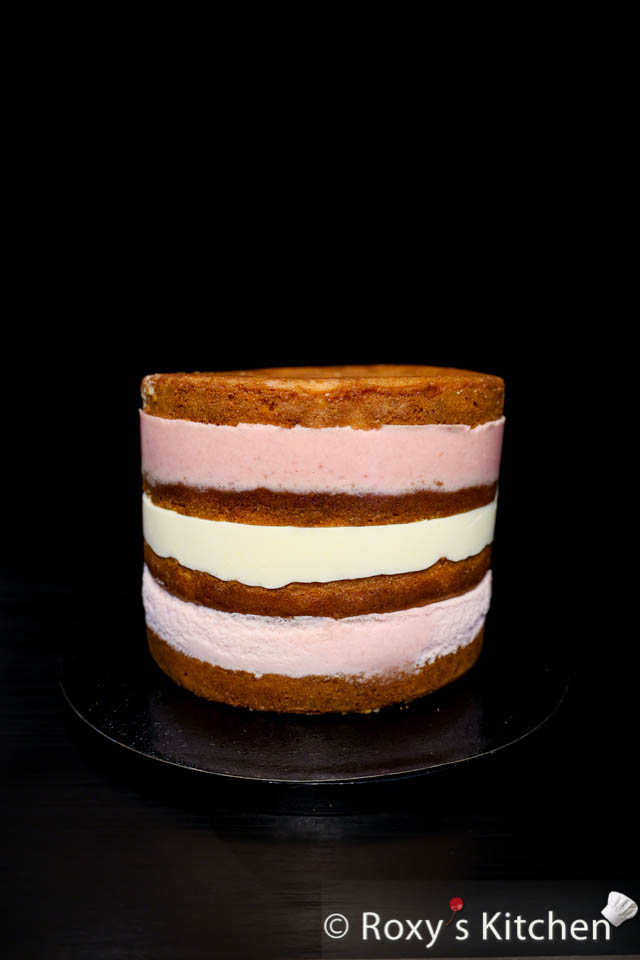
Once baked and cooled, trim the cakes to ensure they are even and cut each of them horizontally in two. You should end up with 4 layers of cake and 3 layers of filling for each cake tier.
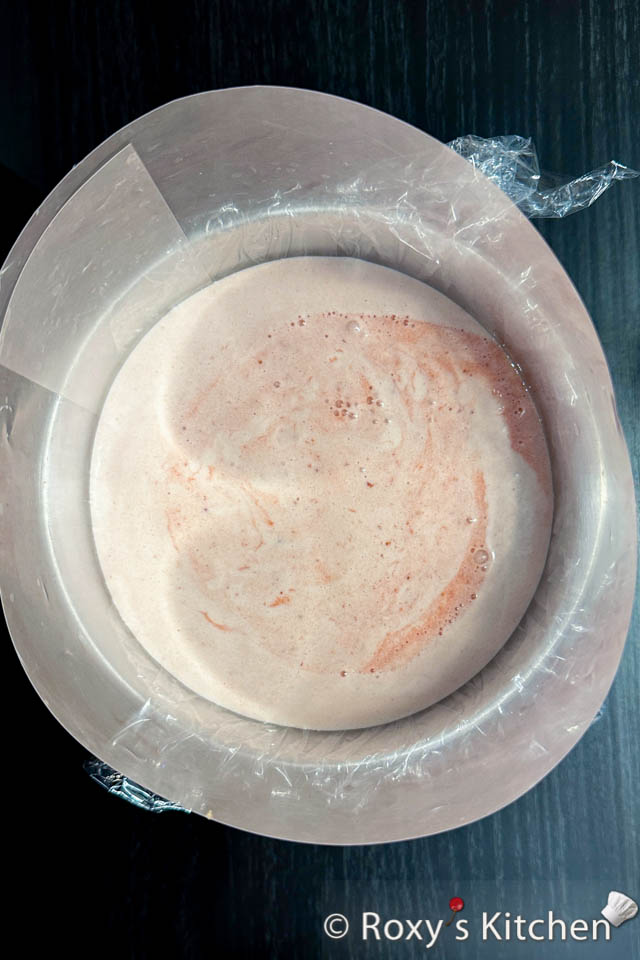
Make your favourite cake fillings or use the recipes above if you want to use the strawberry and lemon mousse fillings. Fill the cakes accordingly.
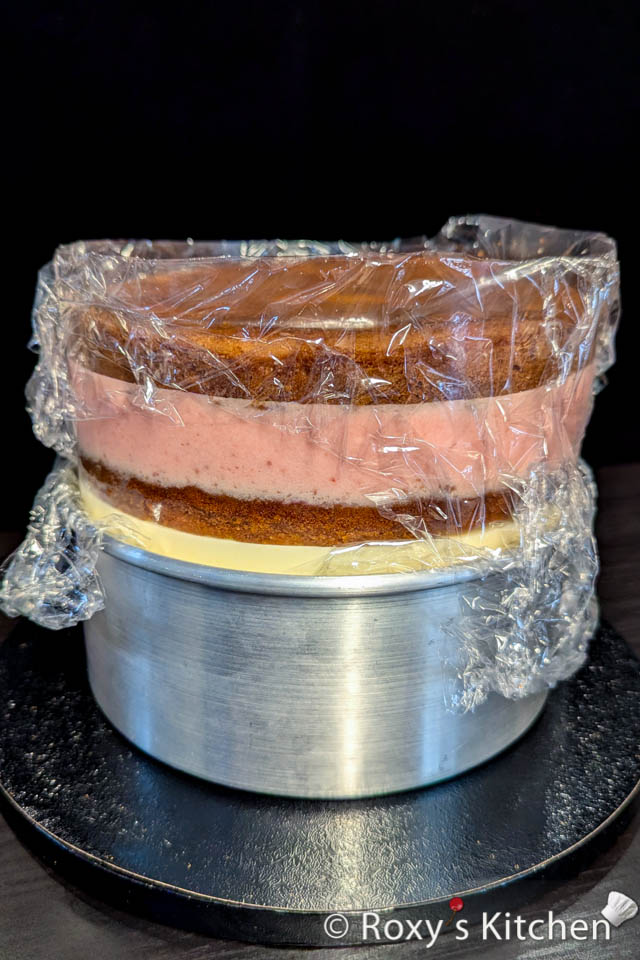
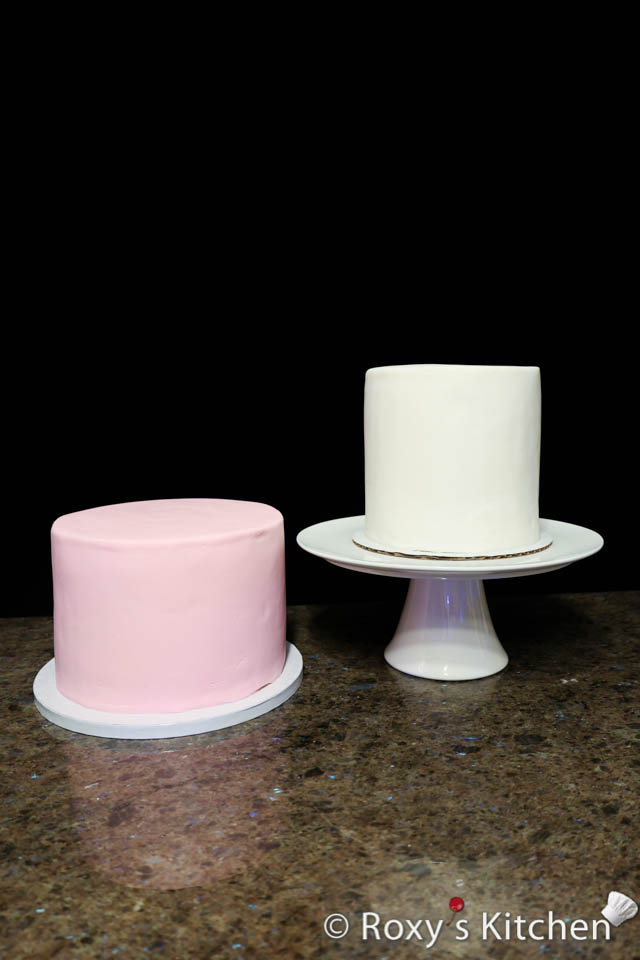
Place your bottom tier on a flat cake platter or cake drum and your top tier on a simple cake board.
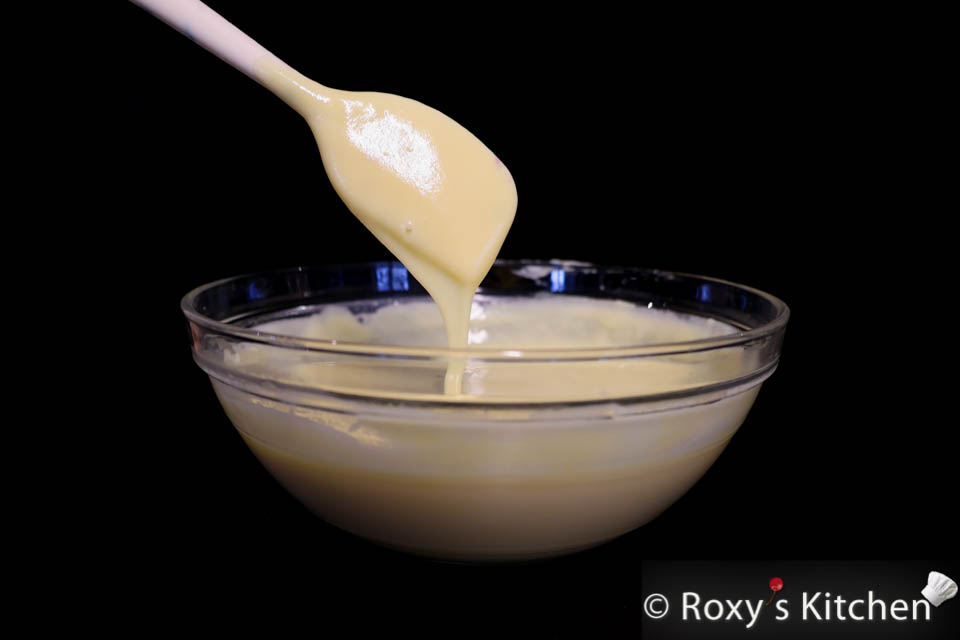
Make your chocolate ganache using a 3:1 chocolate to whipping cream ratio and the instructions in this post. Cover it with plastic wrap (touching the surface of the ganache to prevent condensation from forming). Allow it to cool at room temperature until it reaches a thick pouring consistency. You can also use regular buttercream instead of chocolate ganache.
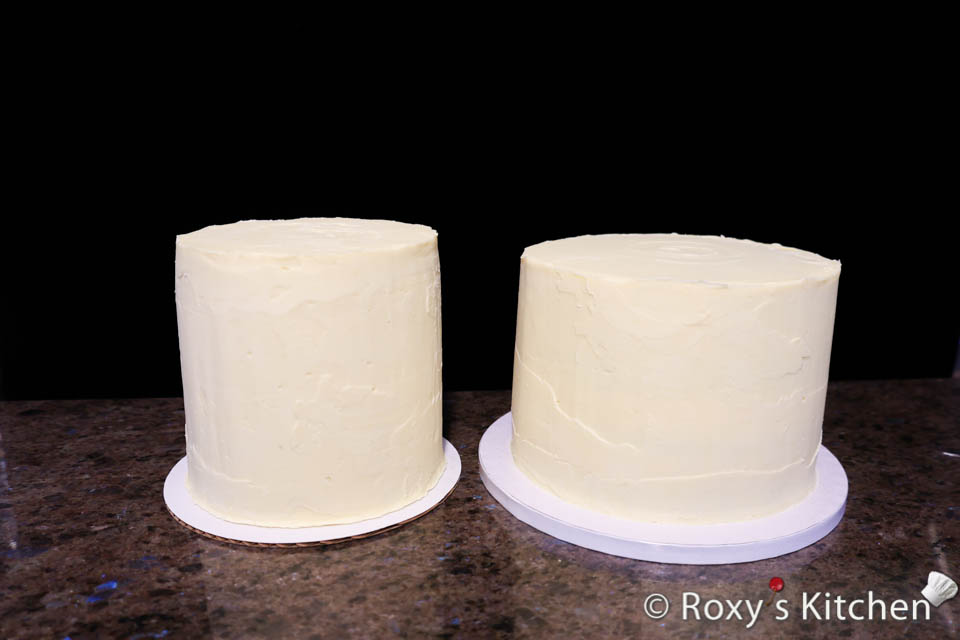
Crumb-coat the cakes with a thin layer of chocolate ganache (or buttercream) using a small offset spatula.
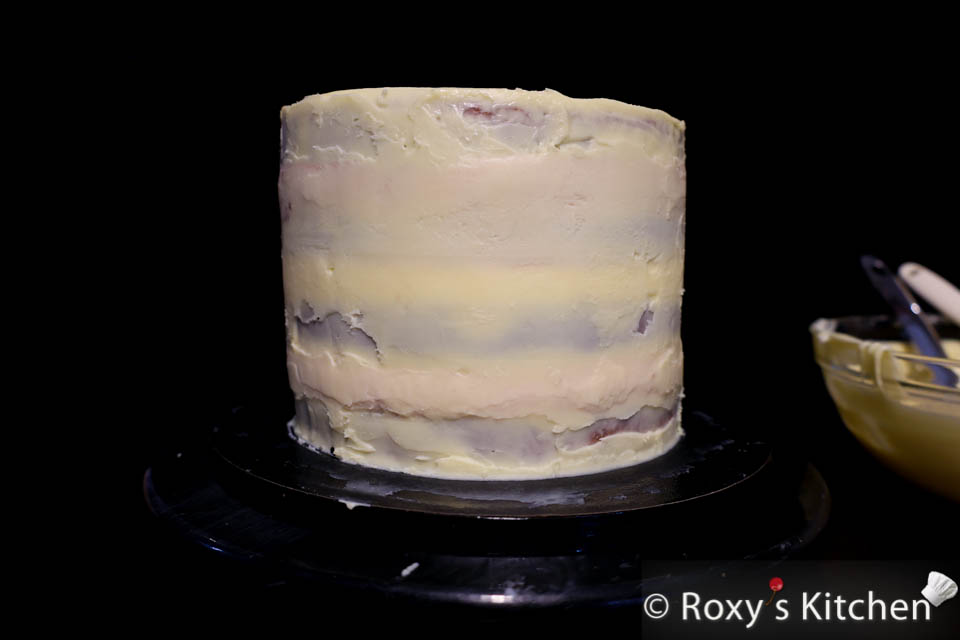
Refrigerate the cakes for one hour, then apply another layer of chocolate ganache (or buttercream), smoothing it out with your spatula. Keep the cakes in the fridge until the chocolate (or buttercream) hardens.
Cover the Cakes in Fondant
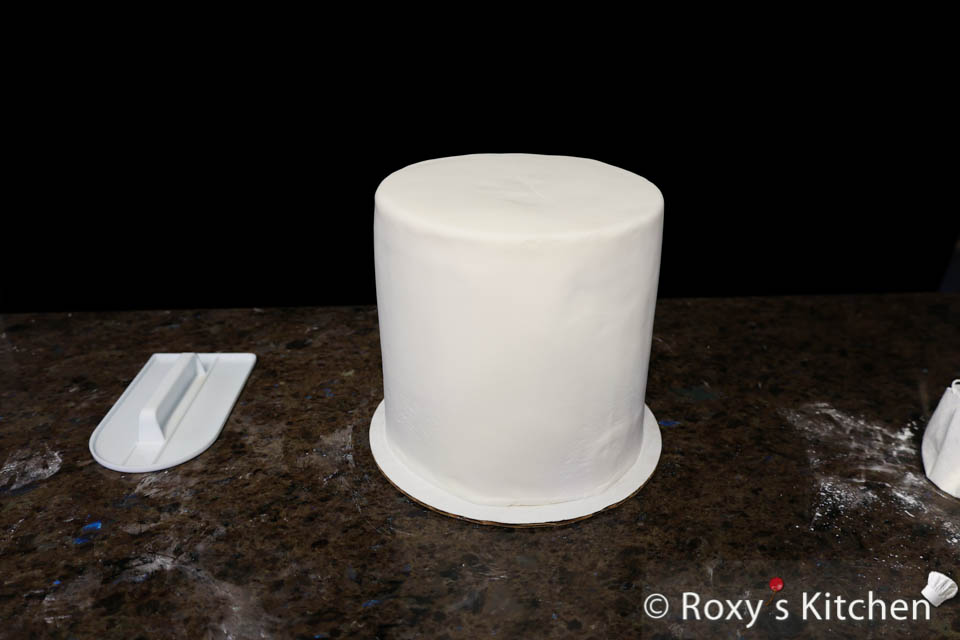
Knead your white fondant until it’s nice and pliable. Dust your work surface with cornstarch and roll out a third of the white fondant to cover the top tier. Roll out the fondant to the approximate shape of your cake, then lift it over the rolling pin and place it on the side of the cake. Start unrolling the fondant from the side of the cake and across the top to the other side.
Smooth the fondant with a fondant smoother (or the palm of your hand), starting from the top. Start to gently pull the fondant out and down around the sides of the cake using one hand and spread the excess fondant and smooth it out using a fondant smoother (or your other hand).
Trim the edges at the bottom using a sharp knife or cutter.
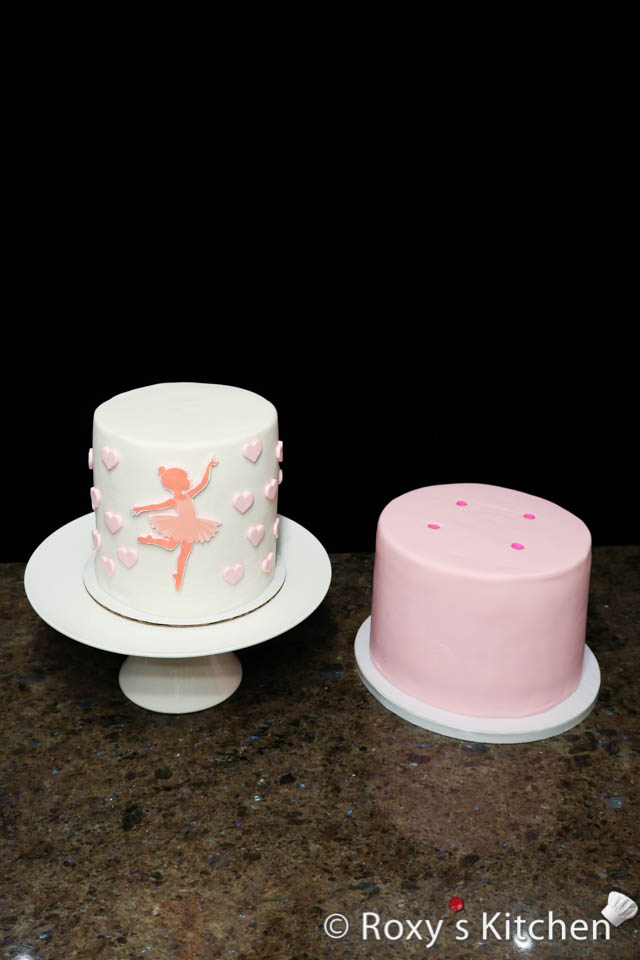
Colour the remaining fondant in pink to cover the bottom tier and make the small heart decorations for the top tier.
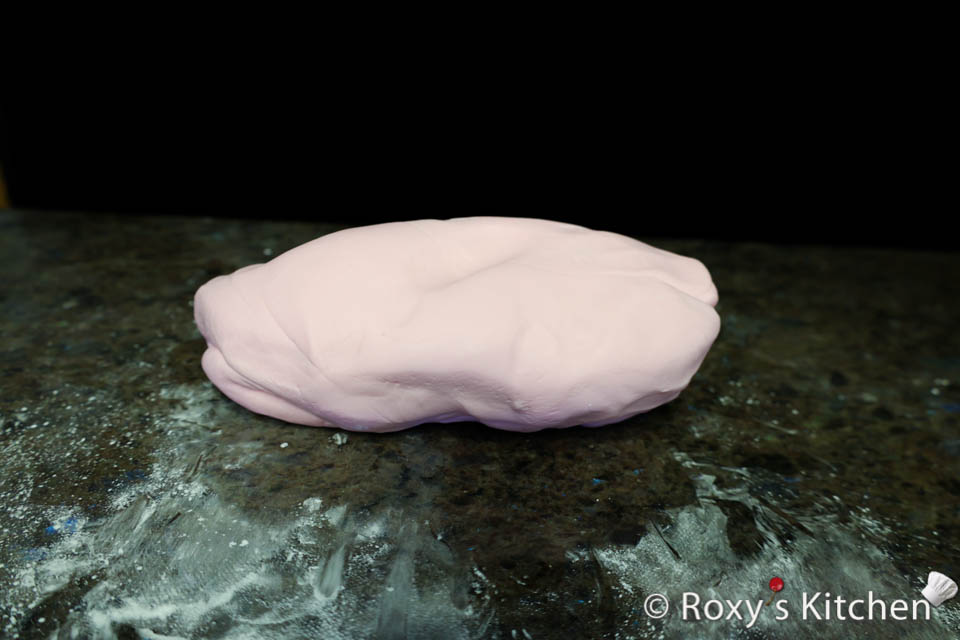
Follow the same steps above to cover the bottom tier in pink fondant.
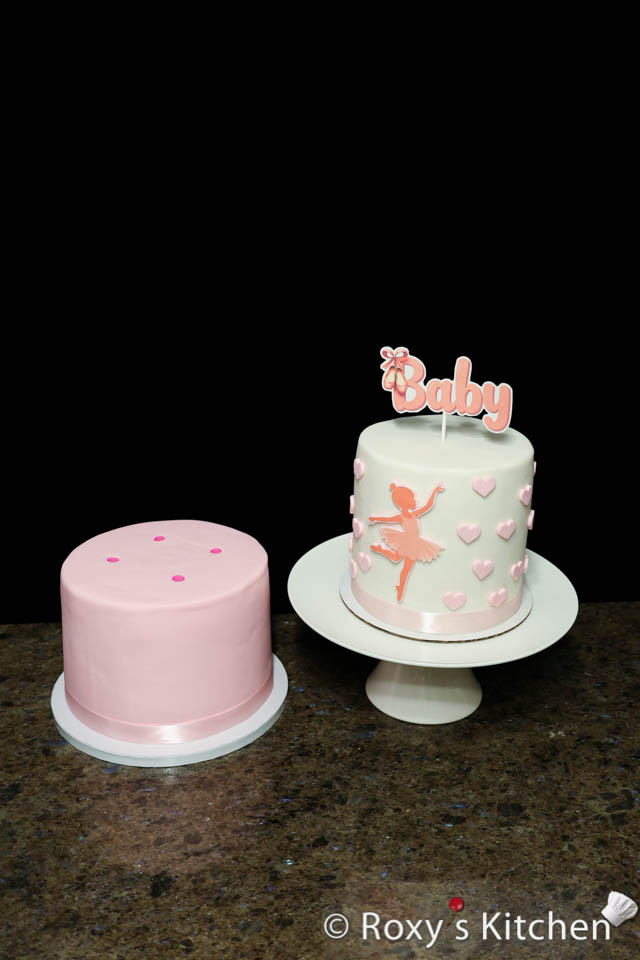
Decorate the Cake
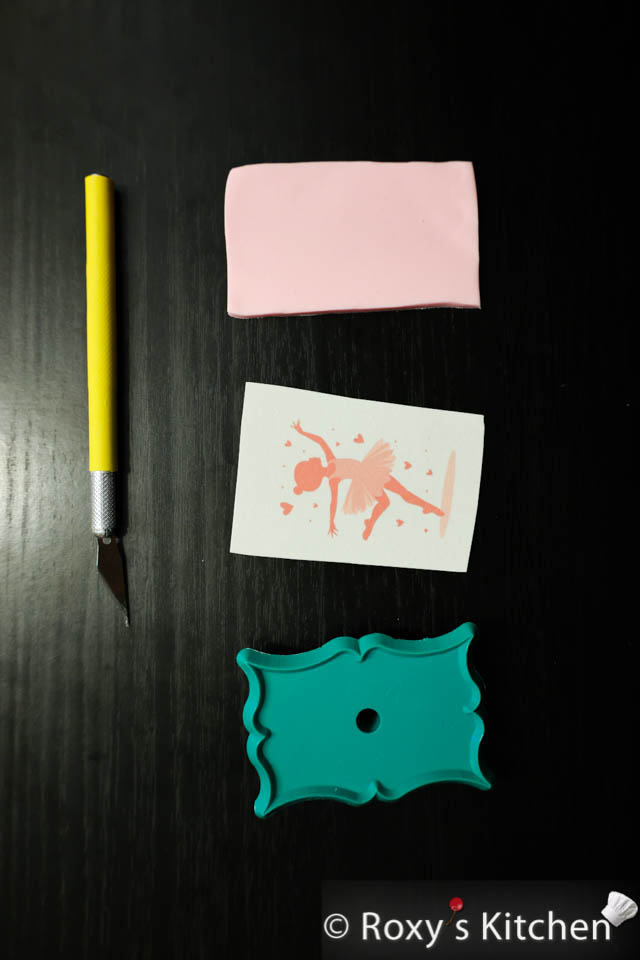
Print the ballerina design on edible paper using edible ink (ensure your design fits the size of the top tier).
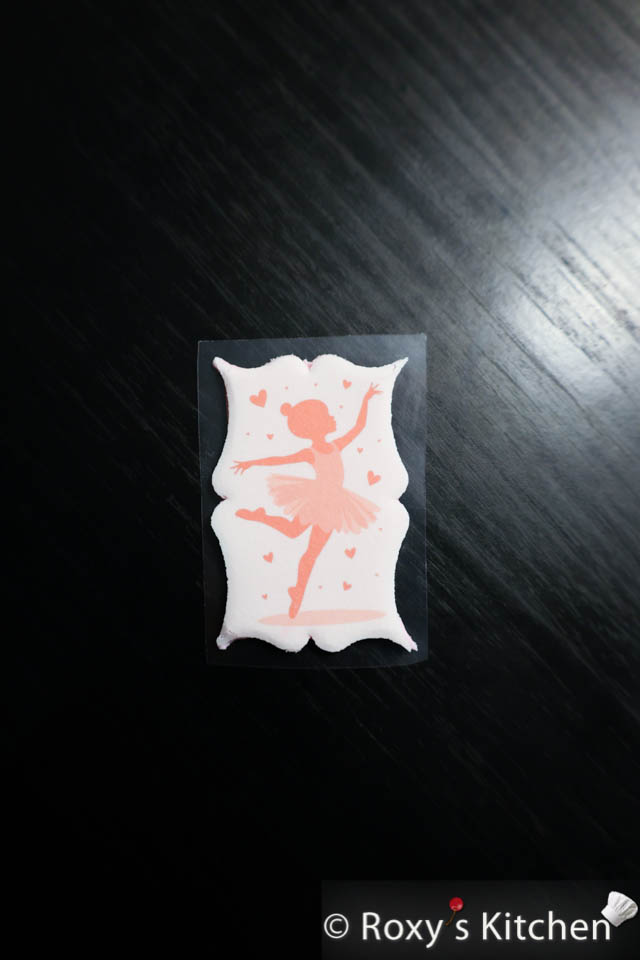
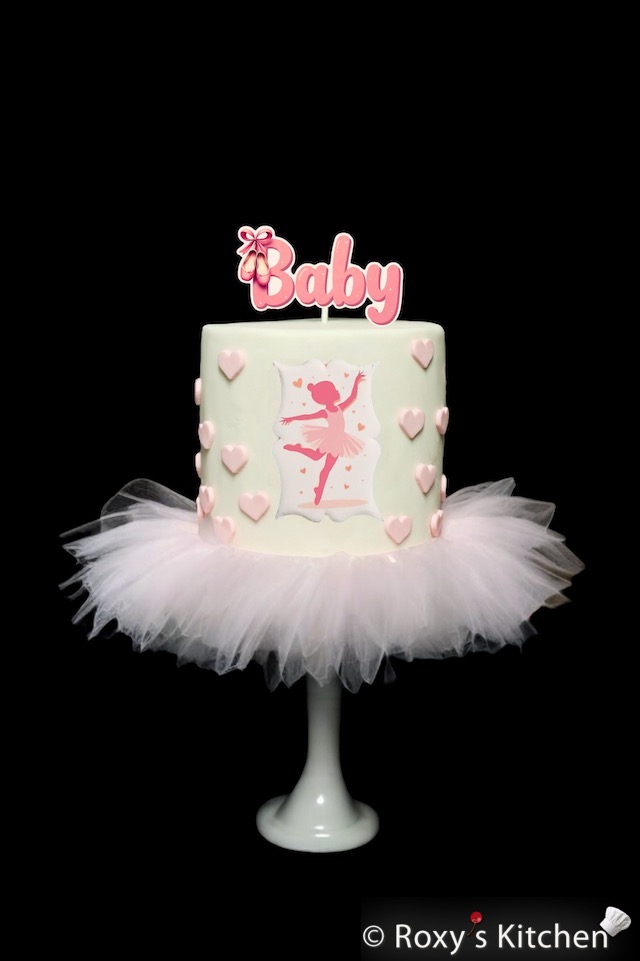
Roll out some fondant and attach the printed ballerina design to the fondant using edible glue. Then, carefully cut around the design using an X-Acto or super sharp knife or cutter. Attach the ballerina topper to the front and centre of the top tier using a small amount of edible glue.
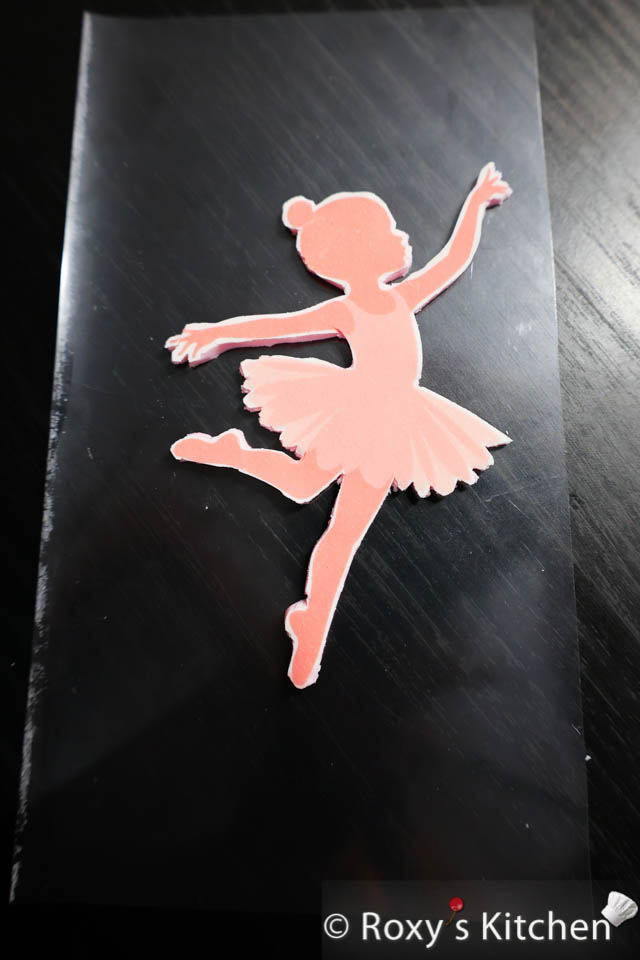
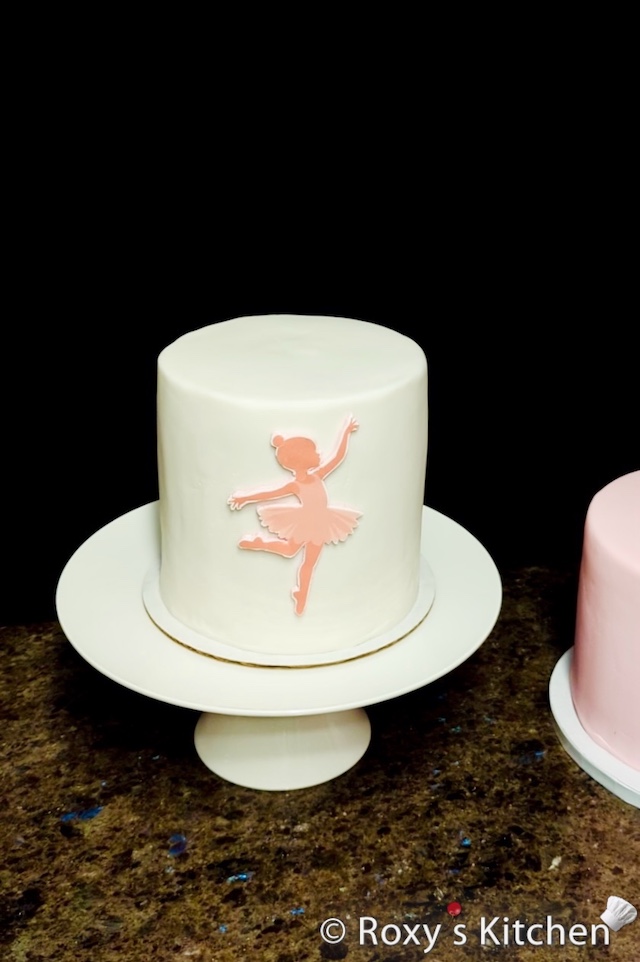
It might be trickier or more time consuming to cut the design around small/thin parts of the body like the fingers. An easier alternative is to print your design on edible paper, glue it to fondant and then use one of these embosser and cutters to cut out a shape like this. You can find both ballerina printable designs in my Shop here.
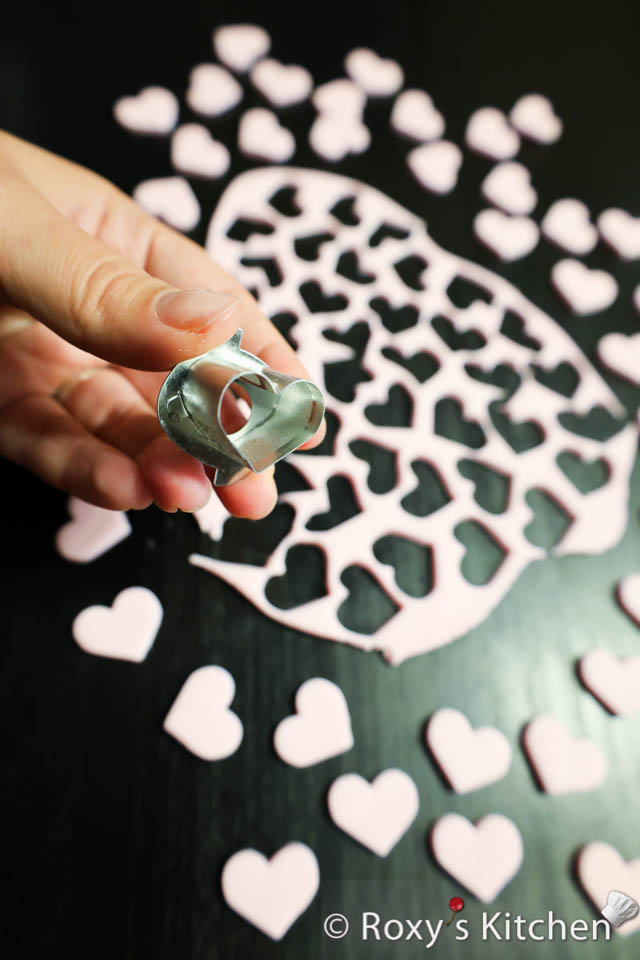
To make the pink hearts, roll out pink fondant and cut out the hearts using a small heart-shaped cutter. I have this small cutter from a linzer cookie cutter set.
Place the hearts randomly around the top tier for a cute and charming effect. Attach them using a small amount of edible glue or water.
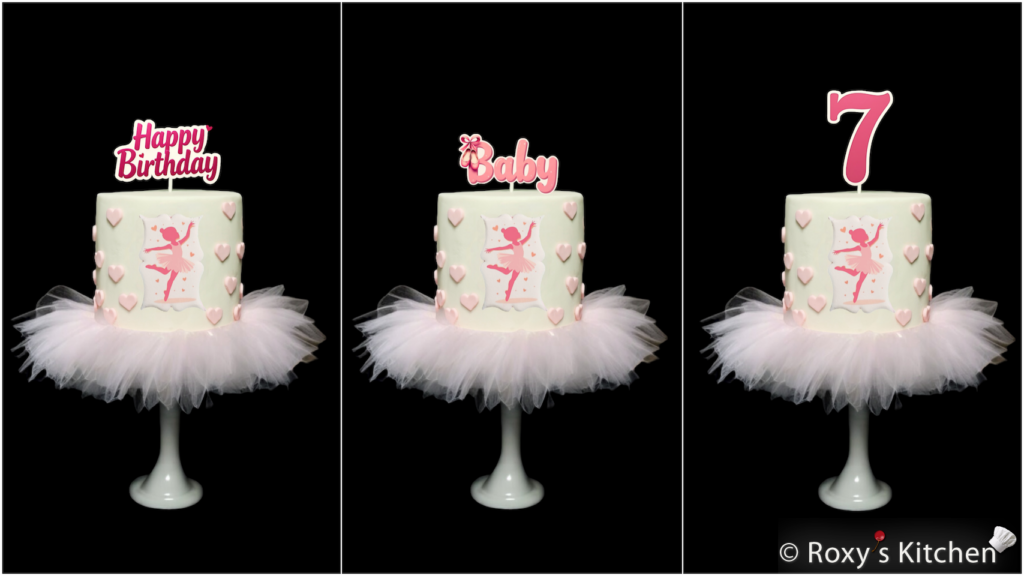
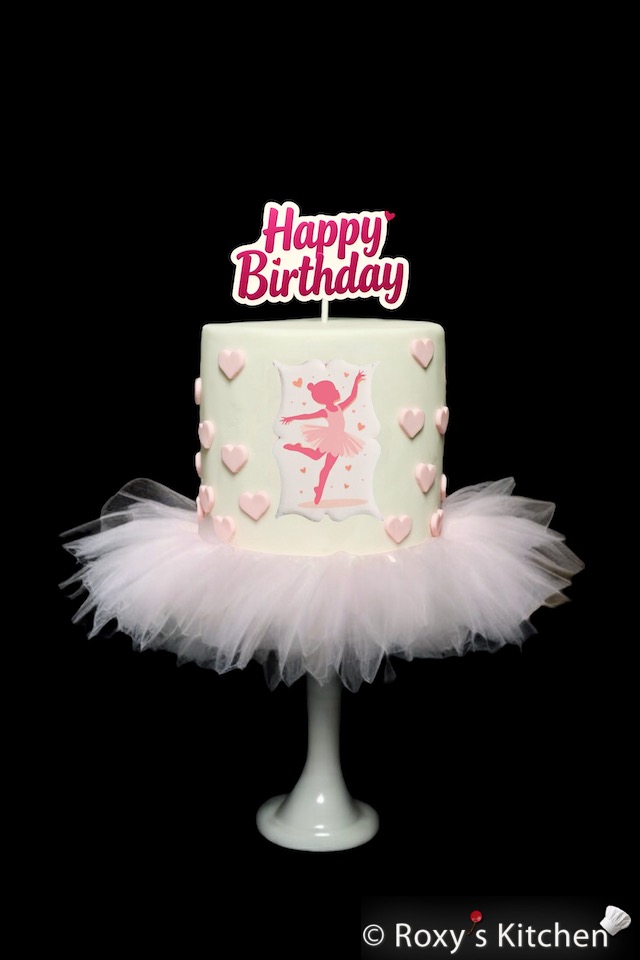
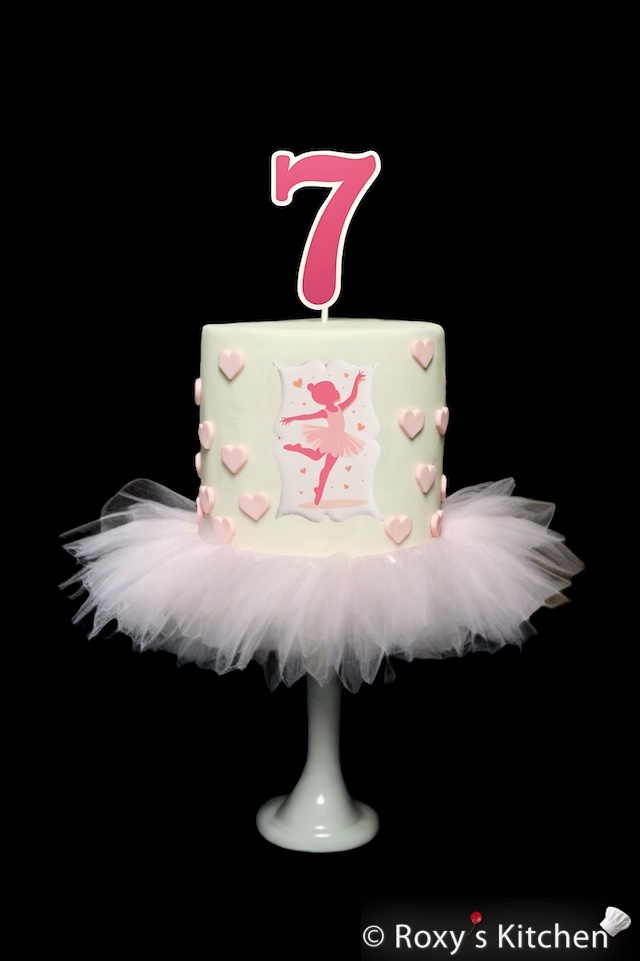
Create the “Baby” or Birthday Topper
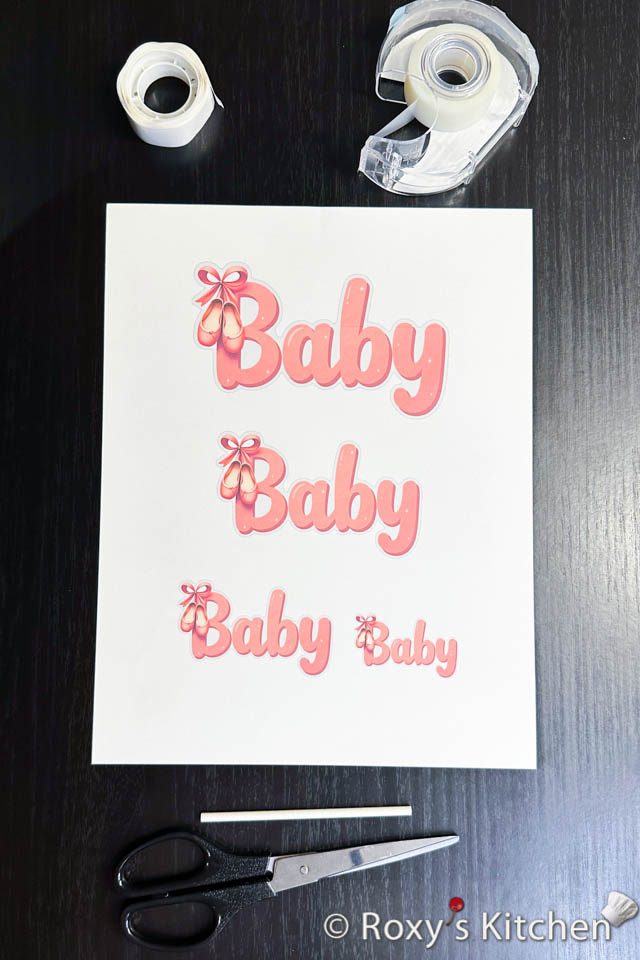
Print the word “Baby”, a ballerina design, a “Happy Birthday” design or your little one’s age on a piece of card stock paper and cut it out using scissors. You can find some of these printable toppers on my website here.
-
Product on saleBallerina Cake & Cupcake ToppersOriginal price was: $8.16.$6.12Current price is: $6.12.
-
Dancing Ballerina Coffee Mug$19.99
-
Product on saleBallerina Cake & Cupcake Toppers – Baby Girl / Baby Shower PackageOriginal price was: $8.00.$4.00Current price is: $4.00.
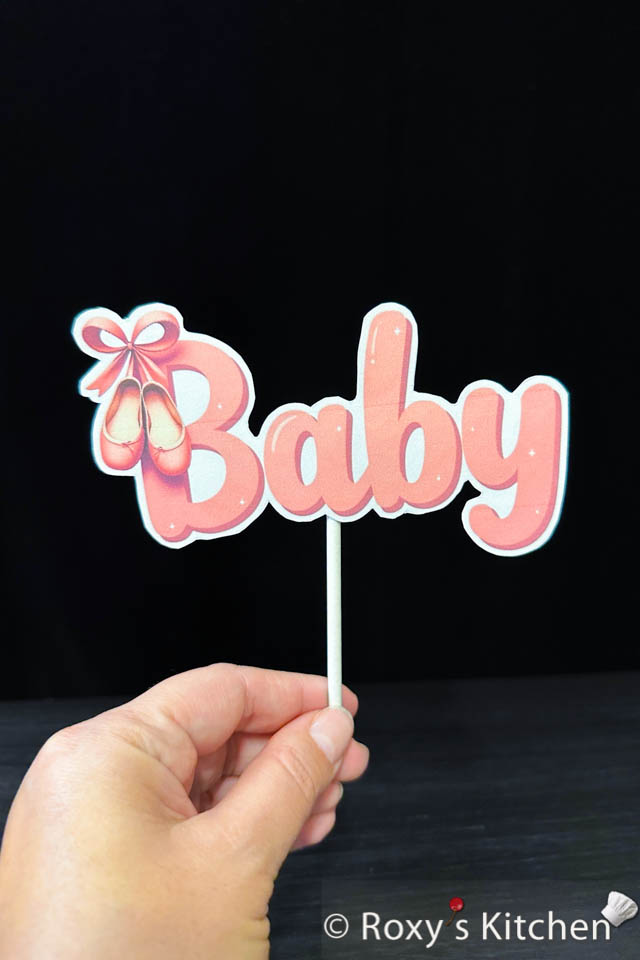
Attach the card stock topper to a lollipop stick with glue dots or tape, and insert the topper in the centre of the cake.
Make the Tutu
Thread the tulle onto a pink string to create a ruffled effect. Make sure the fabric is evenly spaced to create a fluffy, soft look. Use a 6’’ (15 cm) cake board to ensure the circumference of your threaded tulle covers the entire cake board edge. Once you threaded enough tulle, cut it.
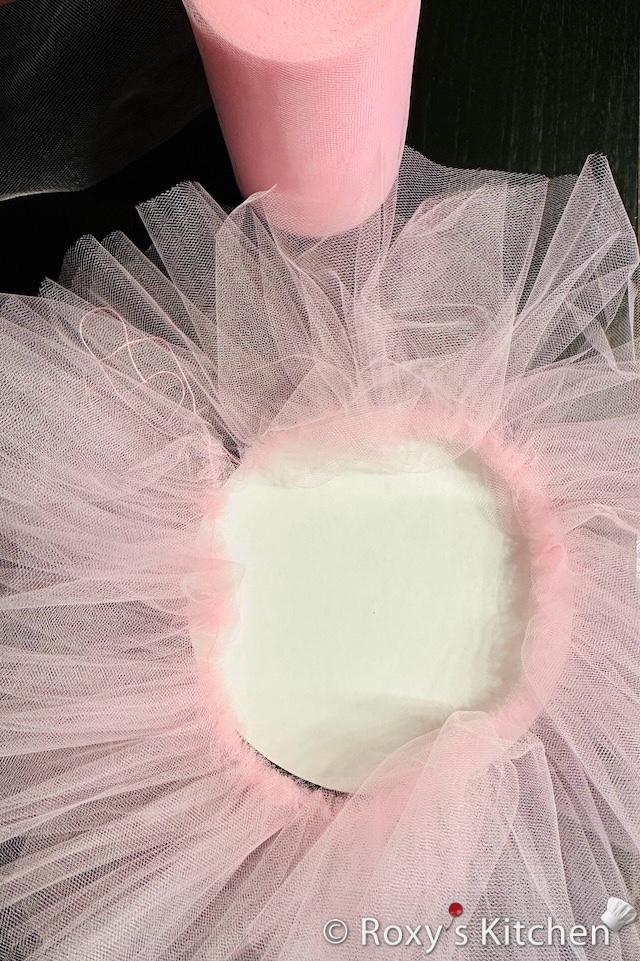
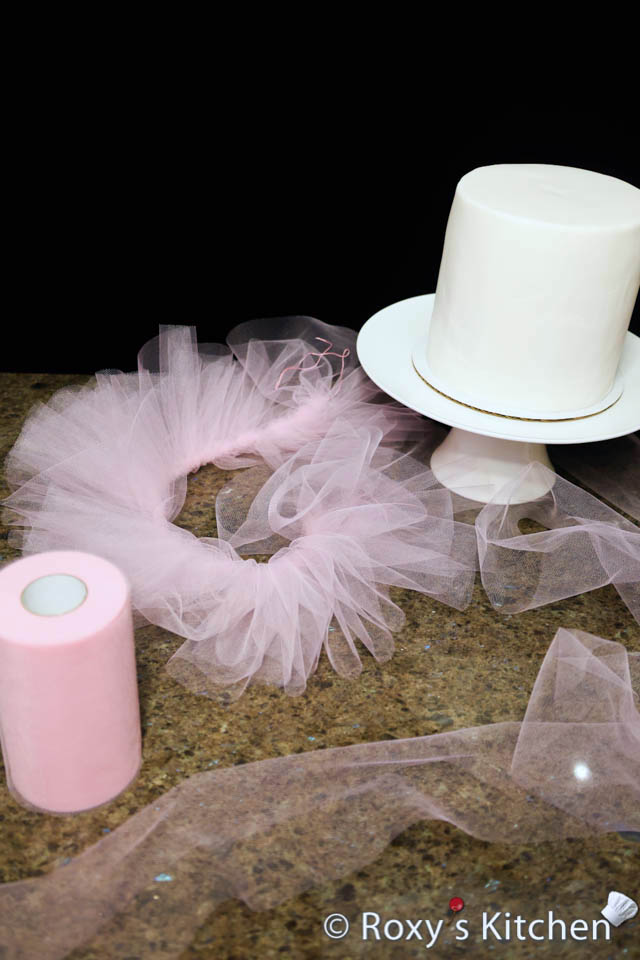
You can use a 6’’ (15 cm)-wide pink tulle fabric for a bigger cake or a narrower one if your cake is smaller.
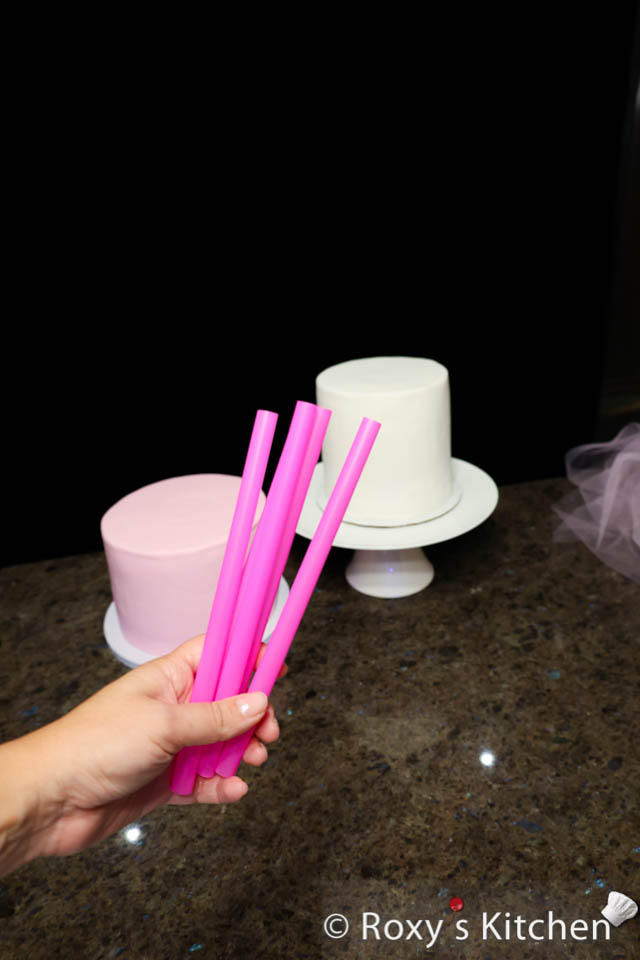
Assemble the Cake
Cut 4 boba straws or cake dowels to the height of the 8’’ (20 cm) cake and insert them into the cake, about 3.8 cm (1.5’’) away from the edge.
Wrap pink satin ribbon around the base of each cake tier.
Stack the top tier onto the bottom tier, ensuring both are centred and stable on the cake boards.
Gently drape the tutu around the base of the top tier and tie the ends of the string securely.
Adjust the tutu as needed to cover the base of the top tier for a delicate, ballerina-inspired look.
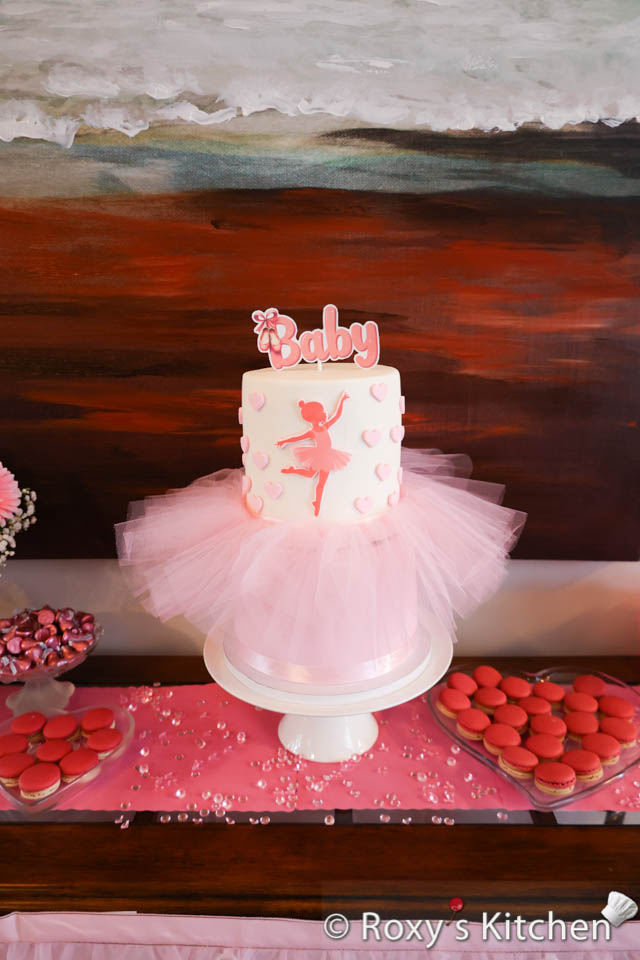
This ballerina-themed baby shower cake was a hit at the party! With its elegant design, soft pink tutu, and sweet toppers, it’s perfect for celebrating the upcoming arrival of a little one or for any girl’s birthday party. The simplicity of the design combined with the charming details makes these cakes wonderful centrepieces for any event.

