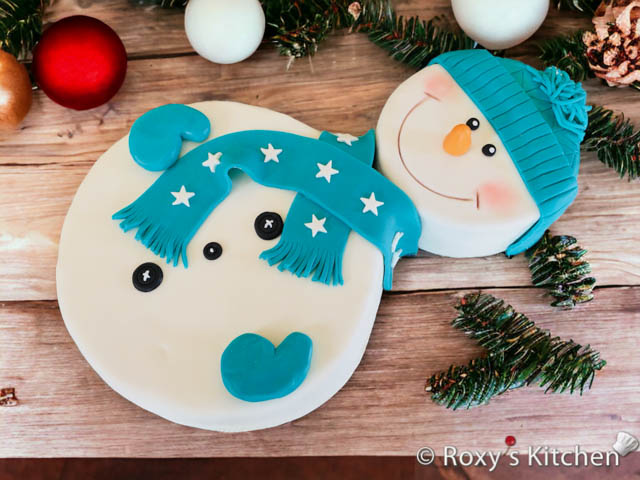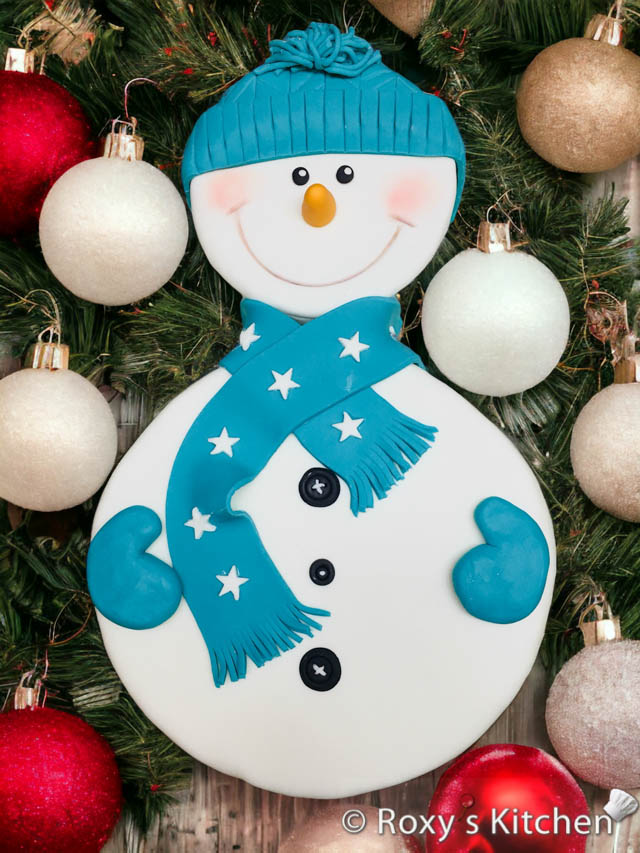
When winter’s chill fills the air and snowflakes start to dance, it’s the perfect time to bring a little frosty magic to your dessert table. In this post, I’ll show you how to make an easy Snowman Cake.
I made this cake many years ago for Christmas. The design is very simple and the snowman is made out of two fondant-covered cakes. I don’t have a lot of step-by-step pictures to share but I’ll provide very detailed instructions on how to make this Snowman Cake plus links to other helpful tutorials with step-by-step photos or videos.
Ingredients/Tools
- two round cakes – a 25 cm (10’’) one and a 13 cm / 15 cm (5’’/6’’) one
- 1.8 kg (4 lbs) white fondant, 450 g (1 lb) blue fondant and a bit of black and orange fondant
- edible petal dust powder (pink for the cheeks)
- powdered sugar or cornstarch for dusting your work surface
- star plunger/cutter
- blunt blade or small knife
- food-safe brush
- rolling pin
- cake board or platter
- fondant ribbon roller/cutter (optional)
- fondant extruder tool (optional)
Directions
Assemble and Frost the Cakes
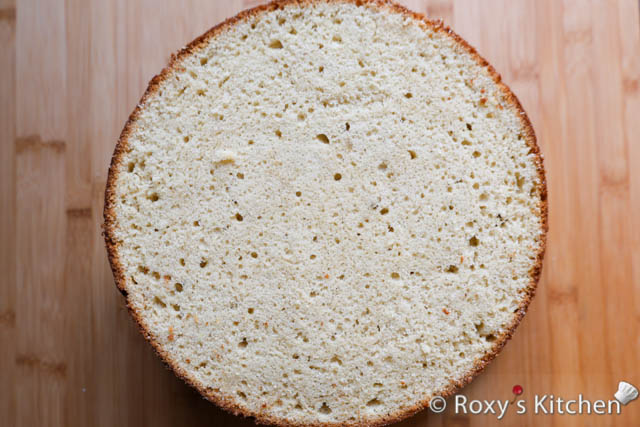
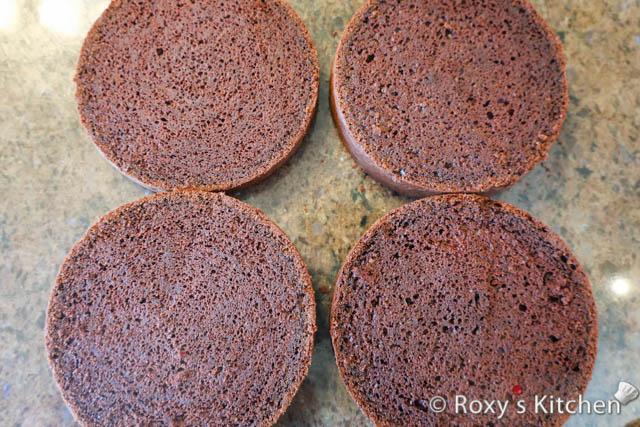
Start by baking your two round cakes in your preferred flavours. Allow them to cool completely. You can find vanilla, chocolate, walnut and other other cake recipes on my website here.
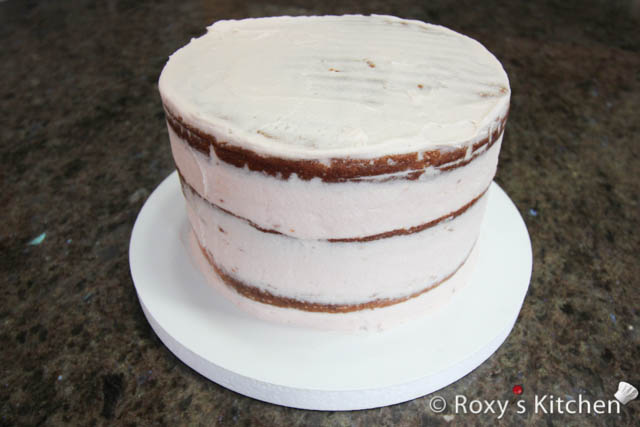
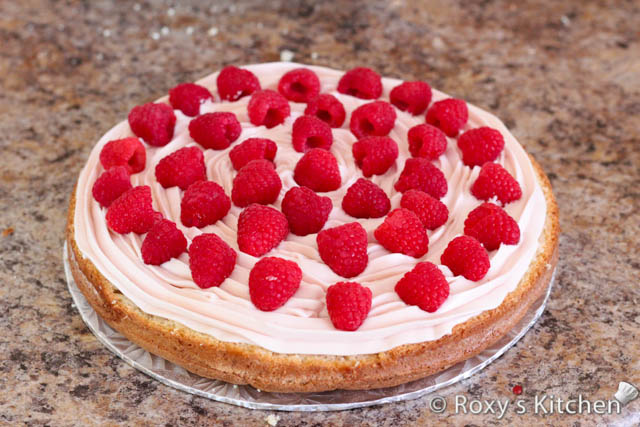
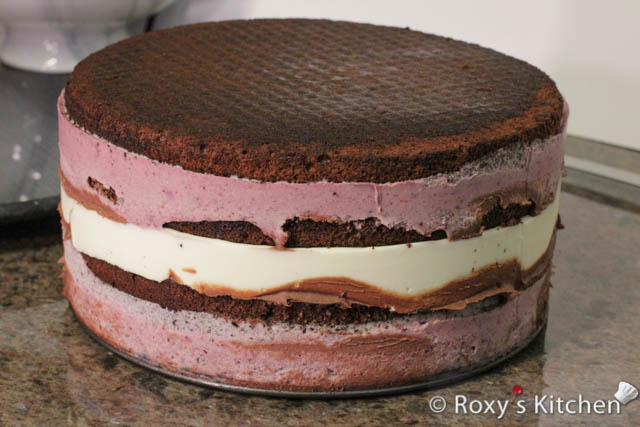
Fill the cakes with your favourite filling. You can find plenty of filling/frosting options on my website here.
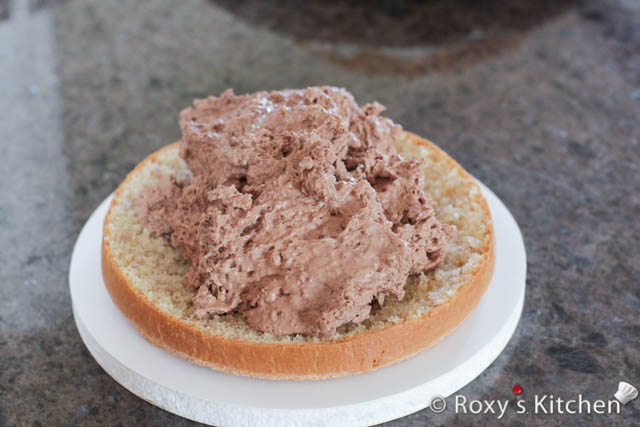
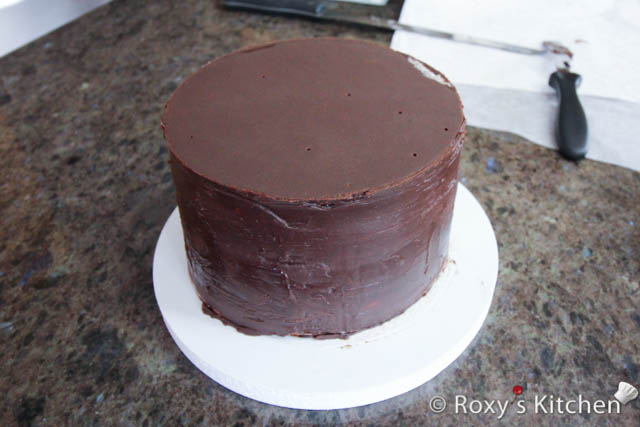
Crumb coat the entire cake with a thin layer of frosting and refrigerate it for about 20 minutes to set. You can use Swiss Meringue Buttercream, Chocolate Ganache (firm frosting) or this Chocolate Ganache Buttercream Frosting (1:1:1).
Cover the Cakes in White Fondant
Dust your work surface with powdered sugar or cornstarch. Knead your white fondant until it has a soft & pliable consistency. Roll out a large, round sheet of white fondant to cover each round cake. Gently drape the fondant over each cake and smooth it down the sides, ensuring there are no wrinkles or air bubbles. Trim any excess fondant from the bottom.
I have plenty of step-by-step tutorials on my website that show you how to cover cakes in fondant. Have a look at this Jungle Safari Cake or this Beach/Nautical Cake.
Place the fondant-covered cakes one next to each other on a large cake platter or cake board.
Shape the Snowman’s Features
Create the snowman’s eyes using small circles of black fondant and small circles of white fondant for the highlights. Attach them to the cake using a bit of water.
For the nose, shape a small carrot-like piece from orange fondant and attach it just below the eyes.
Craft buttons using black fondant and attach them in a line down the front of the snowman.
Use a blunt blade or small knife to create a slight indentation for the mouth.
Lastly, lightly brush a bit of pink edible petal dust onto the snowman’s cheeks for a rosy, wintery glow.
Craft the Snowman’s Beanie
Roll out out more blue fondant to make the beanie.
Roll out your fondant to a thickness of about 1/3 to 2/3 cm (1/8 to 1/4’’). You can roll it into a rough circle with a diameter slightly larger than the top of your smallest round cake. E.g. For a 15 cm (6’’) cake diameter, aim for a rolled fondant circle that’s around 18-20 cm (7-8’’) in diameter. This will allow you to drape it over the top of the cake and have some excess to work with.
Once you have your fondant circle, cut one side (about a third in) to have a straight edge. Gently place it over the top 1/3 of your cake, allowing the excess fondant (round side) to hang down the side. Smooth it out to ensure it adheres to the cake’s surface. Trim the excess fondant at the bottom.
For the brim of the beanie, you’ll want to roll out another piece of fondant. This time, roll it into a long, thin rectangle. The width of the rectangle will determine the width of the brim, so adjust it to your desired size.
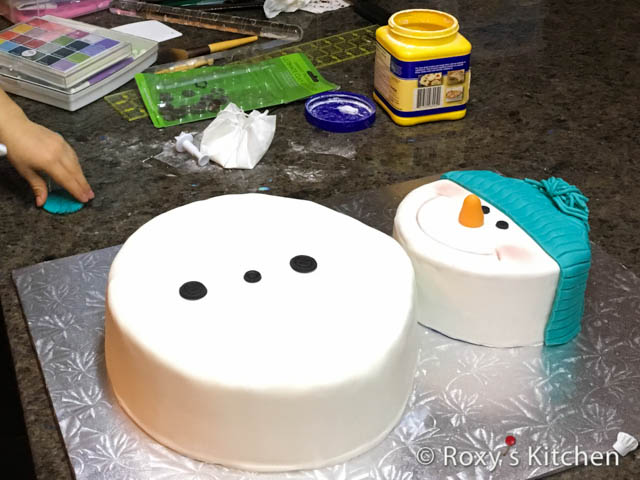
Create the Snowman’s Scarf
Dust your work surface with powdered sugar or cornstarch. Knead your blue fondant until it has a soft & pliable consistency. Roll out two 6.5 cm (2.5’’) wide strips of fondant to create the scarf; one can be 25 cm (10’’) long and the other half this length. Use a knife to make the fringes.
Arrange the fondant scarf around the snowman’s neck.
Roll a bit of white fondant and use a star plunger/cutter to make stars. Attach them to the scarf for added detail.
After rolling out the fondant rectangle, carefully place it around the base of the fondant-covered top portion of the cake. Ensure that it sticks to the cake and that it overlaps slightly with the top portion to create a seamless look.
You can use a knife or a fondant ribbon roller/cutter to create indentations and the design seen in the picture.
Lastly, to make the pom-pom, use a fondant extruder to make thin ropes that are 2.5-5 cm (1-2’’) long. Or, you can roll them with your hands as well but it will take more time. Attach them, using a bit of water, to the top of the beanie to form the pom-pom.
To finish making your Snowman Cake, shape the arms using blue fondant rolled into thick ropes; then, gently curve them to resemble arms and place them on the cake.
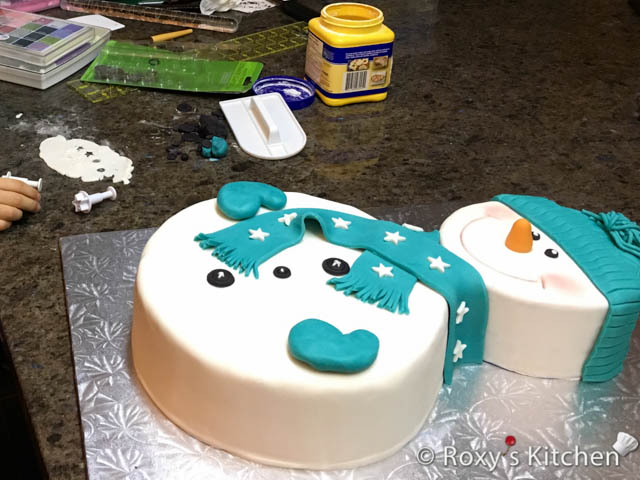
Creating a Snowman Cake is not only a delightful baking project but also a wonderful way to spread joy during the holiday season. Share this magical treat with your loved ones and let it become a cherished centrepiece at your winter celebrations. It’s a sweet and snowy masterpiece that’s sure to warm hearts and create lasting memories.
