


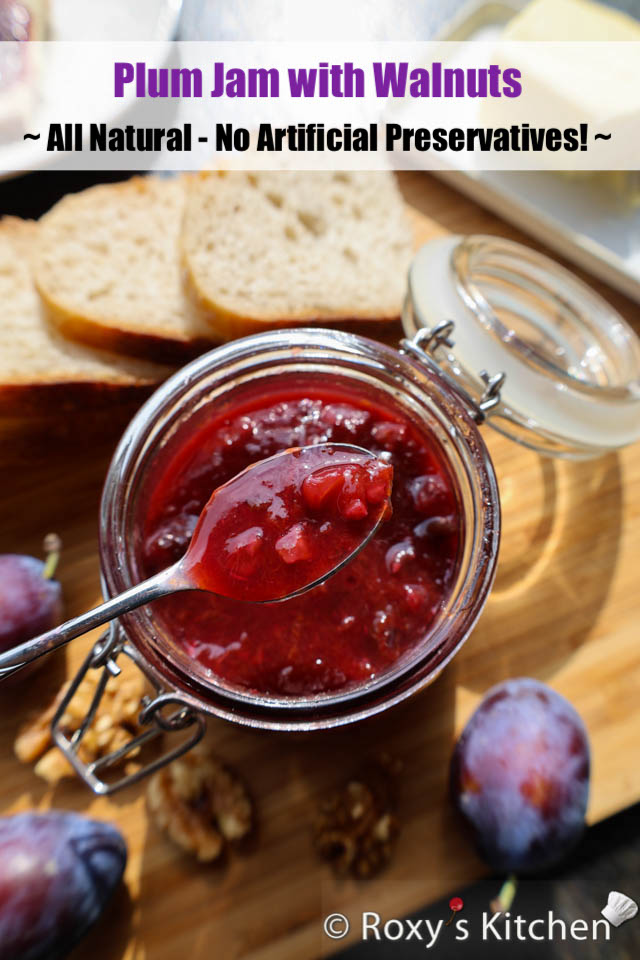
Enjoy the delightful taste of homemade Plum Jam with Walnuts, made entirely from natural ingredients and free of artificial preservatives. With the addition of walnuts, this jam brings a unique texture and flavour that pairs wonderfully with the sweet and tangy plums. I’ll also share a simple trick for preserving this vibrant colour of the plums while cooking the jam.
Ingredients
- 10 kg (22 lbs) fresh plums
- 3-4 kg sugar
- Juice from 4 organic lemons, medium-sized
- 500 g (1.1 lbs) walnuts
This recipe yields approximately 14 to 17 jars of 500 ml.
Equipment
- jars & lids (with a gum binder for sealing)
- 1 large heavy pot for boiling the jam
- wooden spoon for stirring
- ladle & wide-mouth funnel for distributing jam into jars
- food processor (optional, for smoother texture)
- baking sheet (for sterilizing lids)
Directions
Watch this video or read the instructions below.
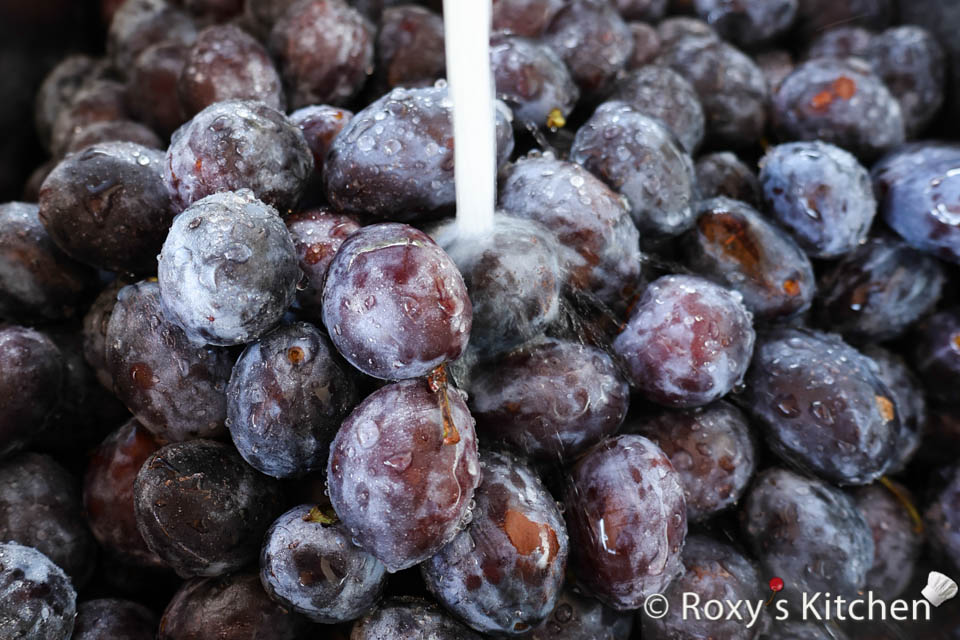
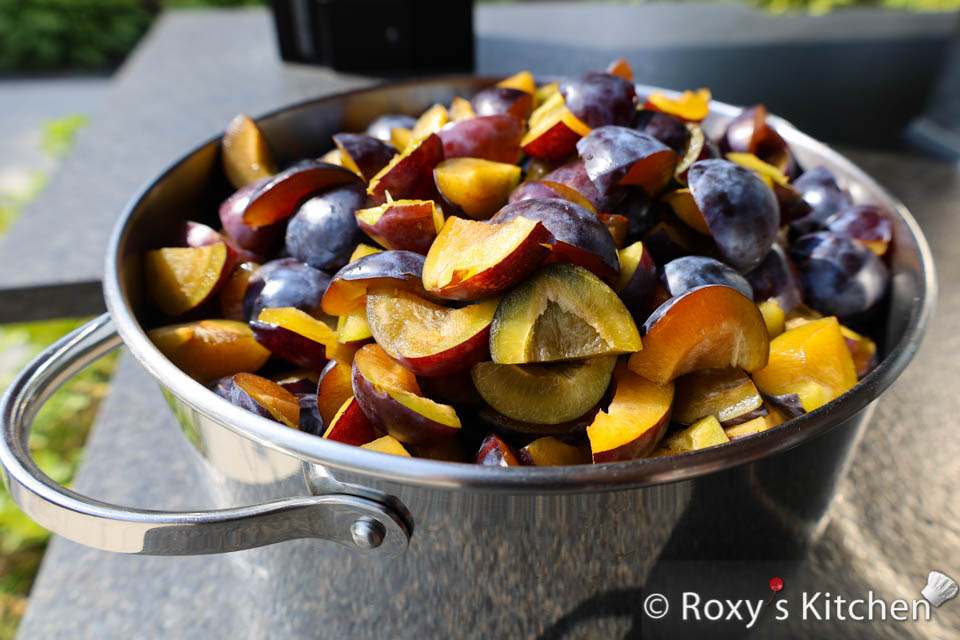
Wash and pit the plums, then cut them into quarters. If you prefer a smoother jam without visible plum pieces, you can process the quartered plums in a food processor to your desired consistency.
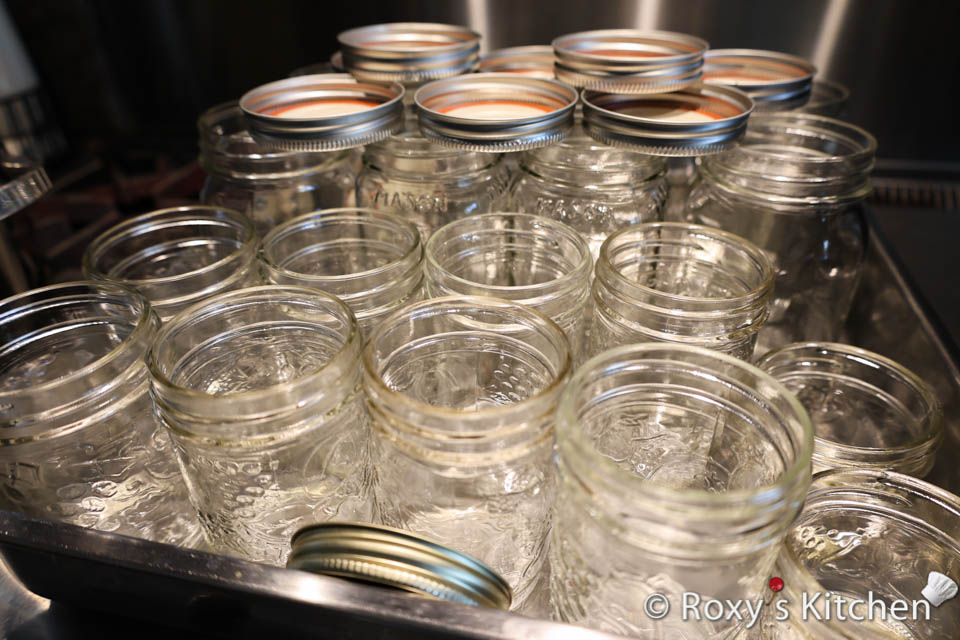
Before cooking the jam, prepare the jars. They should be clean and dry. Place them on a tray on the middle rack of the oven. Sterilize them in the oven at 225°F (100°C). I usually sterilize the jar lids along with the jars too by stacking them like in the picture below or placing them on a separate baking sheet. Leave the jars in the oven until you are ready to fill them with jam.
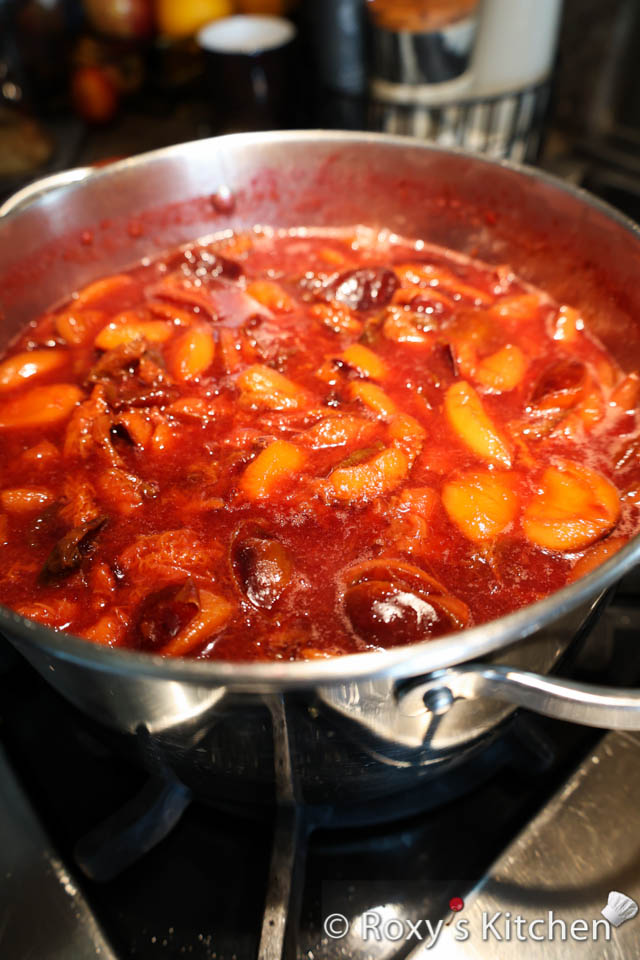
Place your prepared plums into a large pot and bring them to a boil over medium-high heat. Use a wooden spoon to gently crush them, helping to release their juices. To expedite the softening process and encourage more juice to be released, cover the pot with a lid until the mixture reaches a boil. Be sure to stir frequently to prevent the plums from sticking to the bottom of the pot.
Let the mixture simmer for about 15-20 minutes, stirring frequently to prevent sticking. If you notice any sticking at the bottom, use a stainless steel spoon to carefully mix and scrape the bottom, releasing any bits that may have adhered to the surface. This will help ensure an even consistency and prevent burning.
Add the lemon juice. Why add lemon juice? Adding lemon juice to plum jam enhances the flavour by balancing the sweetness and helps activate the natural pectin in the plums, ensuring the jam sets properly. It also lowers the pH, which aids in preservation and extends the shelf life of the jam.
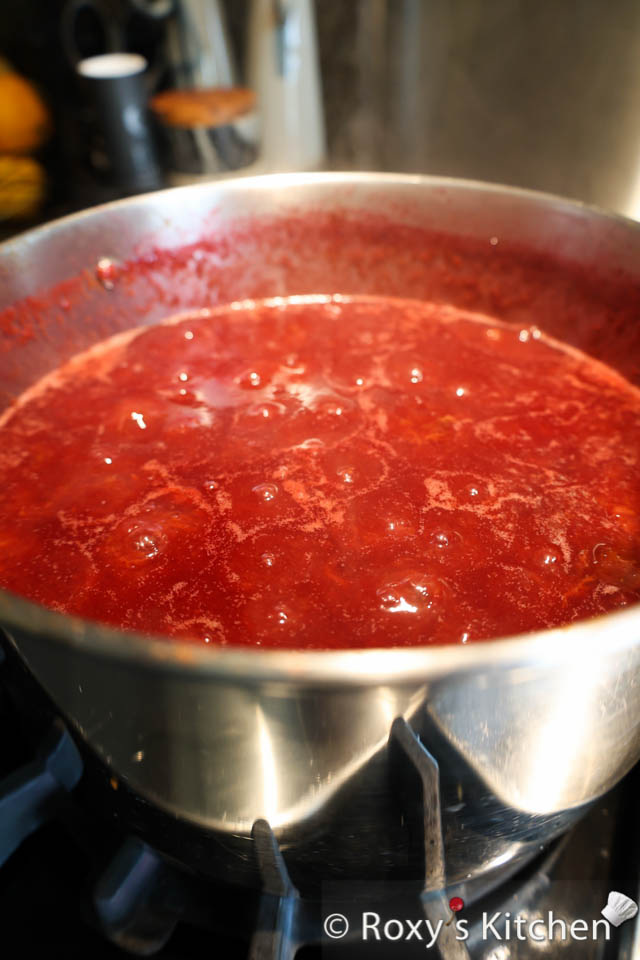
Let the mixture simmer for 20-30 more minutes. You can test the thickness of the jam by spooning some onto a plate—let it cool and see if it reaches your desired consistency.
Now, here’s that important trick I promised! When the jam has almost reached the desired consistency, add the sugar. The sugar should be added about 15-20 minutes before the jam is fully done cooking. This helps keep the colour of the plums vibrant and beautiful. If you add the sugar from the beginning, your plum jam will look darker in colour like in my other Plum Jam recipe.
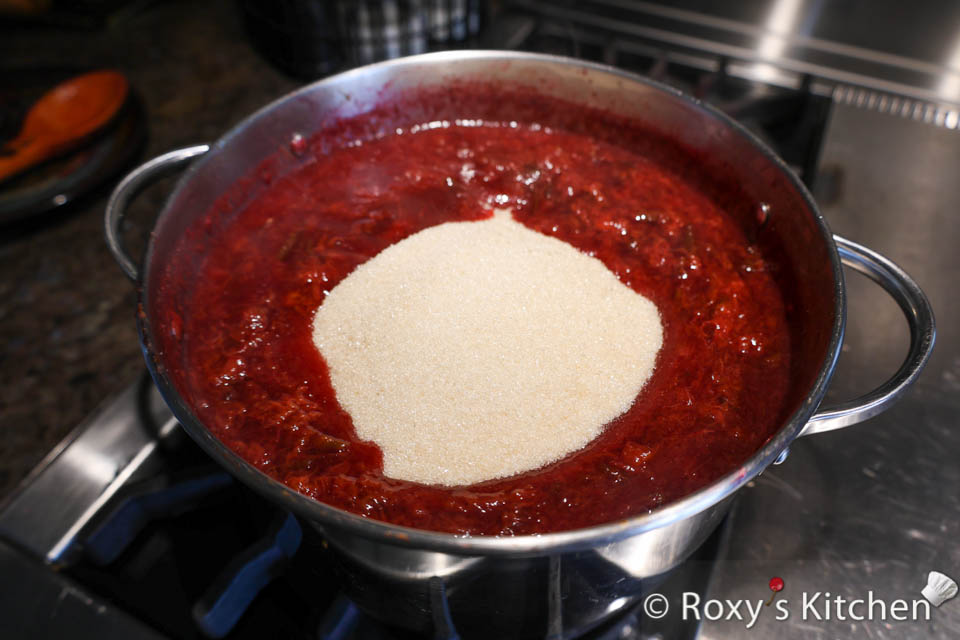
Don’t add all the sugar at once. Add half to three thirds of it at first. After the sugar is incorporated taste the jam and add more sugar only if necessary. The riper your plums are, the less sugar you need.
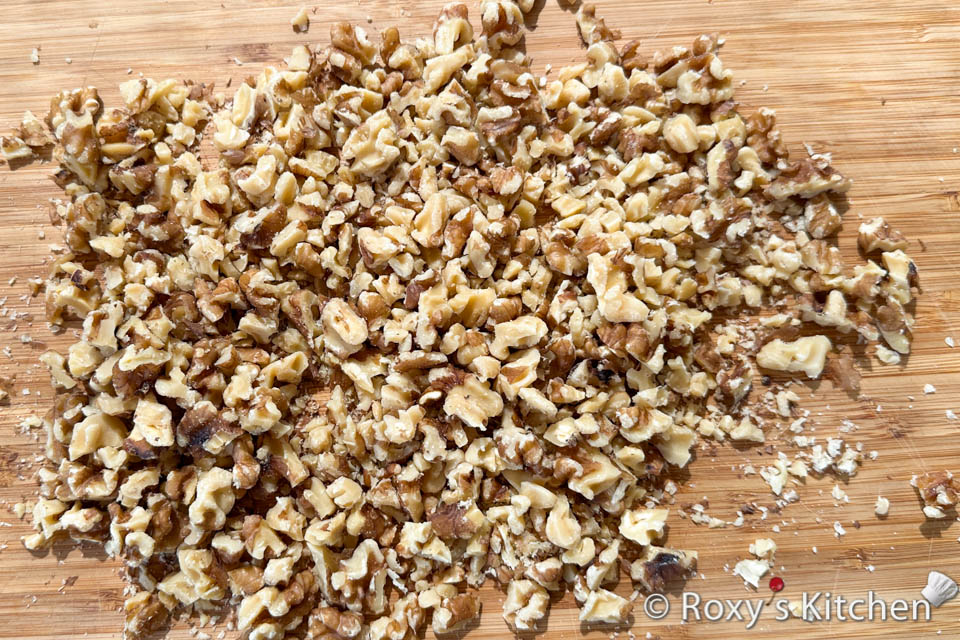
In the meantime, roughly chop the walnuts.
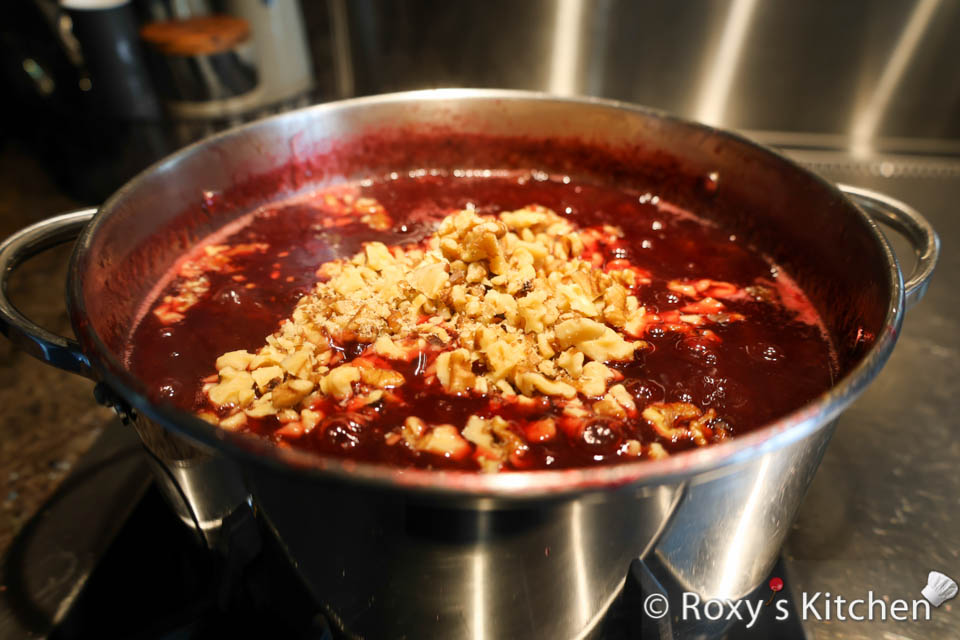
About 10 minutes after adding the sugar, add your roughly-chopped walnuts. This will give your jam a wonderful texture and flavour! You can skip this step if you just want plain plum jam.
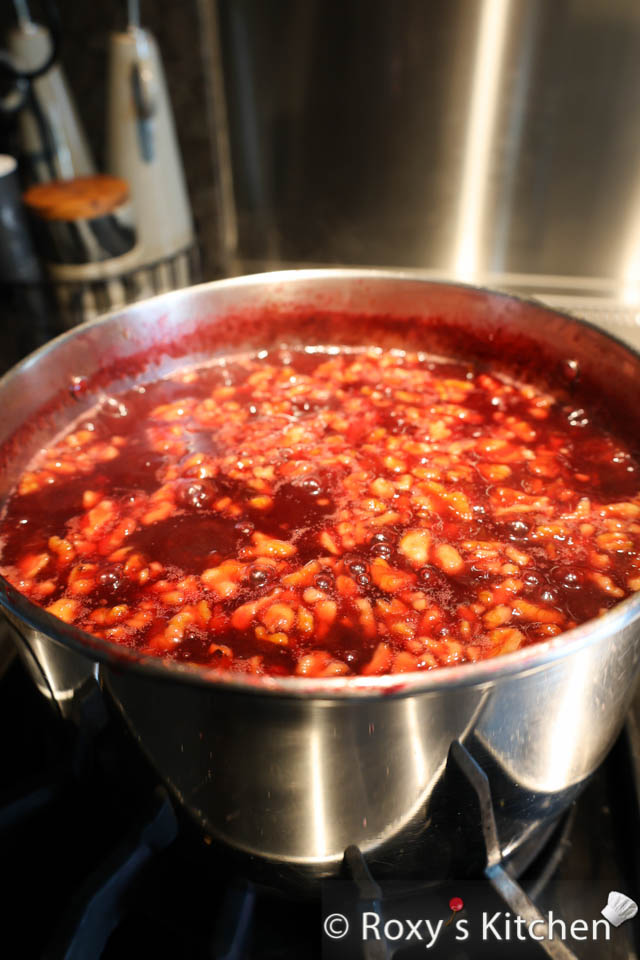
Let the jam simmer for 10 more minutes. This will infuse the jam with a delicious nutty flavour.
Turn off the heat and carefully ladle the jam into the hot sterilized jars, leaving about 1 to 1.5 cm of headspace. I usually pour about half a ladle of hot jam into each jar to allow the jars to gradually come to the same temperature as the jam. This helps ensure the glass won’t crack and improves the sealing process.
Wipe the rims clean with a clean damp paper towel and seal with the sterilized lids. I use this kinds of jar gripper pads to close the lids tightly. They provide an amazing grip and are so handy to have in the kitchen to close or open jars!
Place the jars on thick cork trivets, wooden boards or kitchen towels and cover them with a thick blanket or two to cool slowly. This slow cooling process helps the lids seal properly.
After the jars have cooled, check the seals by pressing down on the centre of each lid. If the centre is not pressed down or it pops back up, it hasn’t sealed properly so you should store those jars in the fridge.
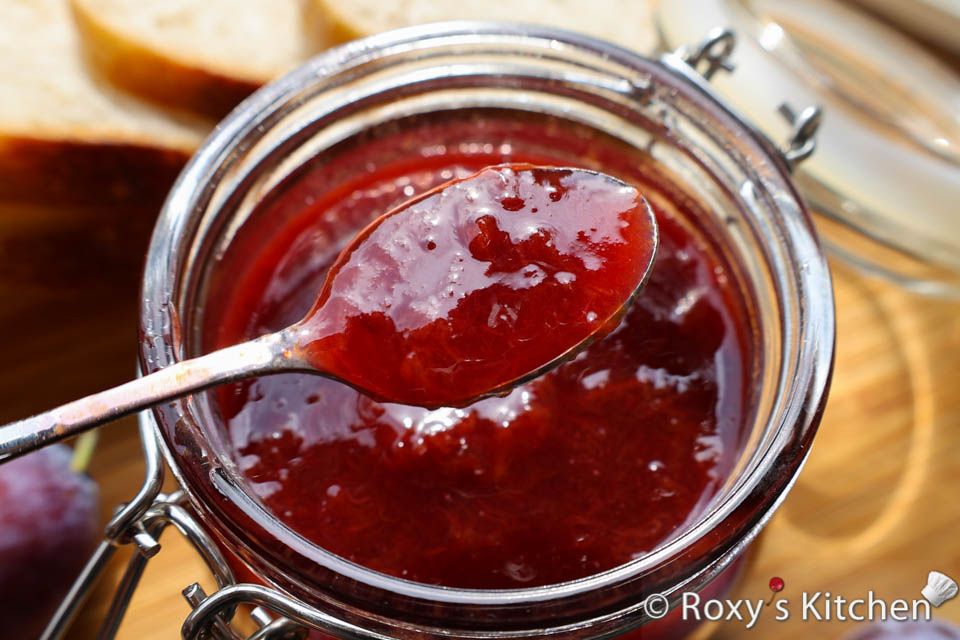
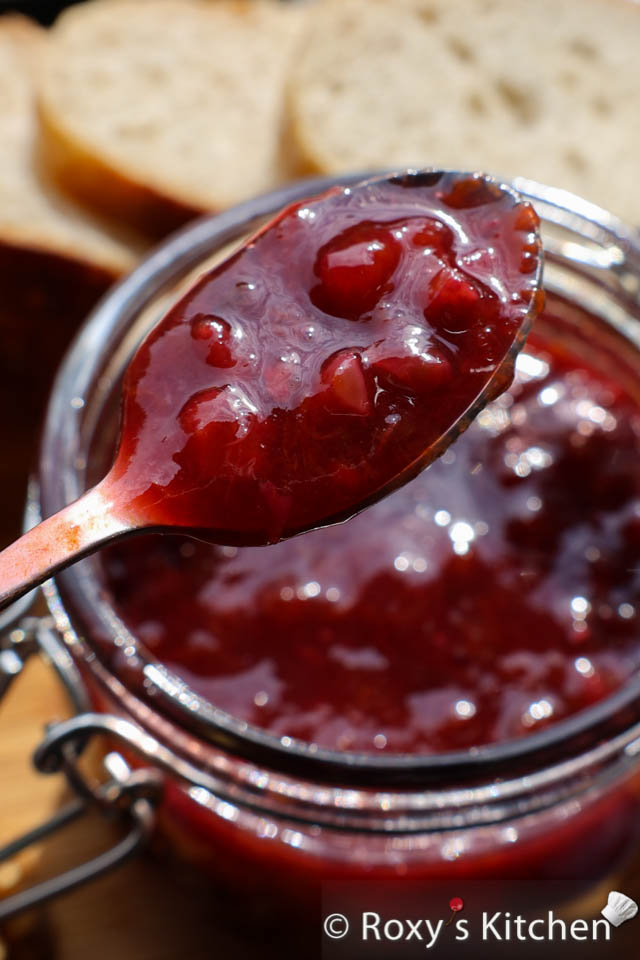
And there you have it — a delicious, all-natural Plum Jam with Walnuts! Perfect for enjoying straight from the jar or spreading on a slice of bread with butter.


