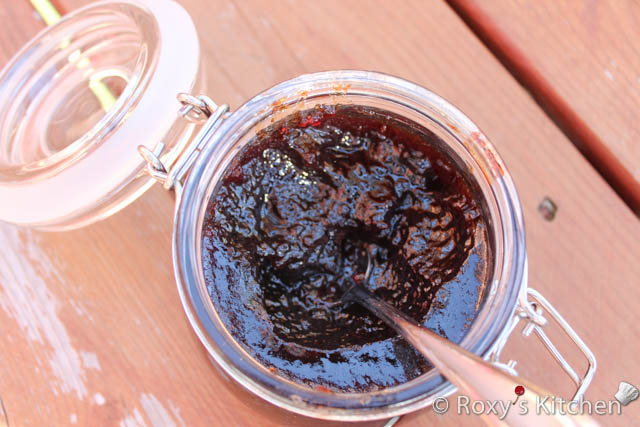
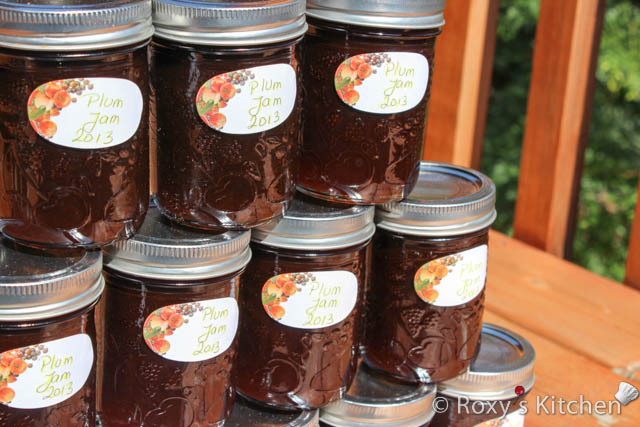
As promised in my previous post, here’s the recipe for plum jam. It’s one of my favourite jams! My mom used to make plum jam every year when we were kids and all kinds of cookies, pies and other desserts with it all year round.
Time: Prep: 90 min. Cook: 4-5 hours or until your jam sets well
Yield: 22 jars of 250ml
Ingredients:
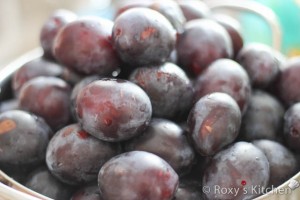
- 9.5 kg fresh plums
- 4 kg sugar
- Juice from 4 lemons
Equipment:
- Jars & lids. Lids should have a gum binder that seals them against the top of the jar.
- 1 large heavy pot for boiling the jam
- Wooden spoons for stirring
- Ladle for distributing jam into jars
Directions:
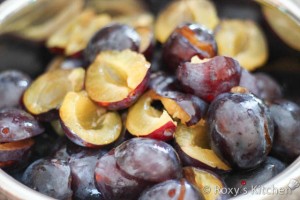
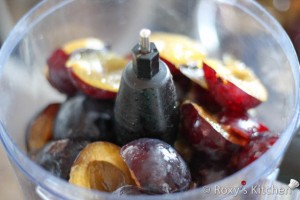
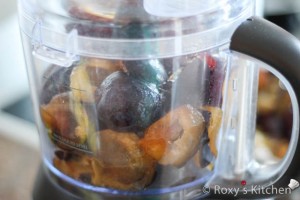
Wash, pit and mash the plums using a food processor.
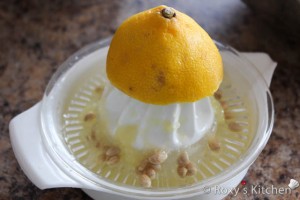
Place them into a large pot and add the sugar and lemon juice. Depending on how sweet your plums are you might have to add less or more sugar so I would start with 3-3.5 kg of sugar and then add more gradually if necessary.
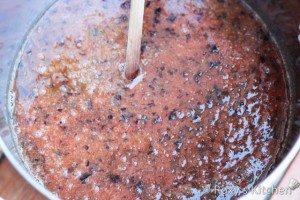
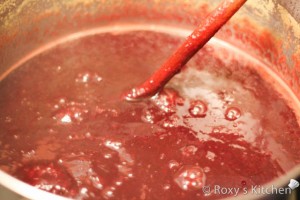
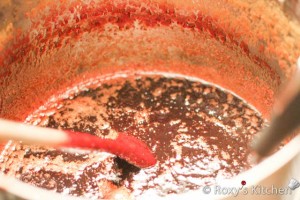
Bring the mixture to a boil and reduce heat to medium-low. Let the jam simmer, stirring constantly to prevent sticking. Test the thickness of the jam periodically (spoon some jam onto a plate and let it cool). If it’s runny and saucy you need to let the jam cook for some more time.
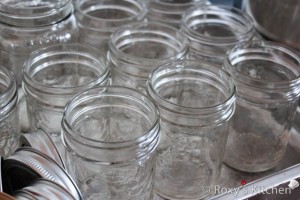
While your jam is simmering, wash the jars in soapy water and rinse them thoroughly. Allow them to drip-dry for 15-20 minutes and then place them in a pan (or right on the rack) in the oven set to 225F (100C) to sterilize the jars. Leave them there until you are ready to pour the jam. Make sure the lids are clean and dry as well before using them.
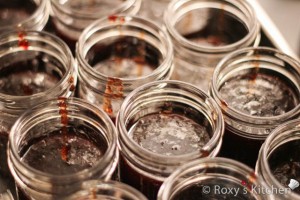
Carefully remove the jars from the oven. Pour jam into hot sterilized canning jars. It’s better to pour half a ladle of jam in each jar to allow the jar to reach almost the same temperature as the jam. Then fill all the jars leaving 1-1.5 cm headspace. This is very important as overfilling can result in a jar that doesn’t seal properly.
Wipe the jars with a clean damp paper towel to remove any residue. Place lids on top and cover the jars with a blanket until they are completely cooled. The purpose of the blanket is to allow the jars to cool slowly and help the lids seal properly.
After the jars are completely cooled if you can press the center of the lid down, it did not seal. If any jars have not sealed, you can either try processing them again in a water bath or just refrigerate them.


