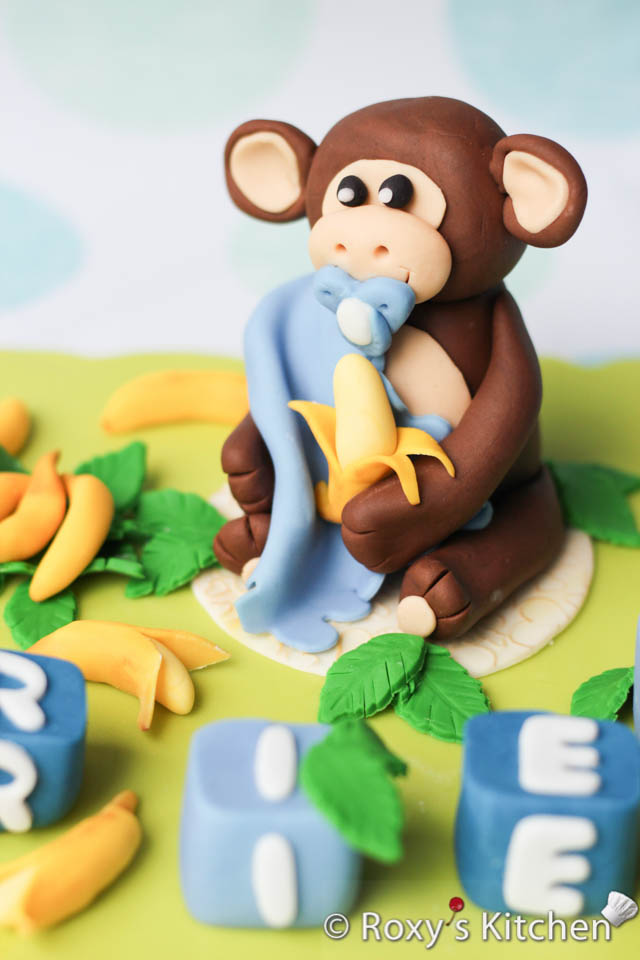
When you order a cake from a bakery but they don’t make custom decorations, you make the cake topper at home! That’s how I ended up making this Monkey & Bananas Cake Topper for my godson a while ago when he was a still a baby.
Most bakeries don’t do custom decorations as it is time consuming and not very profitable. I totally get it! Also, the reality is that not too many customers are willing to pay a premium for the extra work involved.
Food 3D printing is on the rise so I’m hopeful that in the near future, some cake customization will be possible with little to no effort involved. There are several 3D printers specifically designed for food items, including cake decorations. These printers use edible materials such as fondant or sugar paste to create three-dimensional shapes and other intricate designs used to decorate cakes. However, it’s worth noting that 3D printed cake decorations are still relatively new, and the technology is not yet widely available or affordable for bakers. But soon enough it will be!
Ingredients/Tools
- For the monkey: dark brown and light brown fondant, toothpicks
- For the blankie: blue fondant, a frill edge cutter
- For the pacifier: blue & white fondant, heart-shaped cutter, piping tip
- For the bananas: dark yellow and light yellow fondant, brown edible powder colour or just a bit of cocoa powder, a small brush
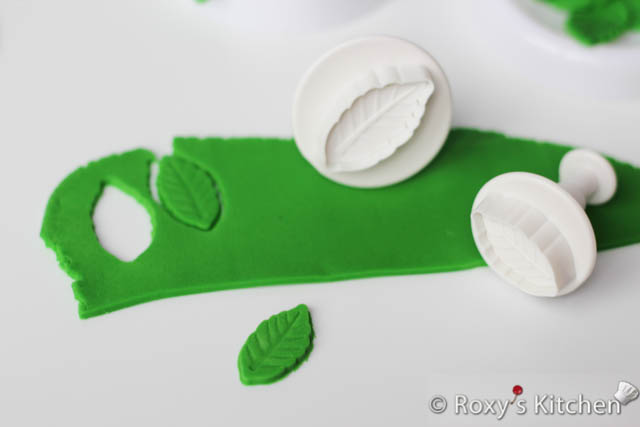
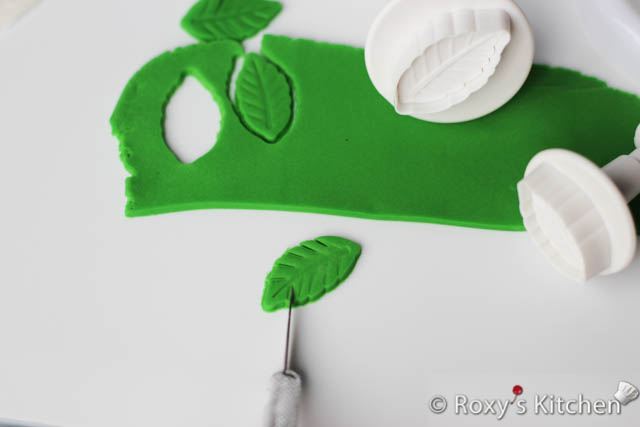
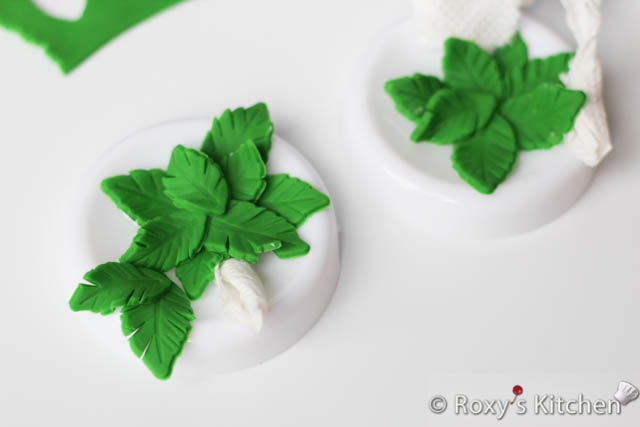
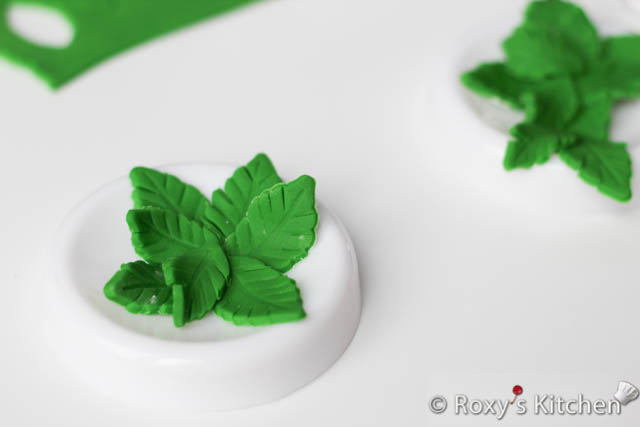
- For the leaves: green fondant, a leaf cutter & embosser, forming cups
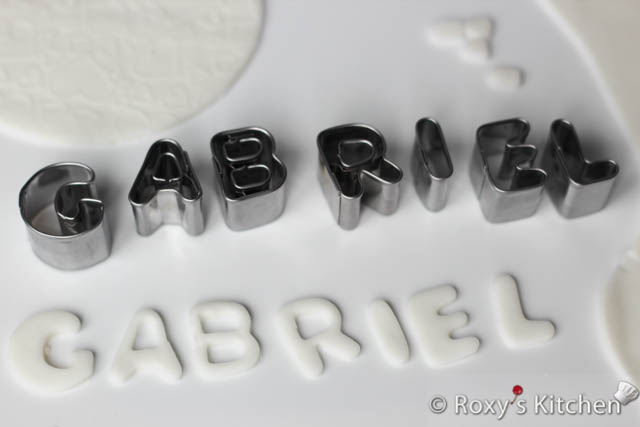
- For the baby cubes with the name: blue & white fondant, alphabet cutters
- Key lime green fondant for covering the board I placed the decorations on
- Rolling pin
- X-acto knife or any other small sharp knife you have
- Corn starch for dusting the work surface
Note that a lot of these tools are not a must. You can always just cut or shape things by hand. It will just take you longer to do it. The tools I listed will make your job easier.
Directions
Knead your fondant until it’s soft and pliable. Sprinkle some cornstarch onto your work surface to ensure the fondant doesn’t stick as you work with it.
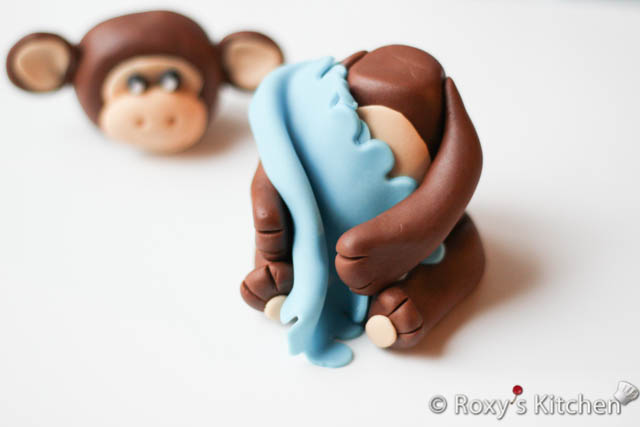
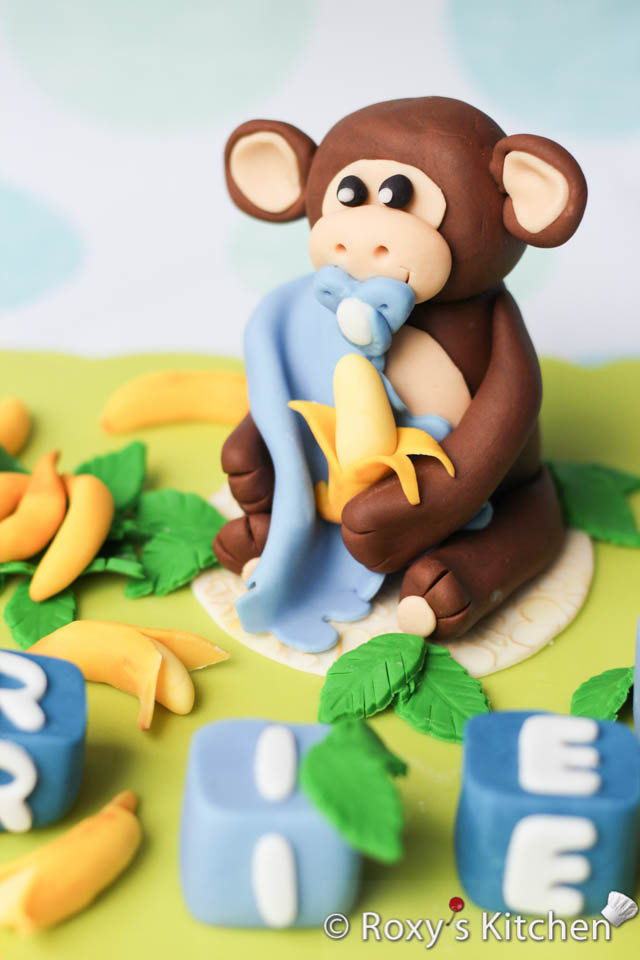
For the monkey, I shaped and cut all the parts by hand as seen in the pictures. Then, I attached the legs and arms to the body using a bit of water as glue. I used toothpicks to secure the head to the body and the ears to the head.
For the blanket, just roll out some blue fondant about 0.5 cm (1/5’’) thick, cut it into a square and make the edges seen in the picture using the frill edge cutter.
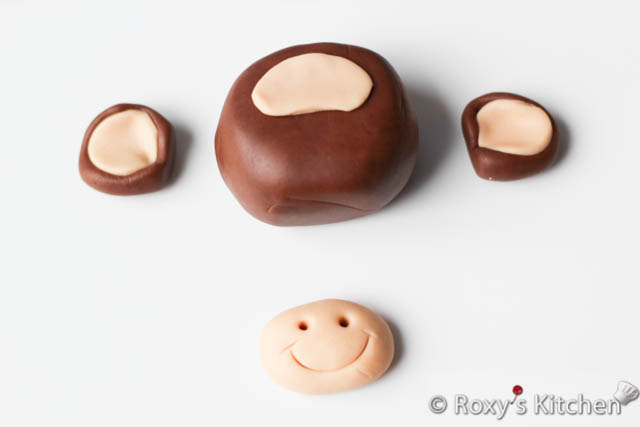
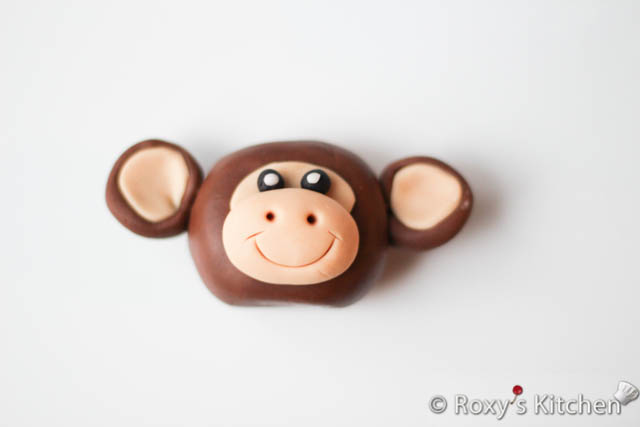
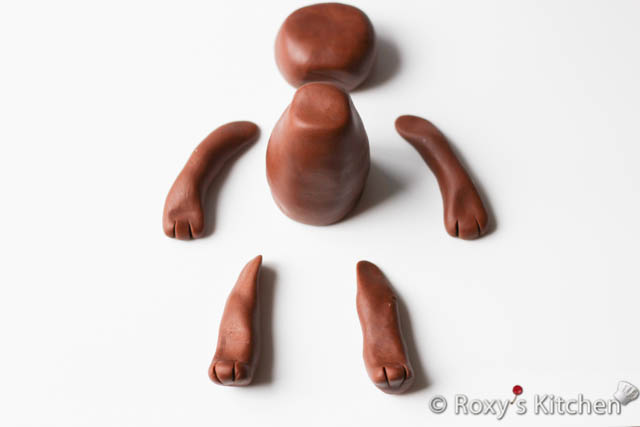
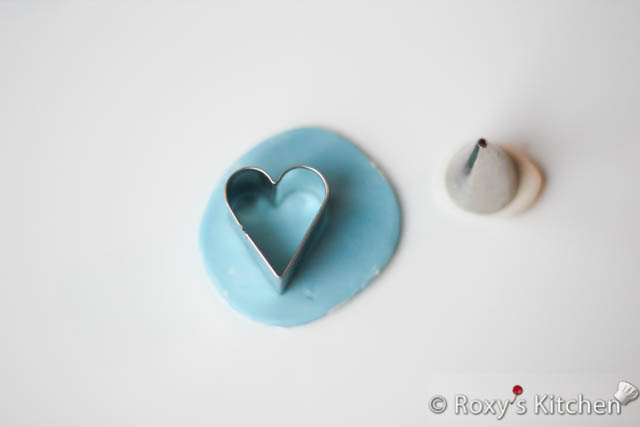
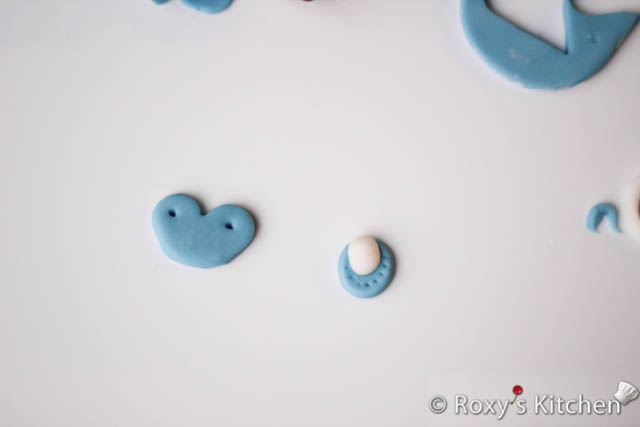
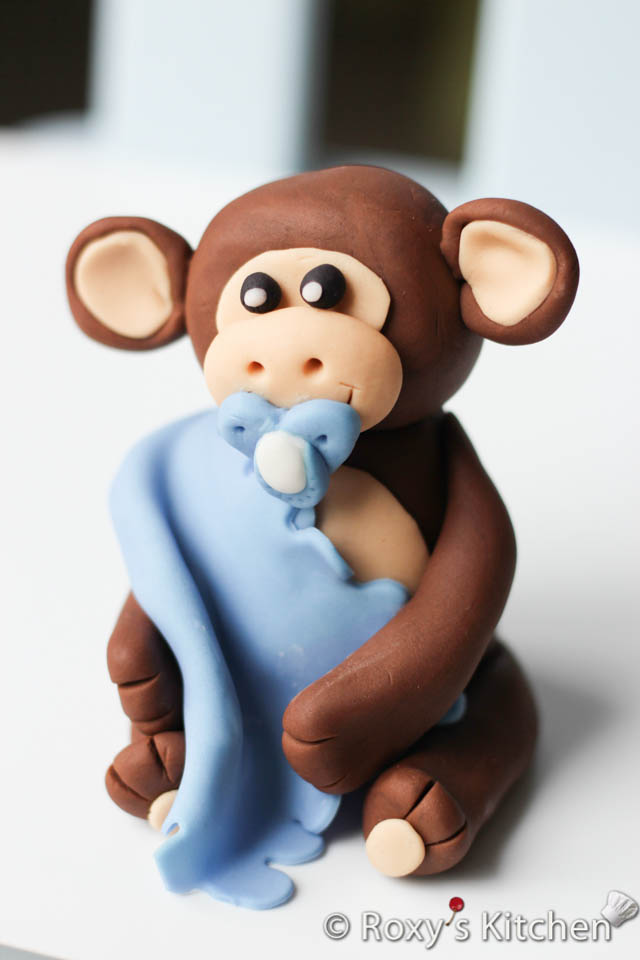
For the pacifier, I made a fondant heart using the heart-shaped cutter and just cut the pointy end of the heart. Then, I made the pacifier handle using a bit of blue and white fondant.
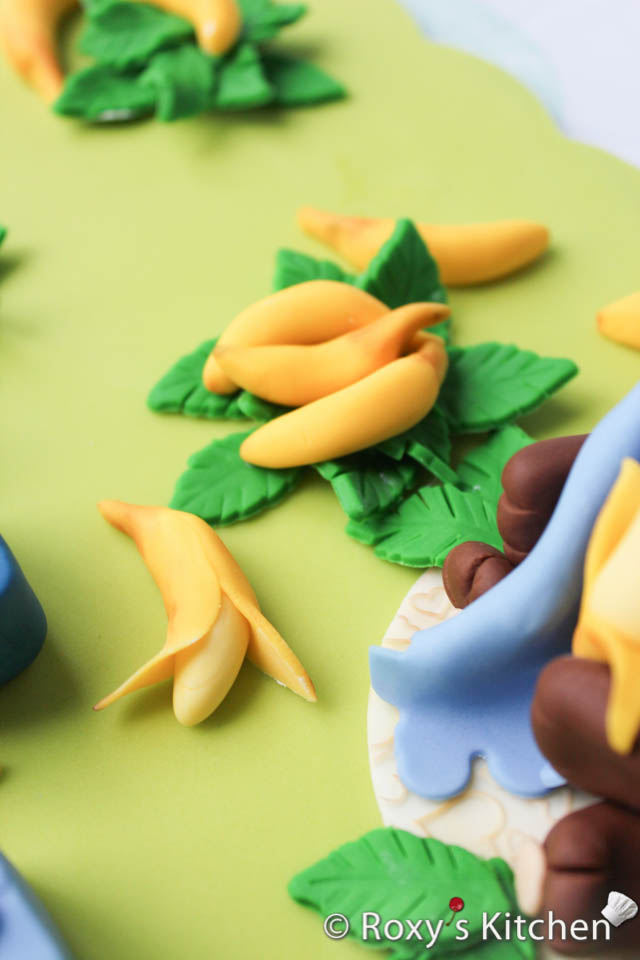
I shaped the bananas by hand. I also made a few bananas that looked half-peeled. Then, I gave them a more realistic look by brushing some brown edible powder on them.
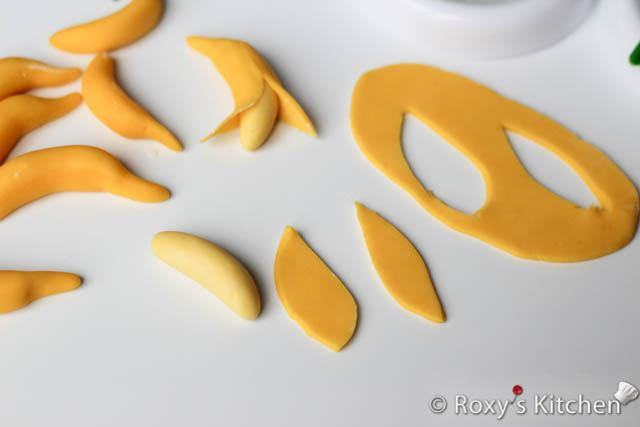
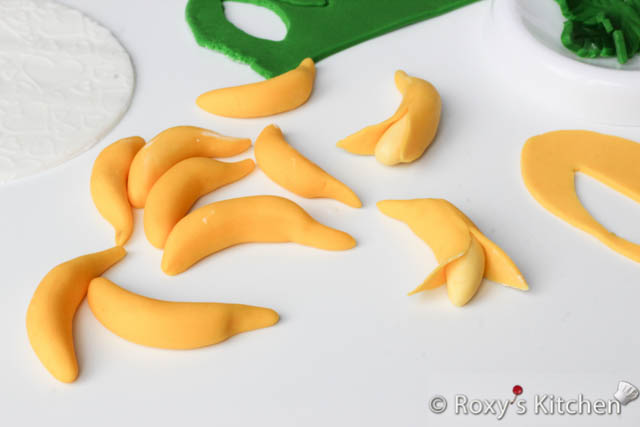
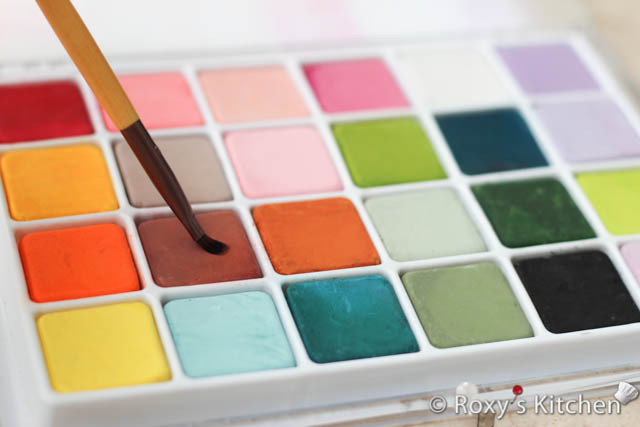
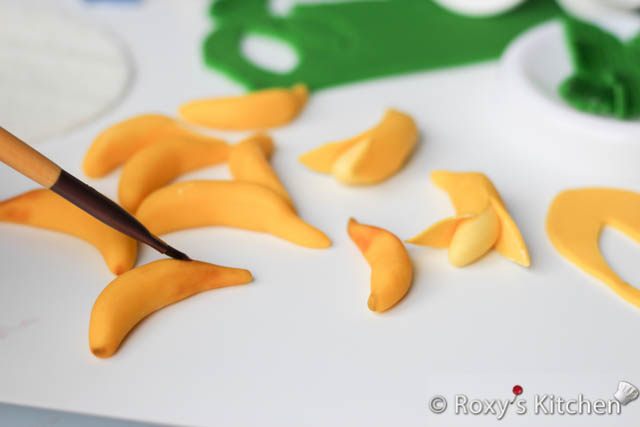
For the leaves, you just need to roll green fondant about 0.6 cm (1/4’’) thick and cut out the leaves using the leaf cutter and embosser. I placed them in forming cups so they can dry as I didn’t want them flat. Feel free to play with the shapes, place pieces of rolled paper towels under to give them the shapes you want.
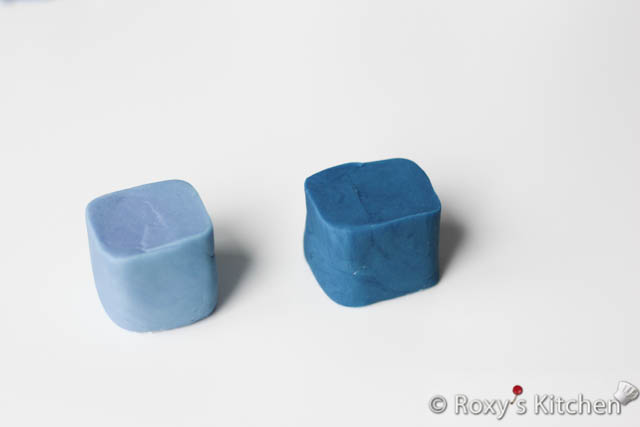
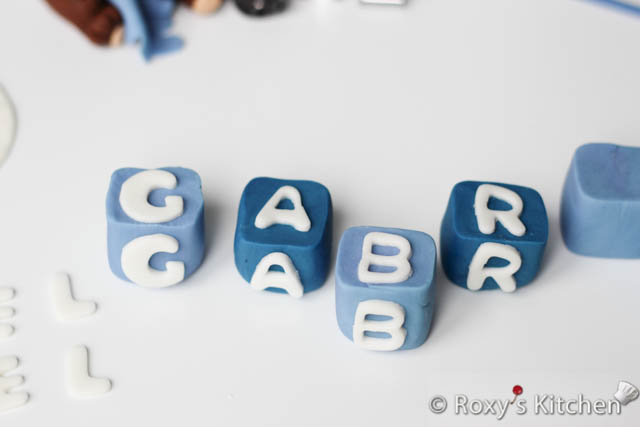
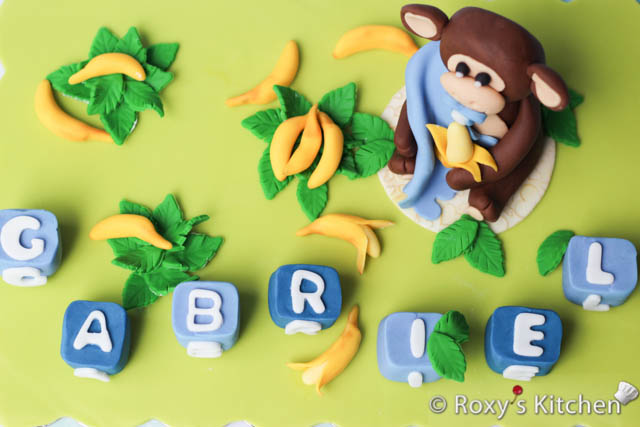
The baby cubes are just shaped and cut by hand. I rolled the blue fondant into a log that was about 3.8 cm (1.5’’) in diameter. Then, I gave this square-round edges and cut the log into 3.8 cm (1.5’’) squares. I made the letter cut-outs out of white fondant and glued them to the cubes (on 3 sides – top, front, back) using a bit of water.
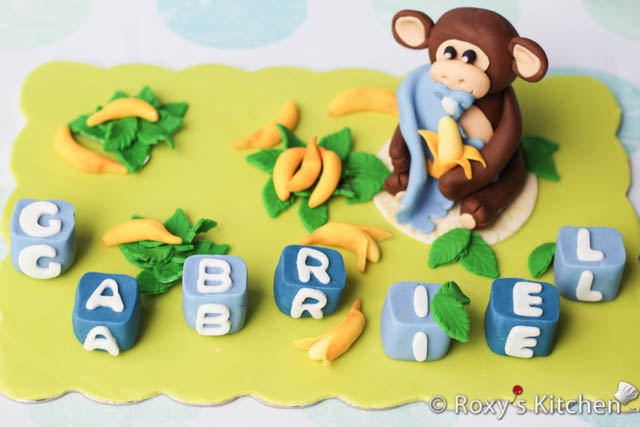
This Monkey & Bananas Cake Topper was placed on a store-bought cake. So, I arranged all the decorations on a cake board (covered in key lime green fondant) to make it easier to transport and place on the cake.
You might also like…




[…] Monkey & Bananas Cake Topper […]