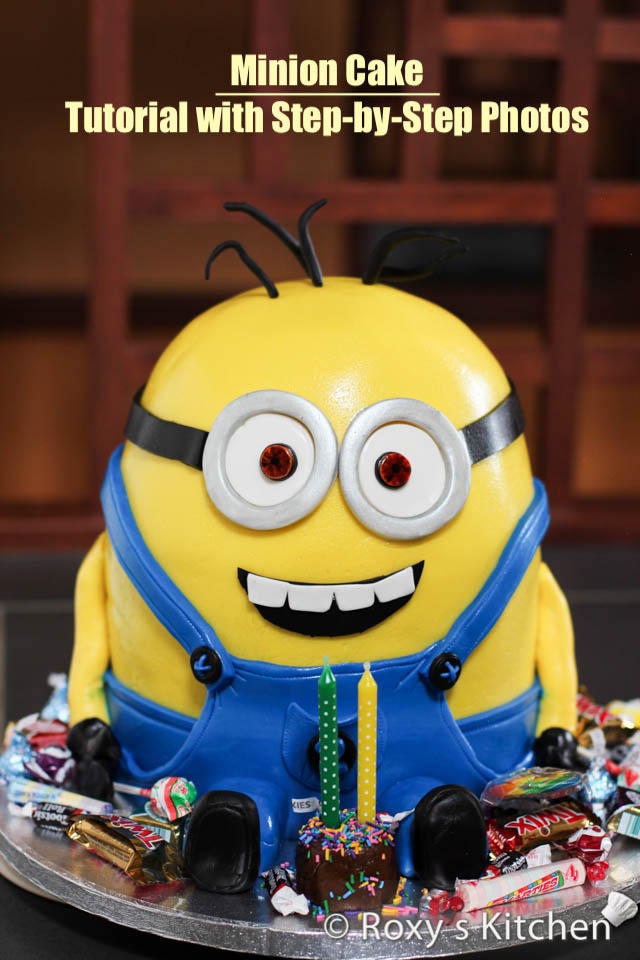
Ah, the Minion Cake – a dessert that’s almost too cute to eat…almost. I made this cake for Eric’s 2nd birthday party. I mean, let’s face it, who wouldn’t want to chow down on a cake that looks like one of those loveable yellow minions from Despicable Me? With their cute little overalls, goggles, and their gibberish language, what’s not to love?
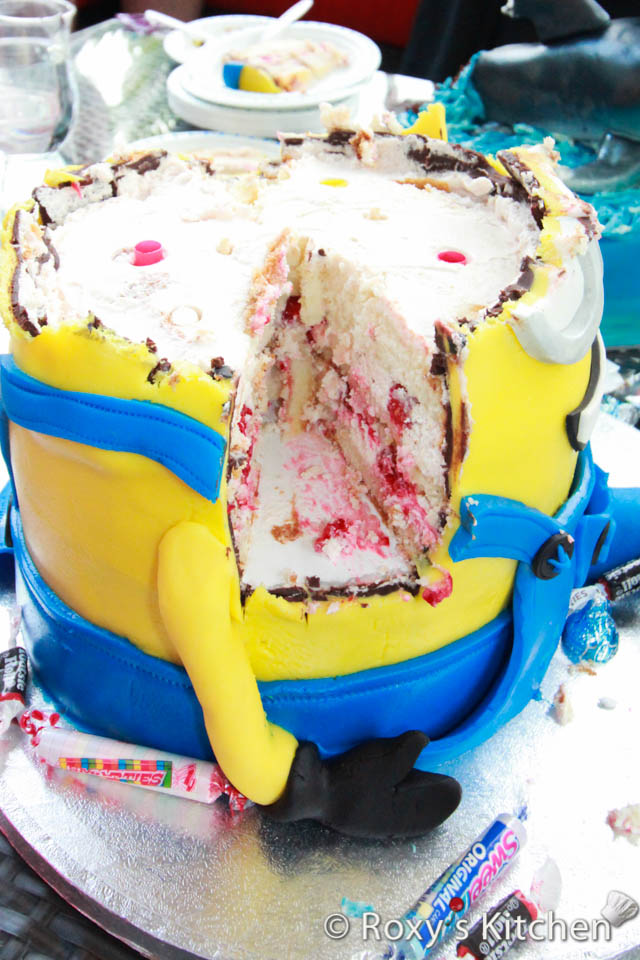
Eric loves vanilla cakes and refreshing fillings with fresh fruit. So this is a vanilla cake filled with raspberry cream cheese buttercream and fresh raspberries.
Ingredients
Double the ingredients in this Moist Vanilla Cake recipe to make:
- Two 20 cm (8 inch) round cakes
- One 20 cm x 10 cm (8 inch x 4 inch) hemisphere/dome cake
Sugar Syrup to Moisten the Cake (optional):
- 400 ml water
- 10 Tbsp sugar
- 5-6 Tbsp vanilla extract
Use this only if you like your cakes extra moist.
Raspberry Cream Cheese Buttercream:
- Make the Raspberry Cream Cheese Buttercream Filling using this recipe and the ingredients listed there.
Unwhipped Chocolate Ganache / Firm Frosting for Crumb Coating the Minion Cake:
- 600 g semi-sweet chocolate (baking or couverture chocolate)
- 300 ml whipping cream
Covering the Cake & Making the Minion Details:
- 2.3 kg (5 lbs) yellow fondant
- 900 g (2 lbs) blue fondant
- A bit of black fondant, white fondant and brown fondant
Other Tools/Items:
- 35-35 cm (14-16’’) cake drum
- two 20 cm (8’’) cake boards
- 10 Boba plastic straws or cake dowels
- circle cutters for the eyes and goggles: 5 cm (2’’) and 7.5 cm (3’’) in diameter.
- number cutters for your kid’s age
- fondant stitching cutter tool/roller
- gum paste / fondant flower wires for the hair
- metallic luster dust + 1 drop of Vodka
- brown & orange gel food colouring + 1 drop of Vodka
- a small paint brush
- birthday candles for the mini cake
- lots of individually wrapped candies and mini chocolates – these were a big hit with the kids!
Directions
Making the Cake
Double the ingredients in this Moist Vanilla Cake recipe recipe and prepare the batter as per the instructions. Split the batter between 3 pans:
- 1/5 of the batter in one 20 cm x 10 cm (8 inch x 4 inch) hemisphere pan or oven-proof bowl greased with butter/oil and coated with a bit of flour
- The remaining batter split between two 20 cm (8 inch) round pans greased with butter/oil and lined with parchment paper
Bake the cakes, let them cool off. Cut each round cake horizontally in three and the dome cake in two.
The cakes are already moist but if you want them extra moist, prepare a simple sugar syrup by boiling 400 ml water with 10 tablespoons of sugar. Add 5-6 tablespoons of vanilla extract when it starts boiling and remove from heat. Let it cool off.
Making the Filling
Make the Raspberry Cream Cheese Buttercream Filling using this recipe and the ingredients listed there.
Making the Chocolate Ganache for Covering the Cake
Make Unwhipped Chocolate Ganache / Firm Frosting out of 600 g semi-sweet chocolate callets/chips and 300 ml whipping cream by following the instructions in this recipe.
Assembling the Cake
Spread some filling on a 35-35 cm (14-16’’) cake drum (it needs to be sturdy & thick) or serving platter (it needs to be flat) and place the first round cake layer on top. Moisten it with sugar syrup and spread raspberry cream cheese buttercream on top (~250 g of filling per layer) and fresh raspberries. Repeat the steps for the 2nd cake layer. Lastly, place the 3rd cake layer on top and moisten it with sugar syrup. So for your first stacked round cake you should have these layers: cake, filling, cake, filling, cake.
Repeat the same steps to fill the second round cake. The only difference being that you will place the first layer of the cake on a 20 cm (8’’) cake board.
Spread some filling on the second 20 cm (8’’) cake board and place the first cake layer / the base of the hemisphere/dome cake on top. Moist it with sugar syrup and spread raspberry cream cheese buttercream on top (250g of filling). Add fresh raspberries, place the second layer on top and moist it with syrup.
Cut 5 boba straws or cake dowels to the height of the first 20 cm (8’’) round cake and insert them into the cake – one in the middle and the other four about 6 cm (2.5’’) away from the middle, on the left/right/top/bottom. Spread another bit of frosting on top and place the second 20 cm (8’’) round cake. Insert 5 boba straws again to create the support for the dome cake.
Lastly, spread another bit of frosting on and place the dome cake on top.
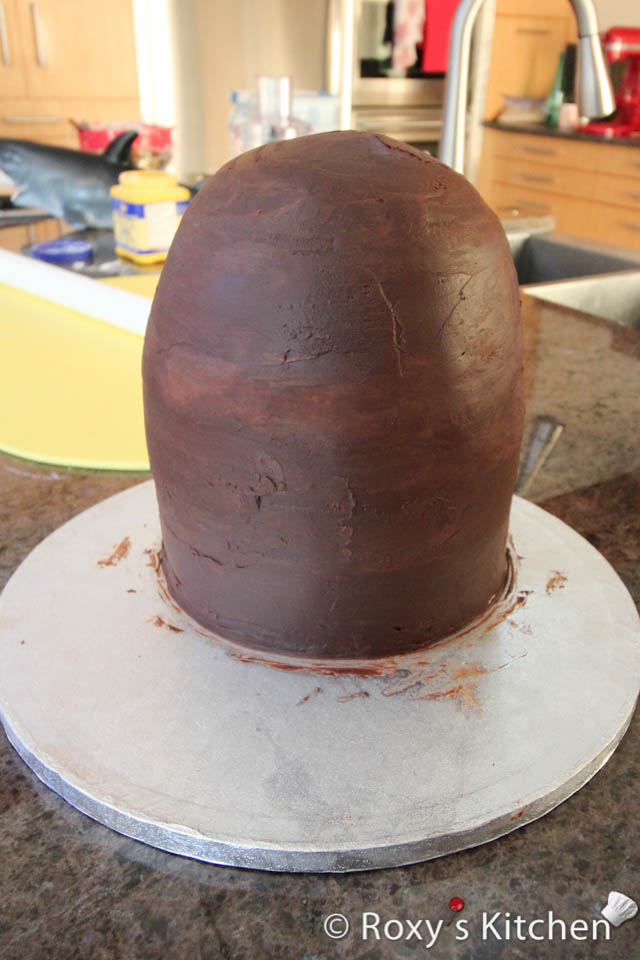
Crumb coat the stacked cake with a thin layer of the ganache. Refrigerate the cake for 1-2 hours. Then, apply the last layer of ganache and smooth it out using a straight or offset spatula. It doesn’t have to be perfect as the cake will be covered with fondant.
Covering the Minion Cake with Fondant
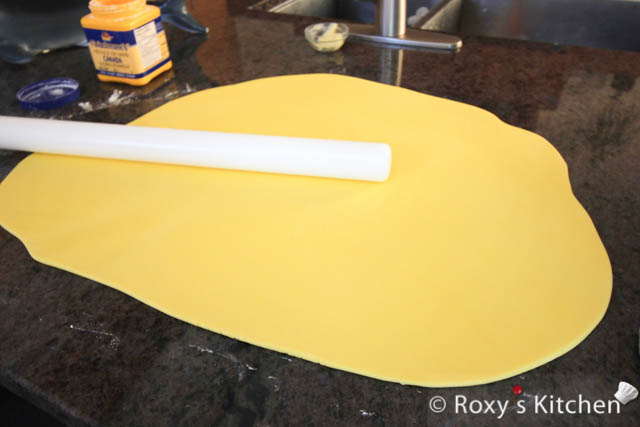
Knead and roll your yellow fondant to cover the cake.
Before rolling out your fondant, sprinkle some powdered sugar or cornstarch on your work surface and knead it until it has a workable consistency and it doesn’t feel and look dry.
Use a measuring tape or a piece of string to measure the top and sides of the cake. So if you measured 8’’ across the top and your cake is 14’’ tall that is 36’’ of cake in total so you need to roll out the fondant at least 36’’ in diameter but you should leave an inch or two extra. Sprinkle some powdered sugar onto your work surface and roll out the fondant in the approximate shape of your cake (i.e. circle for a round cake). As you are rolling it make sure you lift the fondant occasionally and rotate it 45 degrees to make sure it doesn’t stick to your work surface. If it sticks lift the fondant and sprinkle more powdered sugar or cornstarch.
Gently lift fondant over rolling pin and place it on the side of the cake. Start unrolling the fondant from the side of the cake and across the top to the other side.
Smooth the fondant with a fondant smoother (or the palm of your hand) starting from the top. Start to gently pull the fondant out and down around the sides of the cake using one hand and spread the excess fondant and smooth it out using a fondant smoother (or your other hand).
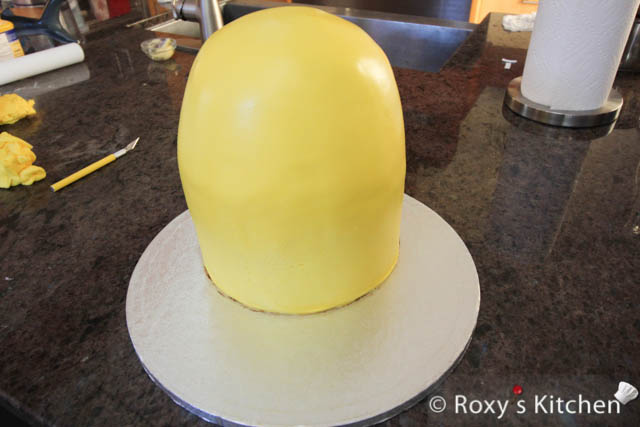
Keep turning the cake and repeating these steps until the sides are smooth and without any ruffles formed towards the bottom. It’s better if you use a fondant smoother since the pressure of your hands could leave marks and the warmth from your hands might make the fondant sticky.
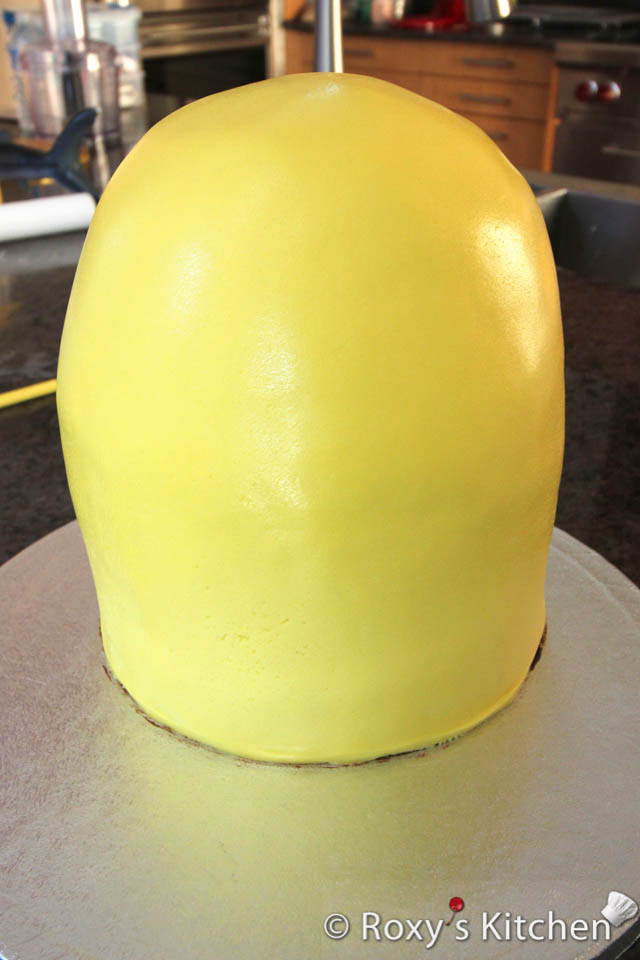
Use your fondant smoother to get rid of any wrinkles and air bubbles as well. If you see any air bubbles, insert a pin on an angle, release the air and smooth the area again.
Trim the edges at the bottom using an X-Acto knife, a pizza cutter or any other sharp knife you have.
Making the Other Fondant Details for the Minion Cake
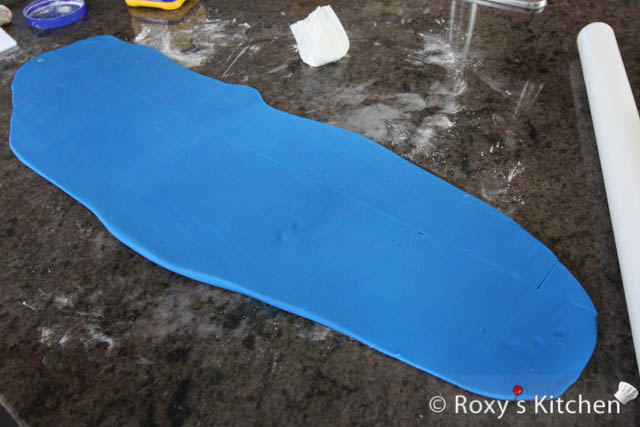
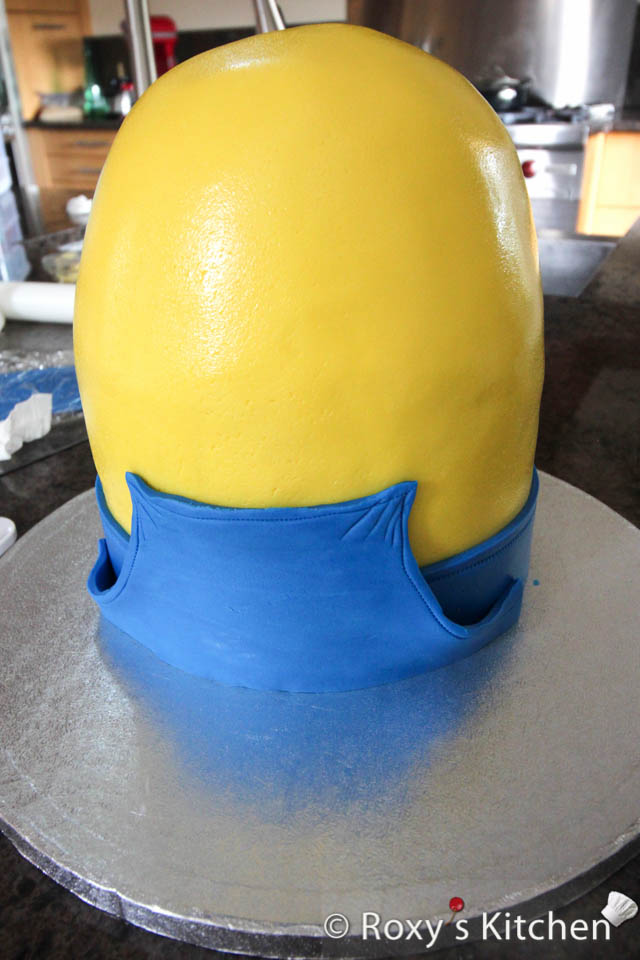
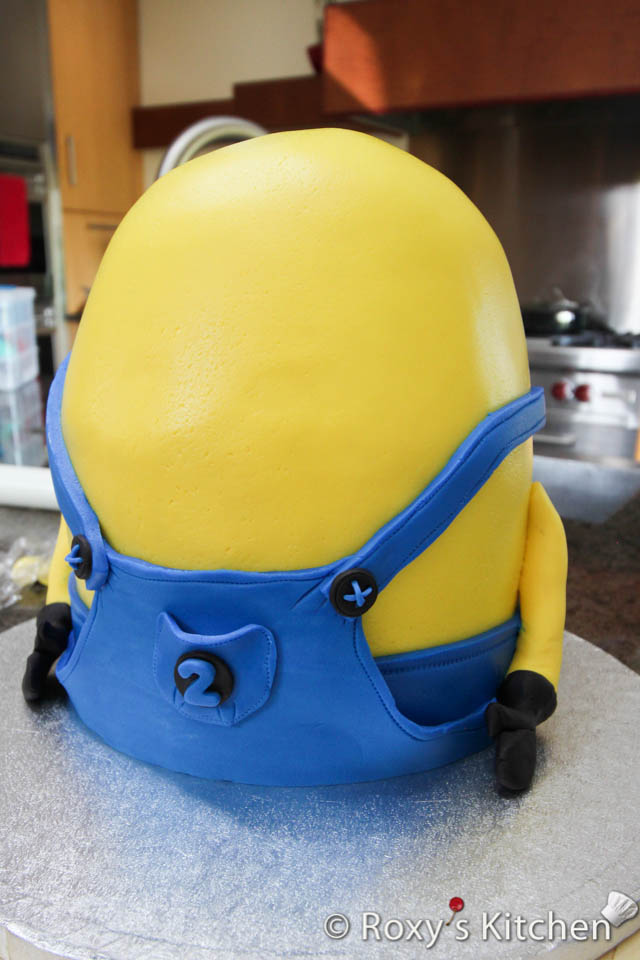
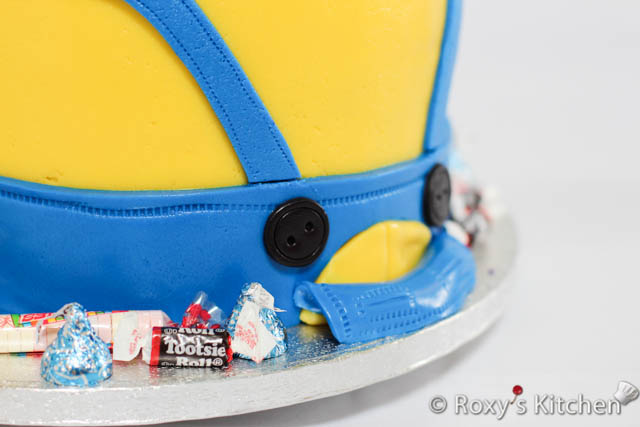
Sprinkle some powdered sugar or cornstarch on your work surface and roll out the blue fondant to make the minion’s overalls.
Cut a rectangle that is as long as the circumference of your cake and about 7.5 cm (3’’) tall.
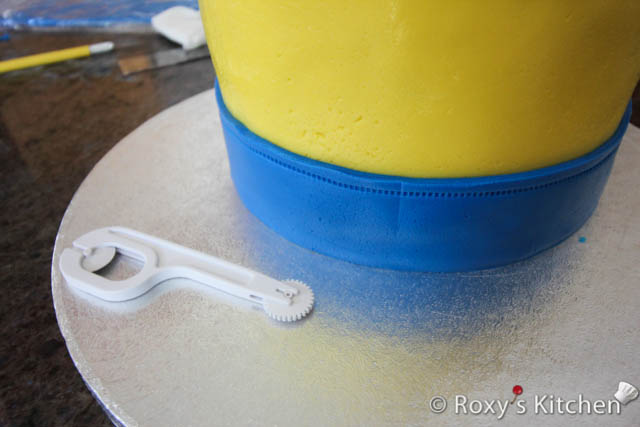
Brush some water at the base of the minion cake and place the blue fondant on top.
Use a fondant stitching cutter tool/roller to create the embossed pattern shown in the picture.
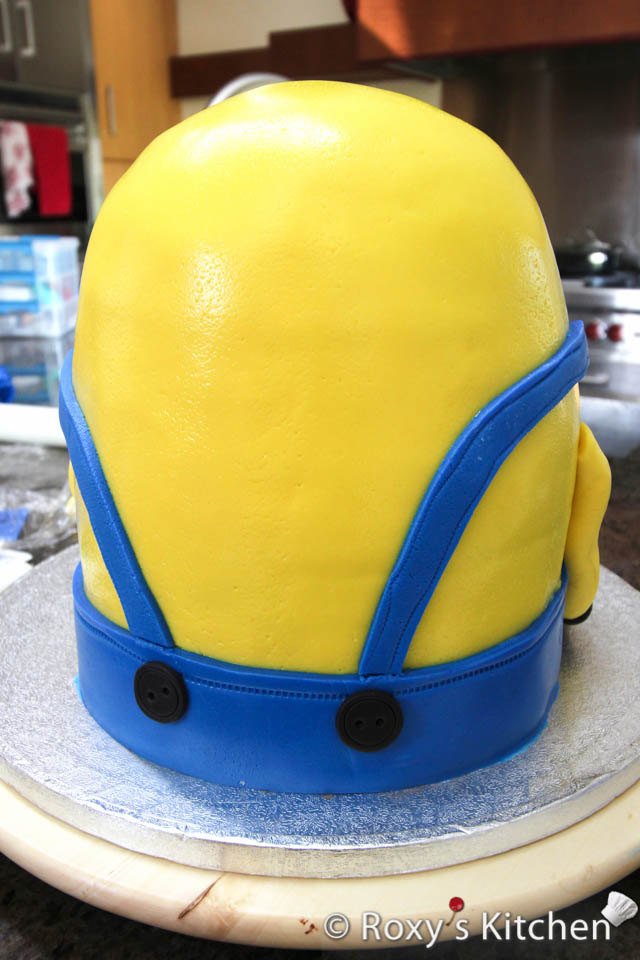
Roll more blue fondant to make the rest of the overalls, the tiny pocket and the straps and use the embosser tool again for the stitching pattern. Attach them to the cake using a bit of water.
Use the back of a blade the create the three creases on each side of the overalls, in the top corners.
Make the buttons out of black fondant.
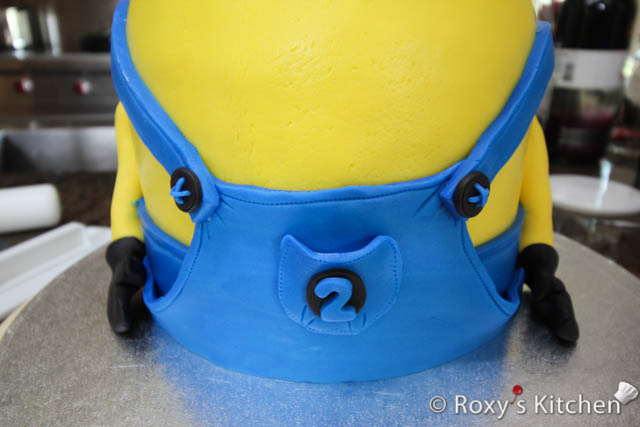
Use a number 2 cutter (or another number if your little one has a different age) to cut out the number out of blue fondant and attach it to the pocket using a bit of water.
Make the circle that’s on top of the pocket out of black fondant.
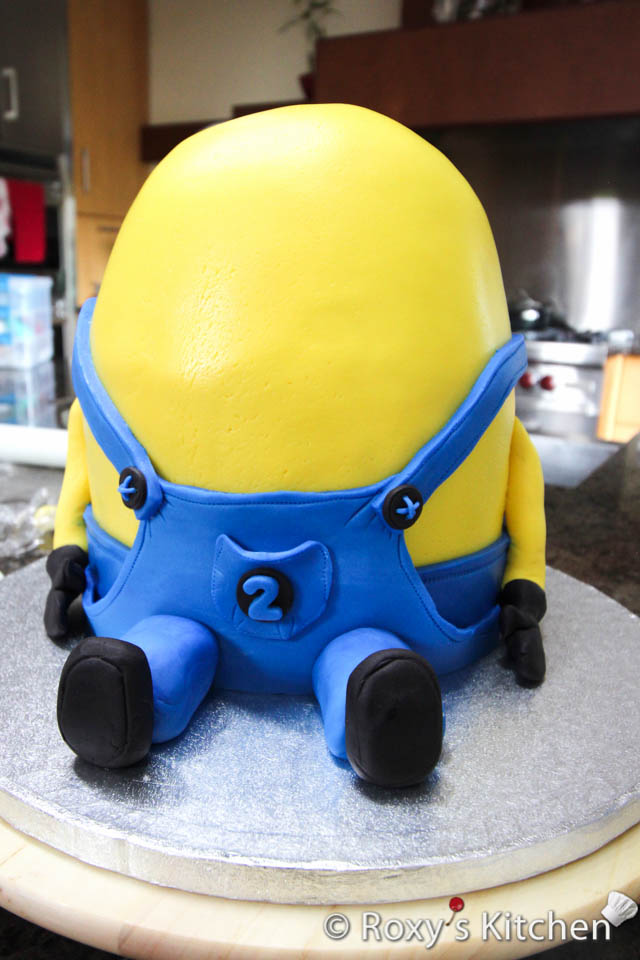
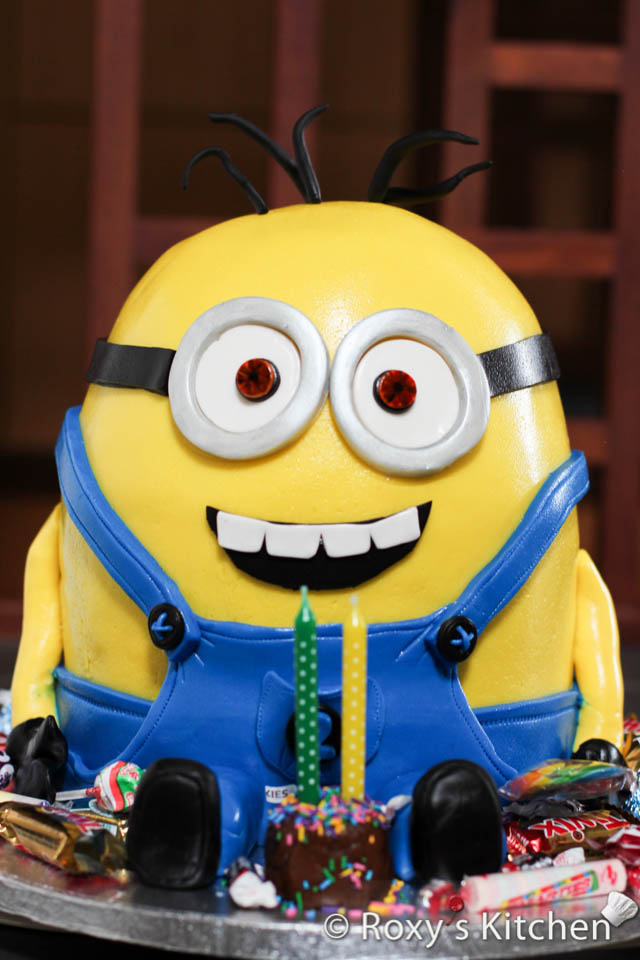
Roll some thin ropes out of yellow fondant to make the arms. Make the hands out of black fondant.
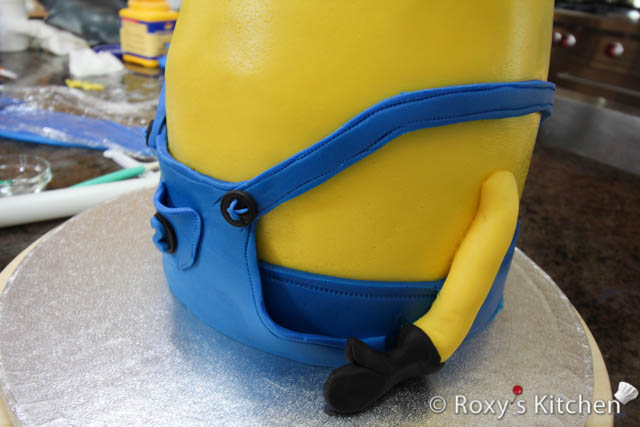
Make the legs out of blue fondant and black fondant as seen in the picture. I didn’t use any special tools for these, I just rolled some logs out of fondant and gave them the shapes seen in the picture.
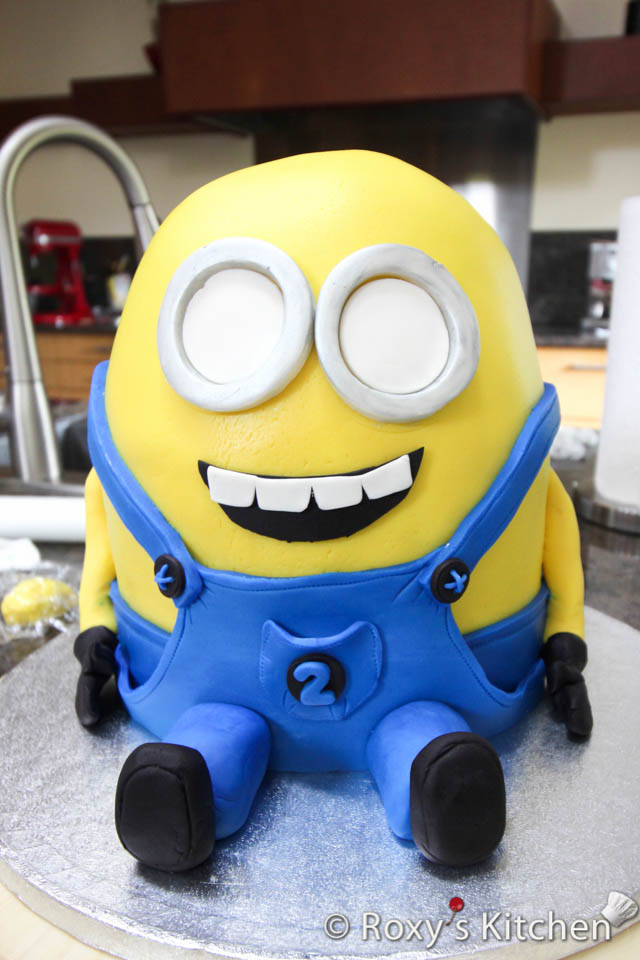
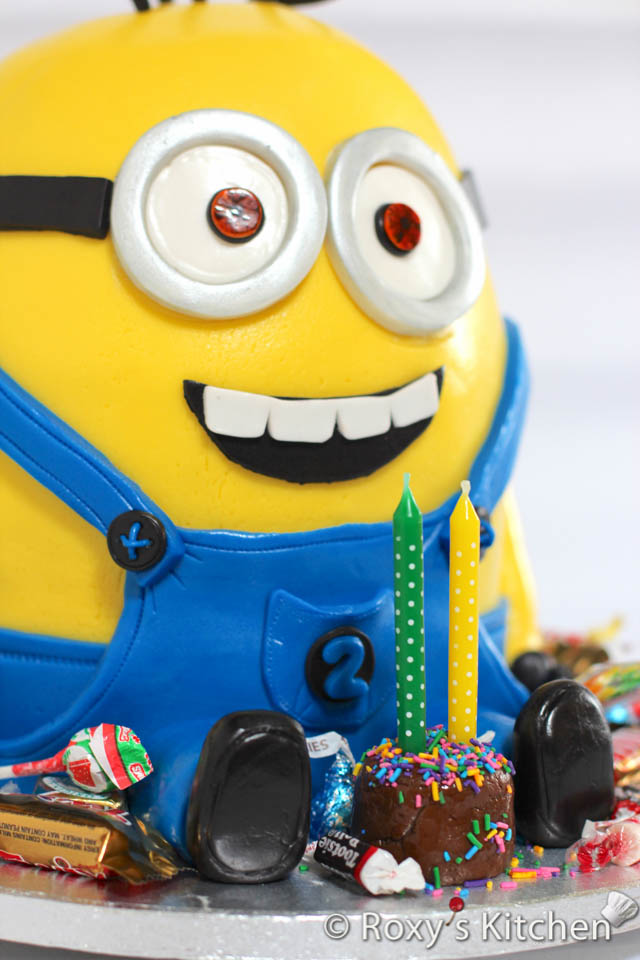
Make the eyes out of white fondant using a circle cutter that’s 5 cm (2’’) in diameter. I made the goggles out of white fondant too using 7.5 cm (3’’) and a 5 cm (2’’) circle cutter. Then, I brushed the goggles with some edible metallic luster dust mixed with a drop of Vodka.
Make the mouth out of black fondant and the teeth out of white fondant.
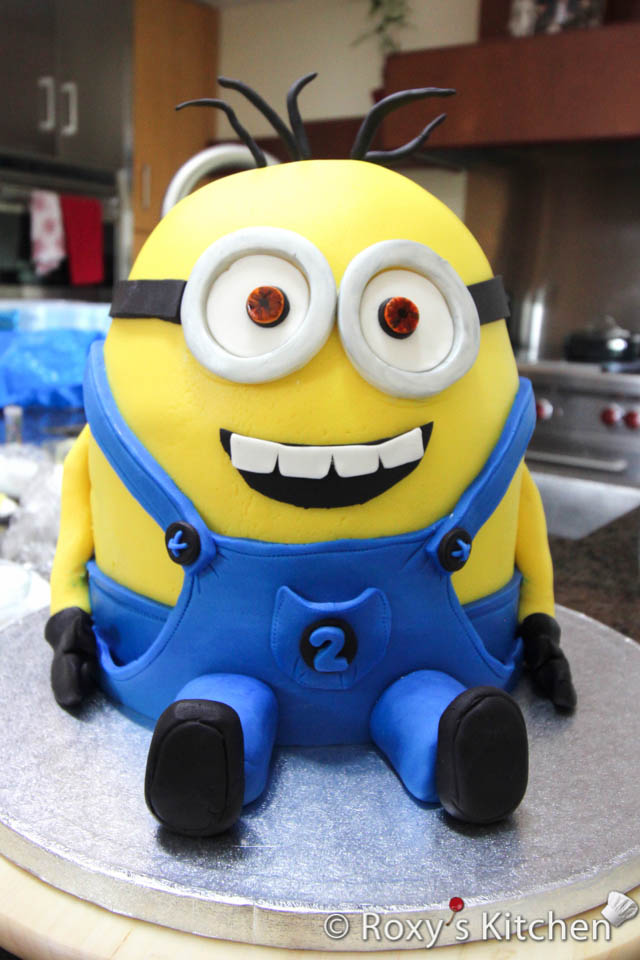
To make the pupils, cut out two small black fondant circles, then two white ones that are slightly smaller. Attach them to the cake and then paint the pupils with brown/orange gel food colouring mixed with a tiny bit of Vodka.
Make the goggle straps out of black fondant.
For the hair, I used gum paste / fondant flower wires covered in black fondant. They are easy to stick into the cake and they can maintain the shape you give them.
Now, on to the final details! Make a mini cake out of brown fondant. Stick two birthday candles in it and place it in front of the minion. Add lots of candies and small chocolates around the minion cake. These were a big hit with the kids!
And this is the only shot I have of the cut cake: