


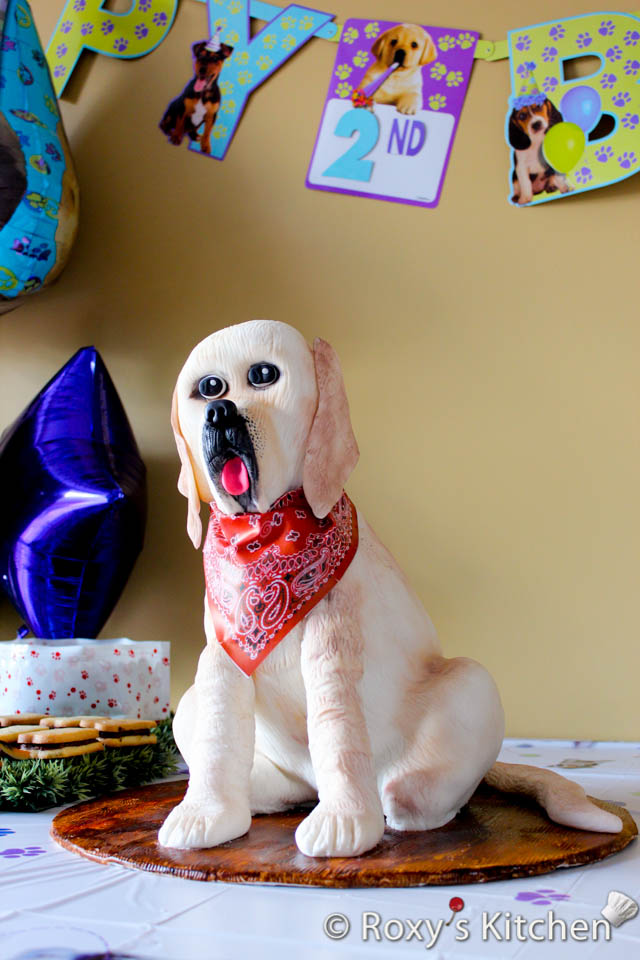
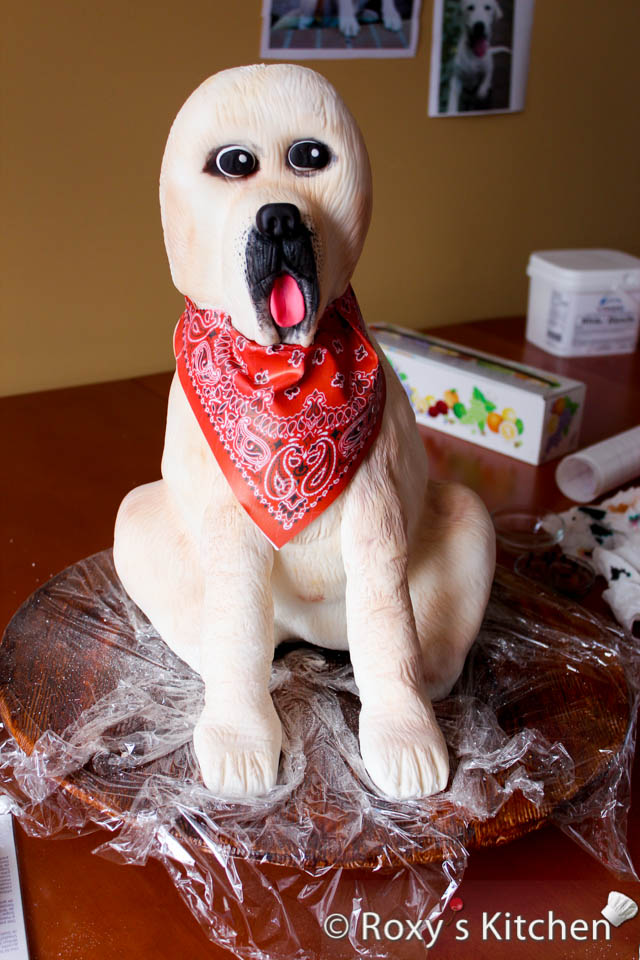
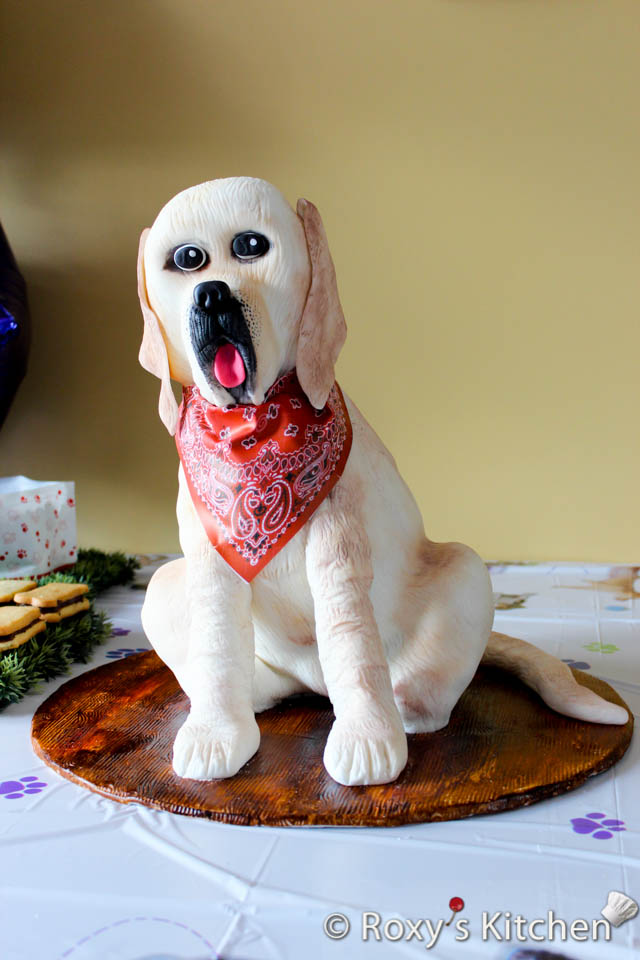
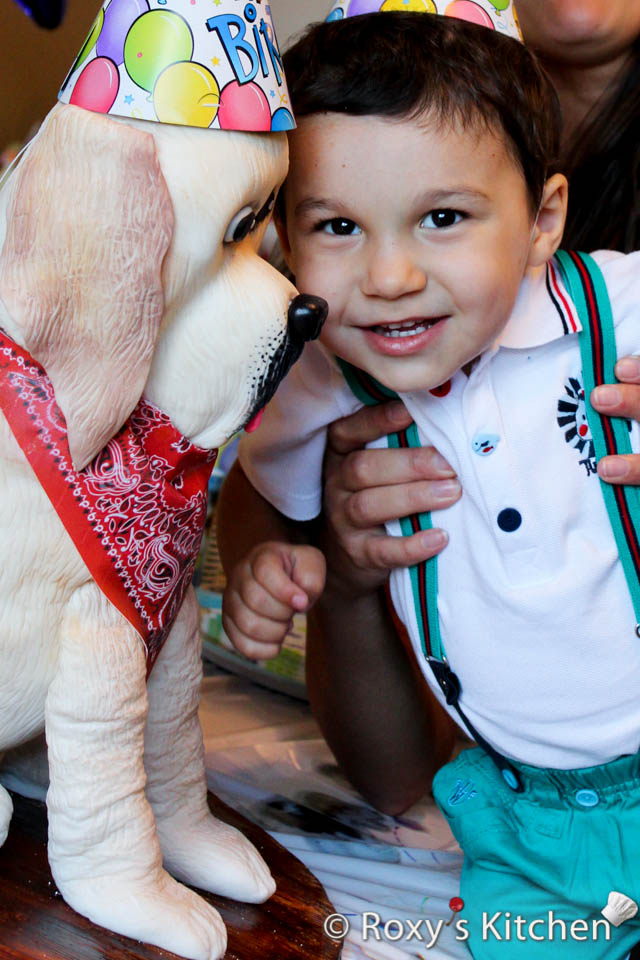
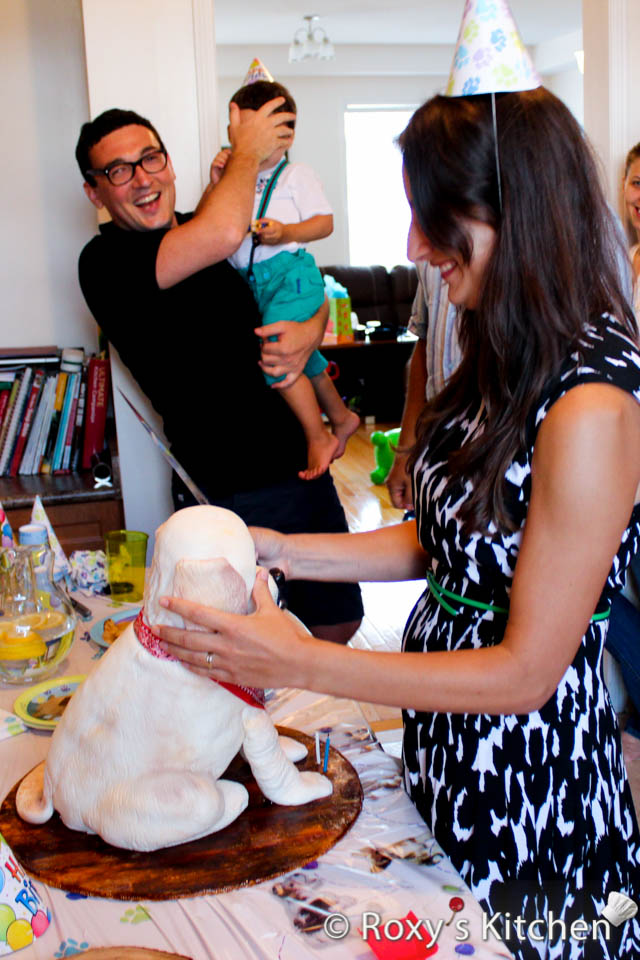
In this post I’ll show you how to create a 3D dog cake that will make your kid’s birthday party a howling success! I made this dog cake for my older son’s 2nd birthday party almost 8 years ago. It’s the first ever 3D cake that I made so it might not be perfect, but I learned so many things about stacking and carving cakes at that time. With this occasion, we also realized that it’s hard to explain toddlers why you’re decapitating a dog when you start slicing the cake. So cover their eyes while you do so 😂!
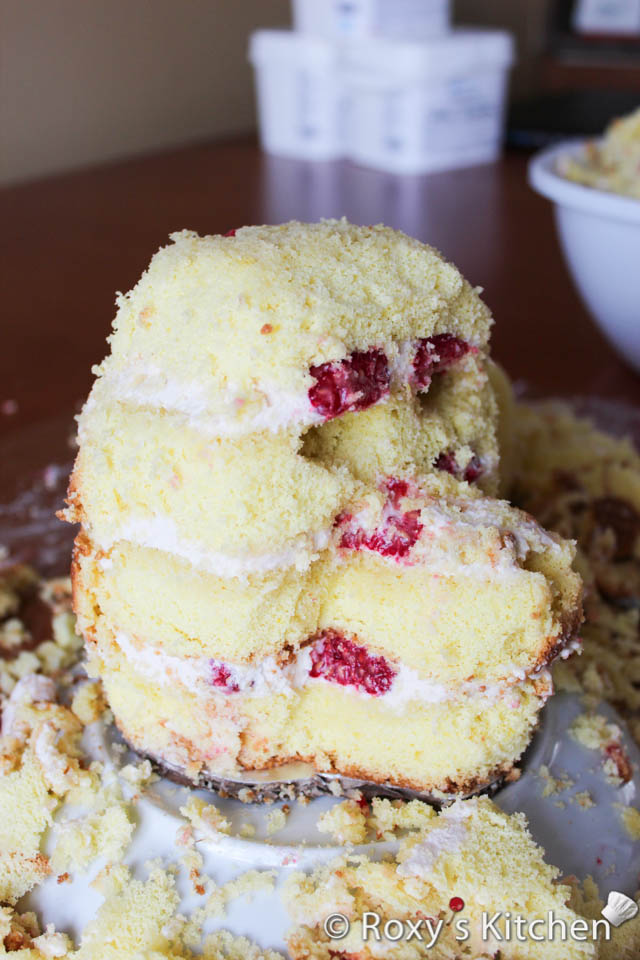
It’s a delicious vanilla cake filled with raspberry cream cheese buttercream and fresh raspberries. I’ll share the recipe links throughout the post.
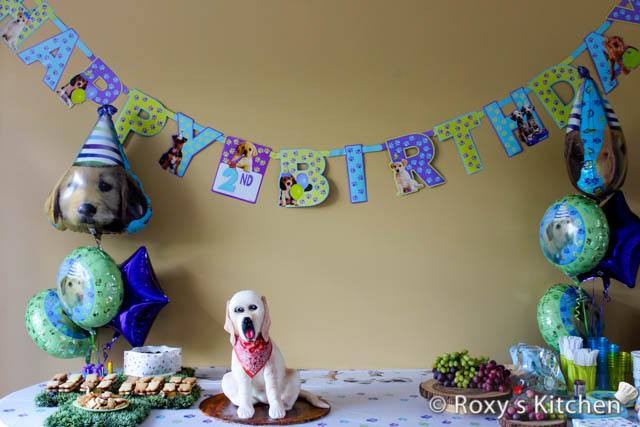
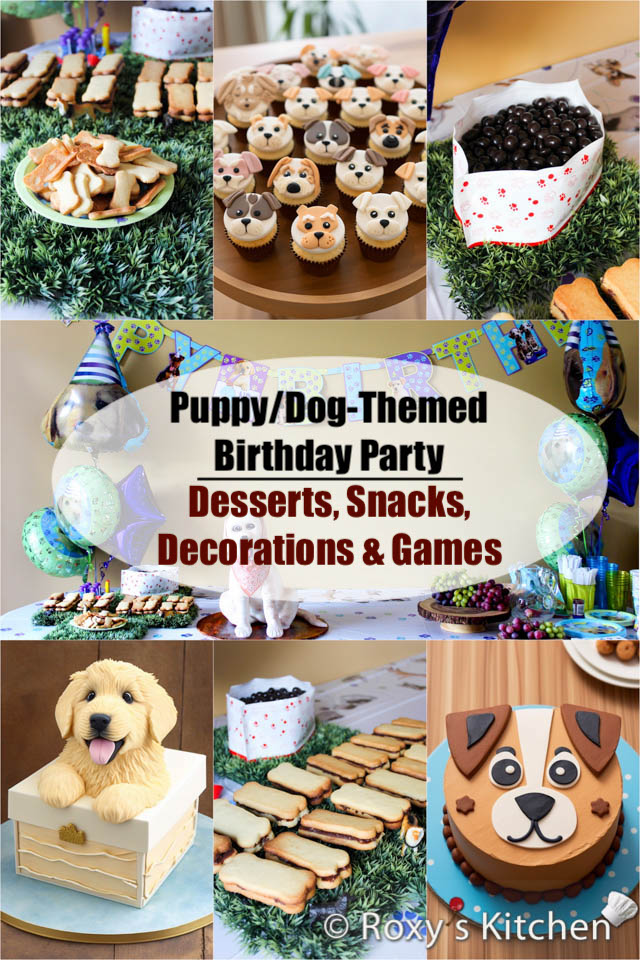
For more posts about our dog-themed birthday party check out my other two posts:
- Puppy/Dog-Themed Birthday Party – Desserts, Snacks, Decorations & Games
- 20 Puppy/Dog-Themed Birthday Party Cakes
So now, dust off your baking and cake decorating tools and let’s embark on this woof-tastic cake-making adventure together!
Filling, Stacking and Carving the Dog Cake
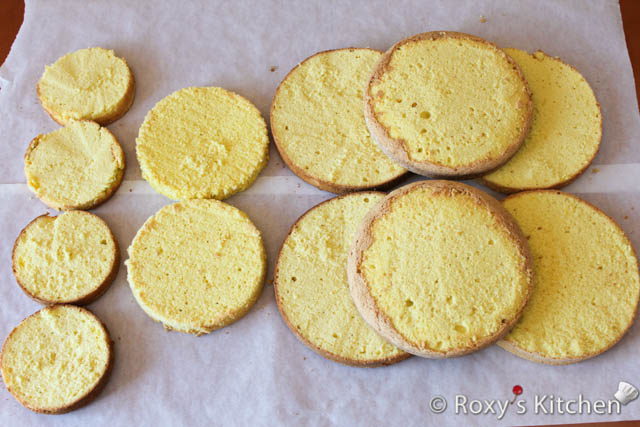
Step 1: Making the Cake Layers
You will need round cakes in three sizes. For example: two 23 cm (9’’) round cakes cut horizontally in three, one 18 cm (7’’) cake cut in two and two 15 cm (6’’) cakes cut in two. I used my simple vanilla cake recipe to make the cake layers. However, you can also use my recipe for perfectly moist vanilla cakes/cupcakes. You will have to adjust the ingredients based on your cake pan sizes. You can use simple syrup (400 ml water + 10 Tbsp sugar + 5-6 Tbsp vanilla extract) to moisten the cake layers.
Step 2: Making the Cake Filling
Make your favourite cake filling. Firmer fillings should be used, not runny ones or mousses. My cake is filled with raspberry cream cheese buttercream and fresh raspberries. You can get the recipe here.
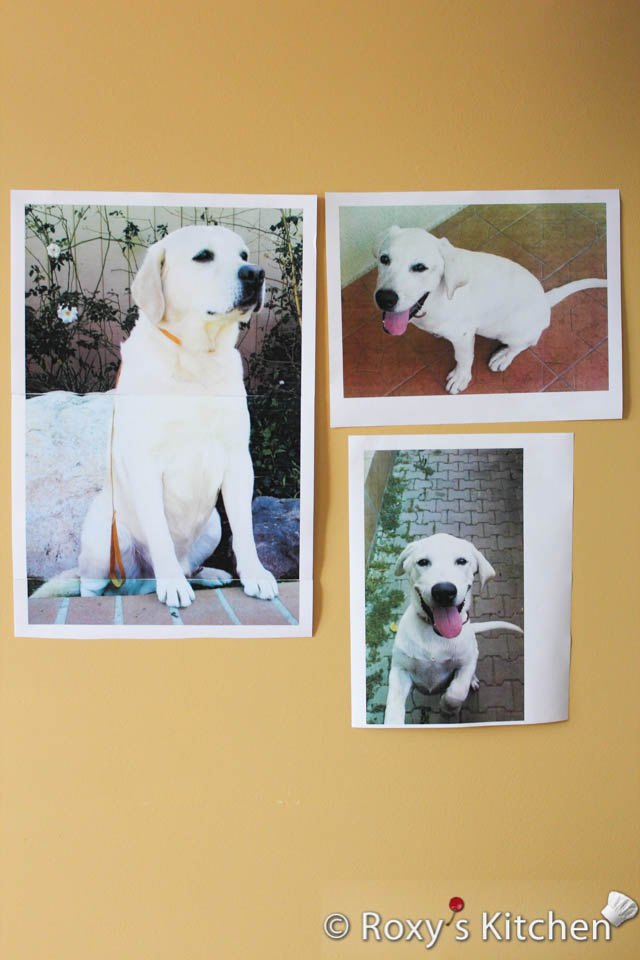
Step 3: Getting Your Dog Picture for Inspiration, Templates and Cake Boards Ready
You should use a picture of a dog you like as a guide. Print it out and as you start carving and decorating the cake, always refer back to it. Your cake will probably not turn out exactly the same, unless you are an artist, sculptor or a very experienced cake decorator :). However, it’s important to get the proportions and main body shapes right as much as you can – body / legs / head.
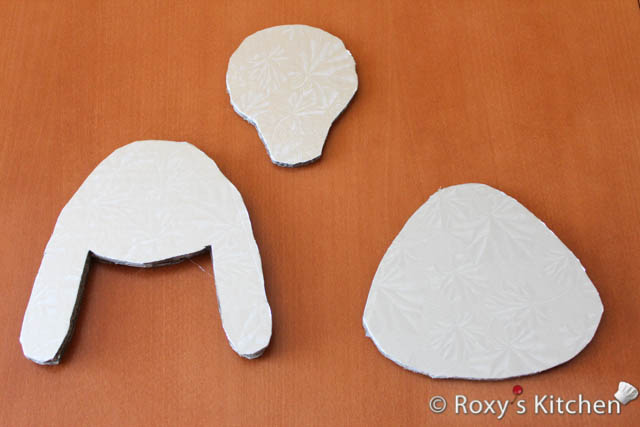
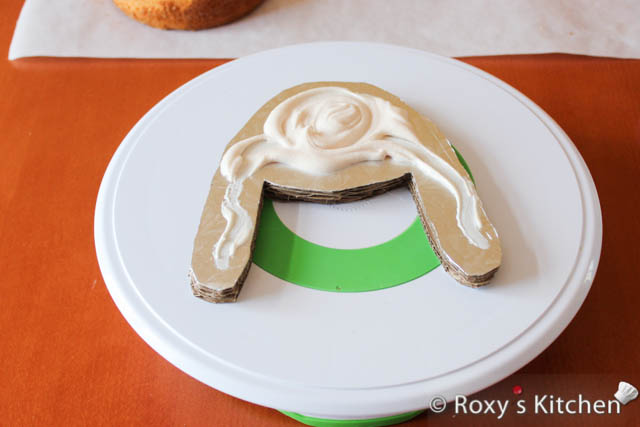
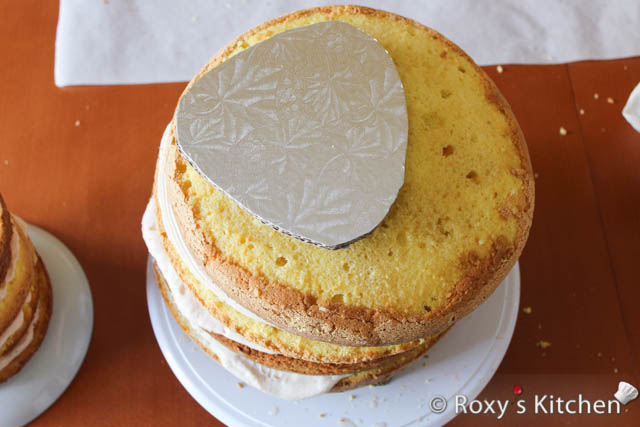
Cut small cake boards in the approximate shape of your carved cake – base of your dog’s body, middle / body of your dog and base of the dog’s head.
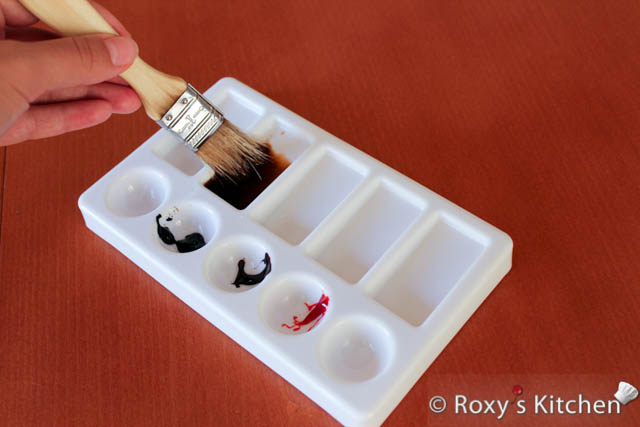
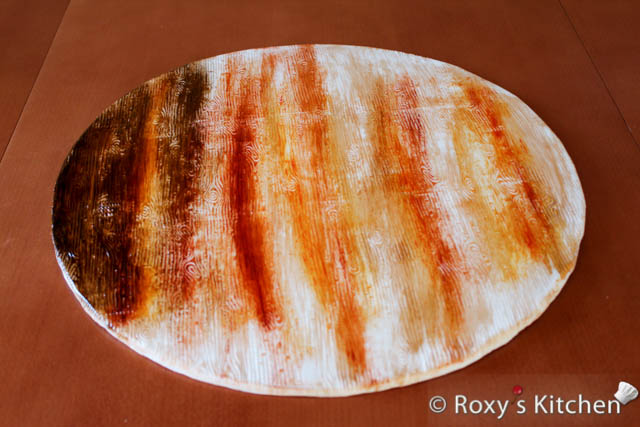
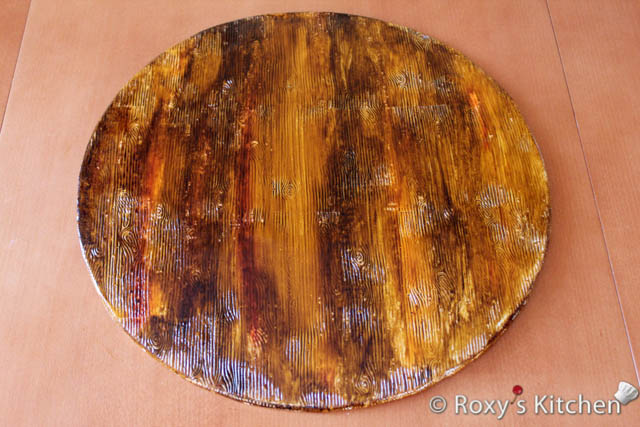
I placed the decorated dog cake on a big cake board covered in fondant with a wood effect. Use a cake drum if you can as it’s sturdier. I covered my cake board in white fondant and gave it the wood effect using a tree bark fondant impression mat. Then, I painted it in different shades of brown using a pastry brush and gel food colouring. Mix a bit of gel food colouring with a drop of clear alcohol (such as vodka) or food-grade extract to achieve a paint-like consistency.

Step 4: Filling and Stacking the Dog’s Body and Head
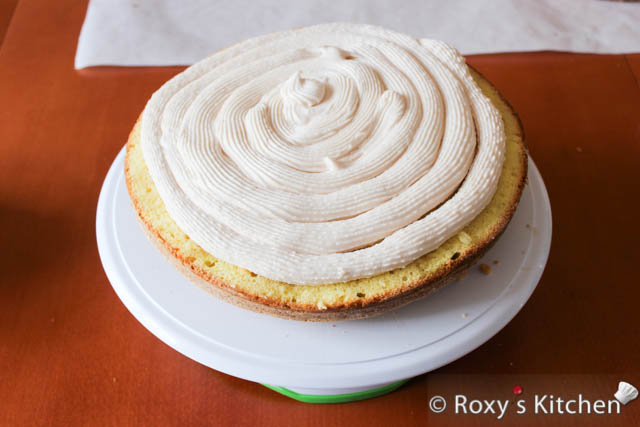
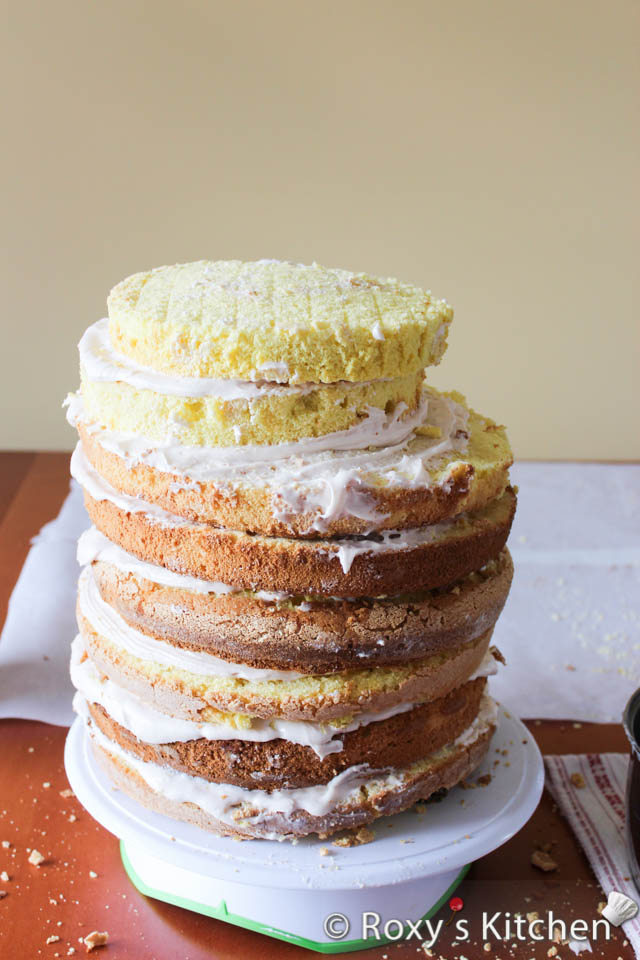
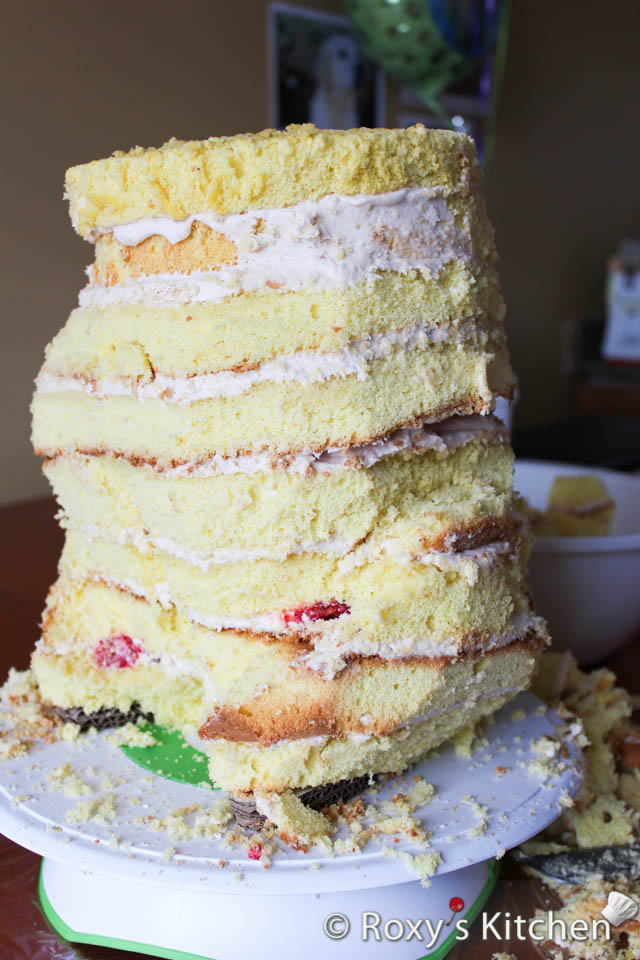
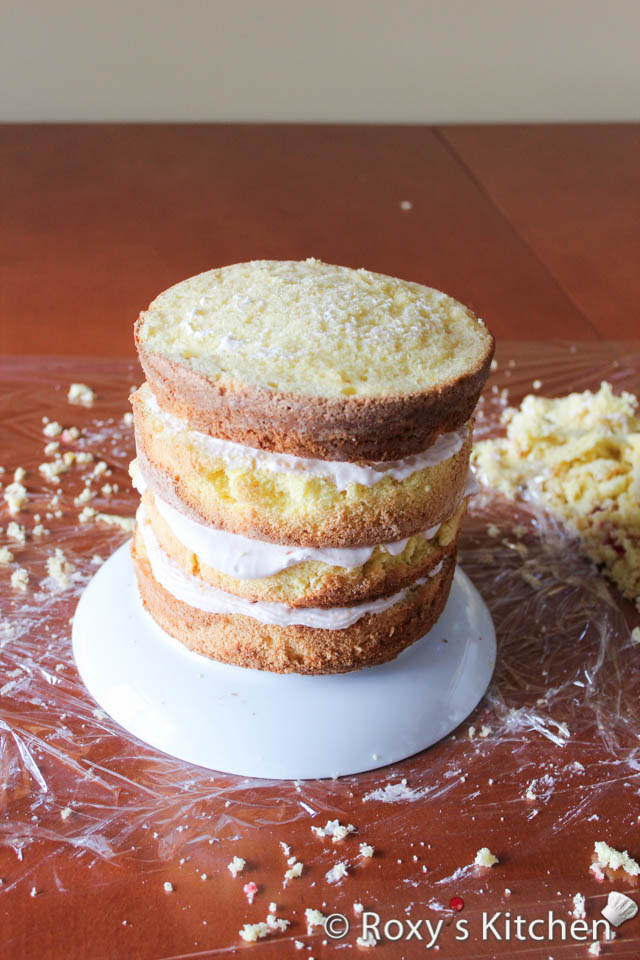
Once you have the cake layers and filling ready, start filling and stacking the cake. Work on the body first and then the head. Save some cream cheese buttercream to crumb coat your cake before covering it in fondant.
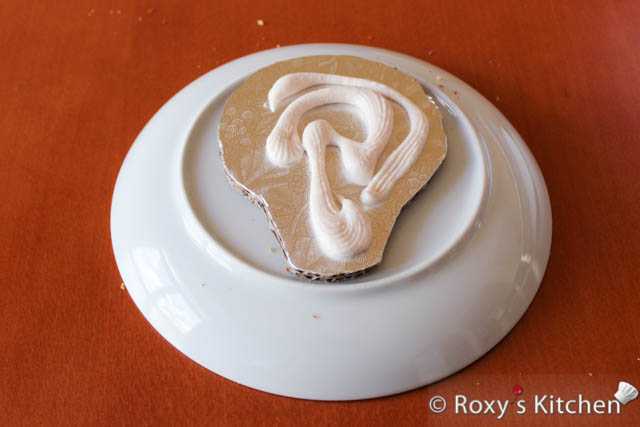
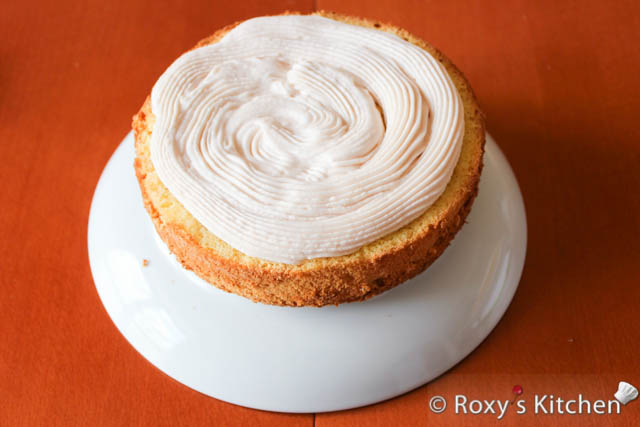
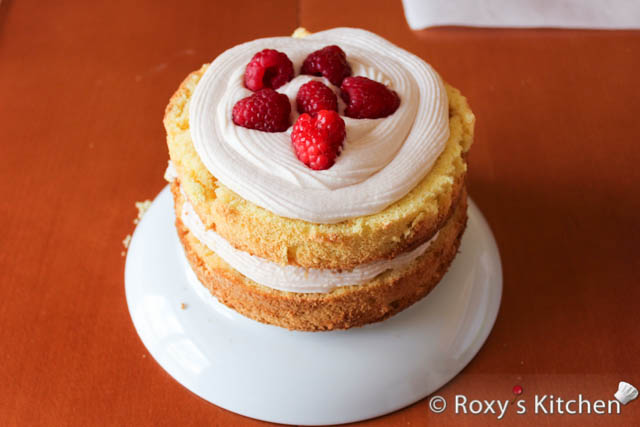
Spread a bit of frosting on the cake board, place the first cake layer, moisten it with sugar syrup, spread the filling and add fresh raspberries, if desired, and place another cake layer on top. Repeat this process until you have the larger round cakes stacked and filled.
Then, insert three support cake dowels in the cake. You can also use large bubble tea straws.
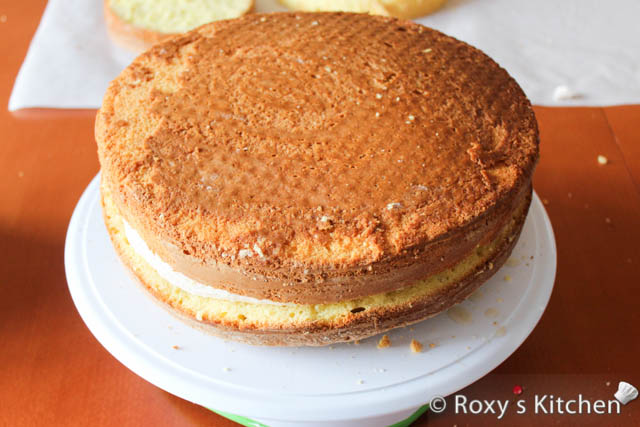
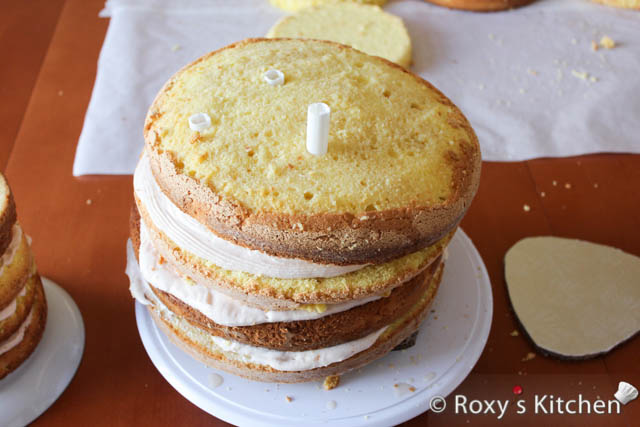
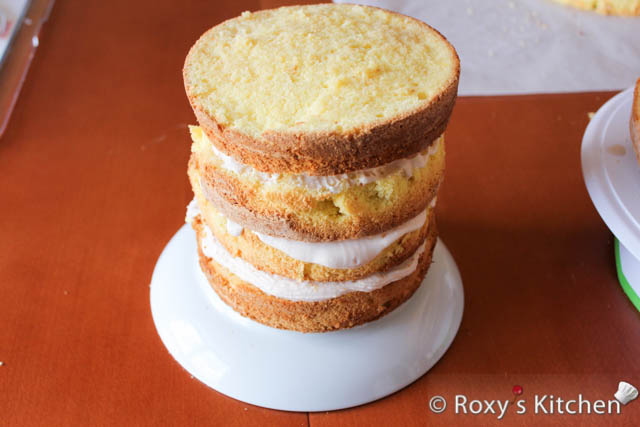
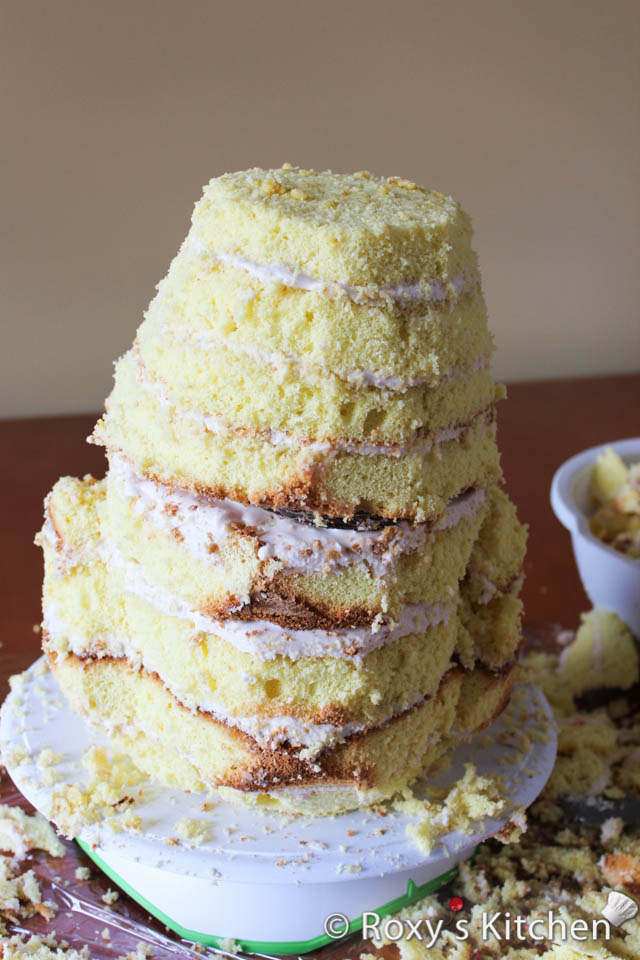
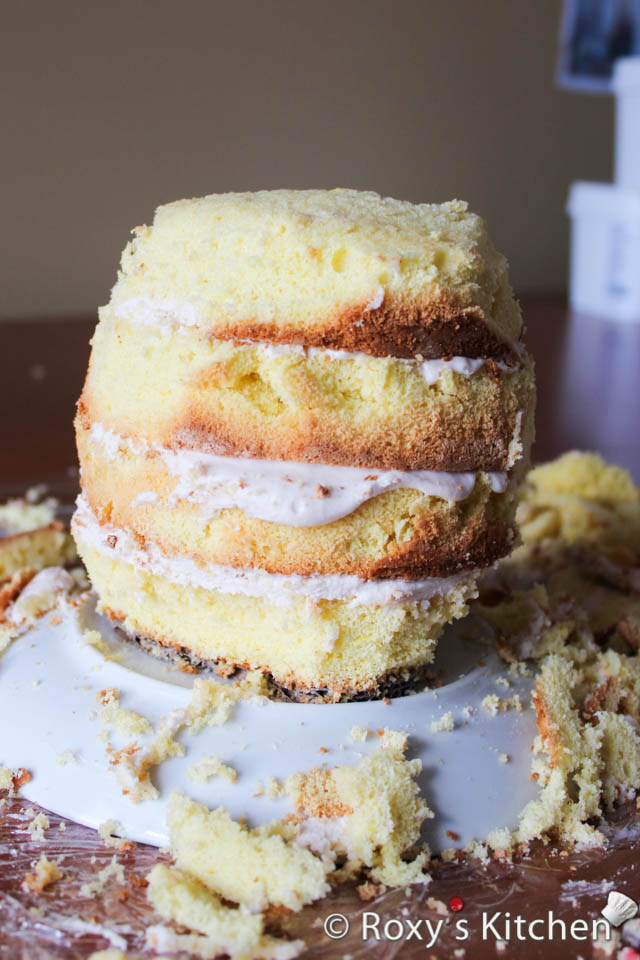
Spread a bit of frosting and place another cake board on top that’s cut in the approximate shape of the dog’s body. Continue filling and stacking the cake using the medium-sized round cake layers.
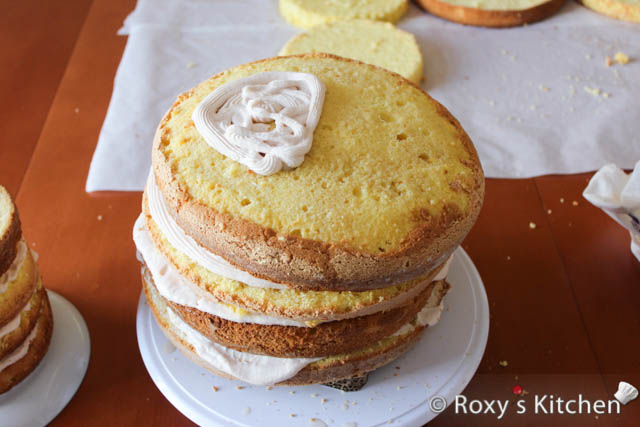
Cover this stacked cake with plastic wrap and freeze it for 2 hours. It’s much easier to carve a frozen cake without it crumbling. If not, at least store it in the refrigerator for several hours.
Repeat the same steps to stack and fill the smallest round cakes to form the dog’s head.
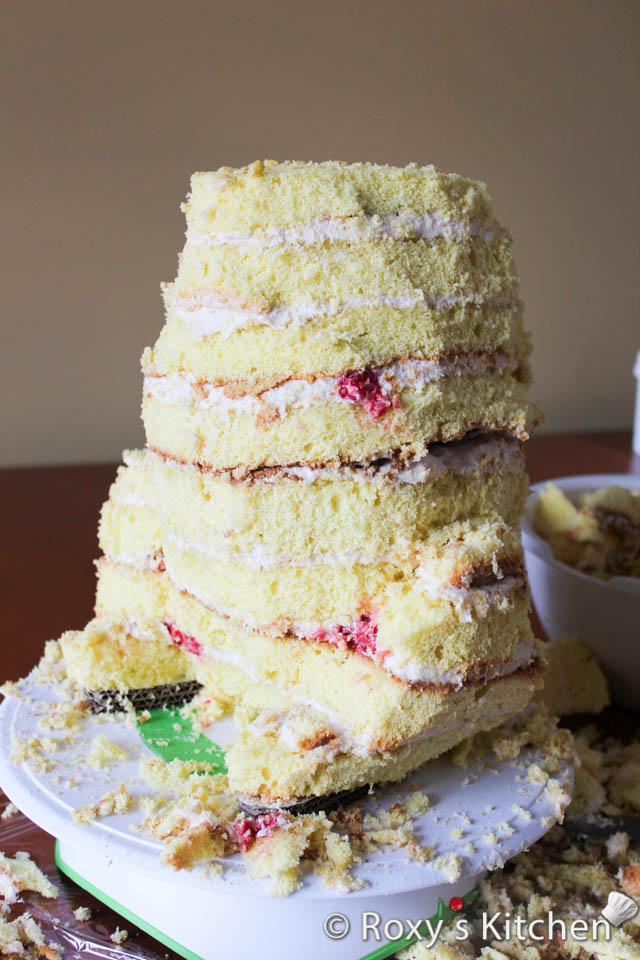
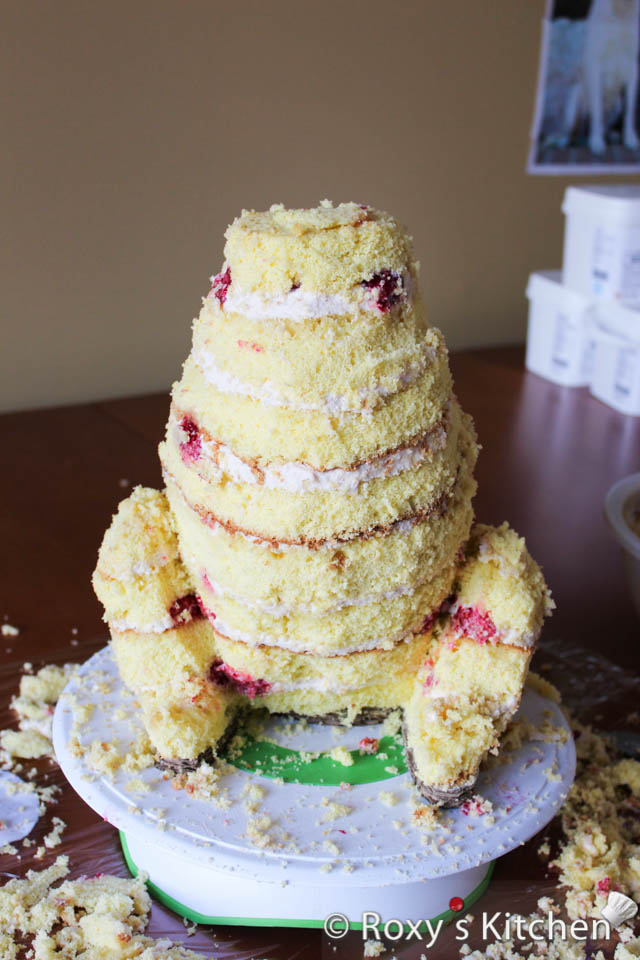
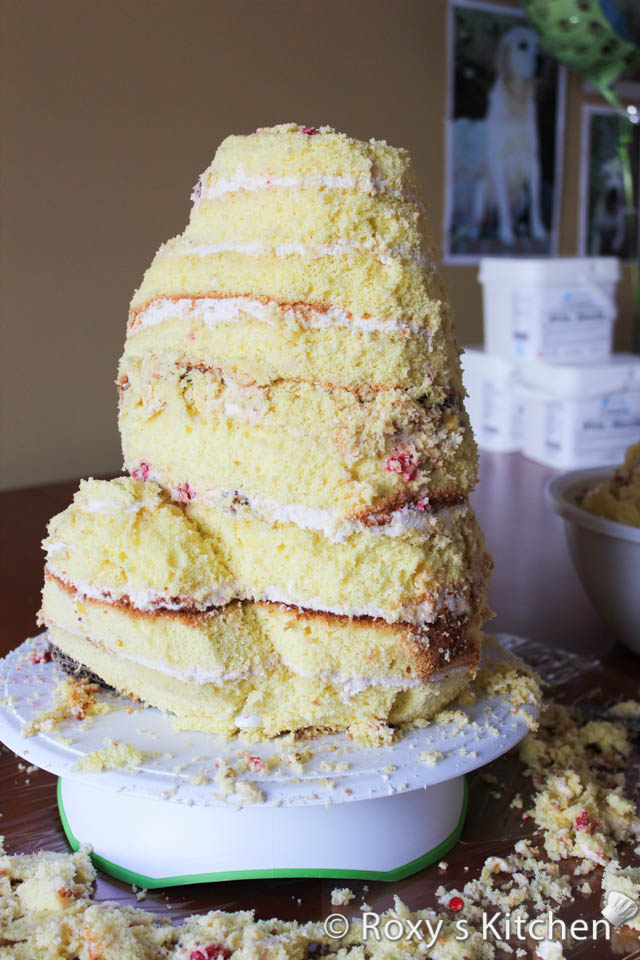
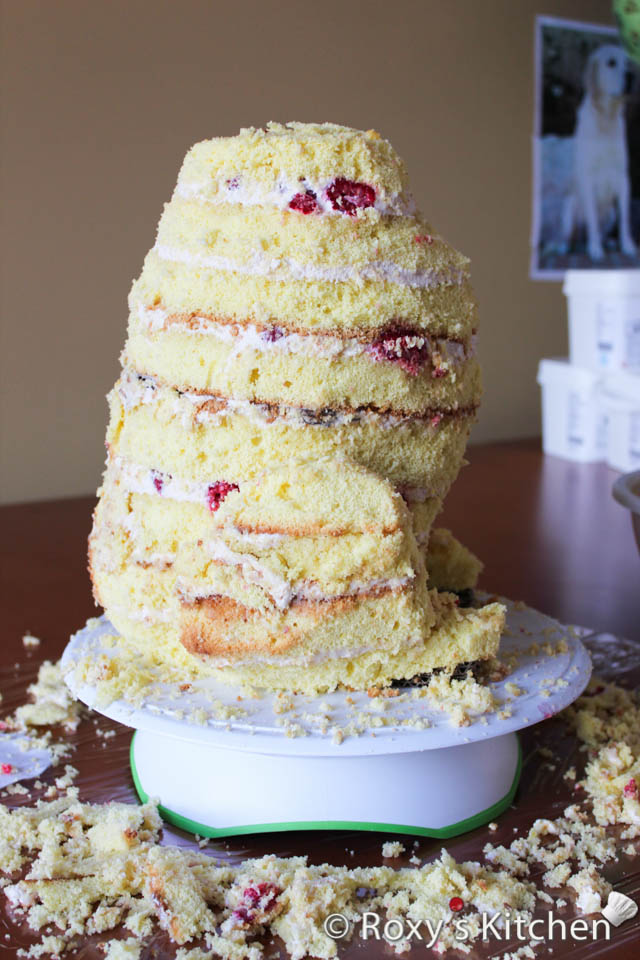
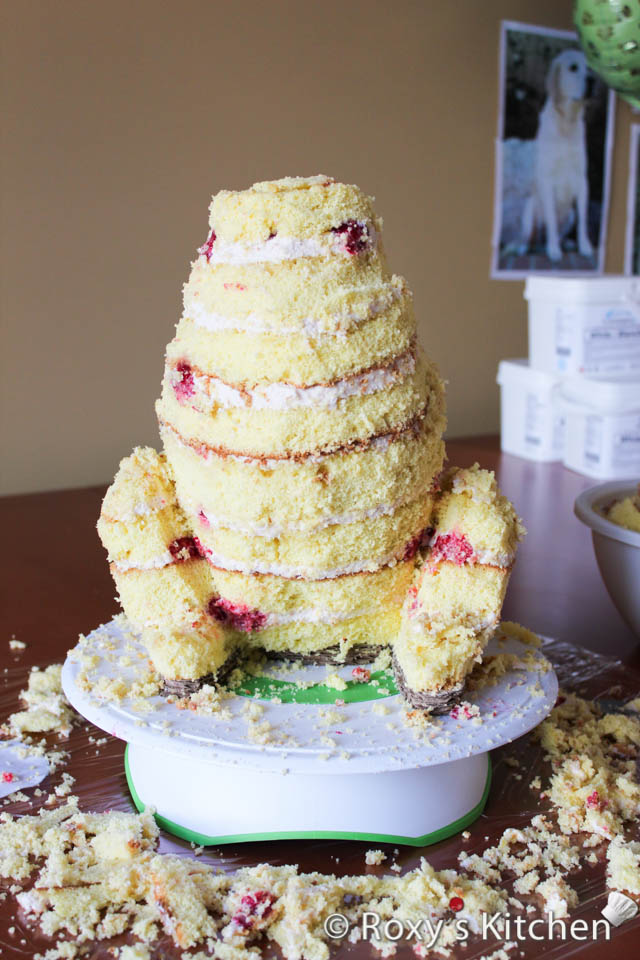
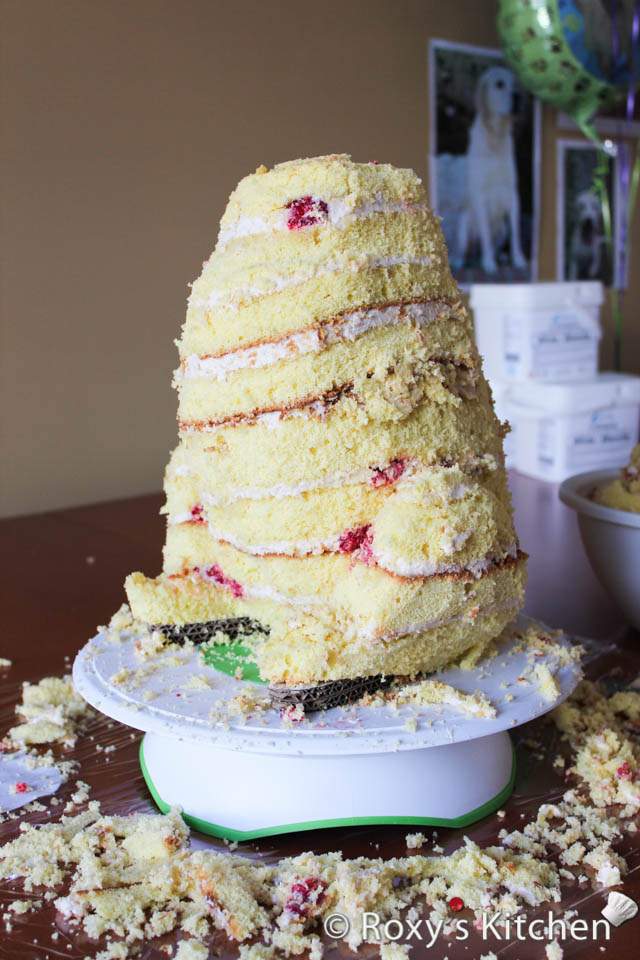
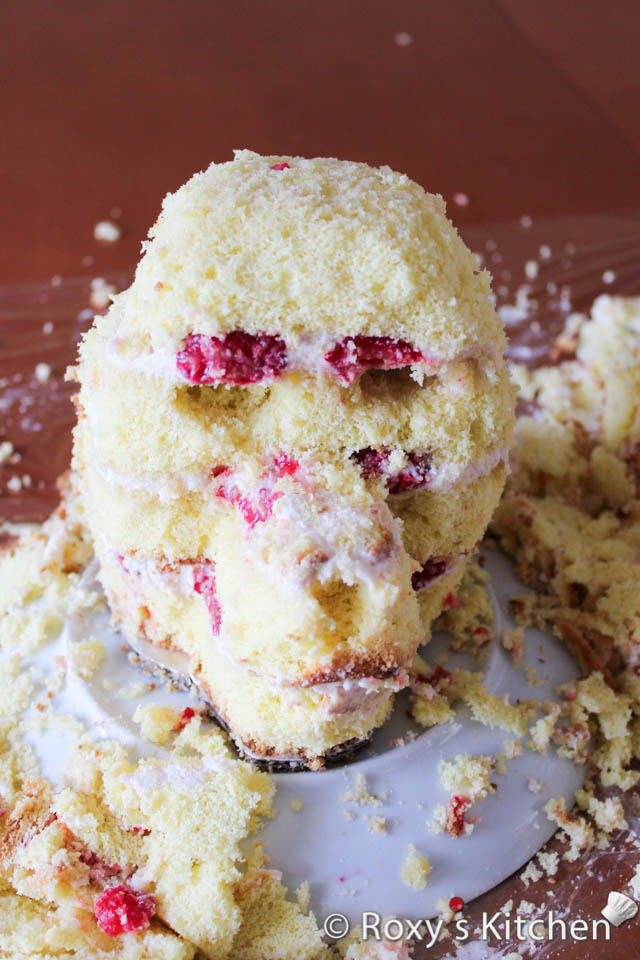
Step 5: Carving the Dog Cake
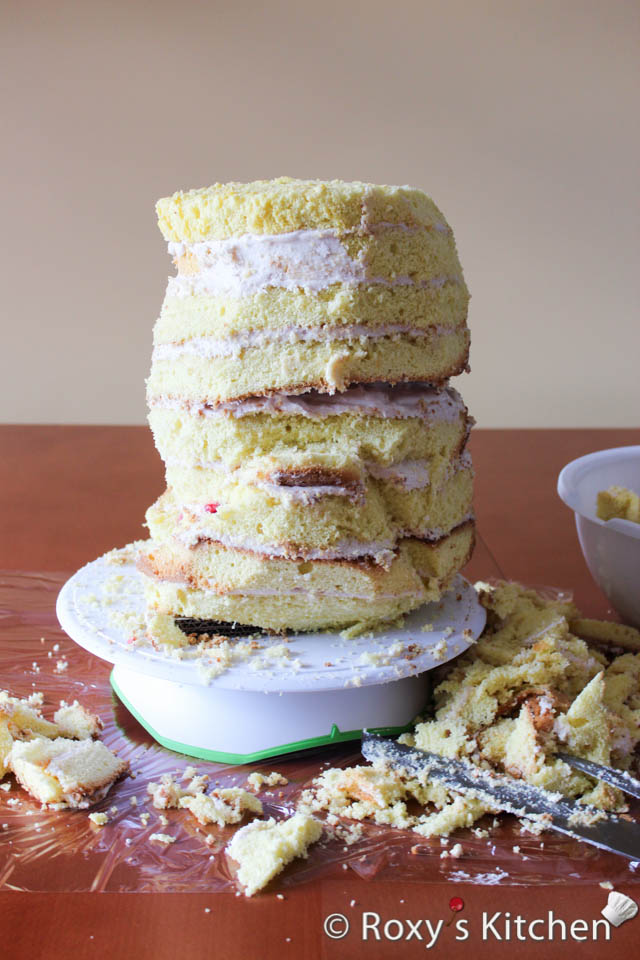
Carve the dog’s body and back legs using a serrated knife. If you cut too much into the cake, you can always fix it using your cake scraps. Just crumble a piece of cake and mix it with a bit of filling and use this mixture to patch up any gaps. You will have lots of cake scraps so you can make delicious cake pops out of these.
My dog’s body was 28 cm (11’’) tall so I also used a wooden cake dowel to add stability to the cake. Cut the dowel to the height of your cake and insert it in the middle. Make sure the end that’s inserted in the cake is sharpened, otherwise it will be impossible to pass it through the support cake board you added in the middle. Use a hammer to get the dowel through the cake and cake boards.
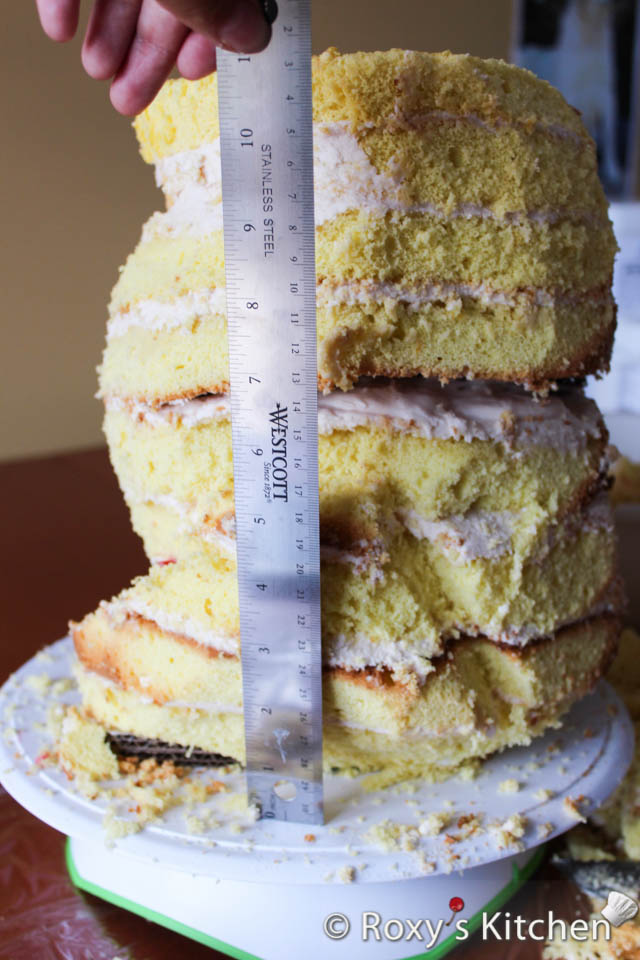

Tips: There are some cake boards with a pre-made hole in the middle. It’s much easier if you use those. Also, you can insert the cake dowel in the base cake and the middle cake board before you start stacking the medium-sized cake layers. It’s much easier to thread each cake layer through the wooden dowel than hammer down a wooden dowel through the entire cake.
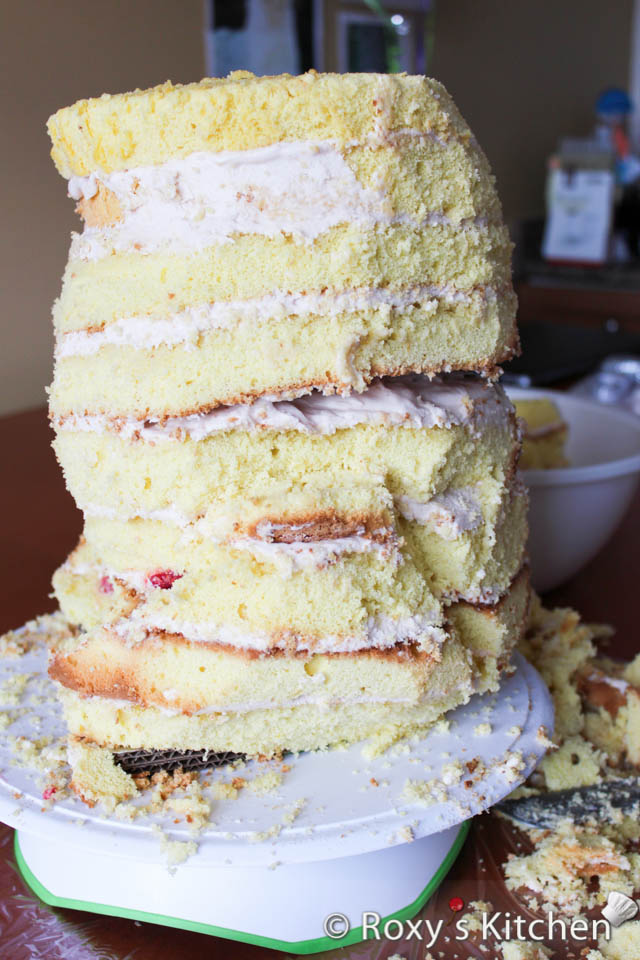
Keep carving! Don’t be afraid to cut into the cake. You need well defined shapes and angles. If you don’t cut enough, once you cover the cake with fondant, you will barely see the shape of the body/legs etc..
Carve the dog’s head using a serrated knife and the same process as above. Remember to always refer back to your picture to see the shape of the head you’re trying to recreate.
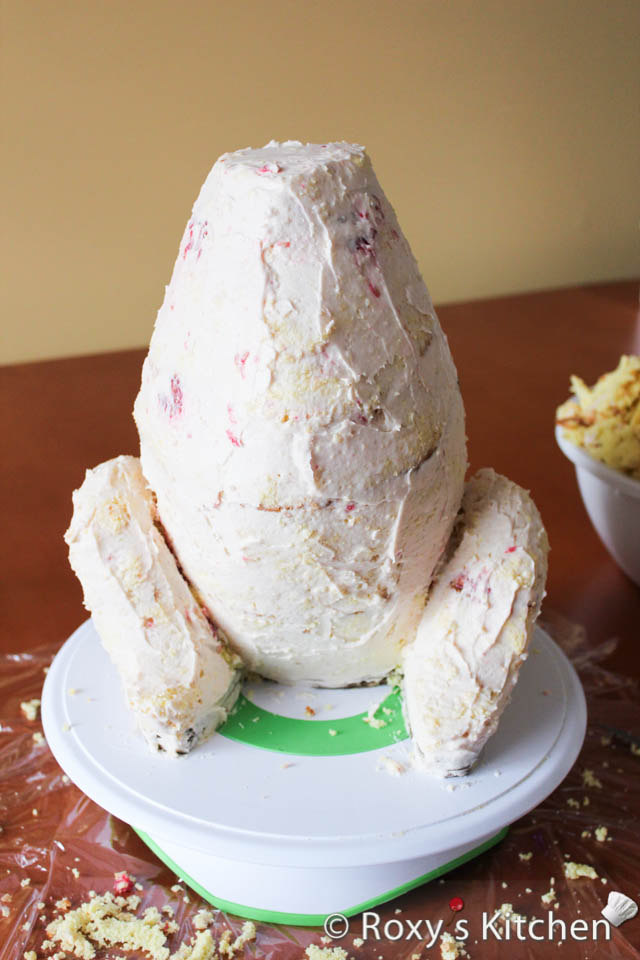
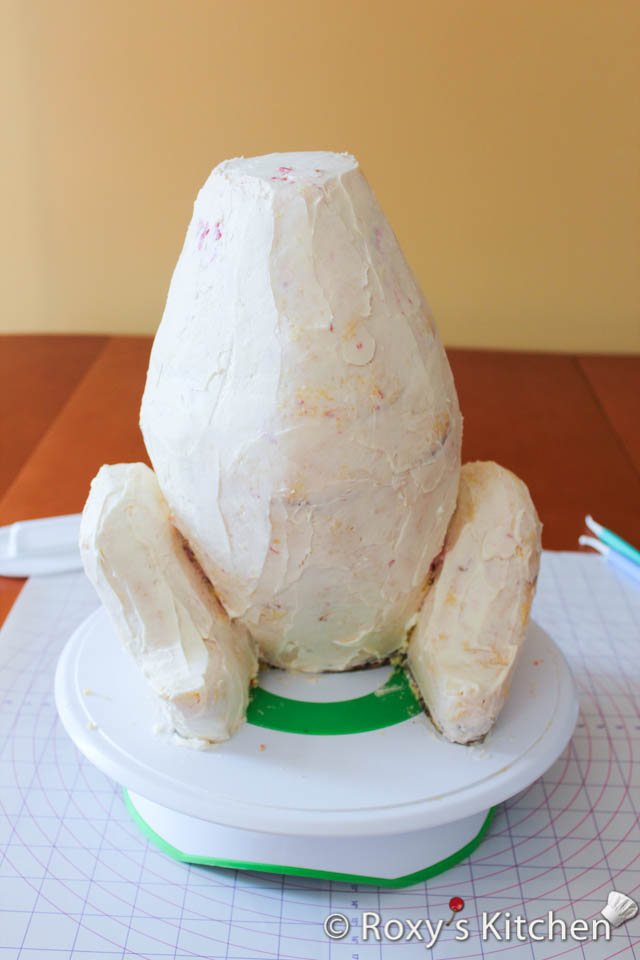
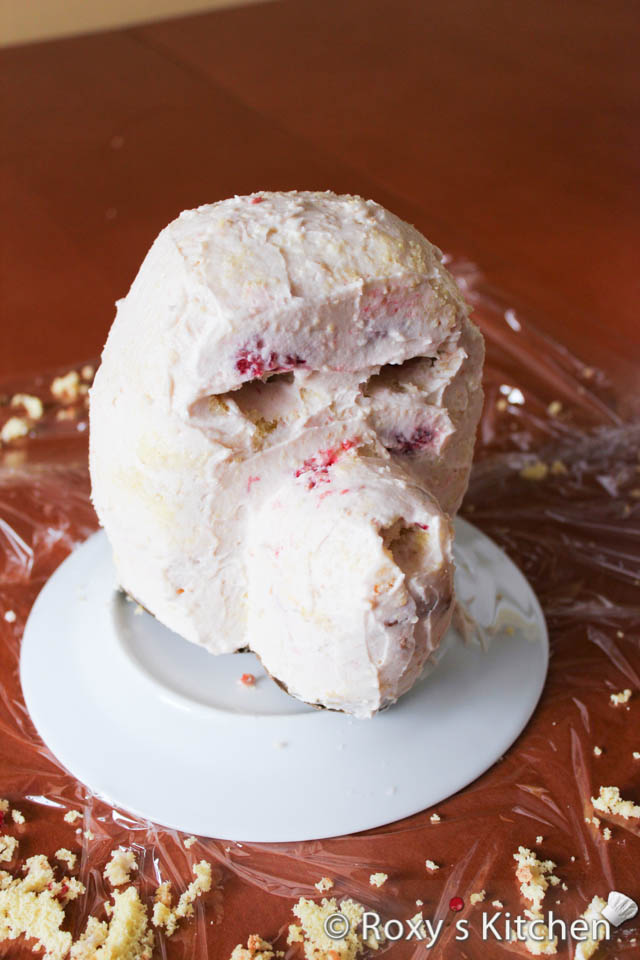
Step 6: Crumb Coating the Dog’s Body and Head
Use the cream cheese buttercream you saved earlier to cover the cake. You need to apply a thin layer to crumb coat the cake. Then, keep it in the fridge for 1 hour and apply another thin layer and smooth it out as much as you can with a spatula.
Covering the Dog Cake with Fondant
Step 1: Rolling the Fondant and Creating the Fur Effect
First, knead the fondant until it has a workable consistency and it doesn’t feel and look dry. It should become soft and pliable.
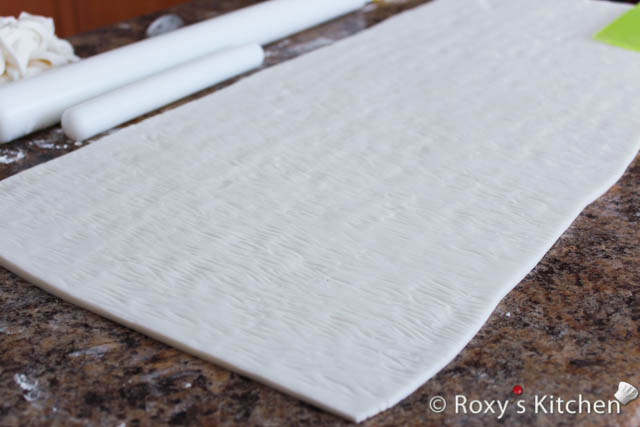
Before rolling out your fondant, sprinkle some powdered sugar or cornstarch on your work surface so that it doesn’t stick. Roll the fondant in the approximate shape of your cake. As you are rolling it make sure you lift the fondant occasionally and rotate it 45 degrees to make sure it doesn’t stick to your work surface. If it sticks, lift the fondant and sprinkle more powdered sugar or cornstarch.
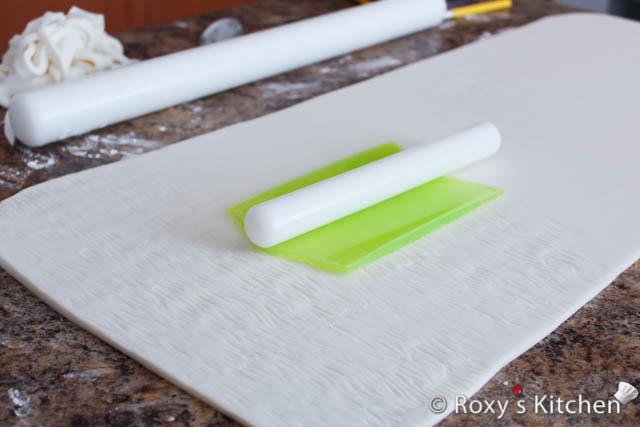
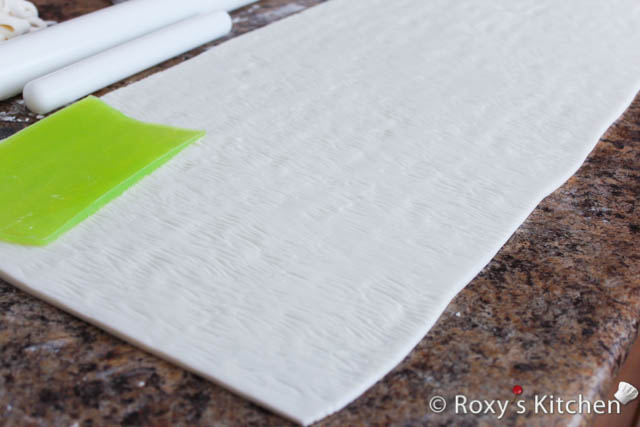
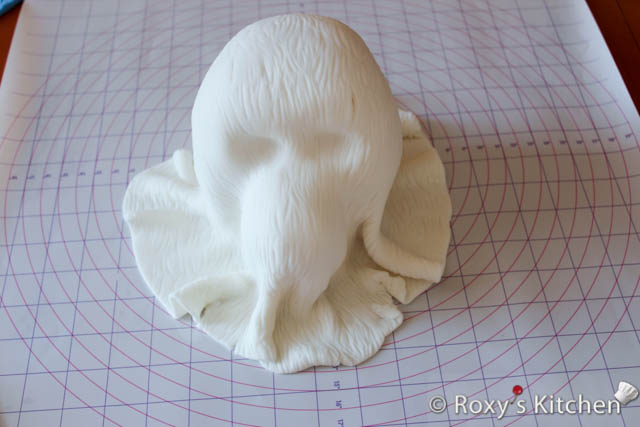
Make the fur texture using a fur silicone impression mat. Gently press the impression mat onto the fondant to give it the fur effect.
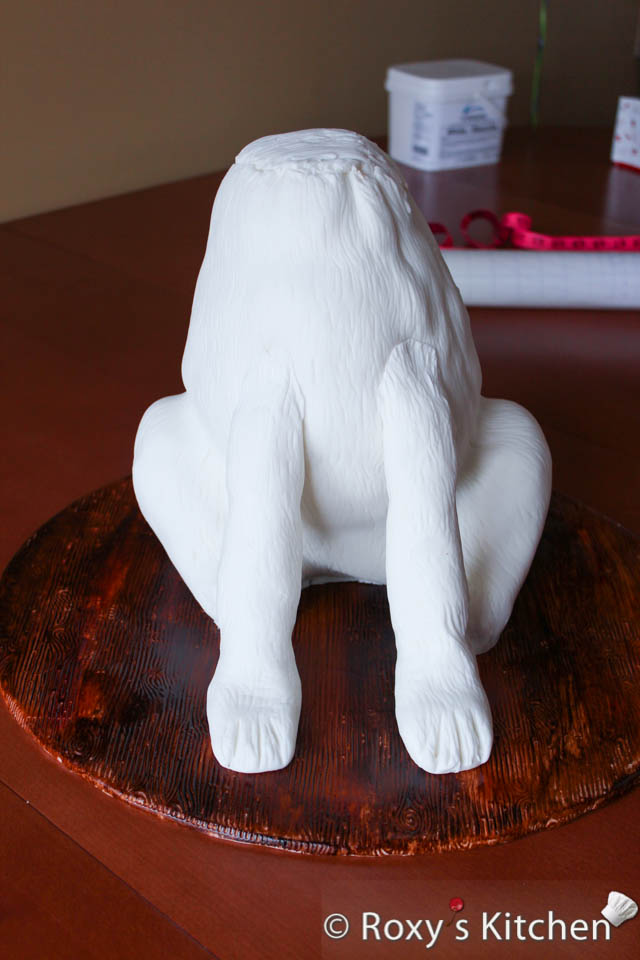
Step 2: Covering the Dog’s Body and Head with Fondant
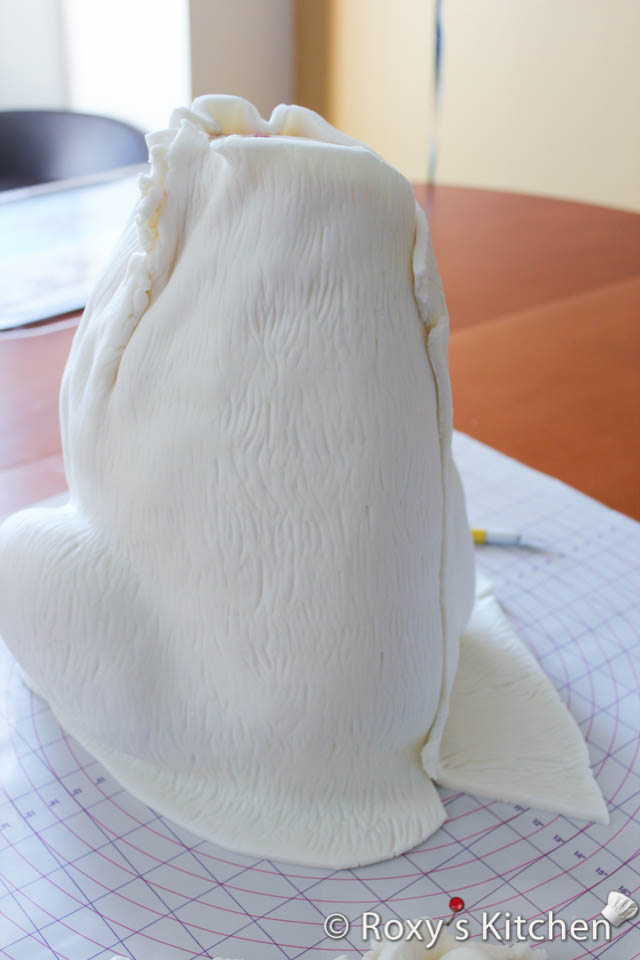
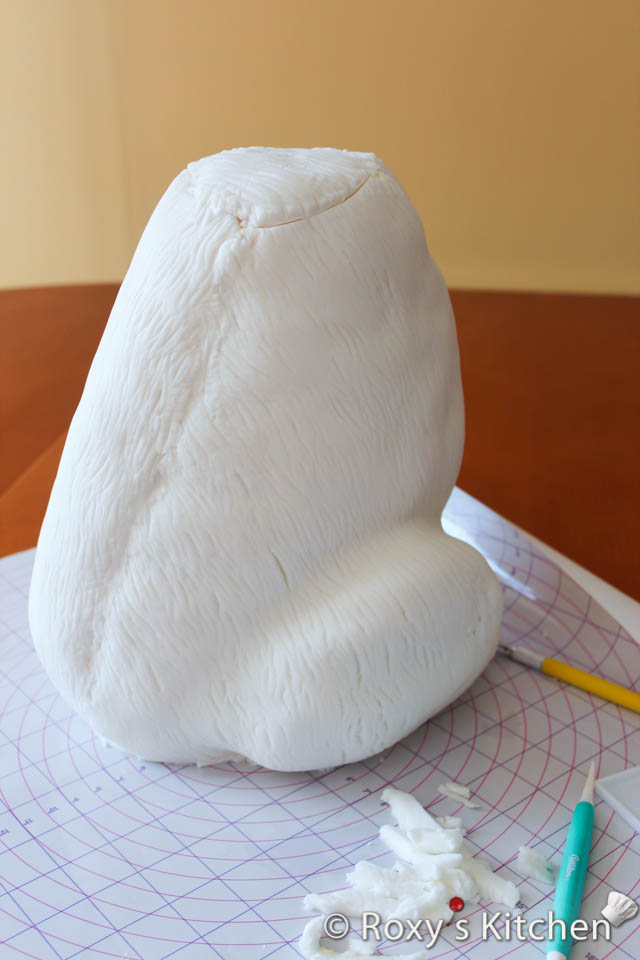
Dust your fondant with corn starch and roll it as seen in the picture. It will be easier to lift it and cover the cake. Start unrolling the fondant from one side of the dog cake to the other, creating a seam at the back.

Smooth the fondant with the palm of your hand, starting from the top. Start to gently pull the fondant out and down around the sides of the cake using one hand and spread the excess fondant and smooth it out using your other hand.
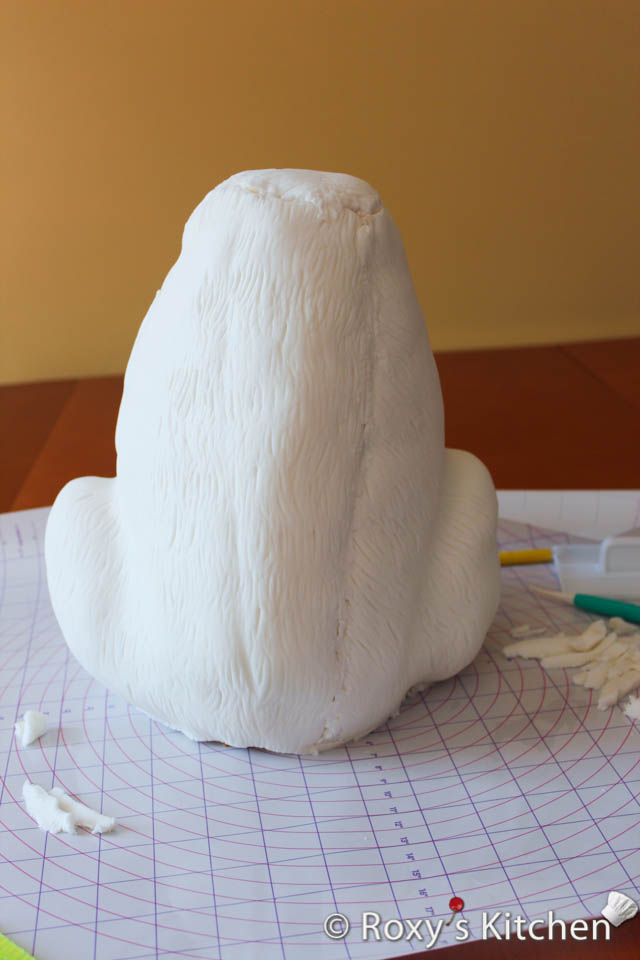
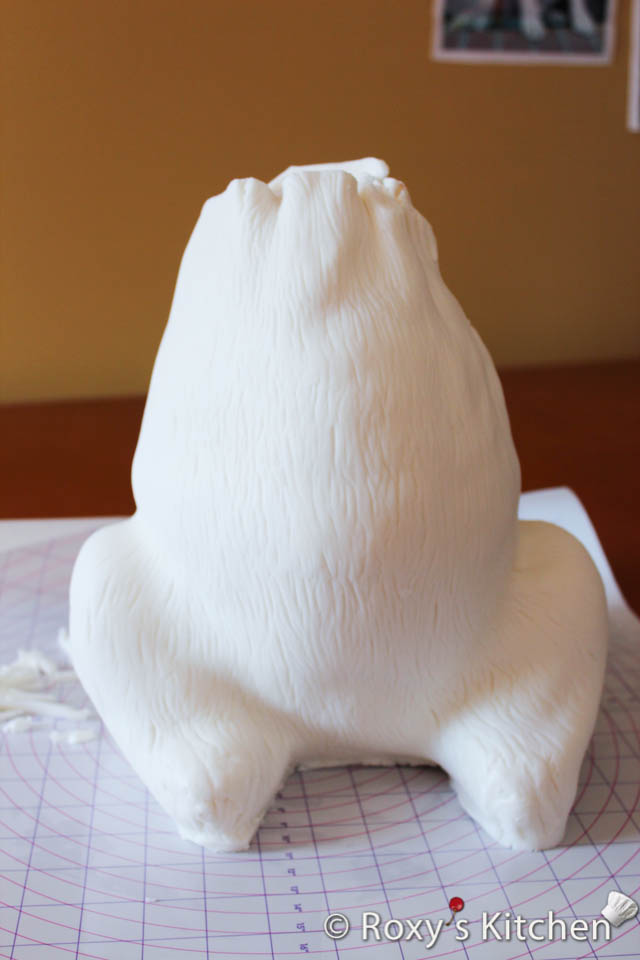
Keep turning the cake and repeating these steps until the sides are smooth and without any ruffles formed towards the bottom.
Trim the edges at the bottom using an X-Acto knife, a pizza cutter or any other sharp knife you have.
Place the dog’s body on the cake board you covered earlier in fondant.
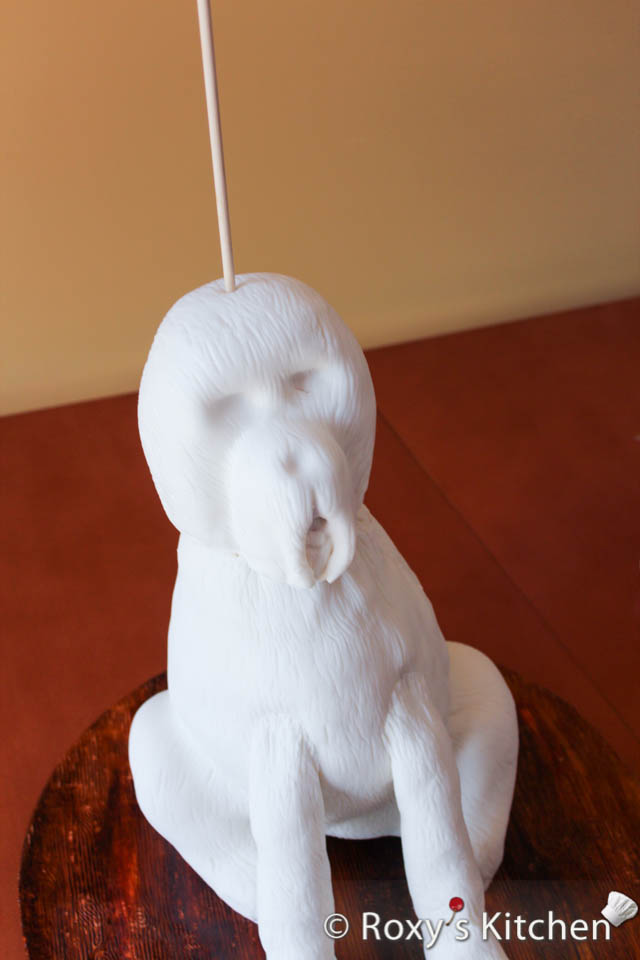
Using the same process, cover the dog’s head with the fur fondant. Make sure the eye sockets, nose area and mouth are well defined and covered in fondant too.

Step 3: Making the Front Legs out of Fondant
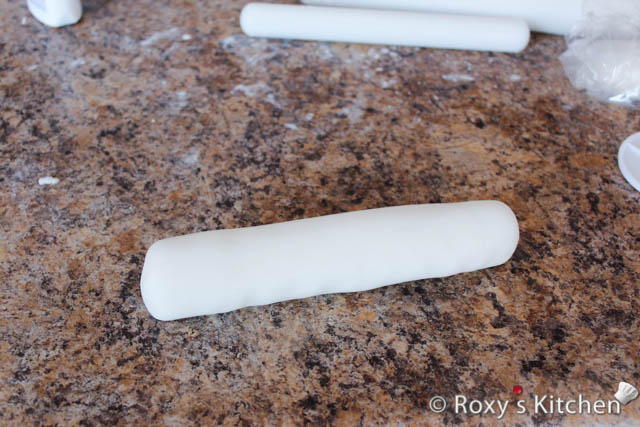
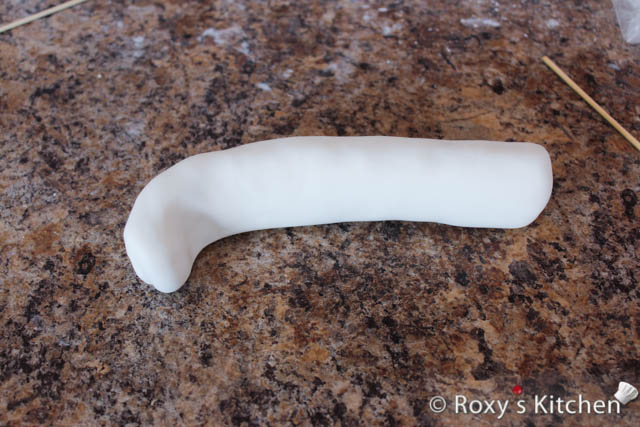
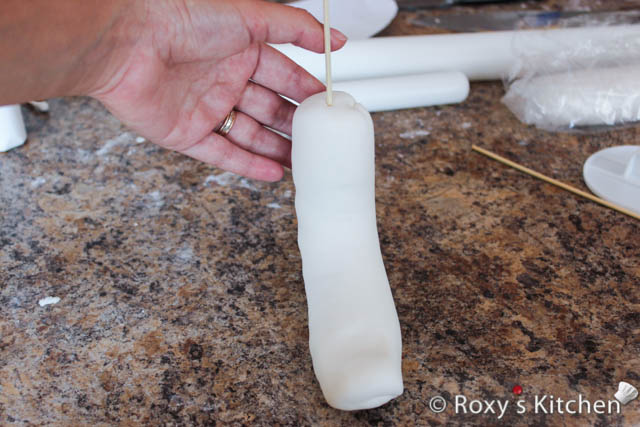
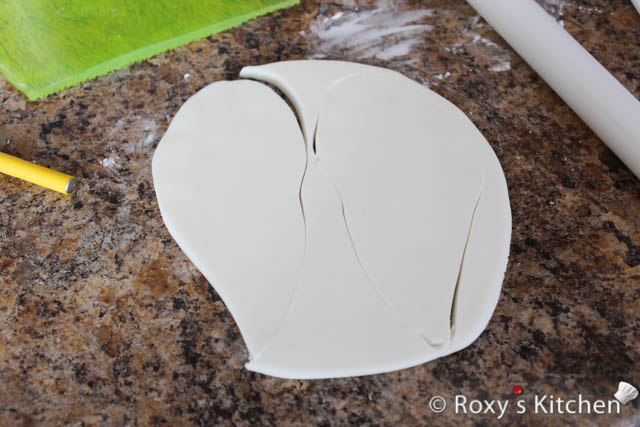
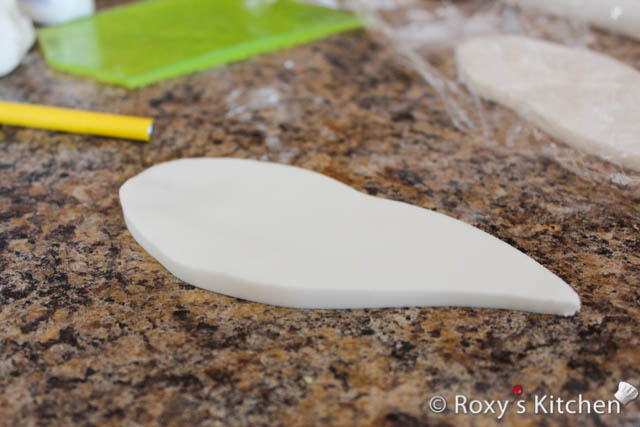
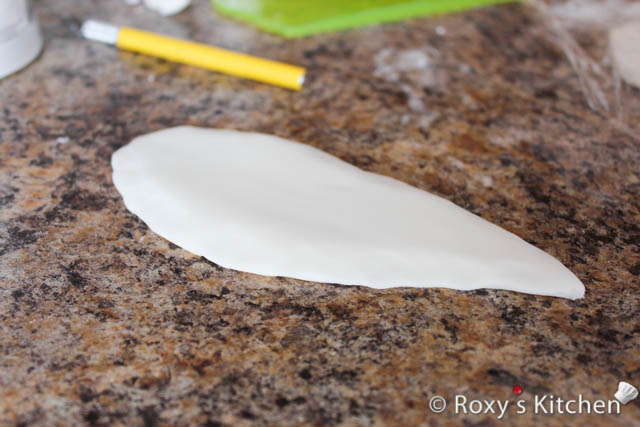
Knead white fondant and roll it into a log. Slightly bend one end to make it look like a paw. Insert a skewer into the leg, leaving 1/3 out so that it can be inserted into the dog’s body to secure the leg in place.
Repeat the same steps to make the second leg.
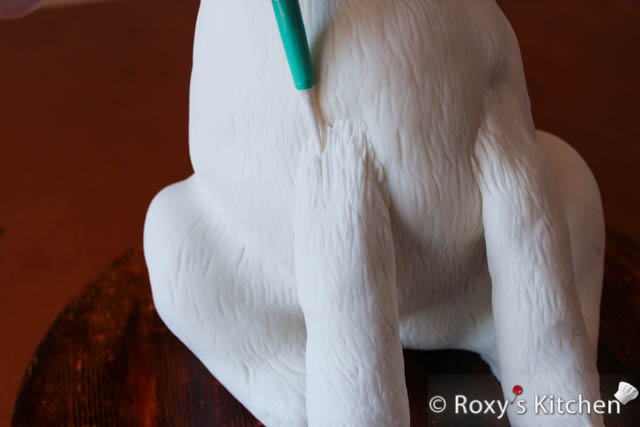
Insert the legs into the dog’s body and brush a bit of water on the top of the leg that’s touching the body so that it sticks in place. Use a fondant veining tool to blend in the seams by making more vertical lines that look like fur.
Step 4: Putting it all Together and Adding the Final Details on the Dog Cake
Place the dog’s head on top of the body. Use a wooden cake dowel to secure it to the body using a similar process as above – i.e. sharpen the wooden dowel, cut it to the height of your cake, hammer it down through the cake and cake boards. Make sure you don’t insert it exactly where the other wooden dowel was inserted before.
Use the fondant veining tool to create a fur effect and blend in the seams between the head & body.
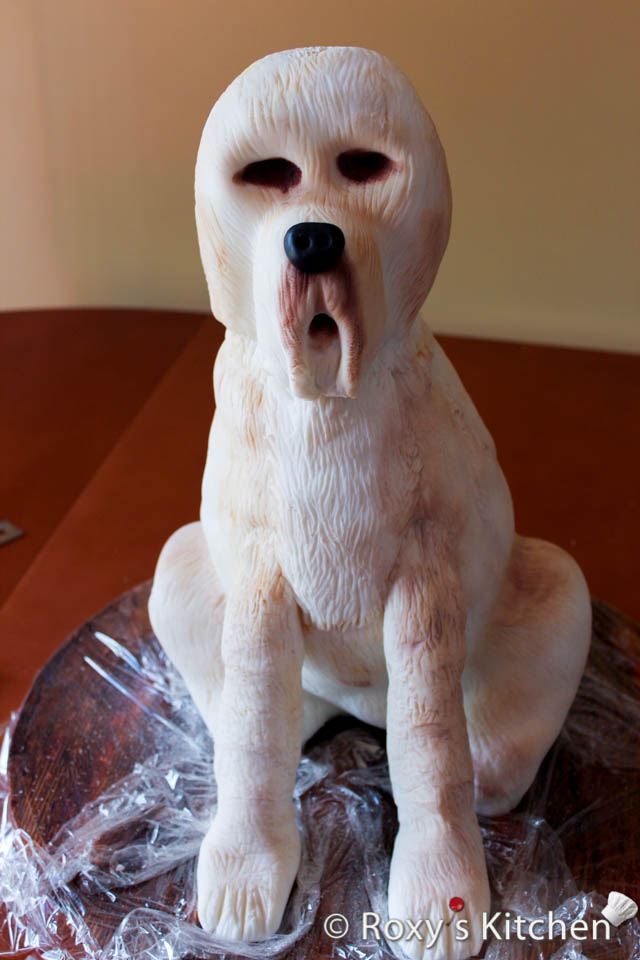
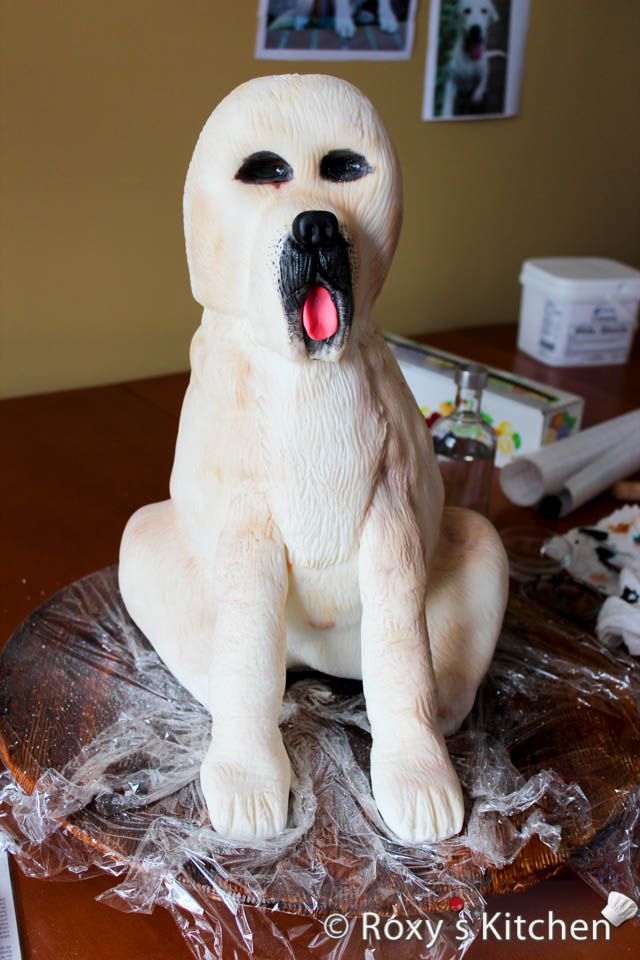
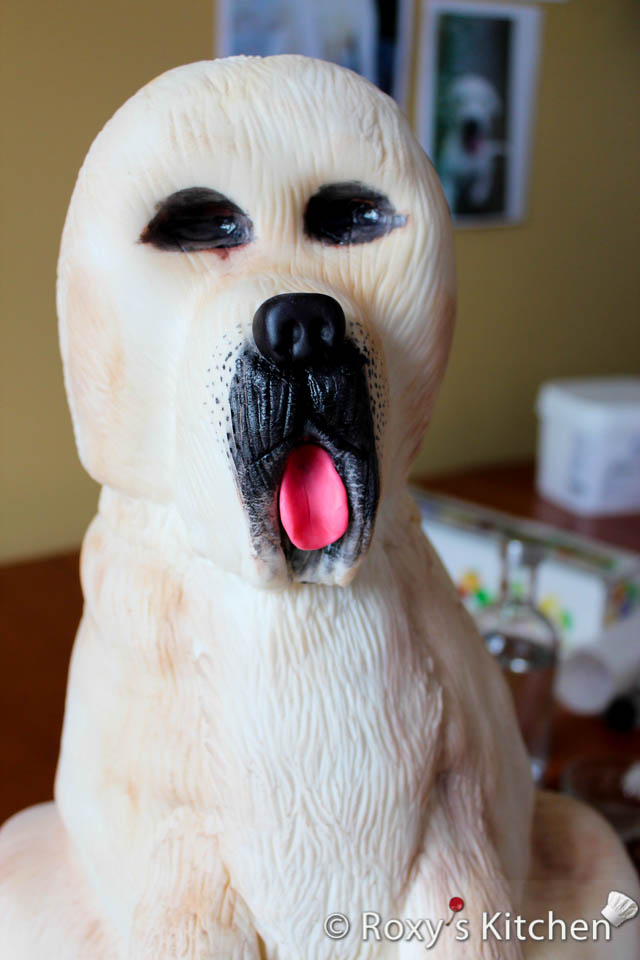
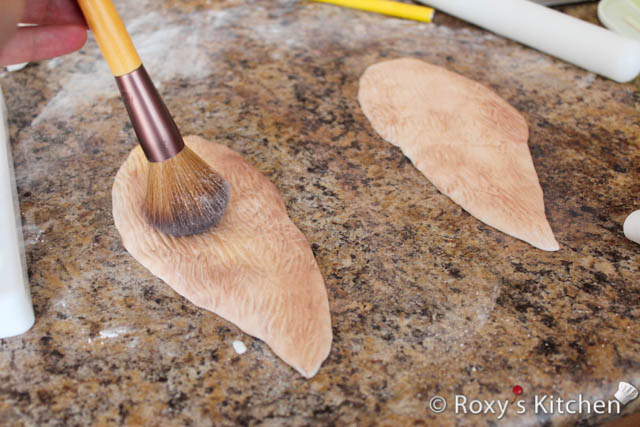
Use a fluffy brush (like the makeup powder brushes) to brush a bit of edible petal dust around the joints, creases, eye sockets etc. to give the dog cake a bit of colour and definition. I used mostly brown (you can use also cocoa powder instead of petal dust) but mixed in some orange, yellow and white as well to make different shades of brown.


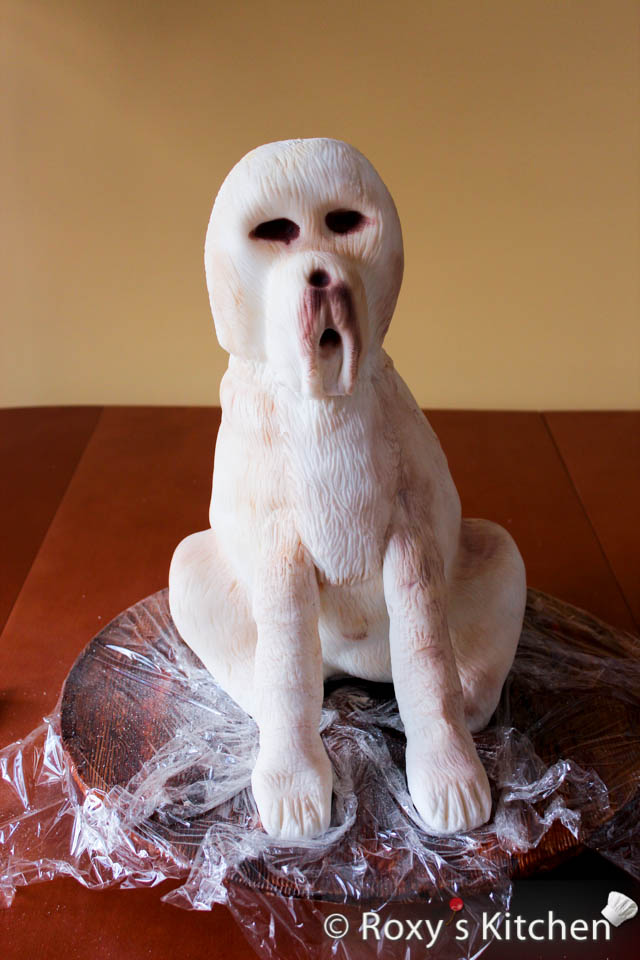
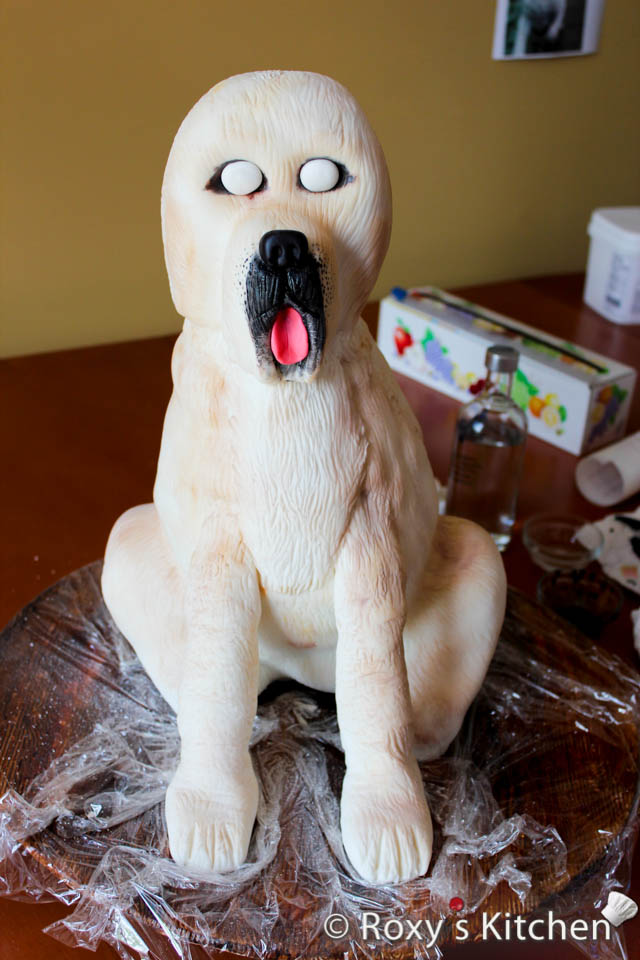
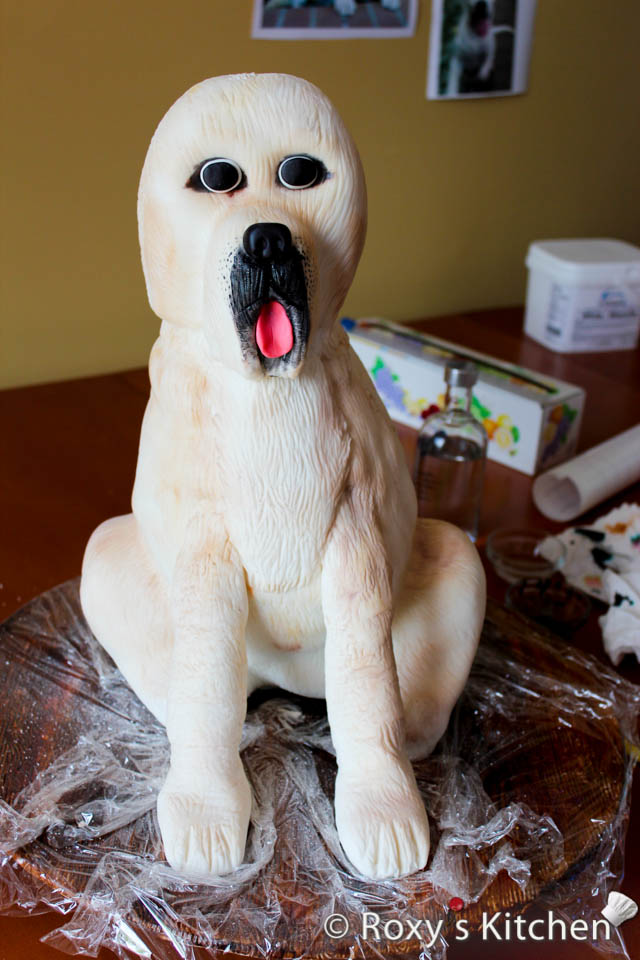
Make the eye balls, eyes, nose and tongue out of fondant. Attach these to the cake by brushing a bit of water on the back of each piece of fondant.
I also brushed some black paint around the nose and mouth area using a thiner paint brush and black gel food colouring. Mix a bit of black gel food colouring with a drop of clear alcohol (such as vodka) or food-grade extract to achieve a paint-like consistency.
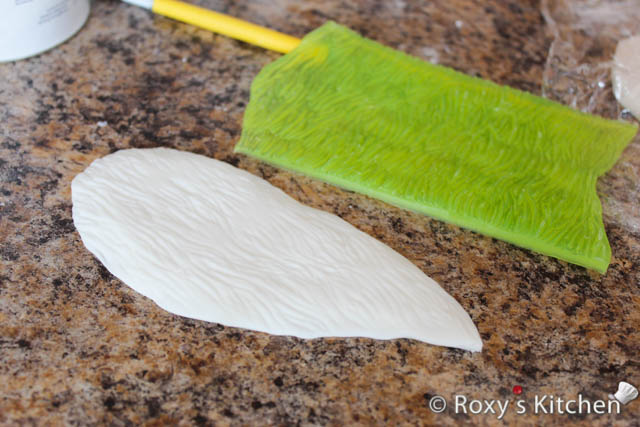
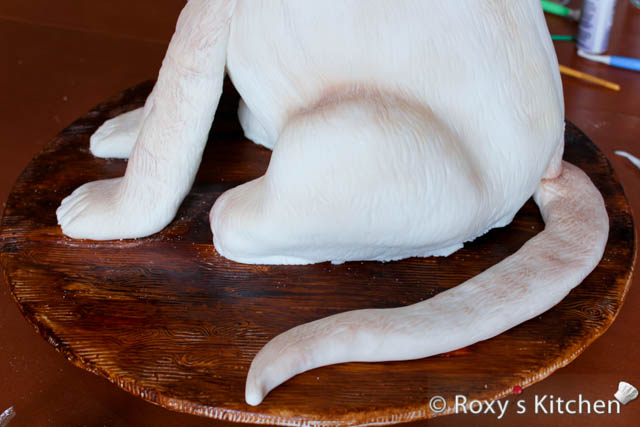
Make the ears and tail out of rolled fondant. Use the fur silicone impression mat to make the fur effect and brush some petal dust on them as well. Attach them to the dog’s body using some water or edible glue.
Lastly, I made the red bandana by printing an image on edible paper using edible ink.

You might also like…
Puppy/Dog-Themed Birthday Party – Desserts, Snacks, Decorations & Games
20 Puppy/Dog-Themed Birthday Party Cakes

This post contains Amazon.com affiliate links. If you purchase a product through an affiliate link, your costs will be the same but I will receive a small commission which is used for hosting and running this site. I appreciate your support!


[…] cartoon-like dog cake. If you want to make your own cake, I have a full tutorial on how to make this 3D Dog Cake so check my other post for this. Also, I have 20 puppy/dog-themed birthday cake ideas for you in […]