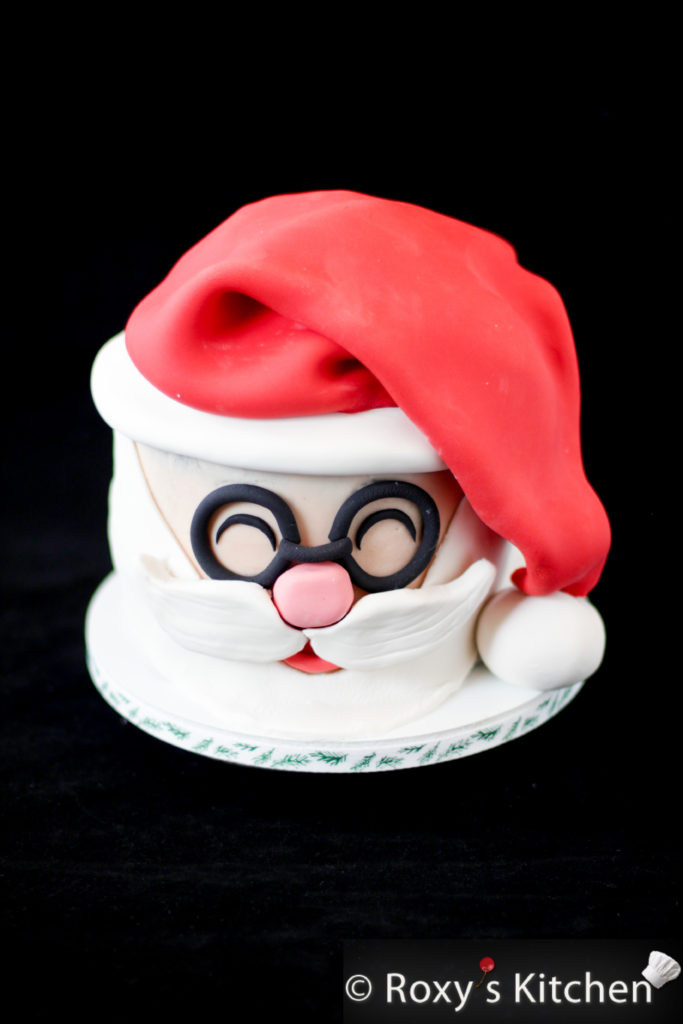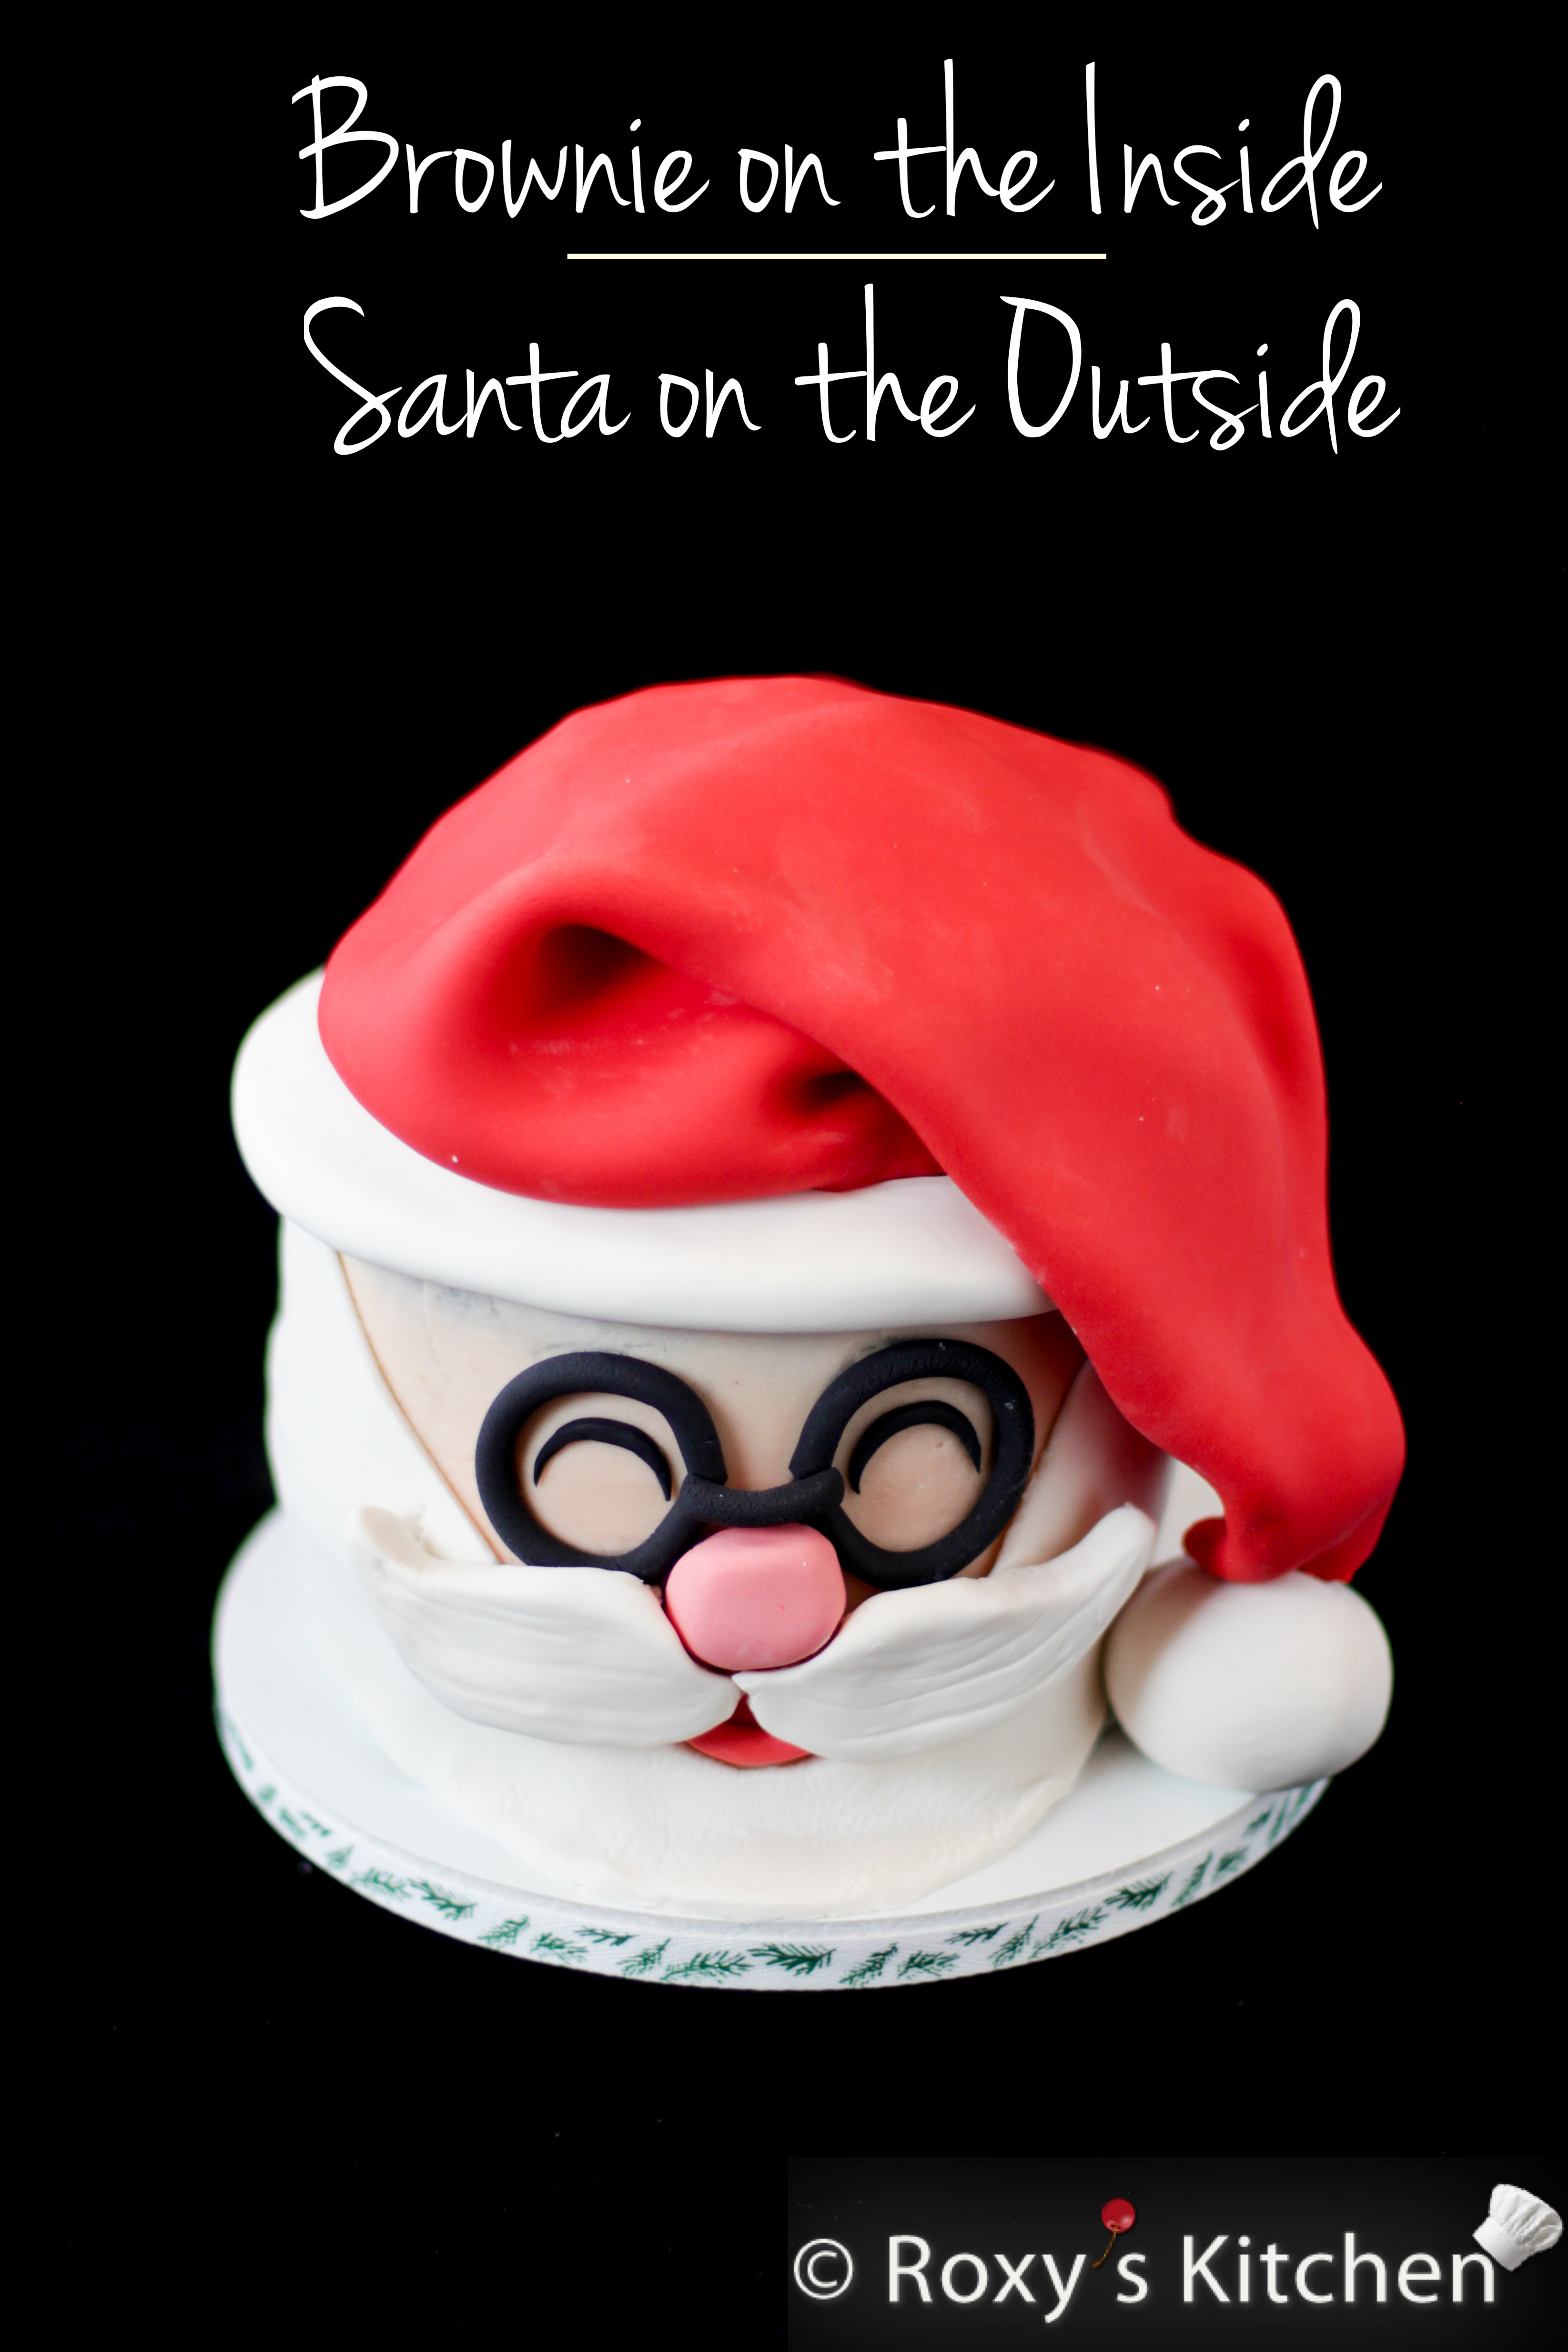
If you want the looks of a professional cake but you’re not looking to put in as much effort, then this Brownie Santa will give you just that. Ditch the cake layers and fillings and just bake some brownies in cake pans. Stack the brownie layers, cover them with a bit of white chocolate ganache, make Santa’s hat and face details using fondant and you’re done!
Ingredients
Brownie Layers
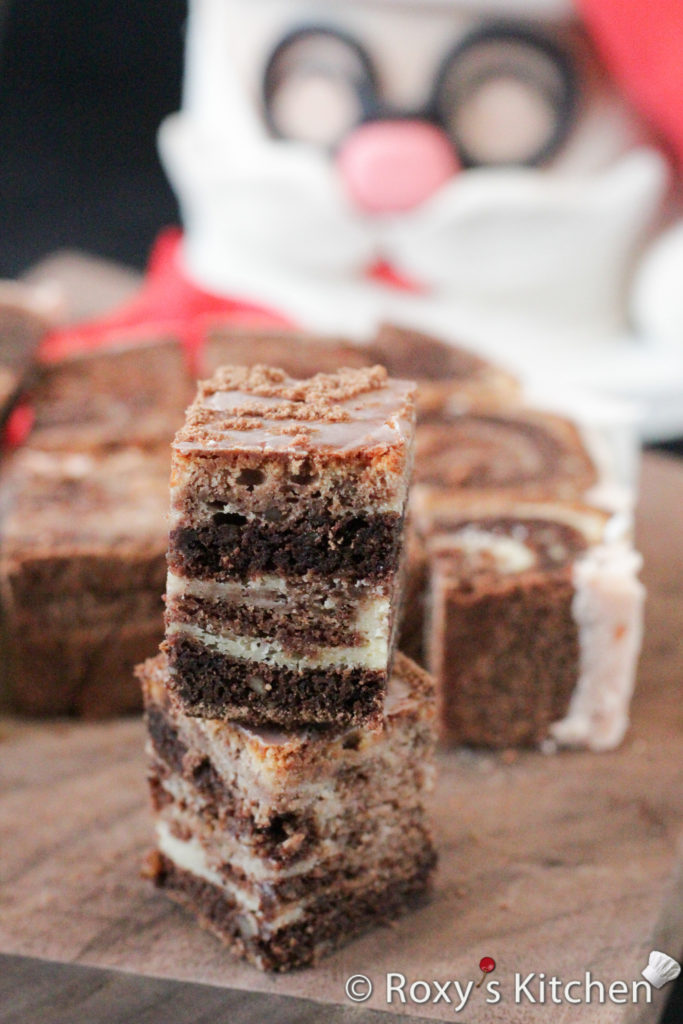
- the ingredients listed in this Marble Brownie recipe
You also need three pans greased with butter and lined with parchment paper or coated with a bit of flour:
- a 12.5 cm dia x 6.5 cm deep (5 inch dia x 2 1/2 inch deep) hemisphere pan or oven-proof bowl
- two 15.5 cm dia x 7.6 cm deep (6 inch dia x 3 inch deep) round pans
Unwhipped Ganache
- 500 g white chocolate (good-quality baking or couverture chocolate)
- 160 ml whipping cream
- 2 drops of each – red, yellow and orange oil-based food colouring; use this if you’re looking for the tan colour on Santa’s face as the white chocolate will be yellowish
Decorations
- 450 g (1 lb) white fondant
- 450 g (1 lb) red fondant
- a bit of black fondant for the eyes and glasses
- corn starch or powdered sugar for dusting the surface before rolling the fondant
Equipment
- a fondant rolling pin
- a 1-inch round cookie cutter
- a fondant/clay extruder with the round tip (optional)
Directions
Making the Brownie Layers
Preheat oven to 180°C (350°F). Follow the steps in this Marble Brownie recipe to make the brownie batter. Then, divide the batter between the two round pans and the hemisphere pan.
Bake for ~ 35-40 minutes until just set. Remove the brownies from the pans and let the layers cool off on a cooling rack.
Making the Ganache
Heat the whipping cream in a heavy-bottomed saucepan until it almost comes to a boil. Add the chocolate and let it sit for 3 minutes before stirring it slowly with a spoon or spatula. Stir slowly until all the chocolate is melted.
The, add 2 drops of red oil-based food colouring, 2 drops of yellow and 2 drops of orange and mix it until combined. Place some plastic foil directly on the ganache so that there is no air trapped inside which will cause a skin to form on top. Then, let it cool until it has a very thick pouring consistency.
Assembling and Decorating the Brownie Santa
Watch the video tutorial below to see how to assemble and decorate this Brownie Santa:
Spread a bit of chocolate ganache on the serving platter you’re planning to assemble the Brownie Santa on. You can use an 8-inch cake board too. Place the first round brownie layer.
Spread a bit of chocolate ganache on the brownie layer and place the second brownie layer on top.
Lastly, spread a bit of chocolate ganache on the top brownie layer and place the hemisphere brownie on top.
Crumb coat the stacked brownies using a thin layer of ganache. Smooth it out using a straight or offset spatula. It doesn’t have to be perfect as most of it will be covered with fondant.
Refrigerate this for 1 hour. Then apply another layer of ganache and smooth it out with the spatula. The dome doesn’t need more ganache as it will be fully covered with the fondant Santa hat. Focus on covering and smoothing the sides of the round layers on the parts that will not be covered with fondant.
Use the fondant extruder to create thin ropes out of the black fondant. Shape Santa’s glasses out of these ropes. If you don’t have an extruder then, you can just use the palm of your hands to roll the black fondant into a thin rope.
Use a bit of water to attach the glasses to the side of the top brownie layer.
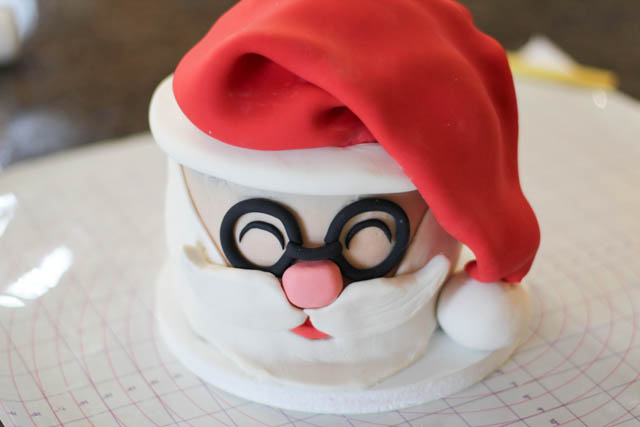
Roll out a bit of black fondant and use the round cookie cutter to cut out two circles. Then cut the circles’ edges using the same cutter to make the eyes look like in the picture.
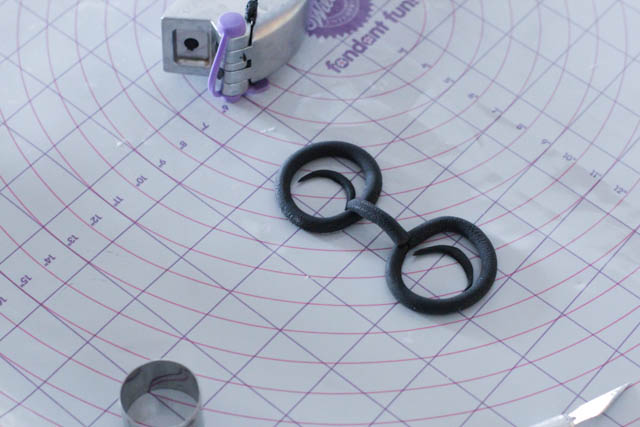
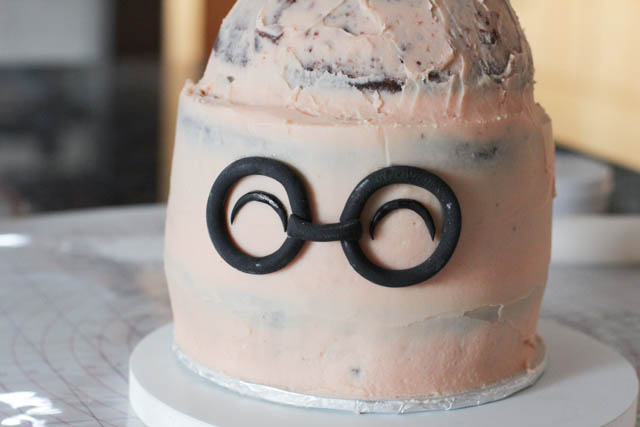
Mix a bit of red fondant with white fondant to make a bit of dark pink and light pink fondant for the mouth and nose. Attach them under the glasses with a bit of water.
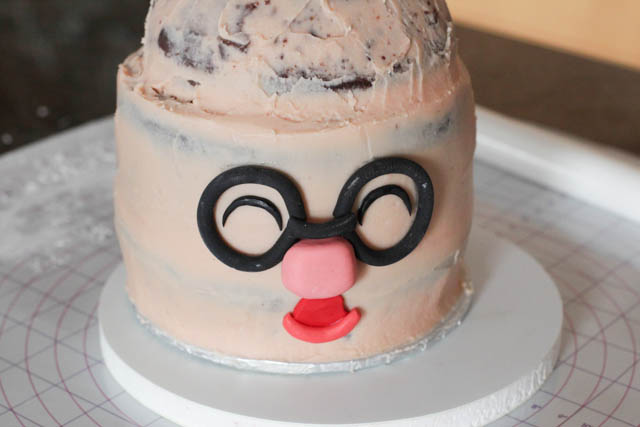
Roll out a thick rope out of white fondant that is 18 cm (7.5 inches) long to make the hat’s trim. Attach it with a bit of water around the top edge of the top round brownie layer.
Spread a bit of corn starch and roll out the red fondant in a triangle. The bottom side of the triangle should have 18 cm (7.5 inches). Then carefully cover the dome brownie to form Santa’s hat. Tuck in the edges at the top so they are not visible. Arrange the fondant to create creases and give it a fabric effect. Let the tip of the hat go on one side, about 2.5 cm (1 inch) above the cake board / platter. Trim any excess edges with a sharp knife or an X-acto knife.
Finally, create the pom pom by rolling white fondant into a 2.5 cm (1 inch) ball. Place it under the tip of the hat.
Make Santa’s beard and moustache out of white fondant. For the beard, dust your surface with corn starch and roll out the fondant in a V-shape. Brush a bit of water on both sides of the glasses and under the mouth and attach the white beard.
Make the moustache out of white fondant. Just shape it with your hands and make some horizontal lines using the back of knife or a blunt knife fondant tool. Brush some water on the back and attach it under the nose. You ca insert two half toothpicks where you want to place the moustache just for some extra stability.
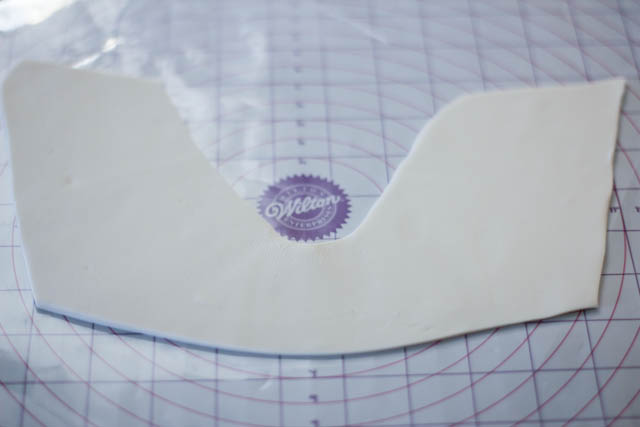
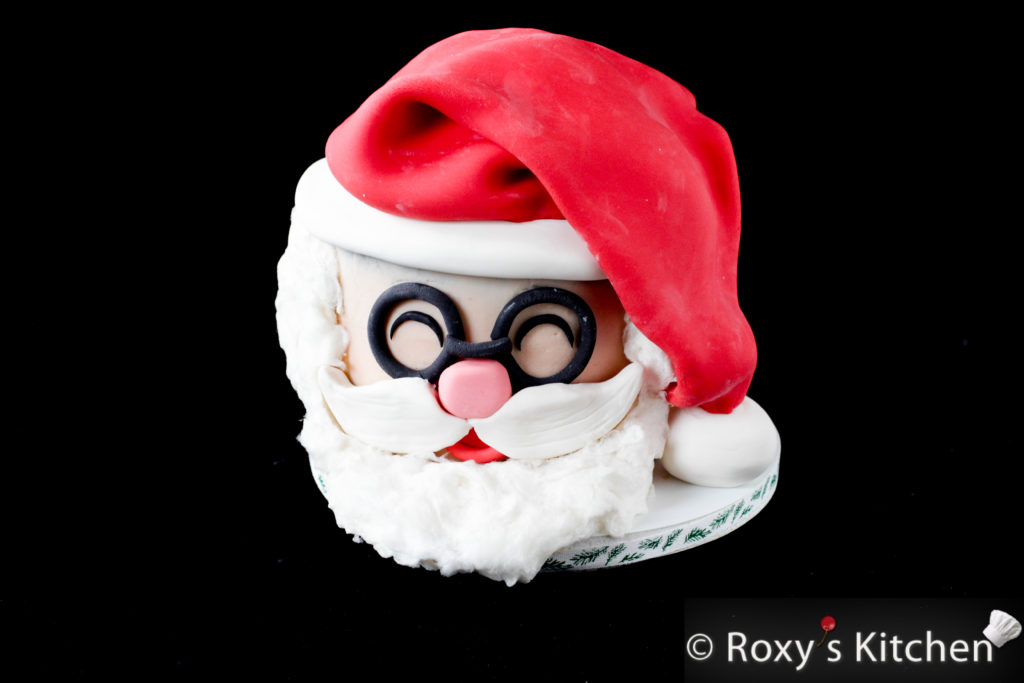
If you like cotton candy, you can make the beard out of this as well. But note that you must eat this within 1 hour (even faster if you live in a place with lots of humidity), otherwise, the cotton candy will melt away! The humidity in the air will make the cotton candy disappear before your eyes. Also, don’t refrigerate it as the same thing will happen. Here’s Santa with a cotton candy beard in case you like this idea:
