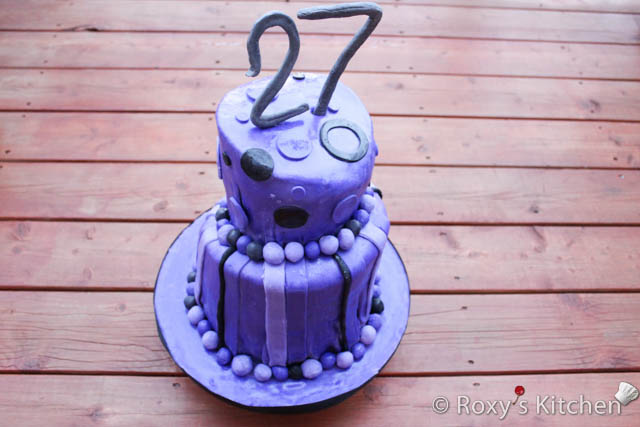
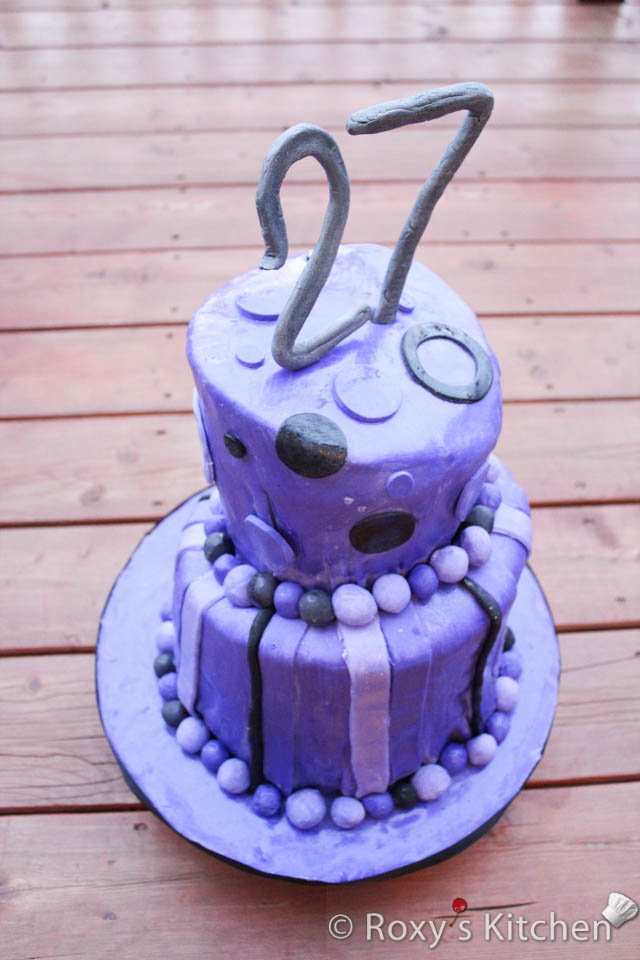
I am so excited I managed to make this Topsy Turvy Cake for my birthday despite the time constraints. I think this is the biggest cake I made in the shortest time but, thanks to my husband who offered to help shaping the fondant balls (he’s an expert now :)), I managed to finish the cake before our guests started arriving. And not to mention, this was my first time properly stacking a cake using dowel rods, cake boards etc. When you’re making a cake that takes more time to decorate, it’s better if you choose a filling that’s easier to make. And what can be easier than chocolate ganache? For the basic recipe you only need two ingredients – whipping cream and chocolate – and you can enhance this by adding fruit or ground walnuts for example. Everything I used in this recipe was homemade, from the cake layers and the filling to the buttercream, fondant and decorations.
Time: Prep & Decorating: 5 hrs. (this includes time for making the fondant/buttercream/decorations as well) Cook: 30min. per batch of cakes & 15min. for the filling + 3 hrs chilling time
Servings: 35-40
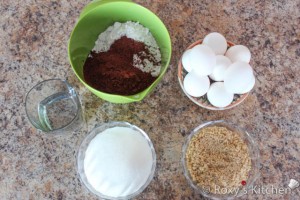
Ingredients:
For cake:
- 10 eggs
- 10 Tbsp water
- 14 Tbsp all-purpose flour
- 6 Tbsp cocoa powder
- 20 Tbsp sugar
- 6 Tbsp ground walnuts
You also need a pan that is 8 inches in diameter and another one that is 6 inches in diameter. They need to be greased with butter and floured.
You’ll need 3 times the ingredients listed above to make three 8-inch cakes and three 6-inch cakes for a two tier cake.
For filling:
- 900 g semi-sweet chocolate
- 1l whipping cream
- Rum extract
- 300 g red sour pitted cherries in syrup, drained
- 8 Tbsp ground walnuts
For syrup to moisten cake:
- 375 ml boiled water
- 9 Tbsp sugar
- 1.5 Tbsp rum extract
For decorating cake:
- Buttercream frosting for the crumb coat– you need half of the quantity indicated in the recipe
- Fondant – you need to double the ingredients indicated in the recipe
- Paste food colouring – purple & black
- Round cookie cutters, different sizes
- Fondant tools: smoother, roller, cutter
- Foam cake board
- A cake cardboard for each tier
- Dowel roads
- A cake turntable would be useful as well
Directions:
Cake:
Preheat oven to 180°C (350°F).
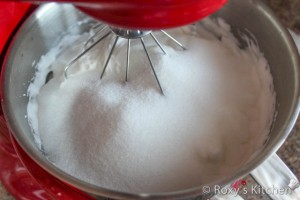
Beat egg whites and water with an electric mixer until stiff peaks form. Add sugar and beat until dissolved.
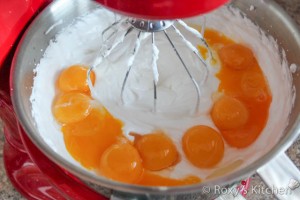
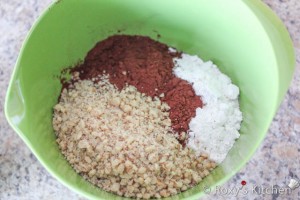
Fold in the egg yolks. Combine flour, cocoa powder and ground walnuts.
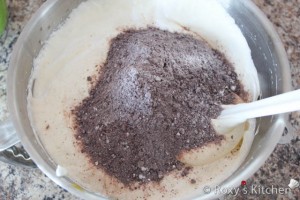
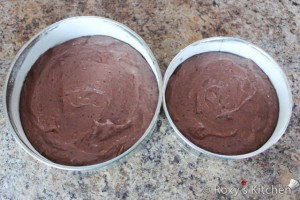
Carefully blend in the dry mixture until just combined. Pour batter into your two springform pans and bake for about 30 minutes, or until brown (you can insert a toothpick in the centre and if it comes out clean then it’s ready).
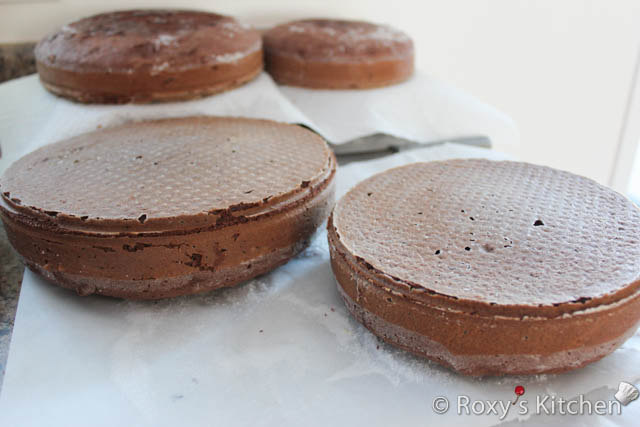
Repeat the steps to make two more 8-inch cakes and two 6-inch cakes.
Filling:
To make the chocolate ganache, heat the whipping cream in a bowl over a pot of boiling water. Add the chocolate and stir until completely mixed and glossy.
Add the rum extract, remove from the heat and set aside to cool. Then refrigerate for at least 3 hours or overnight.
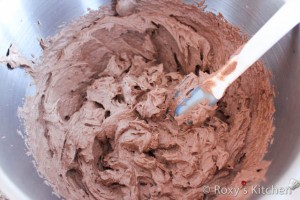
Whip the chilled chocolate mixture until light and fluffy. If it’s too thick you can mix in a few tablespoons of whipped cream.
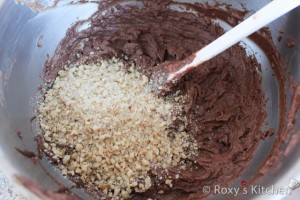
I wanted to fill the bottom (and bigger) tier with chocolate ganache and sour pitter cherries and the top tier with chocolate ganache mixed with ground walnuts. So you’ll need to take about 1/3 of the filling and mix in the ground walnuts.
Syrup:
For the syrup, melt the sugar in a heavy-bottom saucepan over low-medium heat. Stir constantly with a spoon until sugar reaches a golden-brown colour. Pour the boiled water over the caramelized sugar and bring to a boil. Add the rum extract and remove from heat. Set aside to cool.
Assembling the cake:
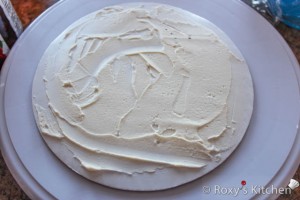
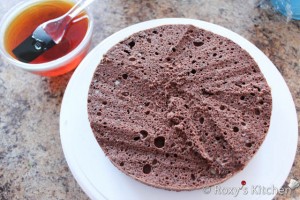
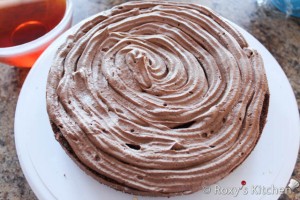
To assemble the bottom tier cut two of the 8-inch cakes horizontally in half. The cakes should be turned upside down since the bottom of the cake always has a nice and flat surface. Secure the bottom layer on the cake board with a little buttercream. Moisten the cake with sugar syrup using a brush.
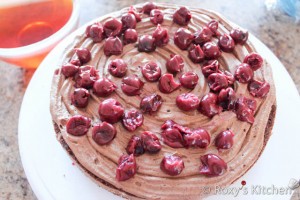
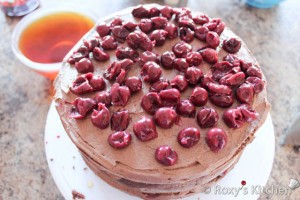
Add chocolate ganache filling and spread some sour pitted cherries on top. Add the next layer, moist with sugar syrup and spread chocolate ganache. Add the third layer, sugar syrup, chocolate ganache and cherries and lastly, add the forth layer, moist with syrup and spread chocolate ganache. You’ll notice that I only added the cherries on the first and third layers… it’s up to you if you want to do the same or not.
Now what are we going to do with the third 8-inch cake? Well, let’s do some carving using a serrated knife! Carve down at an angle carefully from one top edge to the opposite bottom edge. You can stick the top piece that you just cut out on top of the base (after you rotate the cut top at 180 degrees) if you want to create a sharper angle to the cake. Use the chocolate ganache to stick the two pieces together and then place it on top of the other 8-inch layers you just assembled.
You can carve a bit of the edge away so that its diameter is smaller at the bottom and wider at the top. I didn’t have too much time to spend on this now… will definitely need to practice more in the future to make sharper angles (this time I only tapered down the top 6-inch tier to a 5-inch diameter base but more on that later).
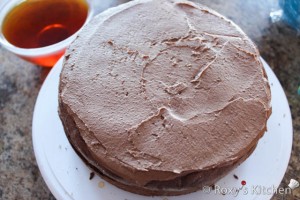
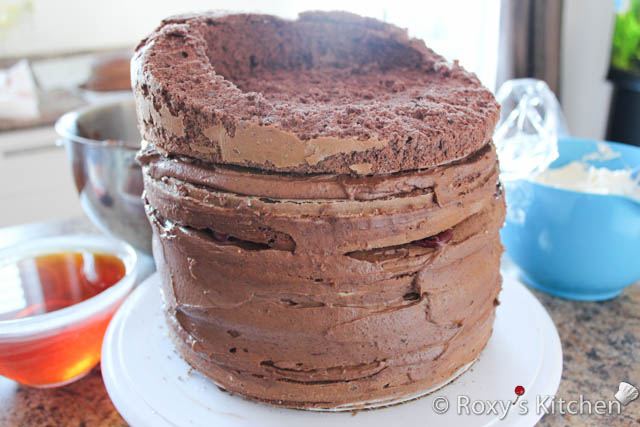
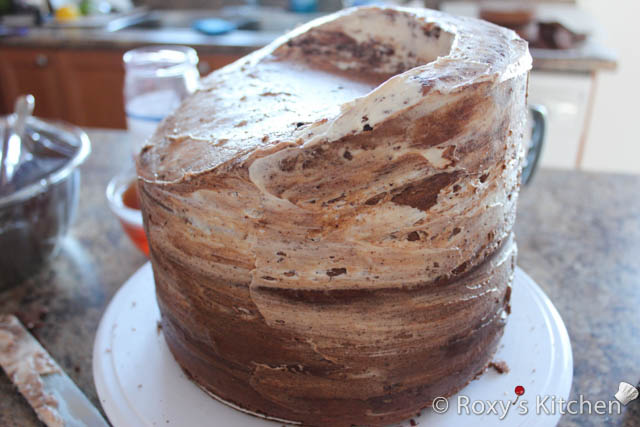
Lastly take a 5-inch cardboard, place it on the top of the cake (in the middle) and mark an outline. Cut off the top across to make a flat surface for the next tier to sit on like in the picture below. Ice the cake with buttercream to cover all holes and imperfections and refrigerate for about half an hour.
I tapered down the 6-inch tier to a 5-inch diameter base. I basically cut the first 6-inch cake to make it 5 inches in diameter instead, the second one to about 5.5 inches and I left the top cake as it was. Same as with the two bigger cakes, I cut two of the smaller cakes horizontally in half. Then I carved the top cake at an angle, secured the bottom layer on a 5-inch cake board, used sugar syrup to moisten the layers, spread the chocolate ganache mixed with ground walnuts on each layer and crumb coated the cake with buttercream.
Decorating the cake:
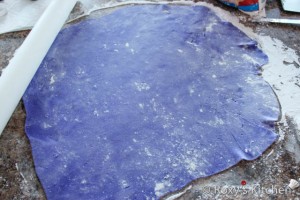
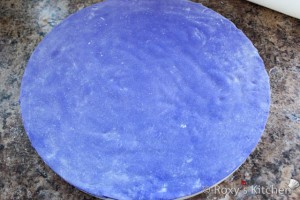
Colour most of your fondant in purple and the remaining in black. Roll out purple fondant and cover your foam cake board as well as both cake tiers. Smooth the fondant and trim the edges at the bottom.
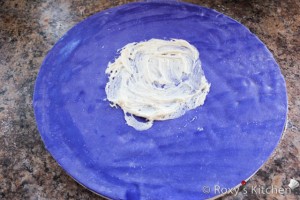
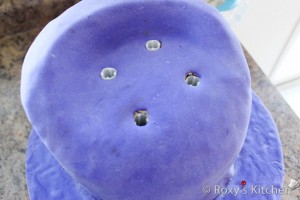
Insert four dowels into the cut out section of the bottom tier. Add a small layer of buttercream icing on the foam cake board covered in fondant and place the first tier on.
Spread some buttercream on top of the bottom tier where the top tier will sit. Carefully place the smaller tier on top of the 8-inch cake. If you feel you need to stabilize your cake a little more, insert a long dowel in the middle of the cake through both tiers.
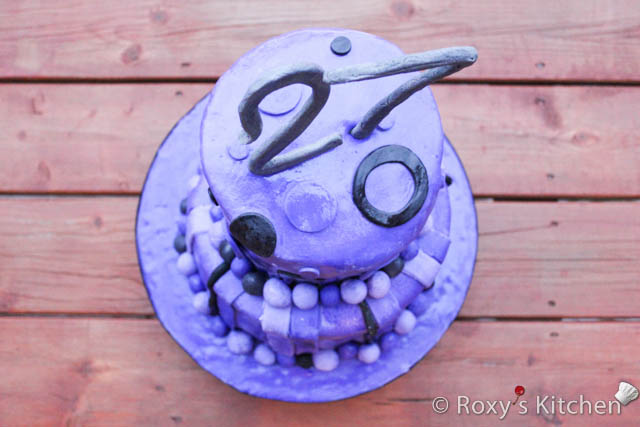
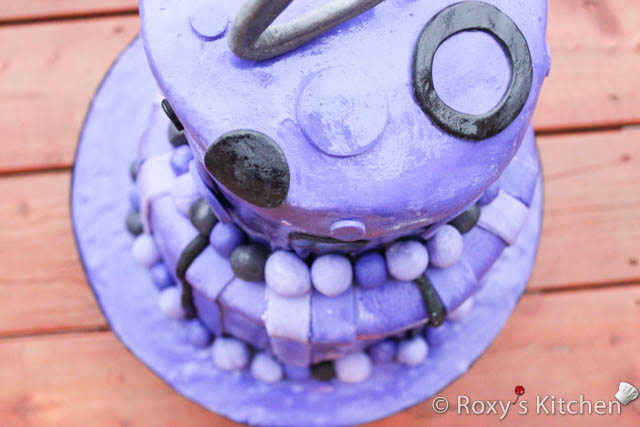
You’re done with the cake and can move on to the fun part – decorating! Make your fondant decorations – strips, balls, circles in different sizes and attach them to the cake using some water or sugar syrup. You’ll notice that I added some more purple food colouring to some fondant to make the strips in different shades of purple.
And here’s the final result!


