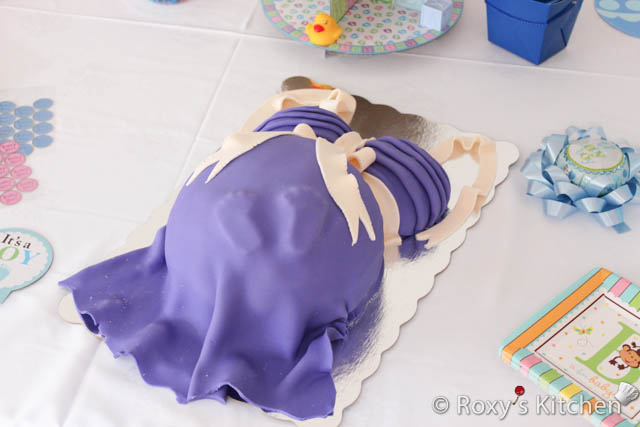
I’m baking something pretty special this time… a bun in the oven :). This is the reason I haven’t been so active on the blog lately. We decided to organize a Gender Reveal Party and since I’ve started regaining some of my energy back I figured this would be the perfect occasion for another cake experiment. Apart from this cake I made some blue and pink cake pops and cupcakes for which I promise to post the recipes shortly. I placed a blue gum ball in one of the cupcakes so the lucky person who chose that cupcake was the first to find out we were expecting a baby boy. We had Team Blue vs. Team Pink playing a game, similar to beer pong except we used milk instead : )). The losing team had to drink milk from baby bottles and I must say, that was extremely fun to watch! Hopefully other moms-to-be will find this post inspiring ;). So now let’s get started on the step-by-step recipe for the pregnant belly cake.
Time: 80 min, Prep: 40 min. Cook: 40 min + ~2 hours for decorating the cake
Servings: 26-30
Ingredients:
For cake:
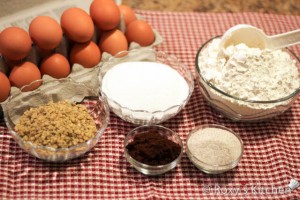
- 16 eggs
- 16 Tbsp water
- 350 g (1 1/2 cups) sugar
- 330 g (3 cups) all-purpose flour
- 5 tsp cocoa
- 5 tsp cappuccino (dry powder)
- 5 Tbsp ground walnuts
You also need one round oven-proof bowl that is 26 cm (10.2 inch) in diameter and a 24.5 x 9 cm (9.6 x 3.5 inches) springform pan, both greased with butter and floured.
For frosting:
- 1 l chilled whipping cream (4 cups)
- 3 Tbsp cappuccino (dry powder)
- 110 g white chocolate, grated
- 600 g (2.5 cups) sugar
- 1350 g (6 cups) mascarpone cheese
Mind you that I had some leftover frosting, maybe about 2 cups, so you could use just 2/3 of the ingredients listed above or you could enjoy the leftovers :).
For syrup to moisten cake:
- I just used cappuccino but if you prefer you can make syrup using 200 ml water, 100 g sugar & 1 Tbsp rum extract
For decorating cake:
- 1.8 kg (4 lbs) white fondant
- Purple paste food colouring
- Fondant tools: smoother, roller, ribbon cutter, a ruler
- Some icing sugar
Directions:
Cake:
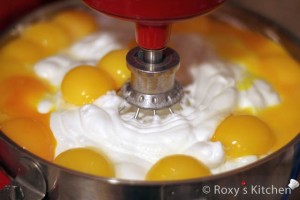
Beat egg whites and water with an electric mixer until stiff peaks form. Add sugar and beat until dissolved. Fold in the egg yolks.
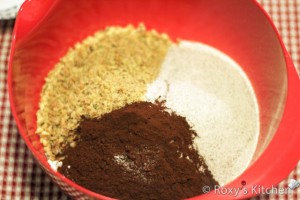
Combine the flour with cocoa, cappuccino and ground walnuts.
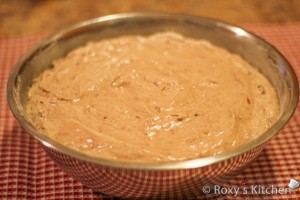
Using a spatula, carefully blend in the dry ingredients until just combined.
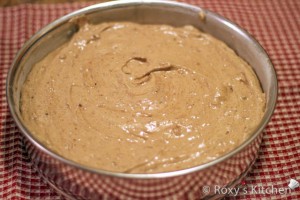
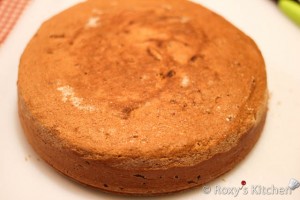
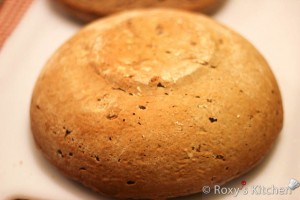
Preheat oven to 180°C (350°F). Pour batter into the oven-proof bowl and the springform pan.
Bake for about 35-40 minutes, or until brown (you can insert a toothpick in the centre and if it comes out clean then it’s ready).
Frosting:
This is the same as the frosting I made for the Bachelorette Party Corset Cake.
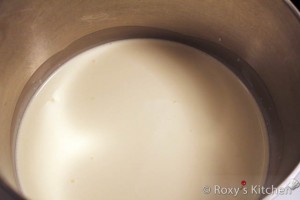
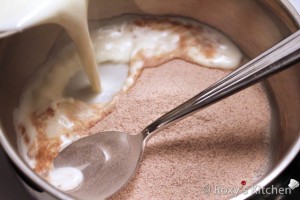
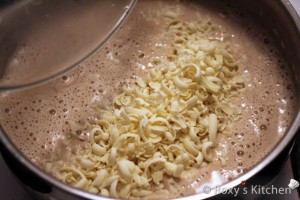
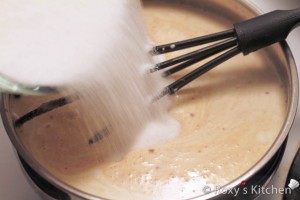
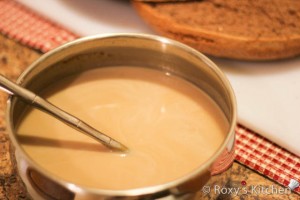
To make this you have to bring 2/3 of the whipping cream to boil in small saucepan. Slowly pour cream over cappuccino powder, whisking until dissolved. Add grated white chocolate and stir until smooth. Add remaining whipping cream and sugar and stir until sugar dissolves. Chill until cold, at least 2 hours or overnight (cover before refrigerating).
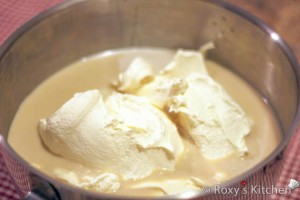
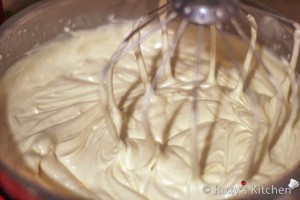
Add mascarpone to chilled mixture and using an electric mixer beat on low speed until blended and smooth. Increase speed to medium-high; beat until mixture is thick and medium-firm peaks form when beaters are lifted, about 2 minutes (do not overbeat or mixture will curdle).
Assembling the cake:
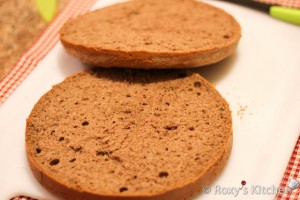
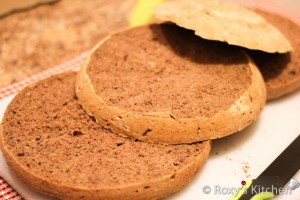
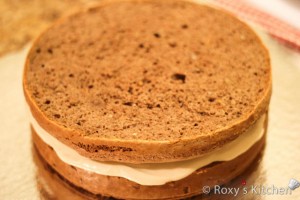
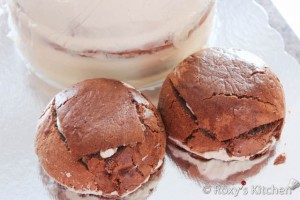
Place the cakes onto your work surface. Cut the bowl-shaped cake (this will be your belly) horizontally in three and the round cake in two.
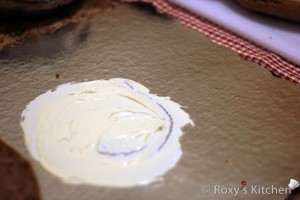
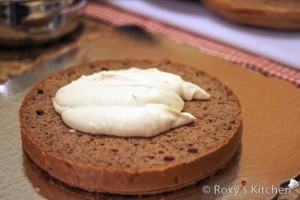
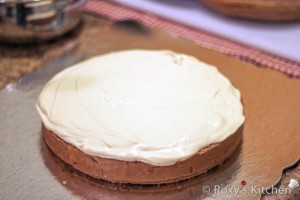
Place one of the round layers (we’ll use the other half for the boobs) on your cake platter and moist it with cappuccino syrup. Using a spatula, evenly cover the top of the first layer with cappuccino frosting.
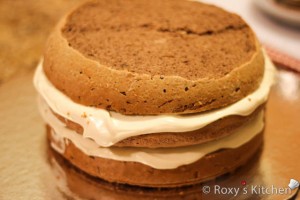
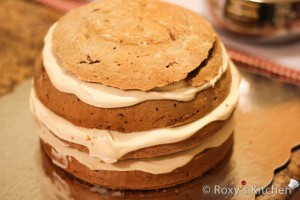
Place the first layer of the bowl-shaped cake on top (the biggest one) and moist it with cappuccino as well and cover with frosting. Repeat the steps with the remaining cake layers. You should save some frosting for the boobs and to crumb coat the cake at the end.
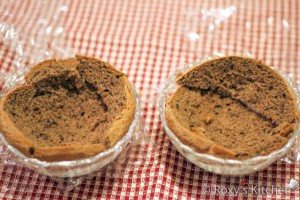
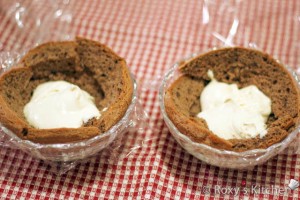
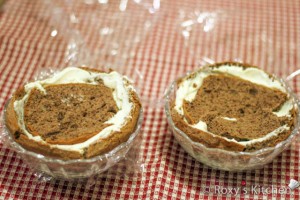
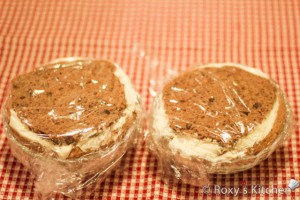
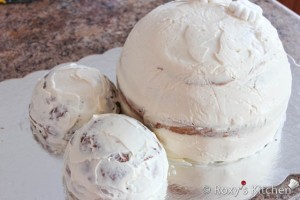
Now it’s time to make the boobs and for these you need two small bowls. Line the two bowls with plastic foil. From the remaining cake cut thin layers. Place a layer of cake, moist it with cappuccino and top with frosting. Repeat until you fill each bowl (the top layer should be of cake).
Refrigerate both the corset and the boobs overnight.
Crumb coat the cake before covering it in fondant.
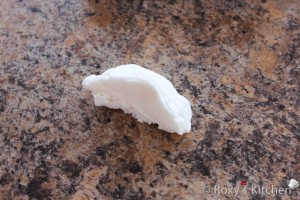
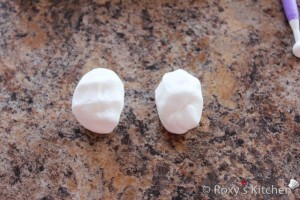
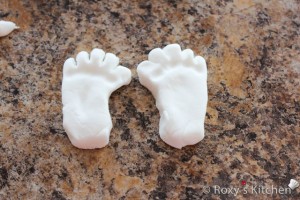
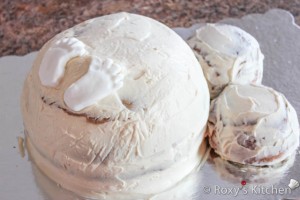
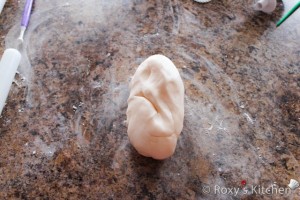
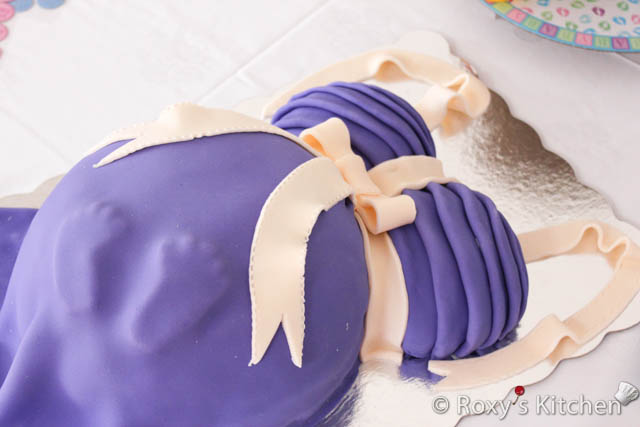
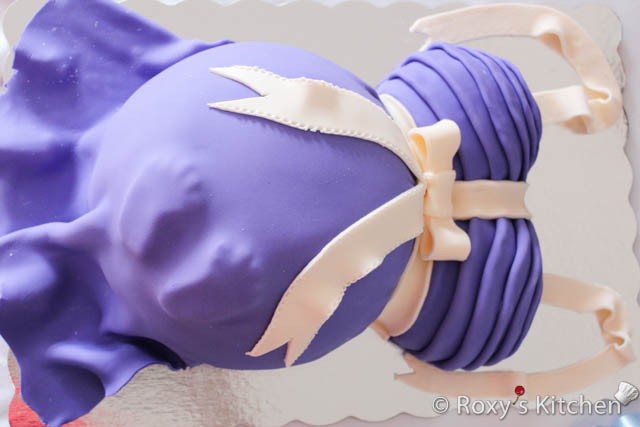
Take two small pieces of fondant and shape the baby feet. Place them on the belly, they will easily stick to the cake since it’s covered with frosting.
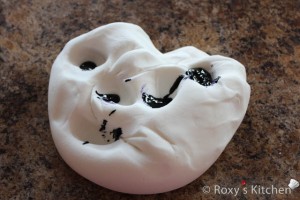
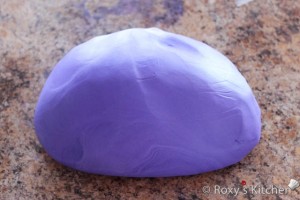
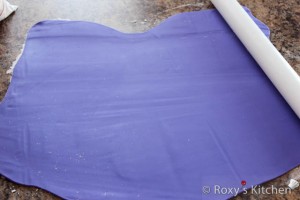
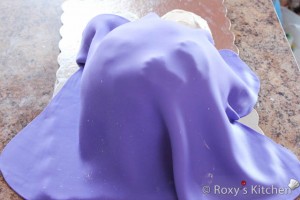
Colour 3/4 of the fondant in purple using the paste food colouring. Dust your work surface with icing sugar and roll a little more than half of the purple fondant to about 1/6 cm (1/10 inch) thickness. Cover the belly in fondant and cut it around to make it look like a dress.
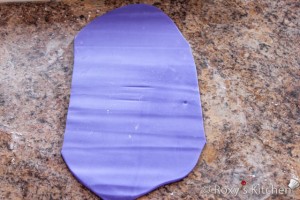
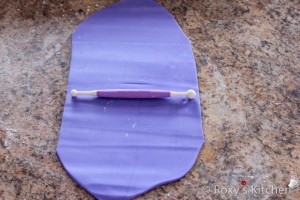
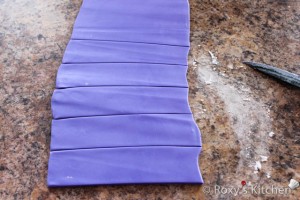
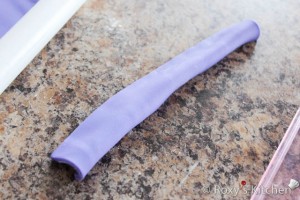
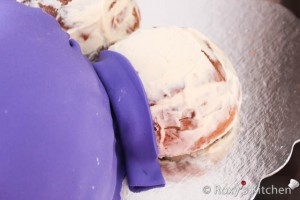
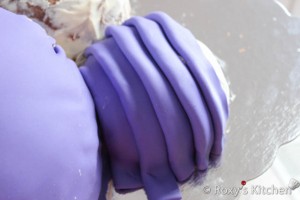
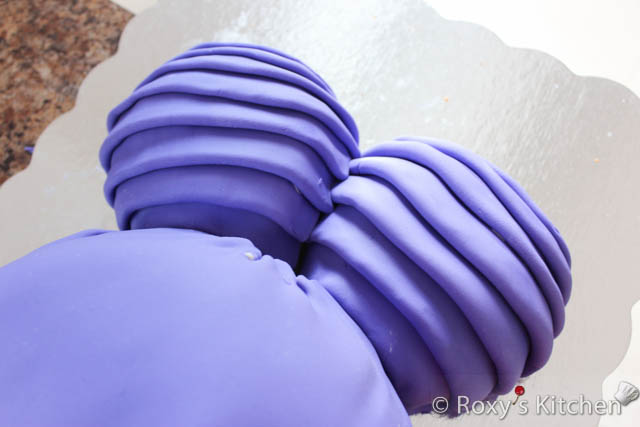
For the boobs I rolled the remaining purple fondant and made creases as seen below.
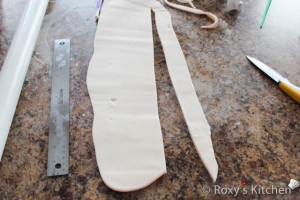
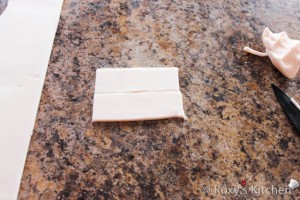
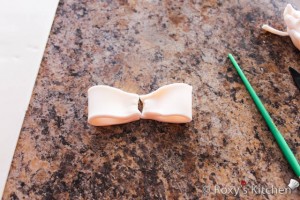
To make the fondant bow, roll a small piece of white fondant (I actually used some ivory fondant) to about 1/4 cm (1/8 inch) thickness. Using the ruler as a guide cut 2 rectangular shapes about 10 cm by 2.5 cm ( 4 inch by 1 inch). Brush one side of the rectangular with water, fold it from one end to the other and pinch the ends together.
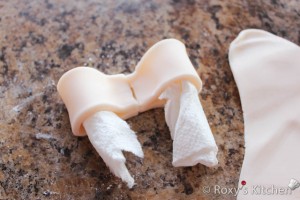
I inserted some rolled paper towel into each loop to help hold the shape.
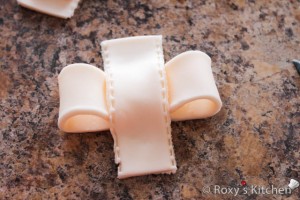
For the knot in the middle of the bow cut a small rectangle and place it on top of the pinched ends of the loop. Tuck it underneath and stick the ends together using water.
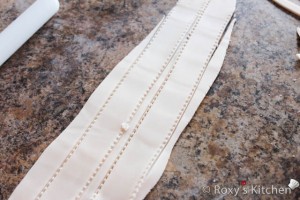
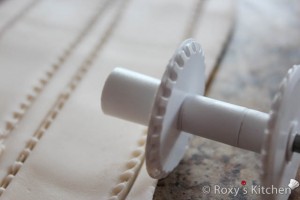
Make the tails of the ribbon bows by cutting two more rectangles using a ribbon cutter if you have one, same width as the ones you used for the loops but longer. Cut a V-shape on one of the ends for each tail. I have also made another ribbon and placed it on the belly to define the waist. I glued all these onto the cake just by brushing the undersides with some water.
Lastly, I made the dress straps using the ribbon cutter again and arranged them onto the cake board.
This tutorial was shared at these parties:
Inspiration Monday @ I Should be Mopping the Floor, Monday Funday @ Uncommon Designs Online, Show me Your Plaid Monday’s @ The Plaid & Paisley Kitchen, Making Monday @ Kitchen Table Art, The Block Party @ Hungry Happenings, Two Cup Tuesday @ Pint Sized Baker, You’re Gonna Love It Tuesday @ Kathe with an E, Create Link Inspire @ Kleinworth & Co, Totally Talented Tuesdays @ Mandy’s Recipe Box, Munching Mondays @ Nibbles by Nic, In and Out of the Kitchen @ Feeding Big, Time to Sparkle @ The Recipe Critic, Wonderfully Creative Wednesdays @ Mom’s Test Kitchen, Wake Up Wednesdays @ The Tasty Fork, Whimsy Wednesdays @ The NY Melrose Family, Wonderful Wednesday Blog Hop @ Crystelle Boutique, What’s Cookin’ Wednesday @ Buns in my Oven, Wednesday Whatsits, Lovely Ladies Linky @ This Silly Girl’s Life, Lou Lou Girls Fabulous Party, Work It Wednesday @ Place of My Taste








Thanks for the pregnant belly cake tutorial, I found it really helpful, I’ve just made it for my nieces baby shower for this weekend.
Debbie x
Were you able to store in the fridge overnight?
I covered this cake in fondant on the same day we served it but I stored other fondant-covered cakes in the fridge overnight with no issues. If you live in a place with a hot & very humid climate it’s better if you place the cake in a cardboard box before refrigerating it. This will help absorb any moisture. If you take it out of the fridge and some condensation appears on the cake just don’t touch it as you will leave fingerprints/marks on… the condensation will eventually evaporate.
Hope this helps 🙂 !
I like your design
Beautiful cake! I wish I could make a cake like this! I love the little feet!
Navy Wifey Peters @ Submarine Sunday Link Party
This is amazing! I especially love the baby feet! Precious! Pinned! Thank you again! Lou Lou Girls
What a fabulous cake and tutorial. The little feet are perfect. Thanks for sharing at The Block Party. Pinning:)
Thanks for pinning, Beth! I love your tutorials as well, you have too many awesome recipes on your blog <3 ! Pinned the surprise-inside Earth Cake just the other day :)!
I love this cake! What a great idea for a shower! Thanks for linking got the In and Out of the Kitchen Link Party! So glad you are here!
Thanks for hosting such a great party, Cynthia!
Love the cake!! I pinned this to my cake board. Thanks for sharing this with us at the Four Seasons Blog Hop.
Glad you like it, thanks for pinning :)!
Your gender reveal cake is just darling!! Stopping by from the Treasure Box linky party.
Thanks, will join your party tonight :)!
Roxy, this is precious, and just perfectly done! I love how it’s great all by itself, but also a gender reveal cake, too! Great idea! And who wouldn’t love the teeny little feet? I am so glad you shared this with us at Treasure Box Tuesday- PINNED!
Thanks so much Joy! I had a great time making it, especially since it was for our gender reveal party! Thanks for hosting such a great party, and for pinning/sharing!
What pan did you use for the belly ?
I didn’t use any special pan, just a round oven-proof bowl that was 26 cm (10.2 inch) in diameter and a springform pan that was almost the same in diameter… check out the recipe details and photos and you’ll see what I’m talking about 🙂
thanks for your help