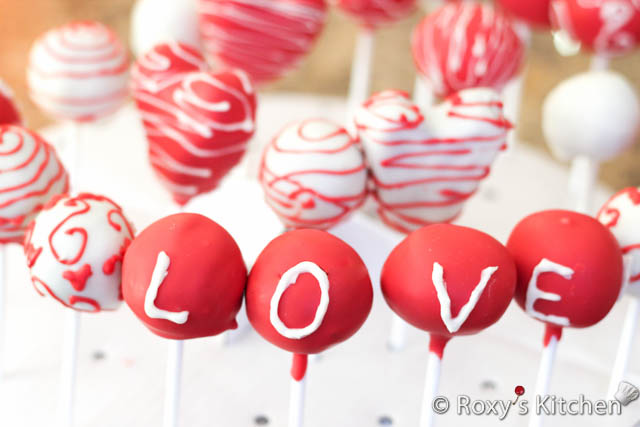
Cake pops are fun to make and they are (too) easy to eat… so easy that I can never stop at one. Every time we have cakes, other types of desserts and cake pops, of course the cake pops are the first to go! I made regular round cake pops and a few heart-shaped ones and in my opinion these are the perfect homemade treat for your Valentine : ).
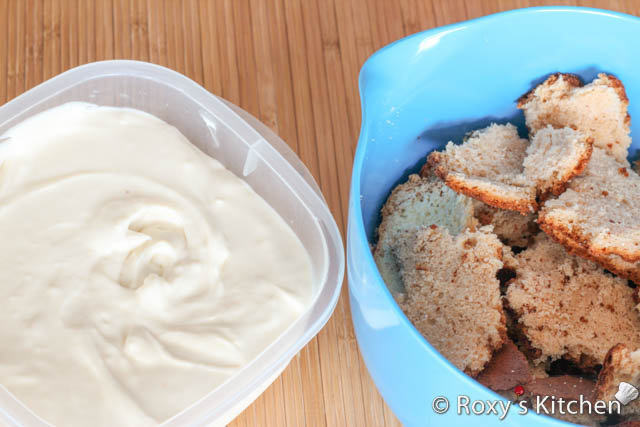
I had some leftover strawberry cake and cream cheese frosting (btw you can store this in the freezer and defrost it when needed!) so this is what I used to make these Valentine’s Day Cake Pops. However, you can use any cake and icing you like. The ratio of cake to icing is probably close to 4:1 but it all depends on the consistency of your cake and icing. So a better advice is to start adding a few tablespoons of icing to your cake crumbs and then knead with your hands. You should have a firm, dough-like consistency – if needed add more icing. If you’re a fan of red velvet cake you can check out my other post on cake pops for exact quantities and recipes for the cake & cream cheese frosting.
Ingredients:
- Your choice of cake & icing
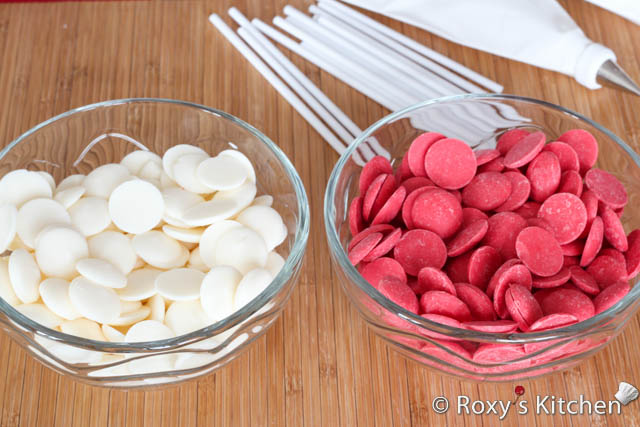
- 340g (12 oz) white candy melts
- 340g (12 oz) red candy melts
- lollipop sticks
- styrofoam blocks or cake pop stand to place them upright when drying
- Two piping bags fitted with 1S tip
Note that I used both Wilton candy melts (white) and Merckens candy melts (red) and I found the Wilton ones were better. The Merckens coating is easier to work with and would dry a lot faster but then it cracked on many of my cake pops. Maybe keeping the cake pops out of the fridge for a few minutes before dipping them would help with the cracking.
Directions:
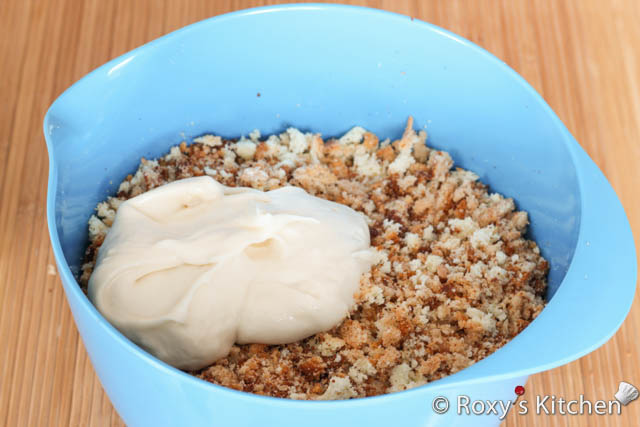
Crumble the cooled cake into a large bowl. Add the cream cheese frosting and mix thoroughly.
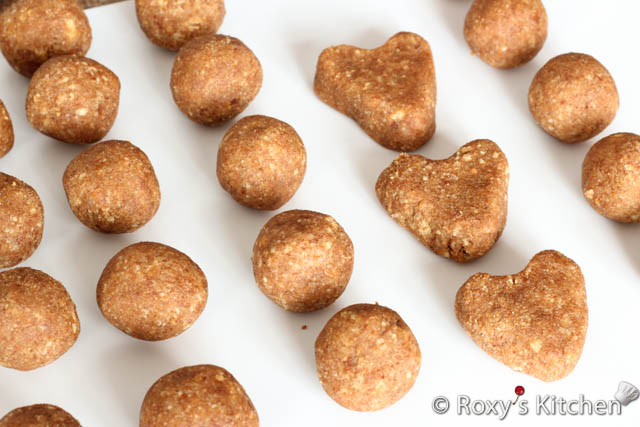
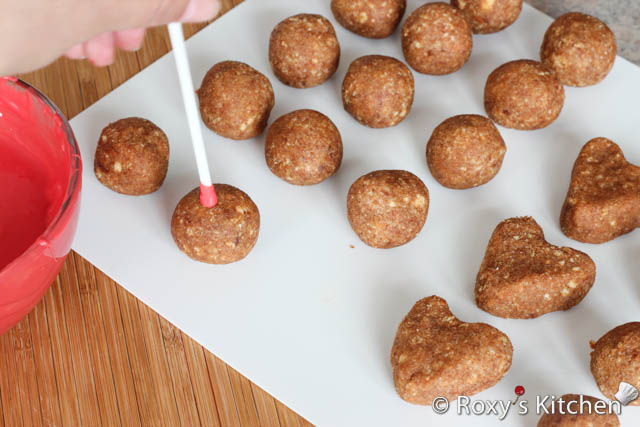
Take about 1 teaspoon of the mixture and roll into golf ball-size balls or into a heart shape. Place the balls/hearts on a tray or a pan and refrigerate for 3 hours or overnight.
Microwave the candy melts as per package instructions…. usually you have to start with 30 seconds at 40% power. Stir thoroughly and continue to microwave for another 30 seconds. Repeat this process until smooth and completely melted. Just a useful tip, use a tall & narrow glass because it’s easier to dip the cake pops in and there is less waste.
Dip the end of the lollipop stick into the melted coating and insert into the cheesecake ball. Don’t insert the stick all the way through the ball as it will crack.
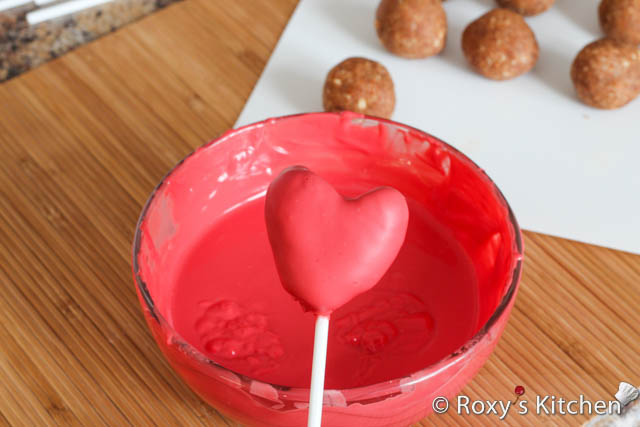
Dip the cake ball into the melted coating, don’t swirl the cake pop around in the coating, just dip and get out. Gently tap the lollipop on the edge of the glass to remove excess melt.
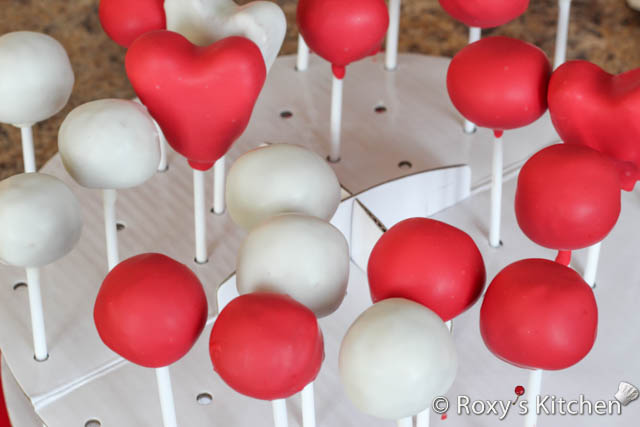
Place cake pop in the styrofoam board or on your cake pop stand to dry.
Repeat the steps to make all the remaining cake pops.
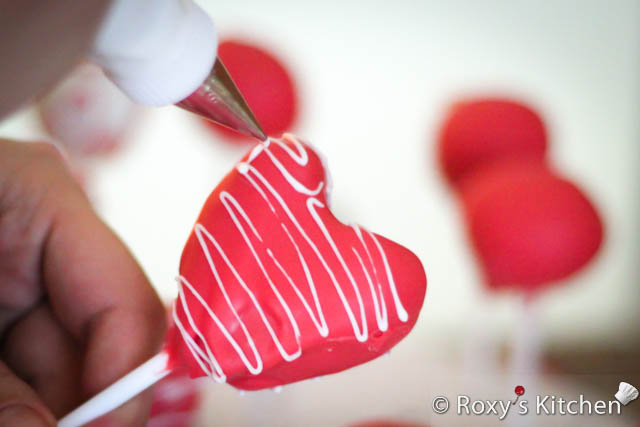
Place the remaining coating in a piping bag and use the 1S tip to decorate your cake pops with lines, tiny hearts or outer outlining details. If your candy starts to harden to much you can place the piping bag in the microwave for a few seconds. Make sure you remove the tip before though. metal should never go in the microwave!!!
Sending LOVE your way…
XOXOXOXO…
Happy V Day!
~Roxy







These are lovely 🙂 I have a party coming up and this looks like a good idea 🙂 Do you think they will stay good for 4-5 days? Do I have to refrigerate them for them to stay good? Because, the party is on a Friday evening and I will have to make these the previous Sunday as I have no other time in between! Please let me know.
Thanks, I’m glad yo like them :)! You should refrigerate them as they are made with cream cheese frosting and will spoil if you don’t. Some condensation might develop on the coating though when you refrigerate them… you could place them on a paper towel to absorb any excess moisture.
And yes, they will still be good after 4-5 days :).
Thanks! I will try them this week 🙂