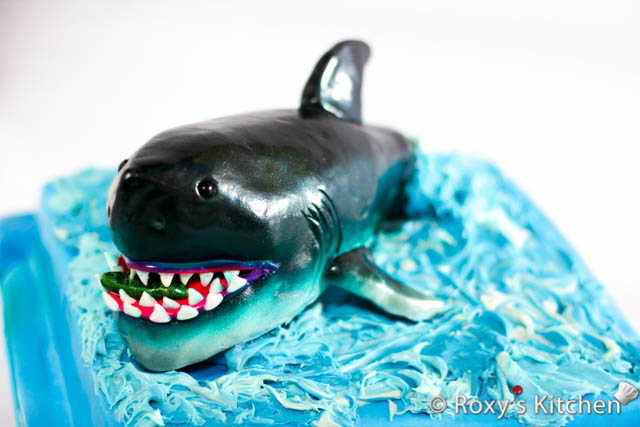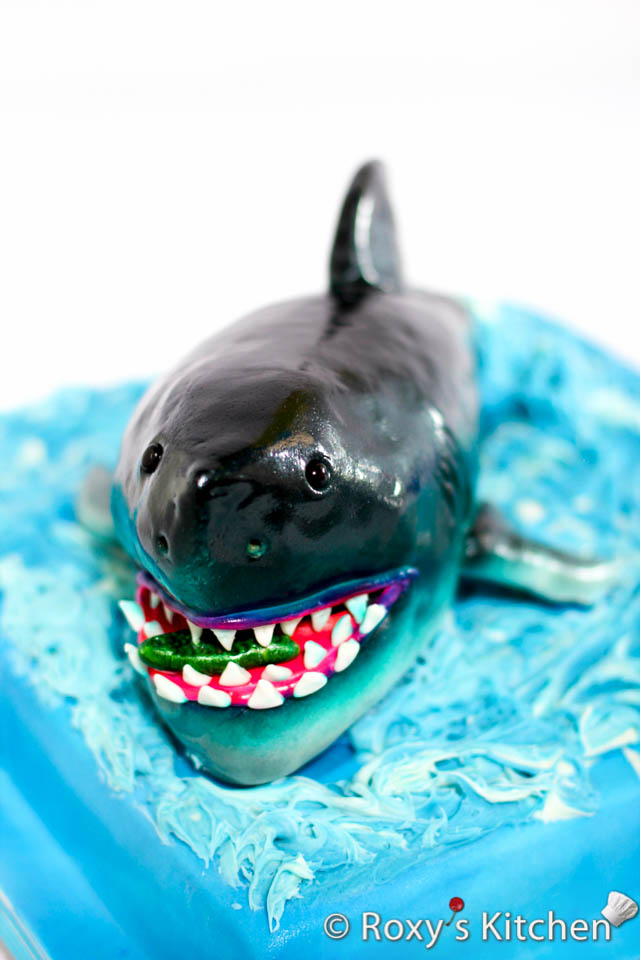
About 5 years ago, I made this Shark Cake for my oldest boy. I have just a few pictures that show the process of carving and decorating the cake. So, I’ll share these and some easy steps and tips instead of my usual detailed cake tutorials.
This is the first cake I airbrushed. Airbrushing a cake can be a fun and creative way to decorate it, but it does require some practice to achieve the desired results. If you are new to airbrushing, it’s a good idea to practice on a small piece of fondant or paper before moving on to a full cake. This will help you get a feel for how the airbrush works and how to control the spray. It’s also important to have the right equipment and supplies, including a good quality airbrush and food-safe airbrush colours. I own a Dinkydoodle airbrush but there are many options available on Amazon.
Directions
Step 1: You need to bake a rectangular / sheet cake. If I recall correctly, mine was 46 cm x 30 cm (18’’ x 12’’). You can use this simple vanilla cake recipe or this perfectly most vanilla cake but adjust the ingredients as needed. Use simple syrup to moisten the cake layers, especially if you’re not making the moist vanilla cake.
Step 2: Make your favourite cake filling. I filled the cake with this raspberry cream cheese buttercream and fresh raspberries.
Step 3: Fill and stack your sheet cake. I cut my cake horizontally in two and I had 2 layers of cake and one of filling.
Step 4: Using a serrated knife, cut out a square that’s 30 cm x 30 cm (12’’ x 12’’) out of your sheet cake. This will form the base of your cake, decorated with shades of blue to resemble the water. The remaining piece of cake should be a rectangle that’s 15 cm x 30 cm (6’’ x 12’’) and will be used to make the shark.
Step 5: Cut the remaining cake to make a 9 cm (3.5’’) wide piece which will go in the middle of the shark. From the remaining piece (6 cm x 30 cm or 2.5’’ x 12’’), you make a narrower base and top. The shark will be shorter than 30 cm (12’’). Carve the shark using a serrated knife. You can use the cake scraps to build up the shark’s head and body. Note that if you freeze the cake for 1-2 hours (cover it with plastic wrap before), it’s easier to carve it without it crumbling. If not, at least store it in the refrigerator for a few hours. I only created the shark’s head and part of its body as I wanted my shark to look like it’s partially in the water and only the head and a bit of its body are out of the water.
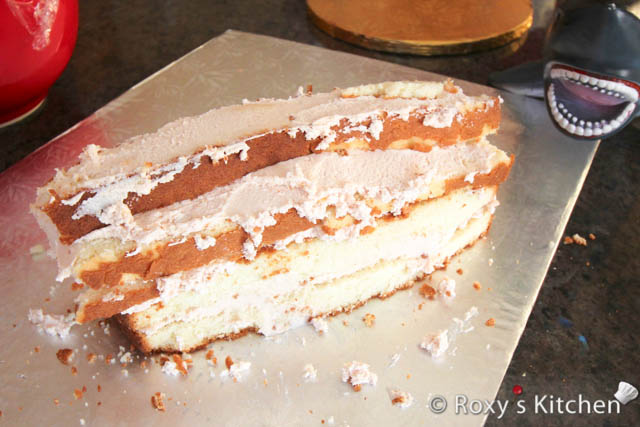
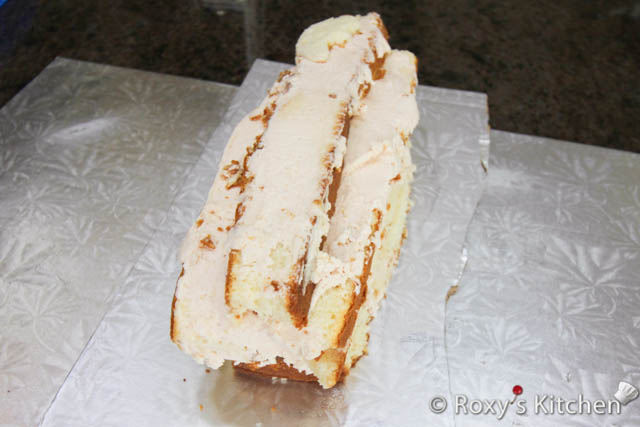
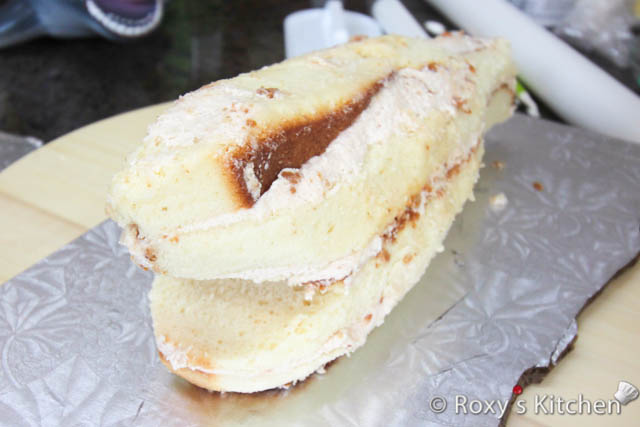
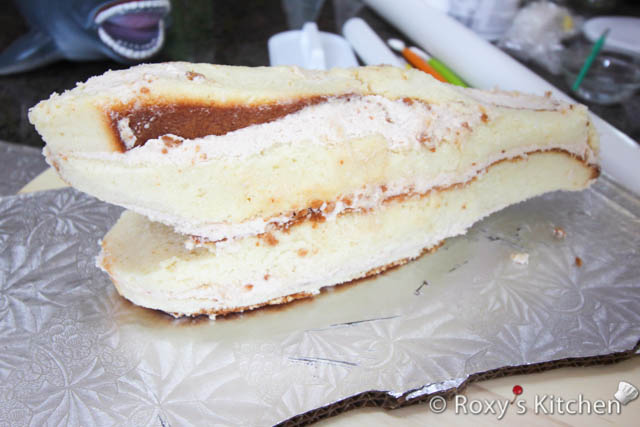
Step 6: I used my usual unwhipped chocolate ganache / firm frosting to cover the cake. You need to apply a thin layer of ganache to crumb coat the cake. Then, keep it in the fridge for 1-2 hours and apply another layer of chocolate ganache. You can smooth it out as much as you can with a spatula.
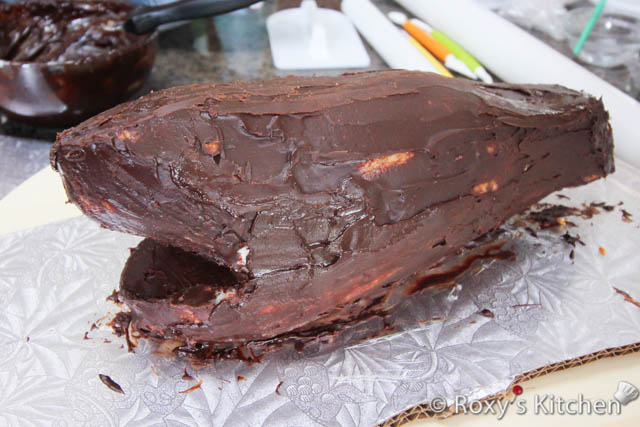
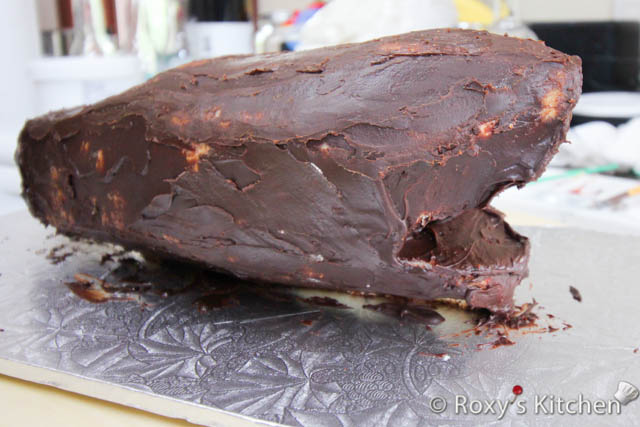
Step 7: Apply a thin layer of frosting on the square cake. Roll some black and blue marbled fondant and cover the cake. To make the marbled effect, just roll out each colour into a log, place them side by side and twist the colours together like a breadstick. Twist and fold it a few times and until you have the marbling effect desired and then roll it out.
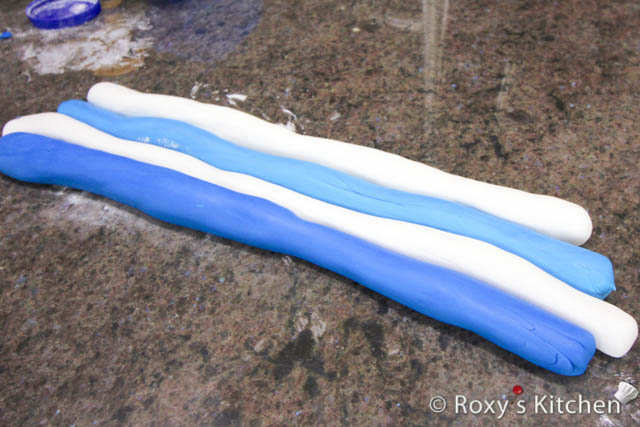
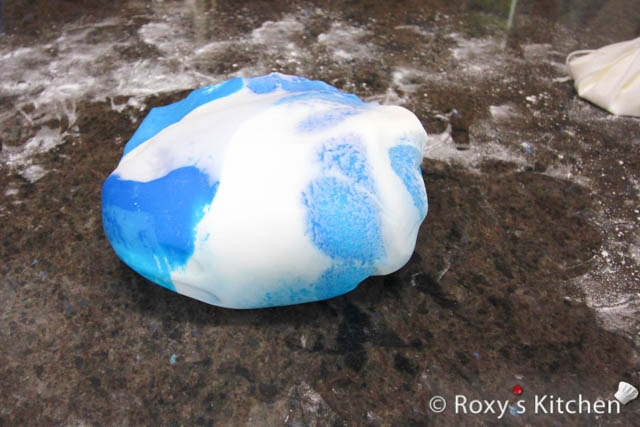
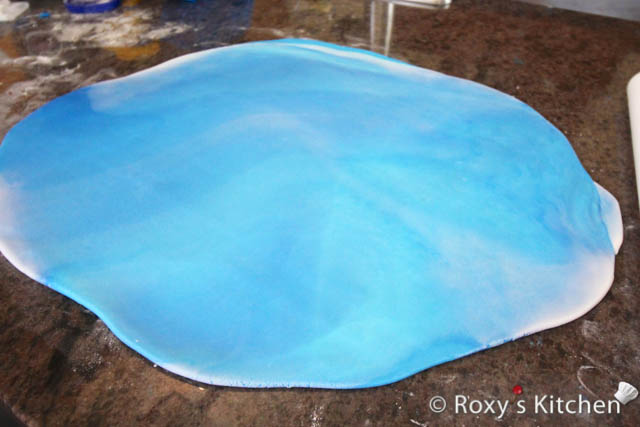
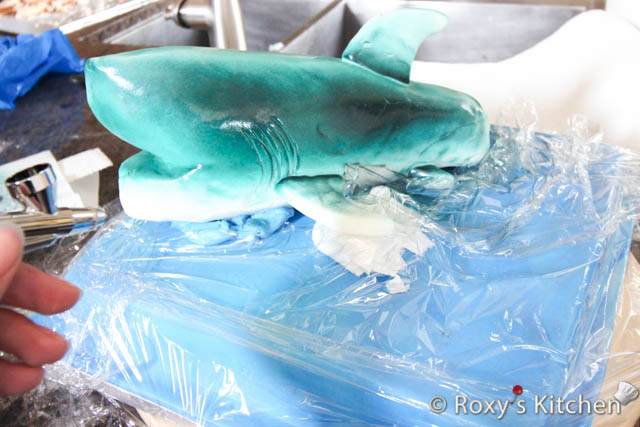
Step 8: Cover the shark in white fondant. Make the fins out of white fondant or gum paste if you want them to dry faster and maintain their shape better. Insert 2 toothpicks in each fin, leaving half of the toothpicks out so that you can insert them in the cake. Use the back of a blade or a fondant veining tool to create the creases on the shark’s body. Place the shark on the square cake covered in blue fondant. I wanted to raise its head a bit so I placed a few pieces of fondant under its jaw. Wrap your square cake in plastic wrap to protect it from the airbrush colour that will be applied on the shark.
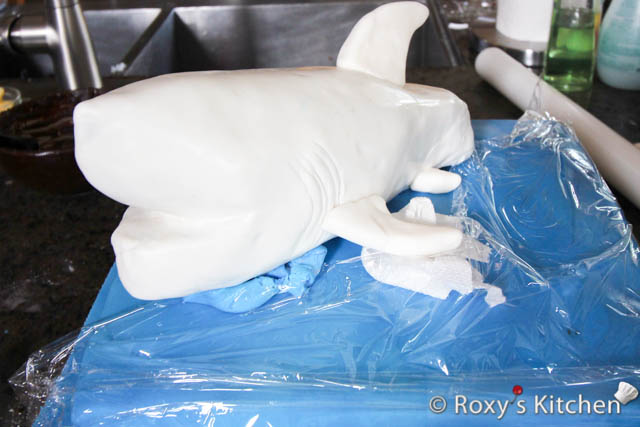
Step 9: Airbrush the shark. I used teal and black colours. I applied a layer of teal colour on the shark’s upper body and then another thin layer of black on top. You can make teal by mixing blue, green and white.
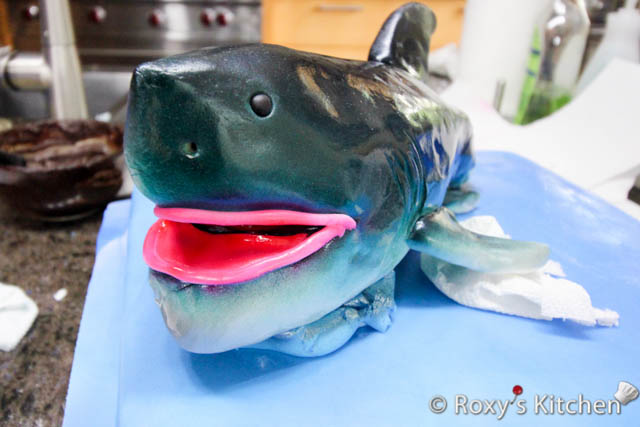
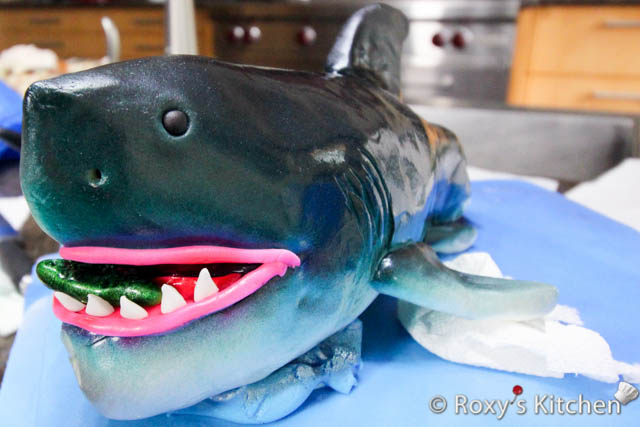
Step 10: Use a small fondant ball tool to create the eye sockets and make the eyes out of black fondant. Use the pointy end of a fondant veining tool to make the two holes for the nostrils. Place some red or pink fondant in the mouth. I tried to make some sort of defined edge / the gums around the mouth but these look more like lips :). So I had to airbrush them a bit so that they blend in more… just make sure you cover any parts you don’t want to airbrush (e.g. white teeth) with plastic foil. Make the teeth out of white fondant and attach them to the shark’s mouth using a bit of water. The shark has a fish in its mouth, but that looks more like a radioactive fish… maybe choose a different colour if you want to keep the fish.
Step 11: Use any white frosting you have to create the waves. Mix in some blue food colouring to create a marbled effect and just apply the frosting with a spatula on the cake, and around the back of the shark so that it looks like the shark is coming out of the water/waves.
