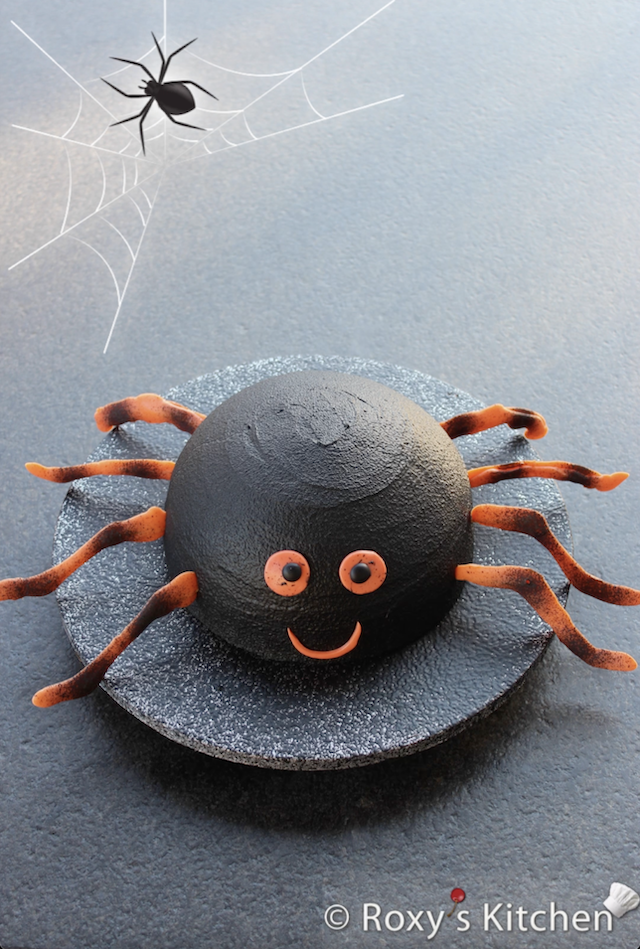
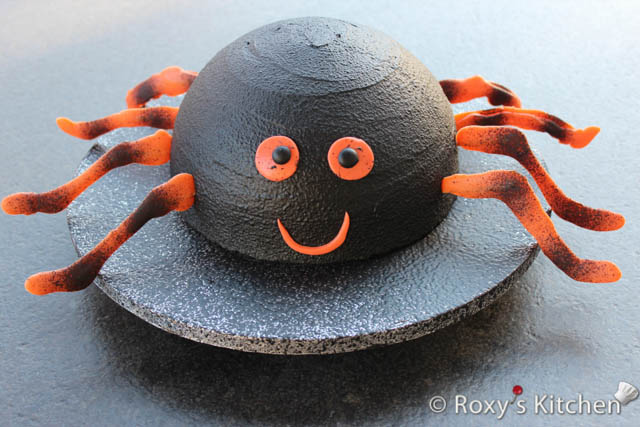
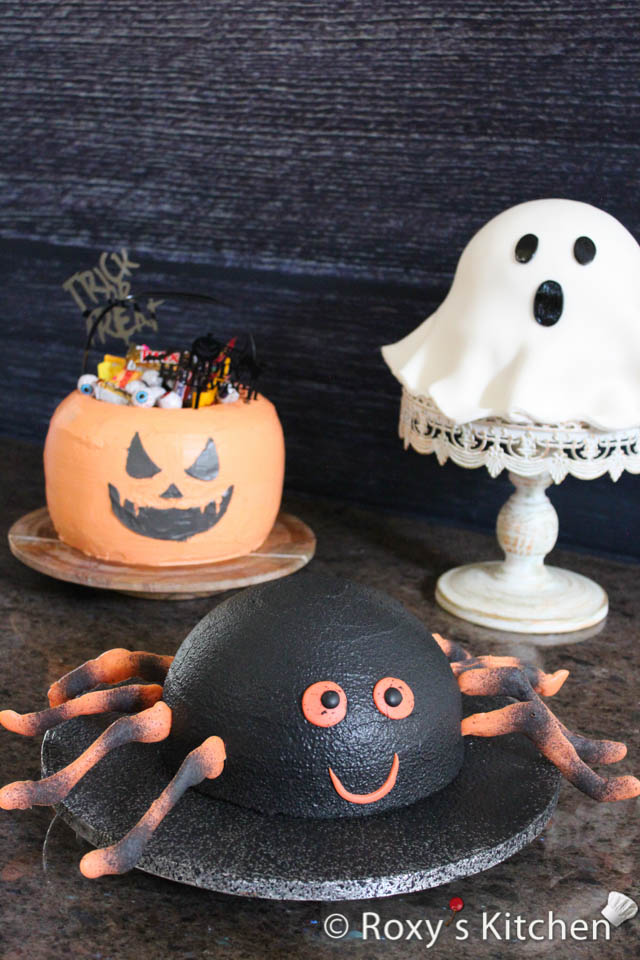
While the Ghost Cake was the kids’ favourite one, this Spider Cake was my favourite. I loved creating a cute 3D cake without having to use fondant for the details (which I almost always use for my custom 3D cakes). Also, I enjoyed covering the Spider Cake with the velvet texture made out of chocolate.
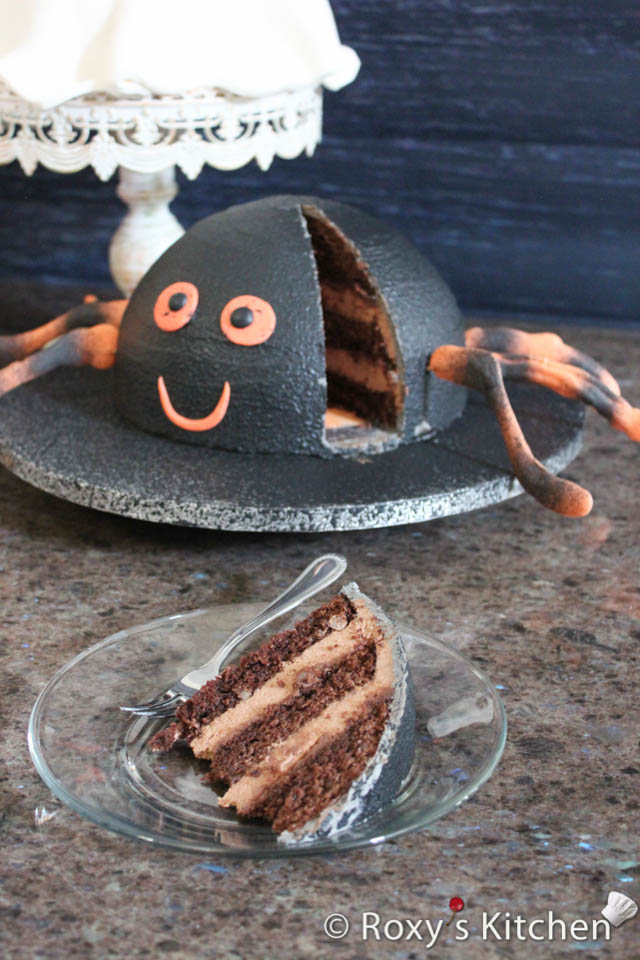
I used a chocolate cake with chopped walnuts. However, if you don’t like this, you can use a vanilla cake, or have a look at this section of my blog and you’ll find plenty of options.
For the fillings, I made chocolate ganache and a chocolate mousse. If you want something simpler, you can also use this chocolate filling with walnuts for filling the cake.
For the frosting, I used this chocolate ganache buttercream. However, the unwhipped chocolate ganache / firm frosting mentioned in this post would also work for this.
In case you have your cakes, fillings and frosting ready, then you can watch this video tutorial that shows you how to assemble and decorate the cake. If not, read through the sections below.
Ingredients
- 6 eggs
- 35 ml water (6 Tbsp)
- 140 g flour
- 42 g cocoa powder
- 180 g sugar
- 3 Tbsp chopped walnuts
Use a 20 cm x 10 cm (8 inch x 4 inch) hemisphere pan or oven-proof bowl greased with butter and coated with a bit of flour.
Sugar Syrup to Moisten the Cake:
- 100 ml water
- 2.5 Tbsp sugar
- 2.5 Tbsp rum extract
Ganache and Chocolate Mousse Filling:
- Unwhipped chocolate ganache filling made of 50 g dark chocolate, 62 g milk chocolate and 100 ml whipping cream. Optional: you can add 2 Tbsp of Nutella if you like the hazelnut flavour.
- Chocolate mousse made of 150 g chocolate (half dark / half milk), 350 ml whipping cream and 6 g of unflavored gelatine softened in 75 ml of water
Chocolate Ganache Buttercream Frosting:
- 100 g white chocolate
- 100 ml whipping cream
- 100 g butter, at room temperature
Velvet Texture Frosting:
- 100 g white chocolate
- 2 tsp powdered cocoa butter
- Black oil-based food colouring
Spider Legs, Eyes & Mouth:
- 150 white chocolate
- 3 tsp powdered cocoa butter
- Orange oil-based food colouring
- You can also use orange and black fondant to make them
Note: All chocolate should be a good-quality baking or couverture chocolate.
Directions
Making the Cake
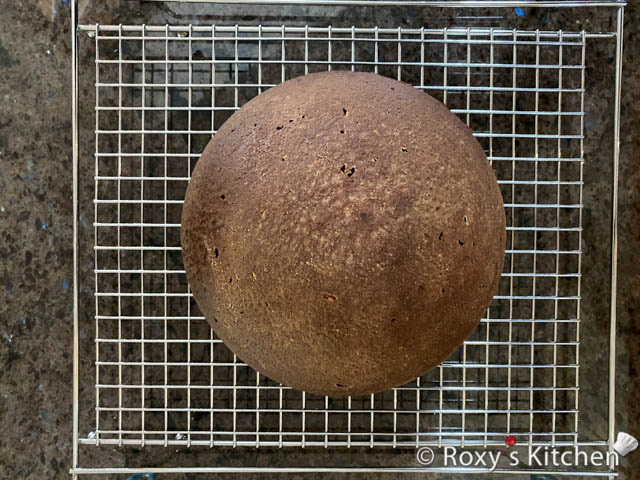
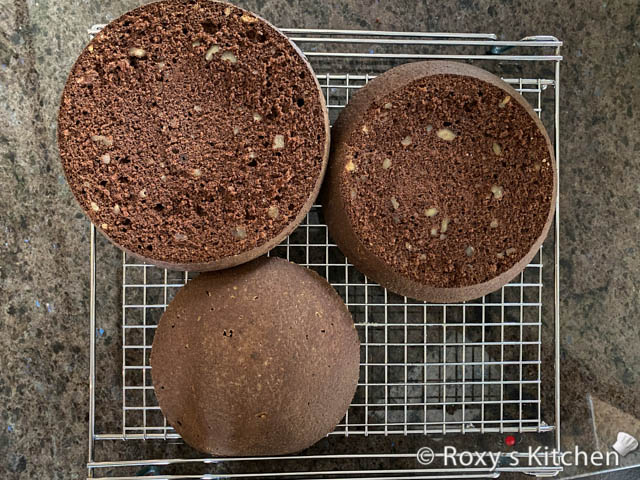
Use the ingredient quantities listed in this recipe and follow the step-by-step instructions here to make your chocolate cake. Let the cake cool off and cut it horizontally in three.
Make your sugar syrup by boiling the water with the sugar and adding the rum extract at the end. Let it cool off.
Making the Filling
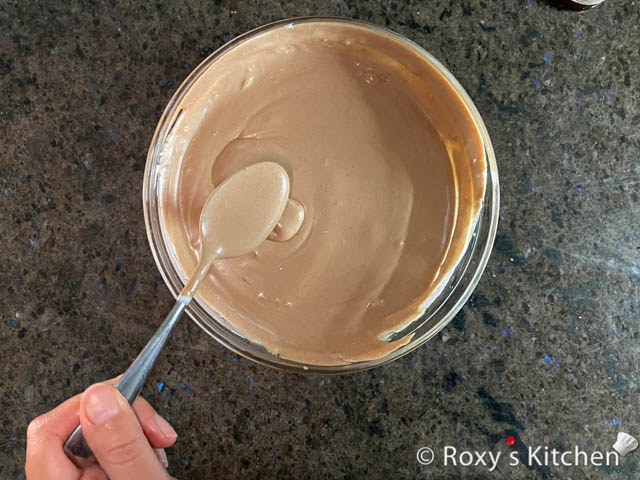
Make the unwhipped chocolate ganache following the steps in this recipe. You should make this at least a few hours before you are ready to assemble the cake as it needs to cool off and have a thick pouring consistency before you use it.
To make the chocolate mousse use the ingredients listed above and follow the steps in this post.
Assembling and Decorating the Spider Cake
This video tutorial will show you how to assemble and decorate the cake.
Assembling the Cake
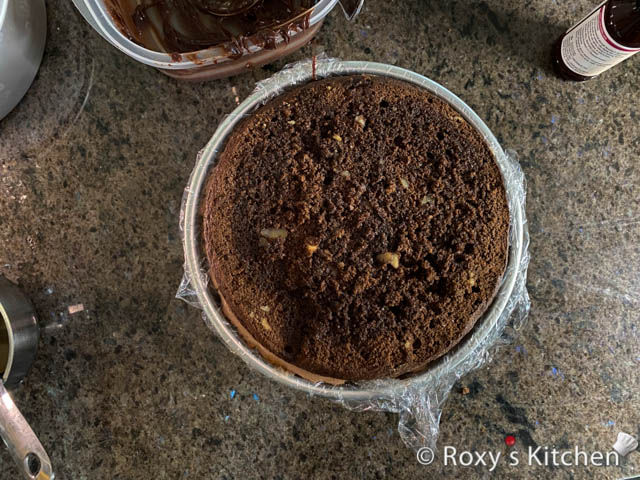
Line the pan in which you baked the cake with plastic foil.
Place the first cake layer and moisten it with sugar syrup.
Spread 1/3 of the unwhipped chocolate ganache filling and pour 1/3 of the chocolate mousse.
Add the 2nd cake layer, moist it with sugar syrup, spread the remaining chocolate ganache filling and pour the remaining chocolate mousse.
Add the 3d cake layer and moist it with sugar syrup. Cover the cake with plastic foil and refrigerate for 8 hours or overnight.
Frosting the Spider Cake
To make the chocolate ganache buttercream frosting, use the ingredients listed above and follow the steps in this post.
Color the frosting using black oil-based or gel food colouring. I left mine greyish as I applied the velvet texture frosting on top as well and that is very black. If you’re not applying the velvet texture, you will need to add quite a bit of food colouring for the frosting to become super black. The better option would be to apply a thicker layer of frosting, refrigerate the cake for 30 minutes or more, and then colour just a small amount of frosting in black and apply a thin layer of frosting on top.
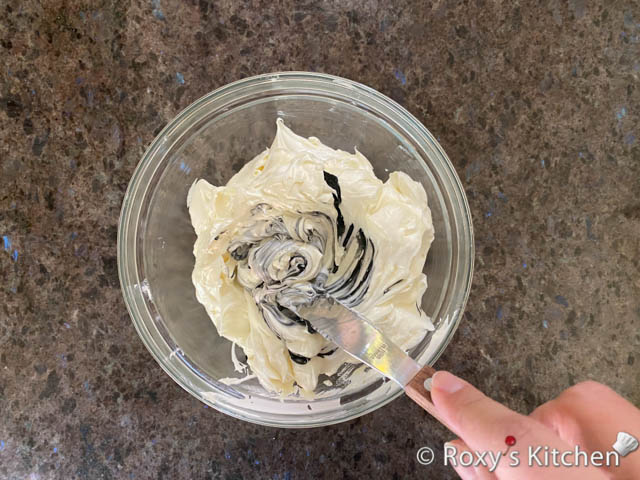
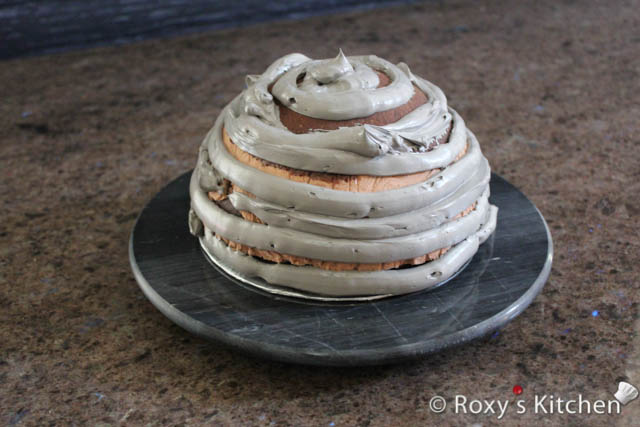
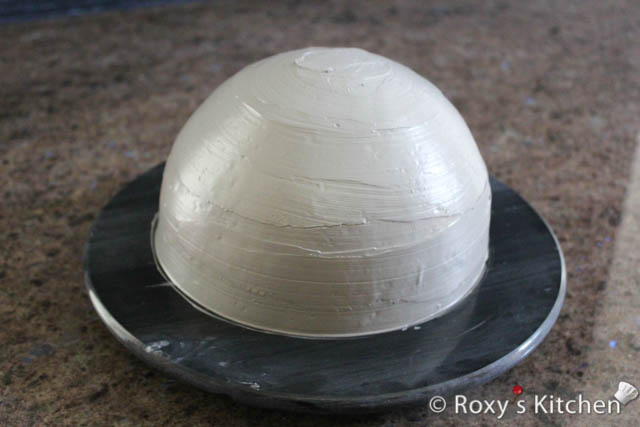
Apply a layer of frosting using a piping bag or a spatula. Smooth it out using a flexible plastic dough scraper or something similar. This will allow you to smooth out the sides of the round cake perfectly. Refrigerate the cake for at least 6 hours before applying the chocolate velvet frosting on top.
Chocolate Velvet Texture Technique & Cake Decorations
You can read the instructions below or watch this video to see how to use a chocolate pray gun to create this velvet texture on the cake using melted chocolate:
For the chocolate velvet frosting, melt the white chocolate until it reaches 42 degrees Celsius (107 degrees Fahrenheit). You can use the microwave to melt it a few seconds at a time, stirring it each time. Then add cocoa butter powder, a teaspoon at a time, and mix it in until it reaches a temperature of 30-32 degrees Celsius (86-89 Fahrenheit).
Colour the chocolate using black oil-based or gel food colouring.
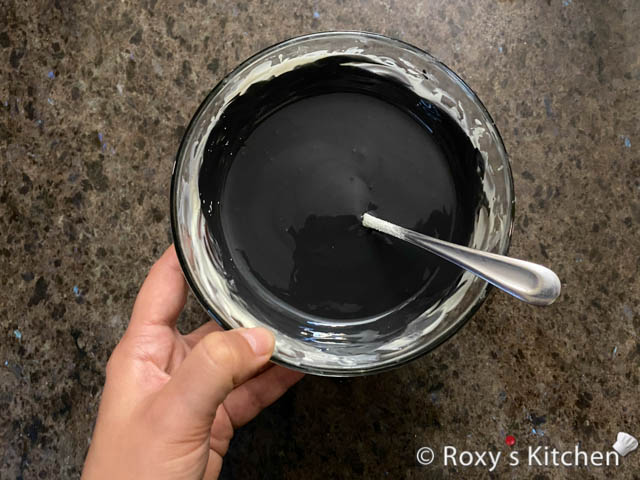
Spray the melted chocolate using a spray gun like the one below.

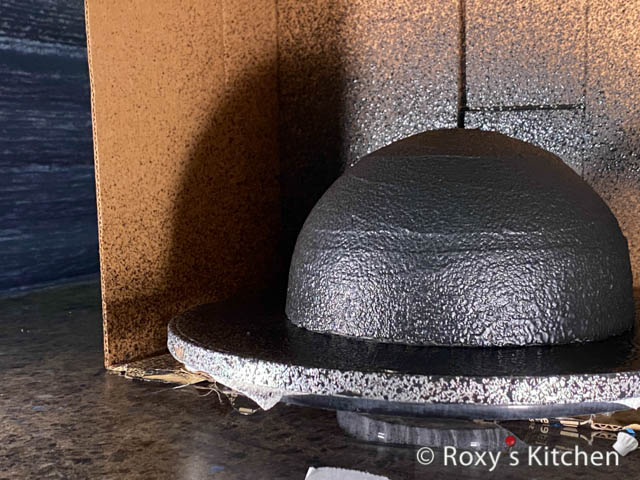
Use the same method to melt and temper some chocolate to make the spider legs. You can draw your spider legs on a piece of paper and then place a piece of parchment paper on top on which you can pipe the legs. Pipe a layer of chocolate, place a toothpick on each leg, at the end that will be inserted in the cake; half of the toothpick should be on the chocolate and the other half should be left out. Then pipe more orange chocolate on top to secure the toothpicks.
After the chocolate legs have dried, I sprayed some stripes on them using melted black chocolate too. The mouth and orange part of the eyes are made out of fondant but you can make them out of chocolate too.
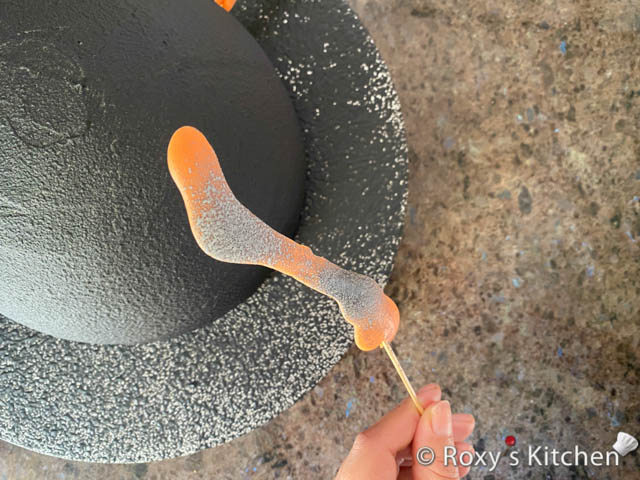
Attach the spider legs to the cake. Place the eyes and mouth on the cake and secure them with a bit of melted chocolate.
This post contains Amazon.com affiliate links for products I personally use and love. If you purchase a product through an affiliate link, your costs will be the same but I will receive a small commission which is used for hosting and running this site. I appreciate your support!


[…] Spider Cake […]