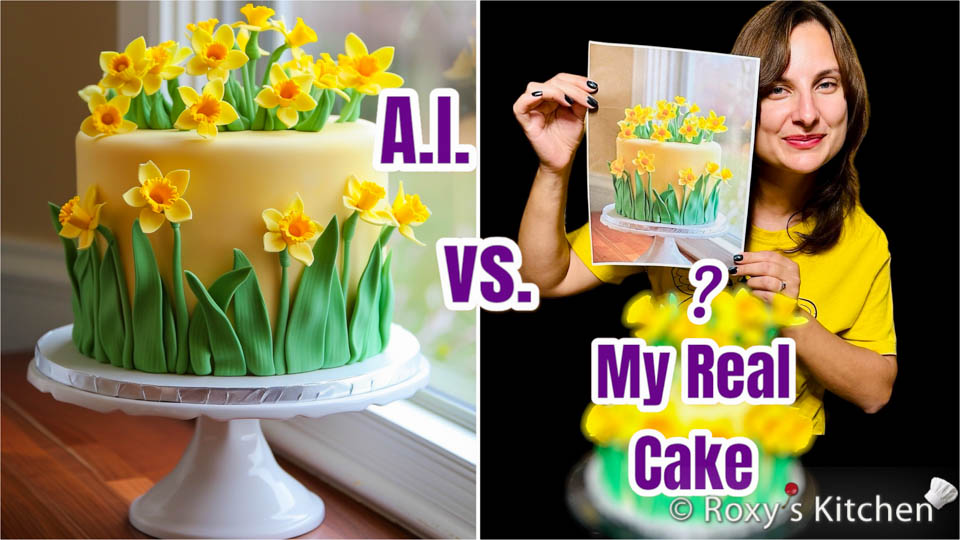
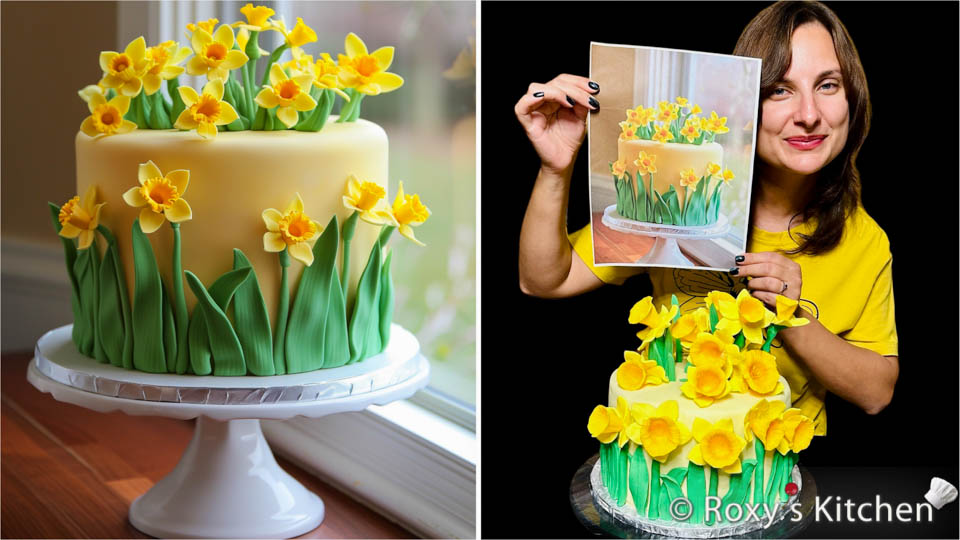
I made this Cake with Daffodils with the help of AI (Artificial Intelligence). Why with the help of AI? Because I used an AI-powered application to design the cake. You can read more about how you can do this in my other post – Cake Designs in the Age of AI: More Personalized and Creative Than Ever Before.
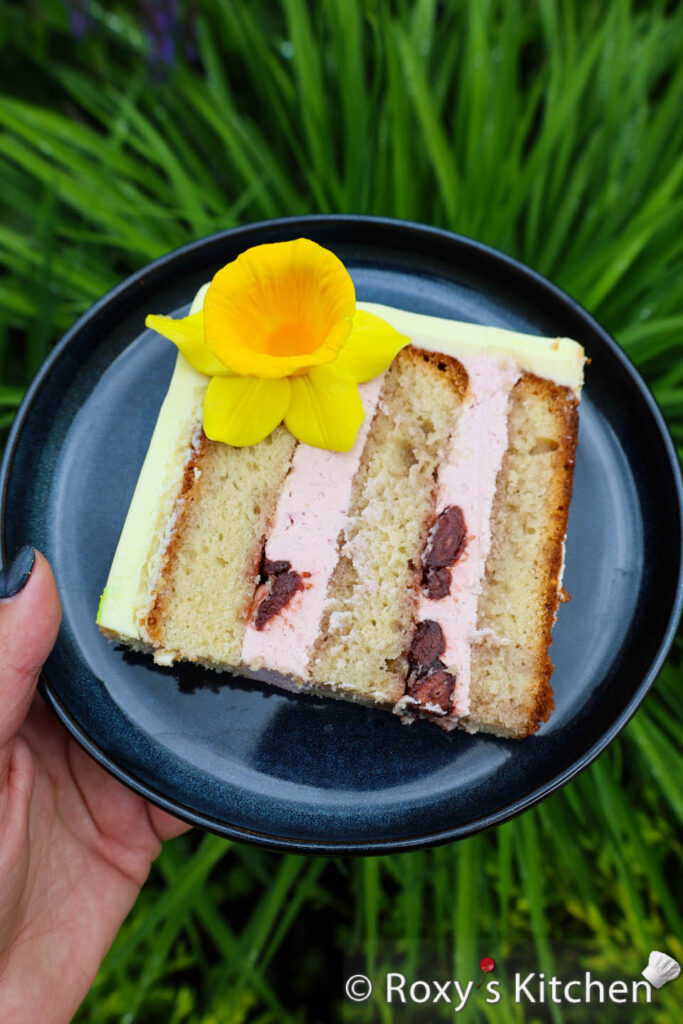
It was an 18 cm (7 inch) moist vanilla cake filled with raspberry cream cheese buttercream and candied strawberries.
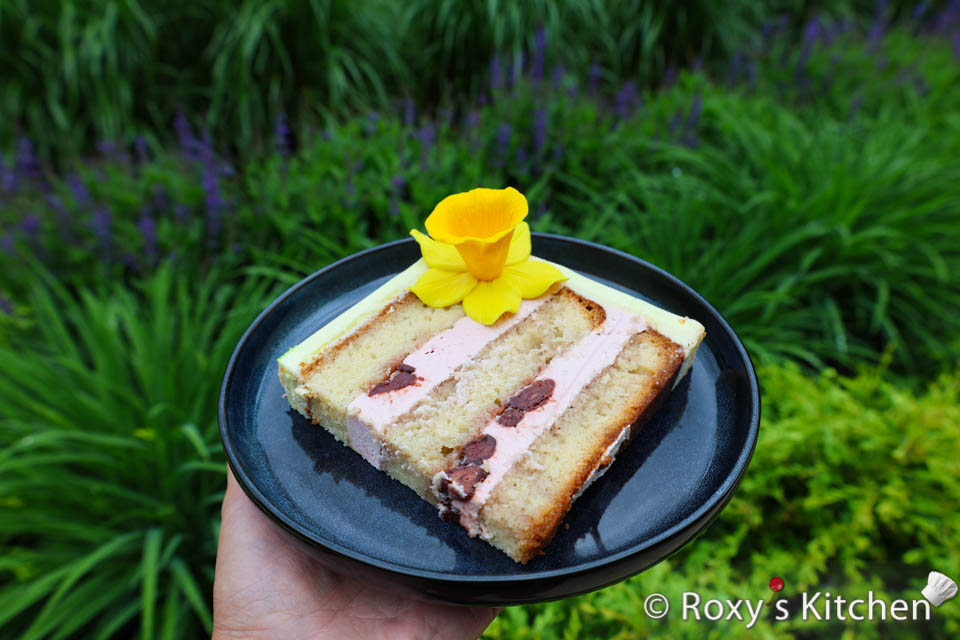
Because I posted the cake and filling recipes before, I will provide the links to those other posts and only the list of ingredients in this post. See the details in the Ingredients & Recipes section below.
Watch this full video to see how I made this Cake with Daffodils and how you can use AI apps like Midjourney to design cakes too.
You might also like my other AI-designed Abstract Cat Cake that I made in real life too:
Ingredients & Recipes
Moist Vanilla Cake:
- 6 eggs
- 415 g (2 cups) sugar
- 140 ml milk
- 400 ml vegetable oil
- 3 Tbsp vanilla extract or 2 Tbsp vanilla bean paste
- 520 g (3 3/4 cups) all purpose flour
- a pinch of salt
- 1 Tbsp baking powder
Divide the batter between two 18 cm (7”) pans. I.e. 600 g cake batter in a 2.5 cm / 2” tall pan, and 1 kg of batter in a 7.5 cm / 3” tall pan). Level the first cake and level and cut the second cake horizontally in two.
Recipe: https://roxyskitchen.com/perfectly-moist-vanilla-cupcakes-cakes.html
Raspberry Cream Cheese Buttercream:
- 1.5 cups (375 g) unsalted butter, at room temperature
- 4-5 cups (480-600 g) powdered sugar, depending how sweet you prefer it
- 18 oz (500 g) cream cheese, at room temperature
- 2 Tbsp freeze dried raspberries
- 1 Tbsp vanilla bean paste
- 150-200 g candied strawberries, drained (to be added on top of the frosting when assembling the cake)
Recipe: https://roxyskitchen.com/raspberry-cream-cheese-buttercream-frostingfilling.html . Note that instead of the raspberry jam mentioned in the original recipe, I used 2 tablespoons of freeze dried raspberries.
White Chocolate Ganache (3:1):
- 750 g white chocolate (baking or couverture chocolate)
- 250 ml whipping cream
Recipe: https://roxyskitchen.com/chocolate-ganache-ratios.html
Sugar Syrup to Moisten the Cake (optional, if you want your cake extra moist)
- 200 ml water
- 5 Tbsp sugar
- 3 Tbsp vanilla extract
- 50 ml of strawberry syrup (I used syrup from the jar of candied strawberries)
Boil the water with sugar. Add the vanilla extract and strawberry syrup when it starts boiling and remove from the heat. Let it cool off.
Fondant Decorations:
- 2.3 kg (5 lbs) light yellow fondant for covering the cake tier and making the daffodil flowers
- Orange food colouring or fondant to make a centre of the flowers a darker yellow with a bit of an orange hue
- A bit of green fondant to make the stems and leaves of the daffodils
- Tylose (CMC) powder to mix into the fondant used to make the daffodils – you can mix 1 tsp of Tylose (CMC) powder for every 900 g (2 lbs) of fondant; you can also use gum paste instead. This would allow the flowers to dry much faster than when using regular fondant.
Other Tools/Items:
- one 20 cm (8’’) cake drum
- daffodil petal & corona (cup) cutters and veiner silicone molds
- daffodil leaf veiner silicone molds
- floral wires to be used for the stems, thicker ones that won’t bend easily and can be inserted in the cake drum for extra stability
- fondant rolling pin
- X-Acto knife or any other sharp knife with a thin blade
- powdered sugar or cornstarch for dusting the surface
- edible glue
- a small paint brush
Directions
Filling and Frosting the Cake
First things first, you need to bake your cake and make the raspberry cream cheese buttercream filling using the ingredients and recipes above.
Now, let’s fill and frost our cake. My cake had 3 layers of vanilla cake and 2 layers of raspberry cream cheese buttercream filling. I also used a vanilla & strawberry-flavoured simple sugar syrup to keep the cake extra moist.
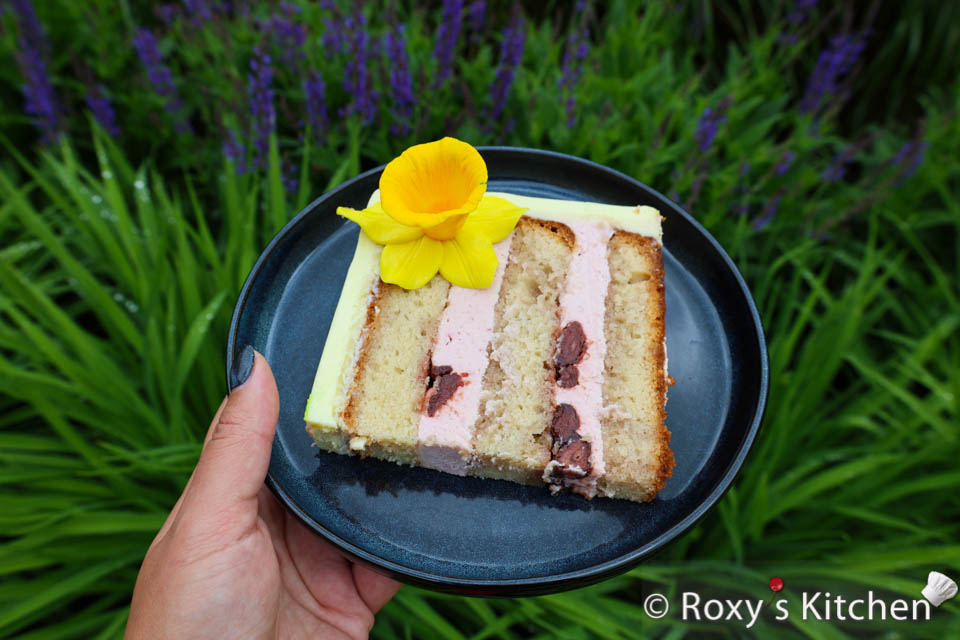
Spread a bit of filling on the cake drum, then place a vanilla cake layer on top and moisten it with the sugar syrup. Pipe half of the filling, creating a ring of frosting around the edge. Spread half of the candied strawberries. Repeat the steps for the next layer, then place the third cake layer on top.
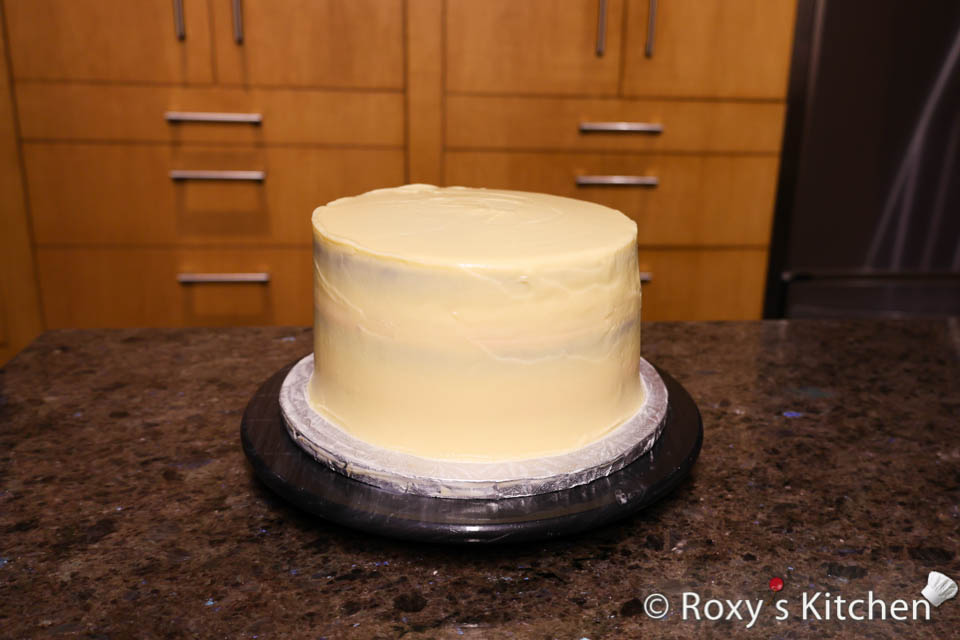
Next, I made some white chocolate ganache and crumb-coated the cake in a thin layer. After refrigerating it for one hour, I applied another layer, smoothing it out with a spatula and cake scraper. Keep the cake in the fridge until the chocolate hardens.
Covering the Cake with Fondant
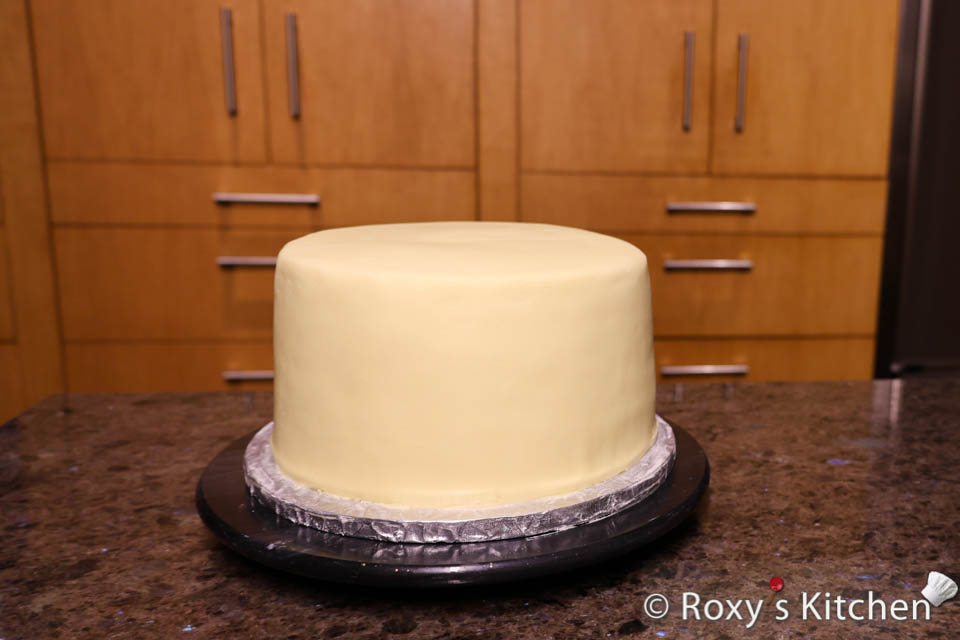
Time to cover the cake in light yellow fondant! Roll out the fondant to the approximate shape of your cake, then lift it over the rolling pin and place it on the side of the cake.
Smooth the fondant with a fondant smoother (or the palm of your hand), starting from the top. Start to gently pull the fondant out and down around the sides of the cake using one hand and spread the excess fondant and smooth it out using a fondant smoother (or your other hand).
Trim the edges at the bottom using a sharp knife or cutter.
Making the Fondant / Gum Paste Daffodils
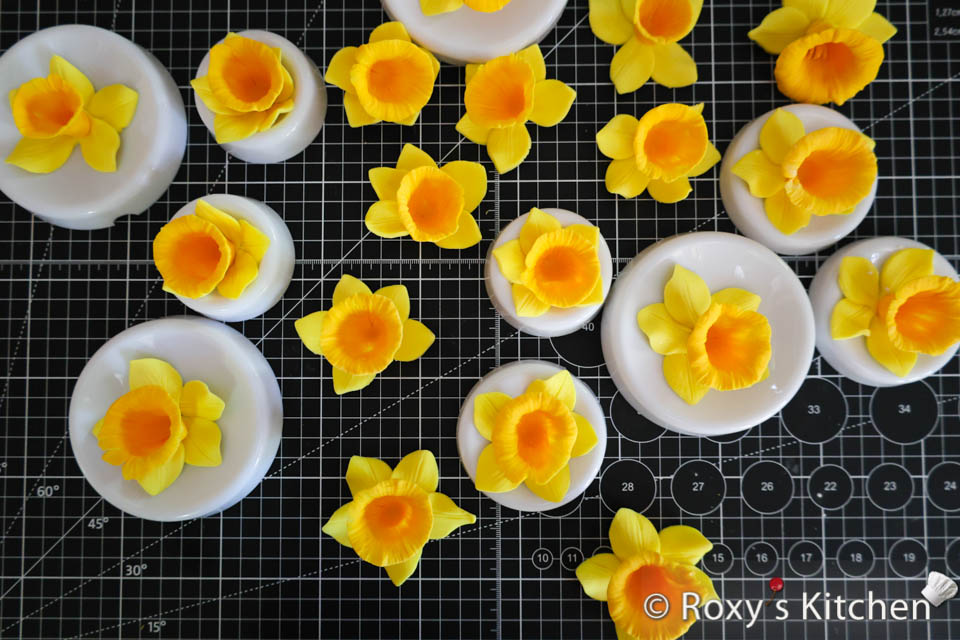
Now, onto the fun part – making the daffodils! First, you’ll need to make the flowers 2-3 days in advance using gum paste or fondant mixed with Tylose or CMC powder for faster drying.
Start by making the daffodil corona. Roll out orange fondant, use a cutter to make the shape, then thin out the edges and create a cone shape. Place this over the silicone mold and with a ball tool make downward motions to push the gum paste down and press it lightly onto the silicone mold to shape the daffodil’s corona. Set it aside so it dries out a bit while you make the petals.
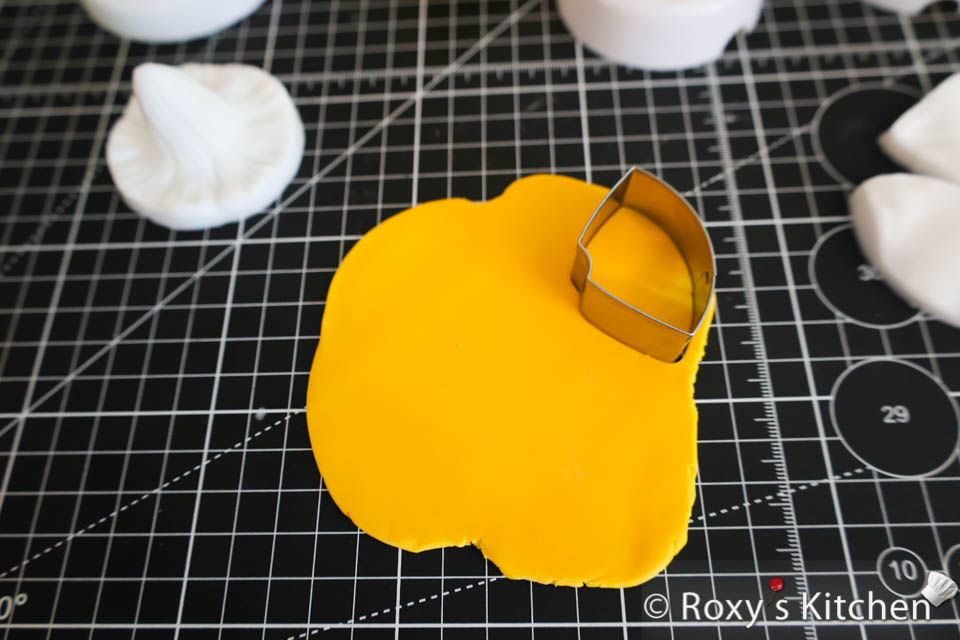
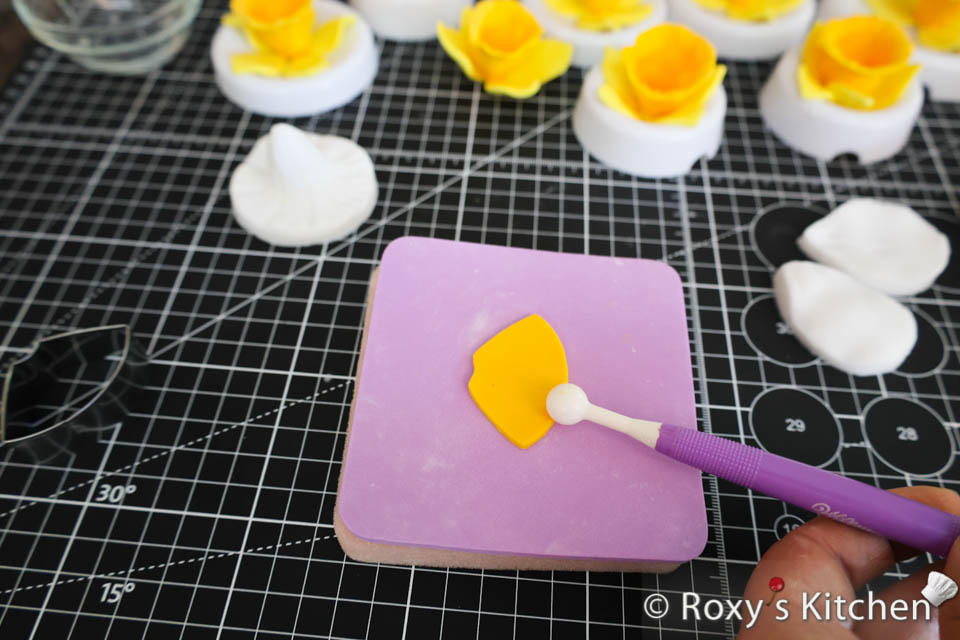
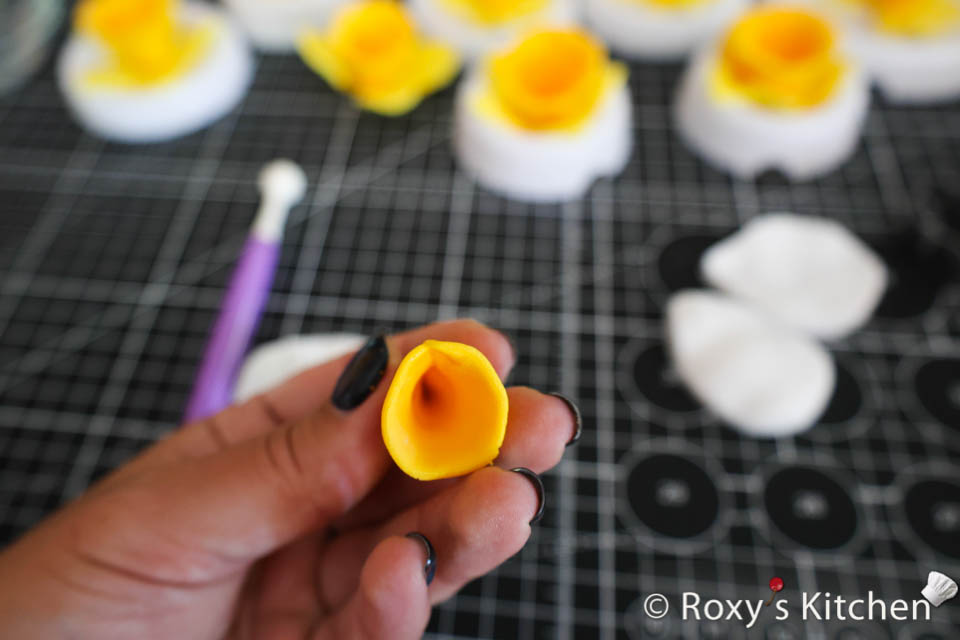
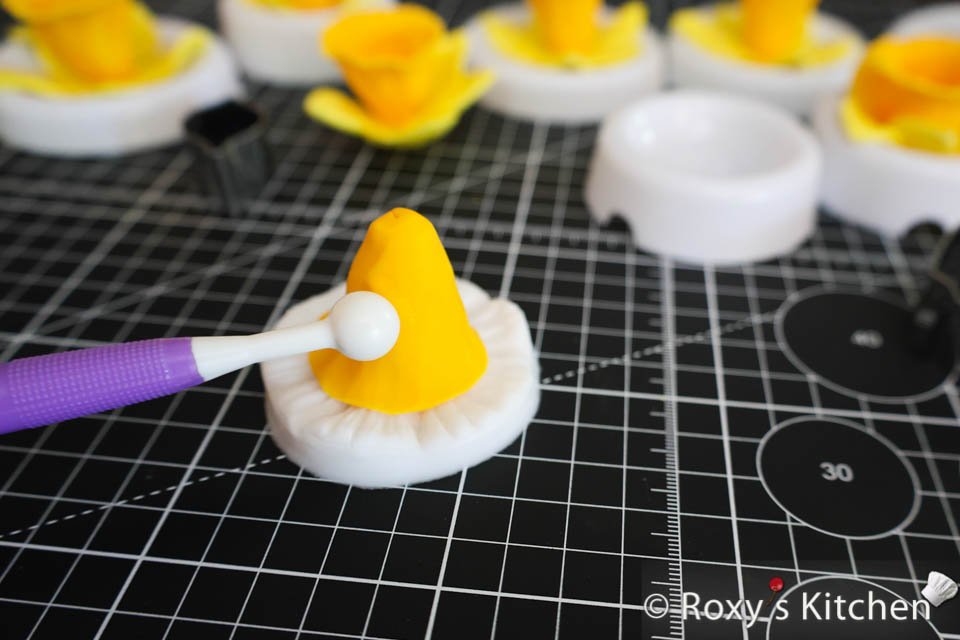
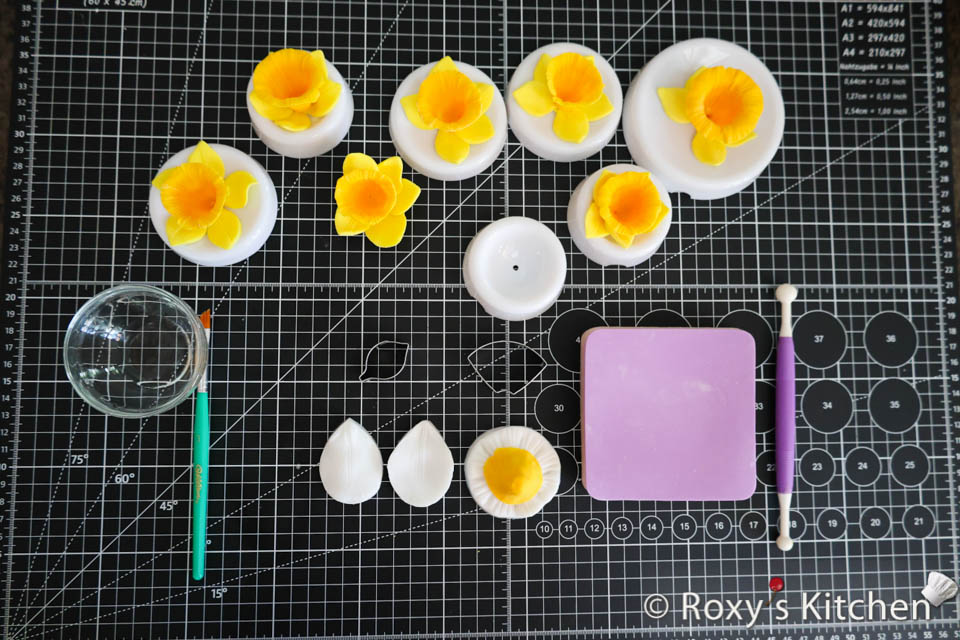
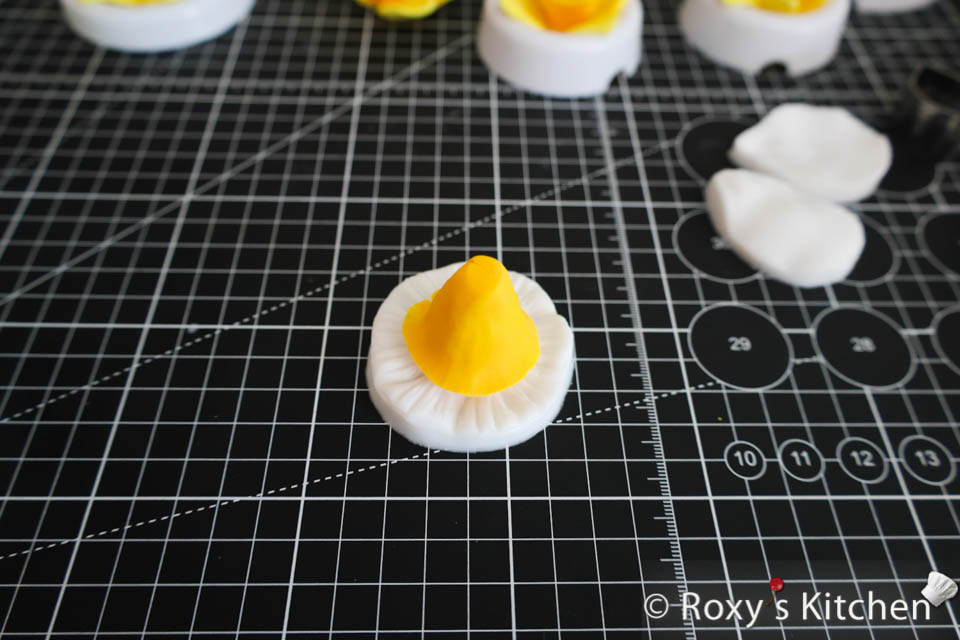
Next, make the petals using yellow fondant. Cut five of them out for each daffodil flower and add some texture and veins using silicone molds. Then, assemble them on a forming cup, overlapping slightly and using a bit of water as glue to attach them to each other.
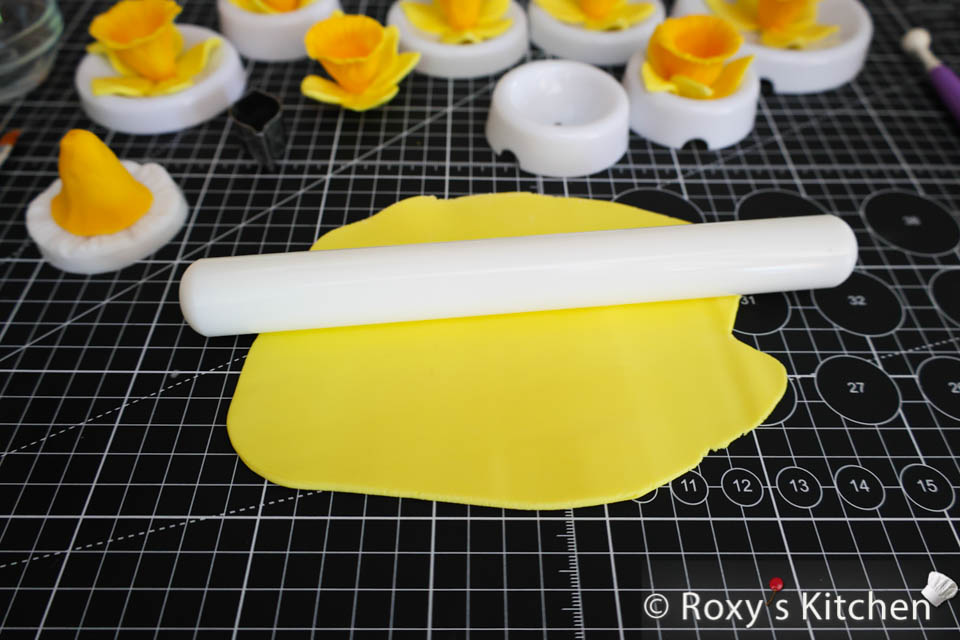
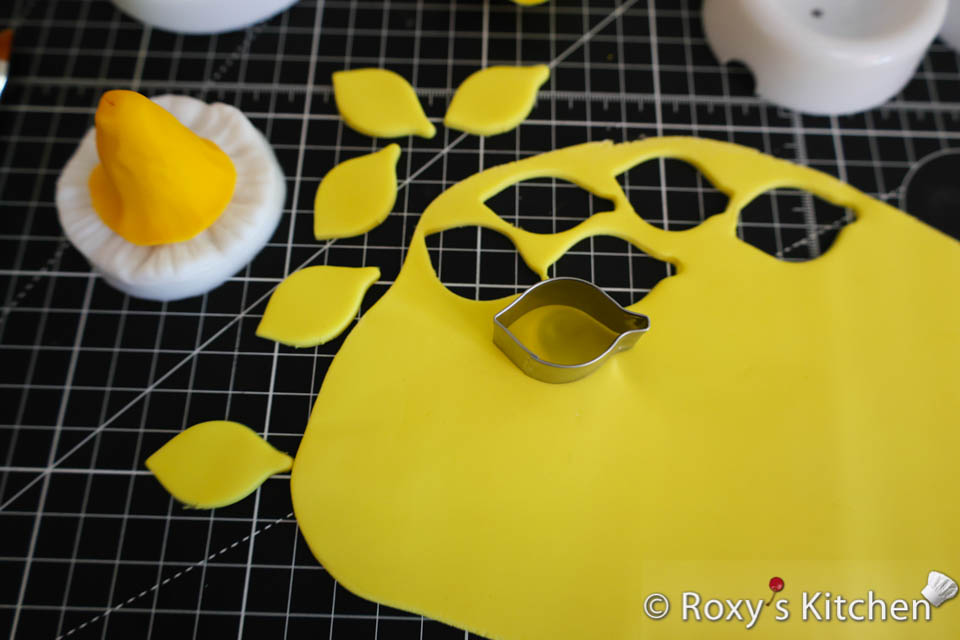
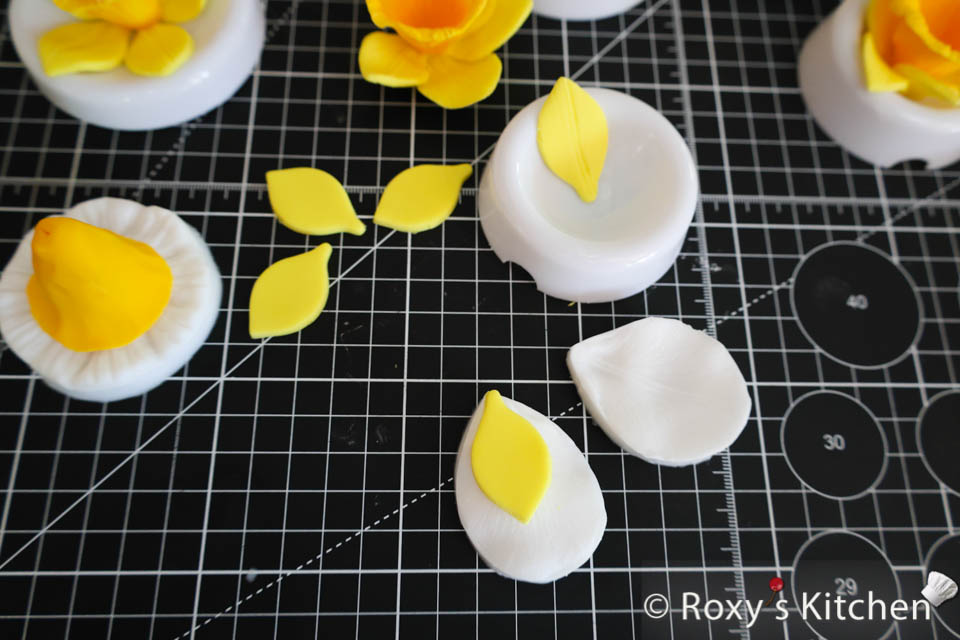
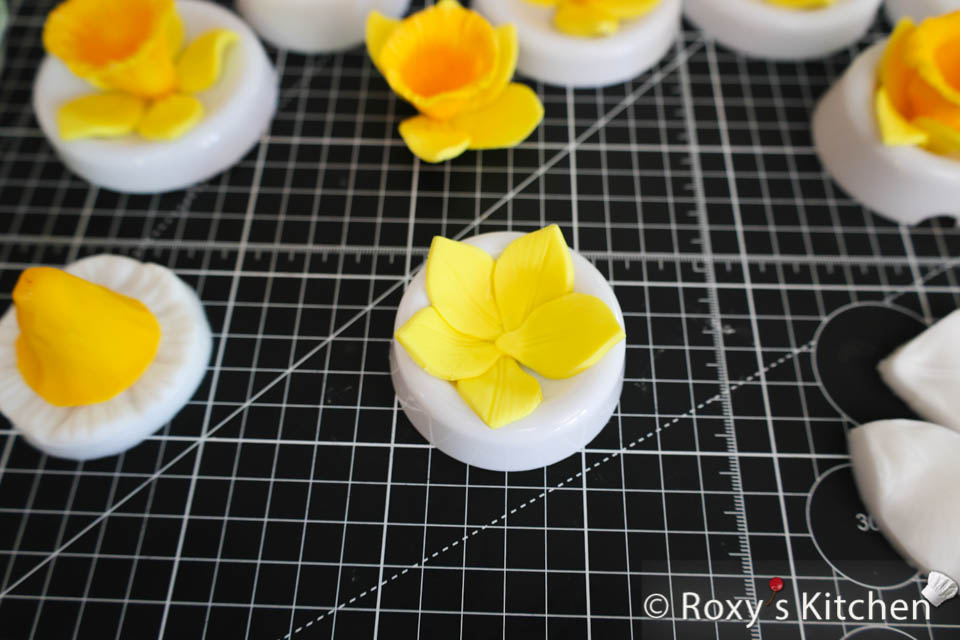
Unmold the corona, brush some water in the centre of the petals and attach the corona by lightly pressing on it. You can use the round ball tool to press right in the centre. You can slightly bend the petals to give them a more natural look.
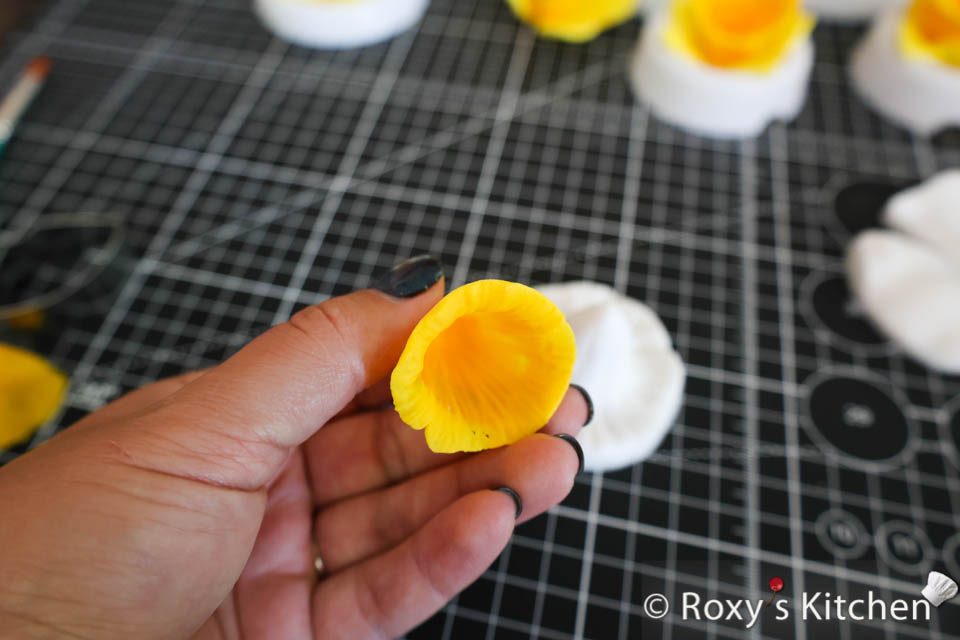
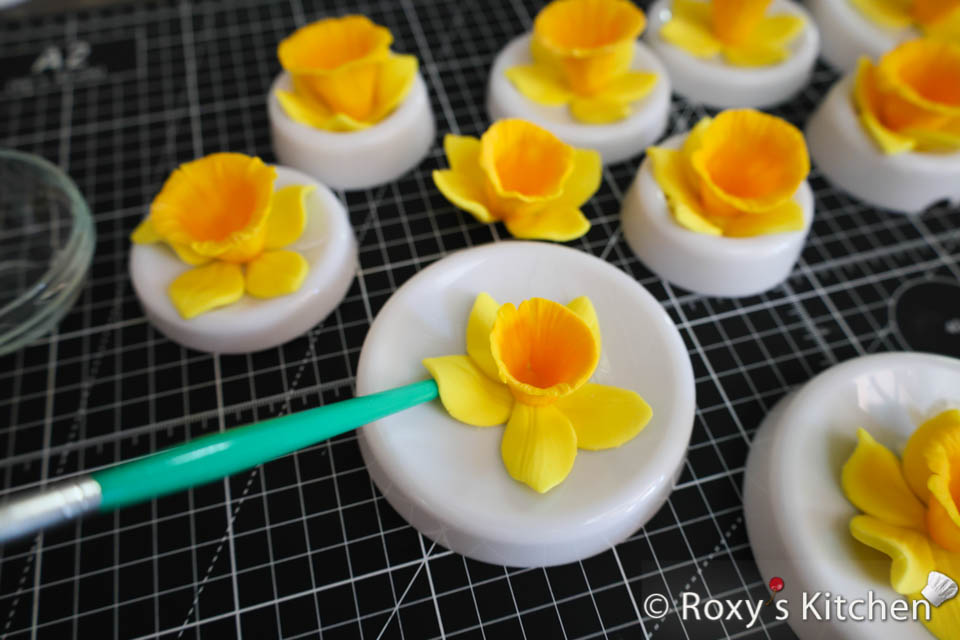
Repeat these steps to make 17 to 20 daffodil flowers.
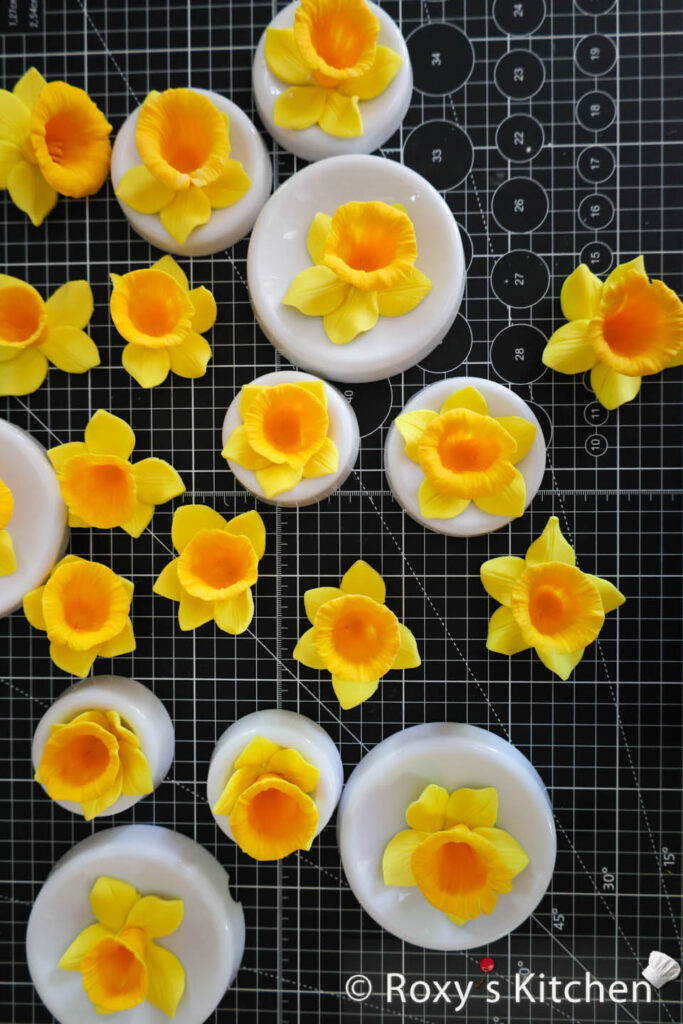
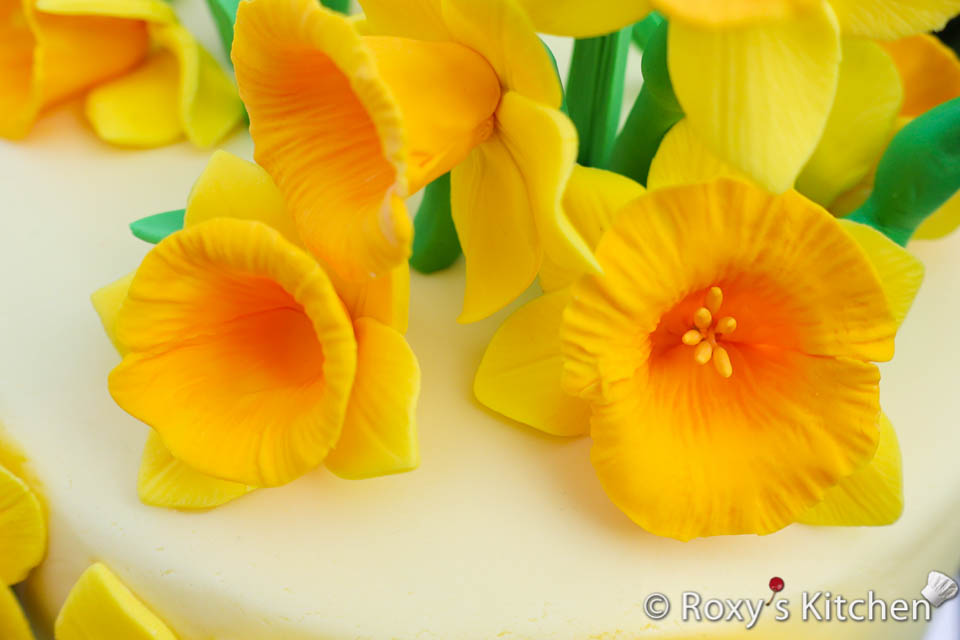
If you’re in the mood for taking your flowers to the next level, add some stamens in the middle. Make a hole in the centre of each flower using a floral wire. The plastic formers have a hole in the middle to help with that. Pass the stamens, which are taped together, through the middle of the flower.
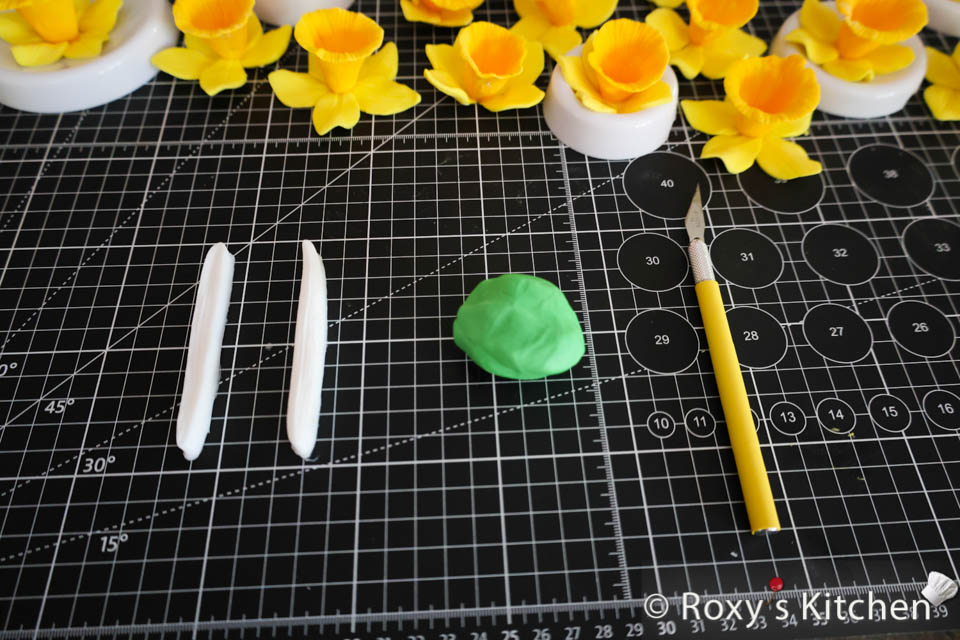
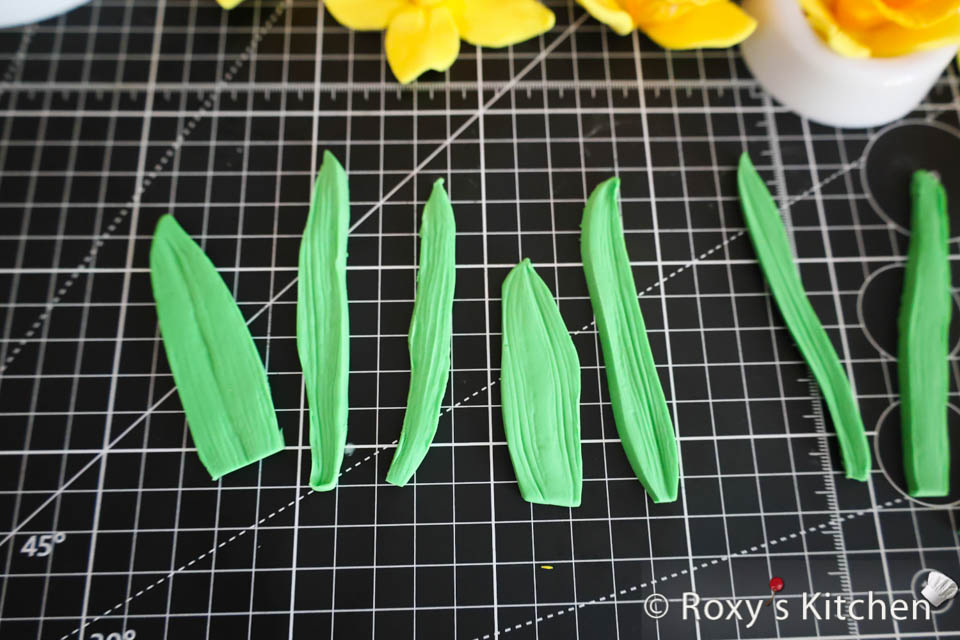
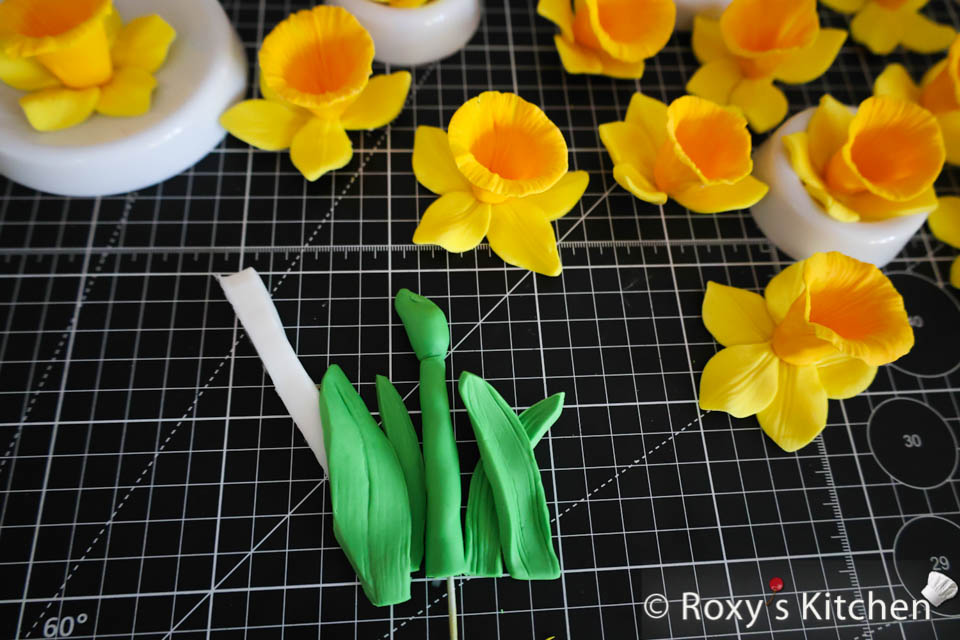
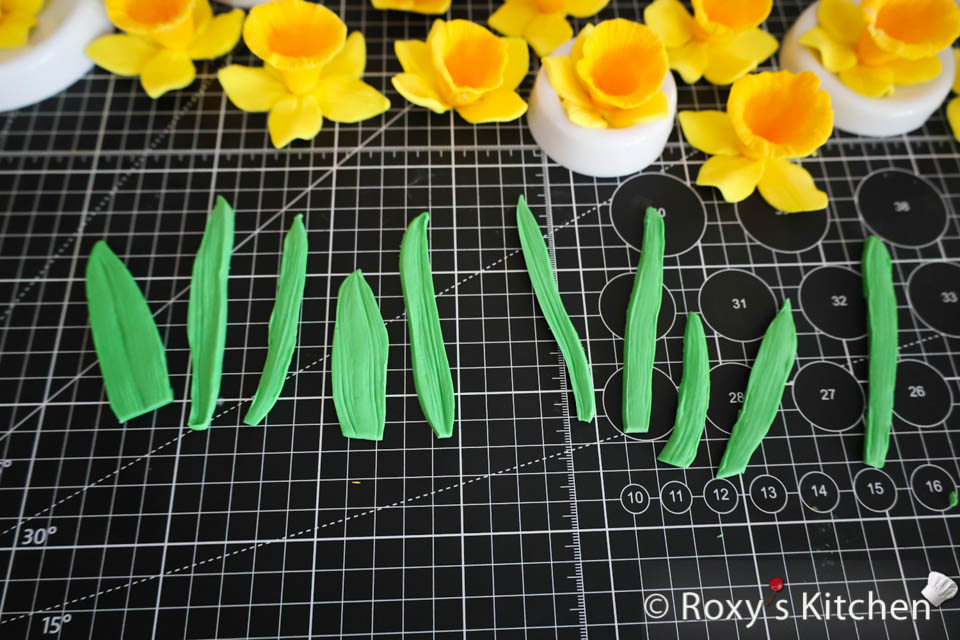
For the leaves, use green fondant and leaf veiner silicone molds. Roll out the fondant, press the molds onto it, then cut around the shape to form the leaves. Let them dry before attaching them to the stems.
For the stems, roll out thin logs of gum paste around floral wire. Make the stems when you decorate the cake so that you have some flexibility to shape them further when you attach them to the cake and the flower. The flower should later on be glued to the top part of the stem using edible glue.
Decorating the Cake with Daffodils
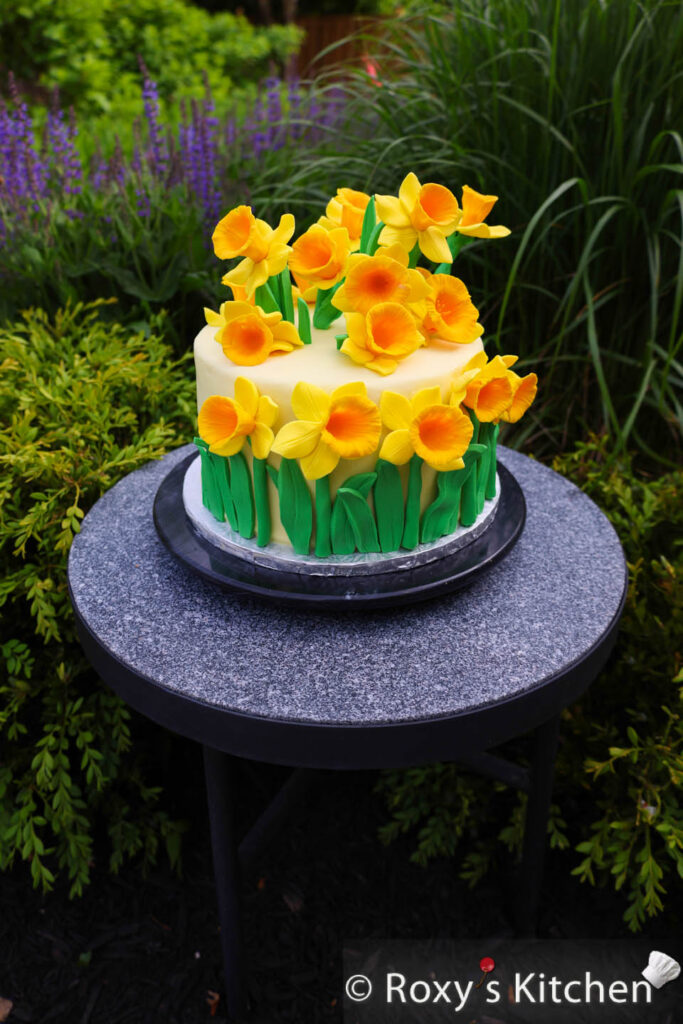
Now, let’s start placing the gum paste daffodils onto the cake. Insert the floral wire of the stem into the cake board, then brush edible glue onto the stem and bottom of the flower to attach them to the cake.
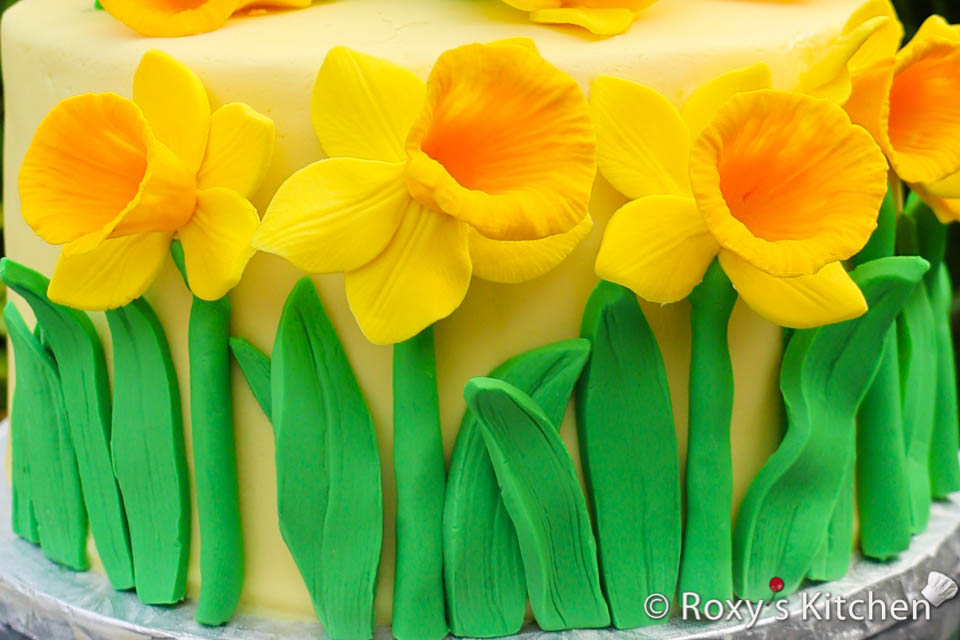
For the flowers that will be standing up, you might need to give them some extra support as they can’t be glued and balance in a single point. So check the video (minute 14) to see how I shaped the floral wire to give the flower more support.
For the flowers at the back, you can even create the stems thicker to create extra support and then cover most of the thick stem by gluing leaves on top. Take some tall leaves that were previously dried out and insert them into the cake, in between the flowers.
And there it is – our beautiful Cake with Daffodils is complete! Now, we can step back and admire our masterpiece, whether it’s in your kitchen or out in the garden where it belongs!
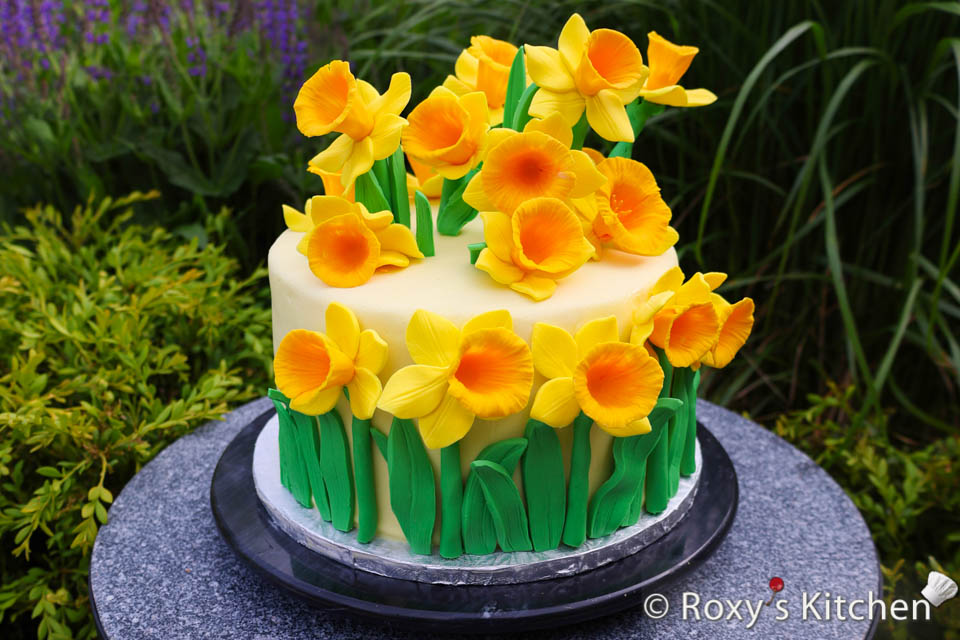
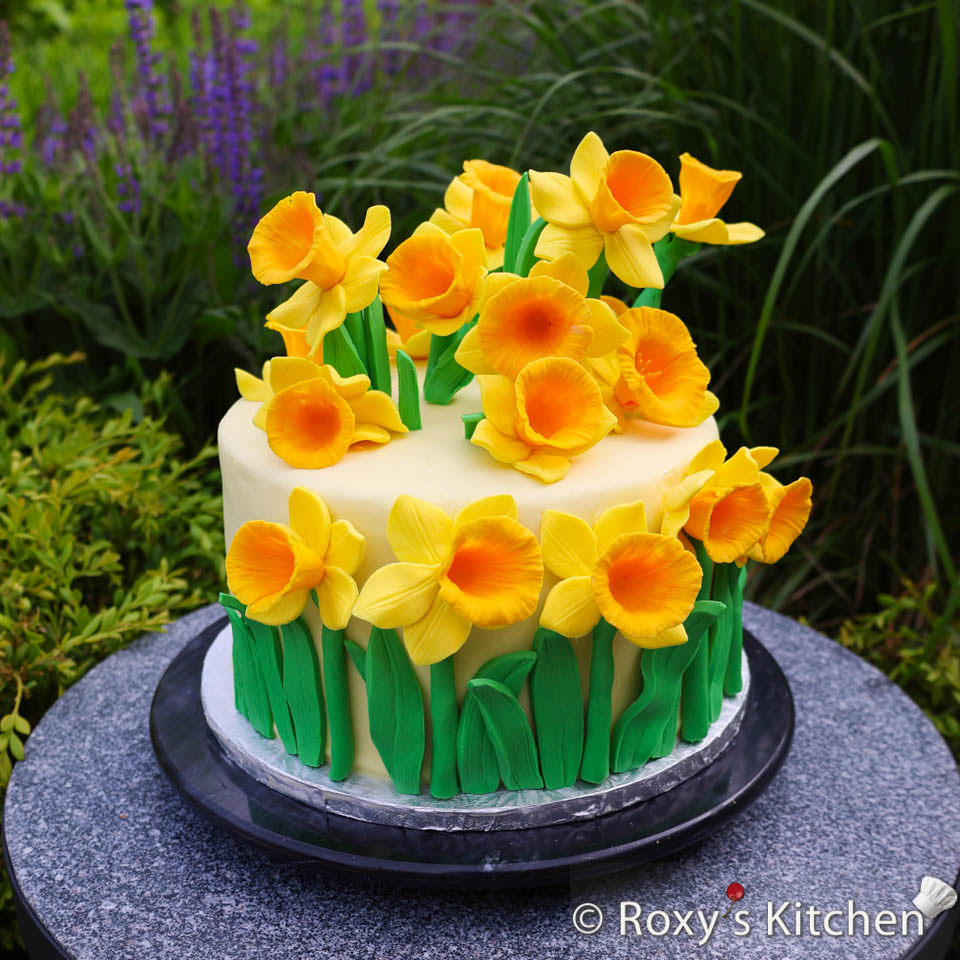
So, how did I do? What do you think? Is it better or worse than the original design? My silicone molds were bigger so the daffodils are larger than in the original design but I do like that you can see the detailed lines & veins on the petals better. It was super delicious as well!


[…] might also like my other AI-designed Cake with Daffodils that I made in real life […]