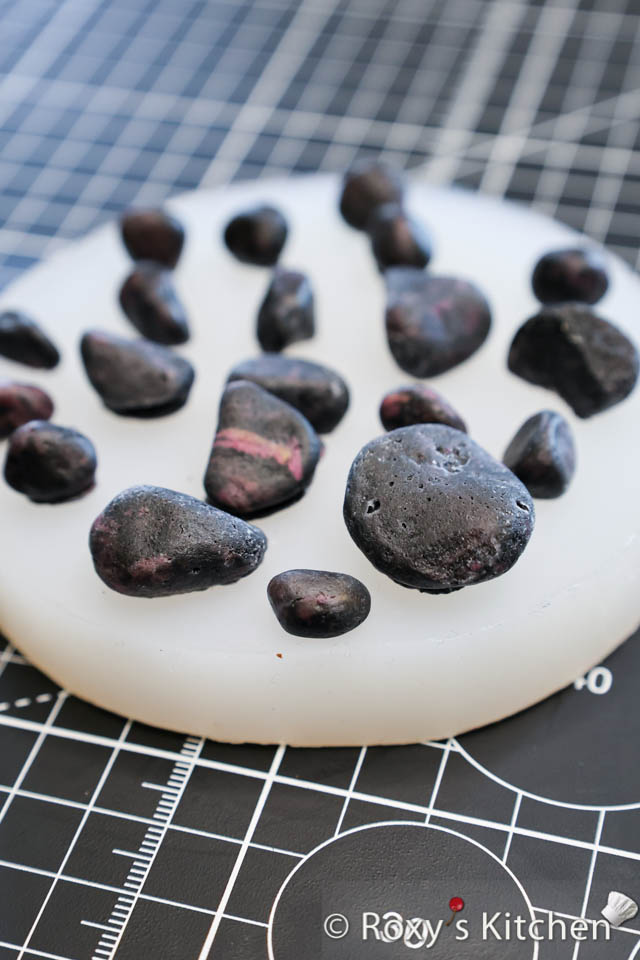
In this post I’ll show you how to make realistic-looking rocks or pebbles for cakes. Creating lifelike rocks or pebbles for cake decoration can be a delightful and artistic endeavour. Crafting these elements to resemble authentic stones adds a touch of natural beauty and texture to your cake designs. By utilizing either modeling chocolate or fondant in a silicone rock or pebble mold, you can produce a stunning array of remarkably realistic rocks suitable for adorning cakes.
Ingredients/Supplies
- one of the three:
- modeling chocolate – store-bought or homemade; here’s a recipe for homemade modeling chocolate
- fondant, or
- gum paste (it hardens faster than fondant)
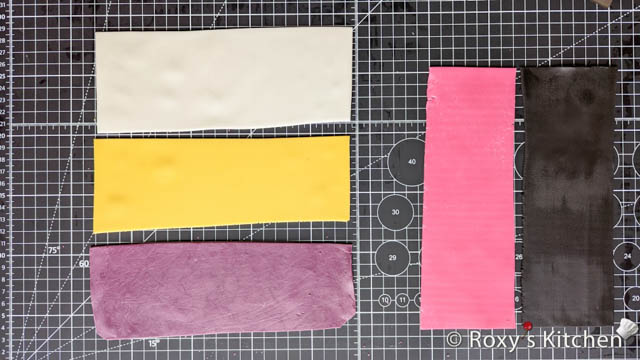
Note that it’s great to use different colours of modeling chocolate / fondant / gum paste to create a marble effect and mimic the look of stones. I had mostly black modeling chocolate but I mixed in a bit of white, yellow, pink and purple modeling chocolate to achieve the look of the rocks shown in this post. Alternatively, you can use white or light grey modeling chocolate / fondant / gum paste for creating a base colour; then, use a brush and cocoa powder or powdered-based food colouring to add detailing or colour variation to the rocks for a more realistic appearance.
- rock / pebble silicone mold; here’s the one I used:
- cornstarch or powdered sugar for dusting the silicone mold
Directions
Ensure the silicone mold is clean and dry. If using fondant or gum paste, lightly dust each cavity with cornstarch or powdered sugar to prevent sticking. If using modeling chocolate, there is no need to dust the silicone mold as the modeling chocolate will naturally release its oils once pressed into the mold and this will prevent sticking.
Knead your modeling chocolate, fondant or gum paste until it has a workable consistency and it doesn’t feel and look dry. It should become soft and pliable.
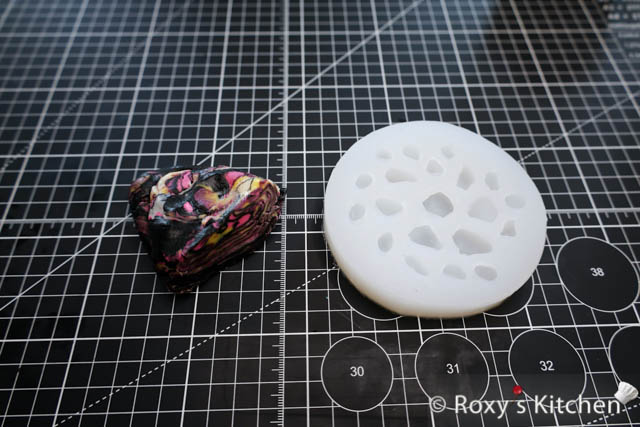
Take a small amount and press it firmly into each cavity of the mold. Overfill slightly and then flatten the excess with your finger or a small spatula to ensure each cavity is level.
Scrape off any excess on the top of the mold.
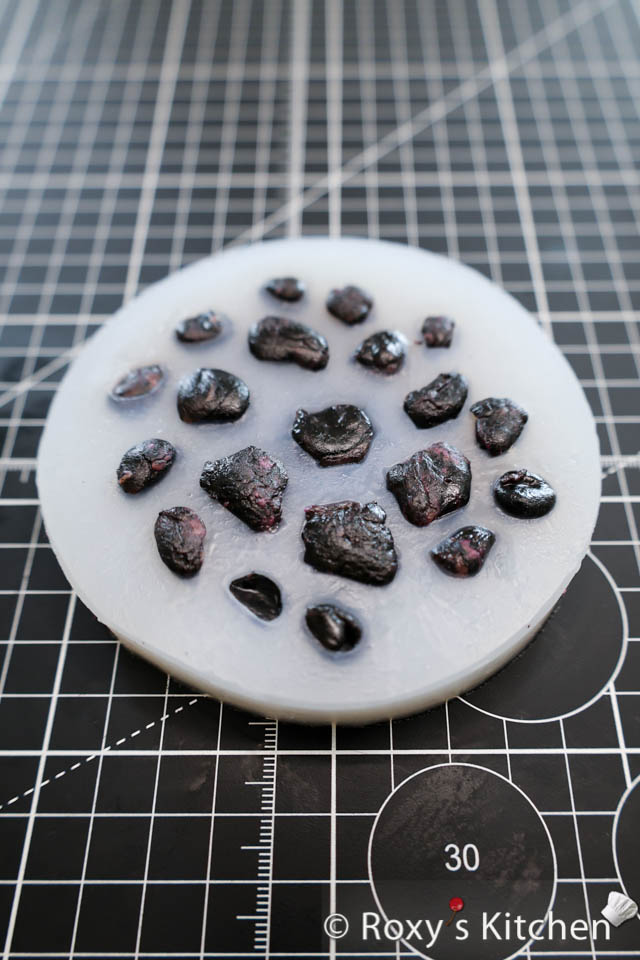
Place the mold in the freezer for a few minutes until it hardens up. This will allow you to remove the rocks / pebbles from the silicone mold without ruining their shape.
Once set, gently flex the mold to release the chocolate rocks and push them out from the bottom. Stretch the mold without fear as it won’t break.
If needed, you can refine the edges or any imperfections with a small knife or by rubbing the edges with your fingers to smooth them out.
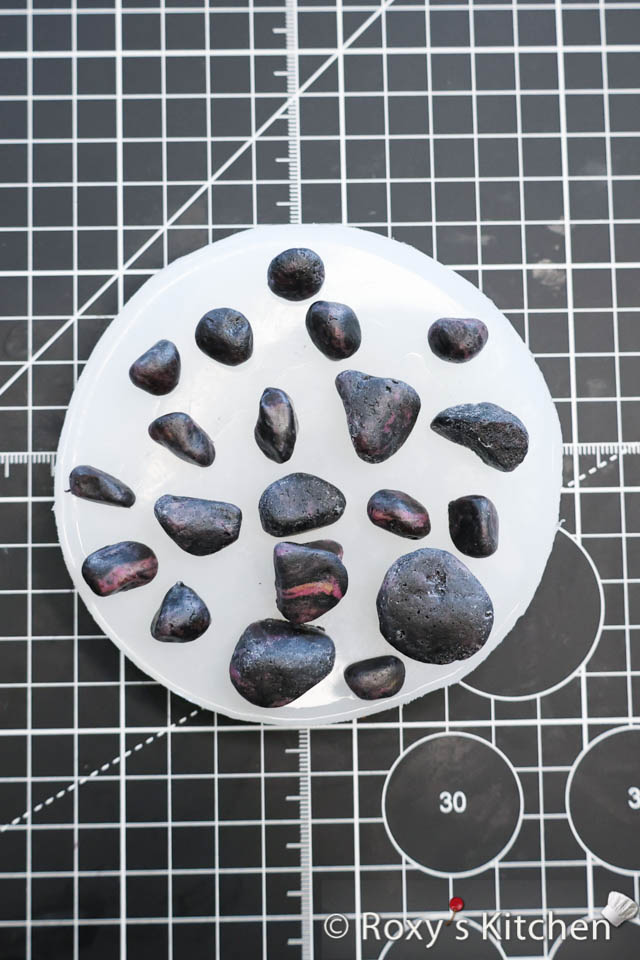
Use the realistic-looking rocks or pebbles to decorate your cakes or cupcakes as desired.
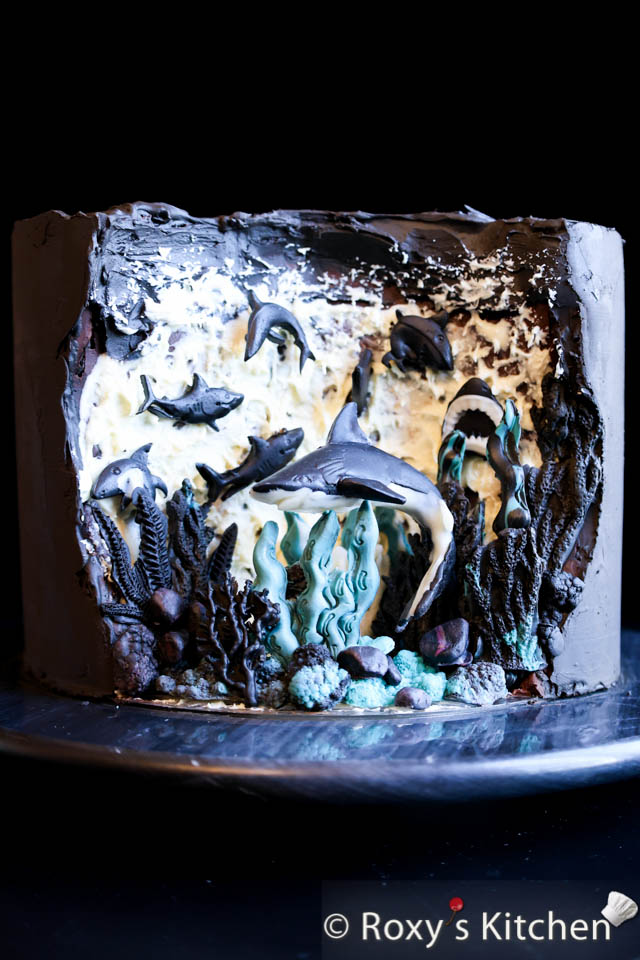
Note that if you’re using the rocks “underwater” (i.e. the water in this picture is made with gelatine, water and soda), you should be using modeling chocolate to shape your rocks. Fondant / gum paste rocks will just melt away / dissolve and won’t hold their shape.
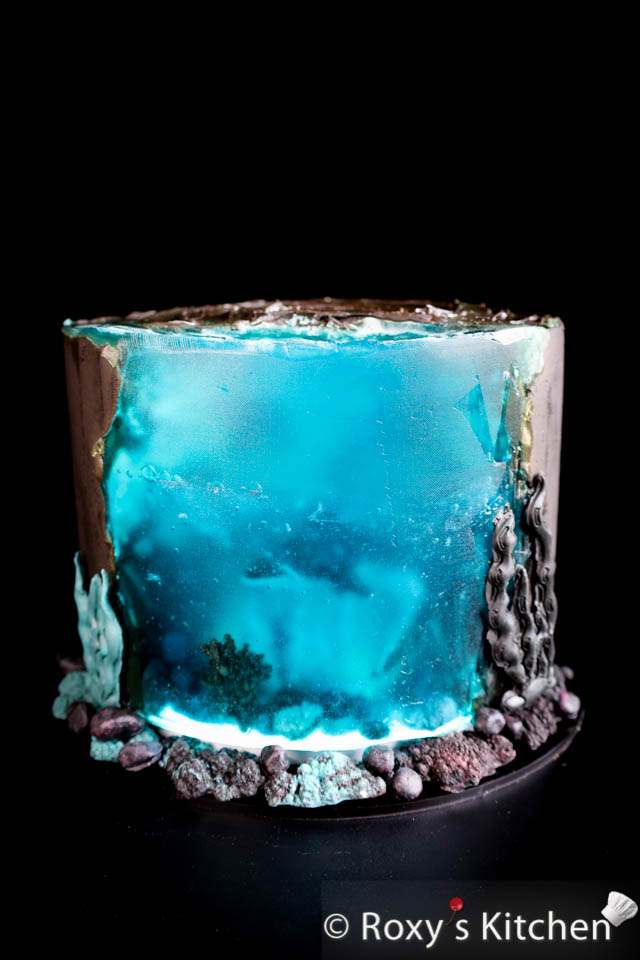
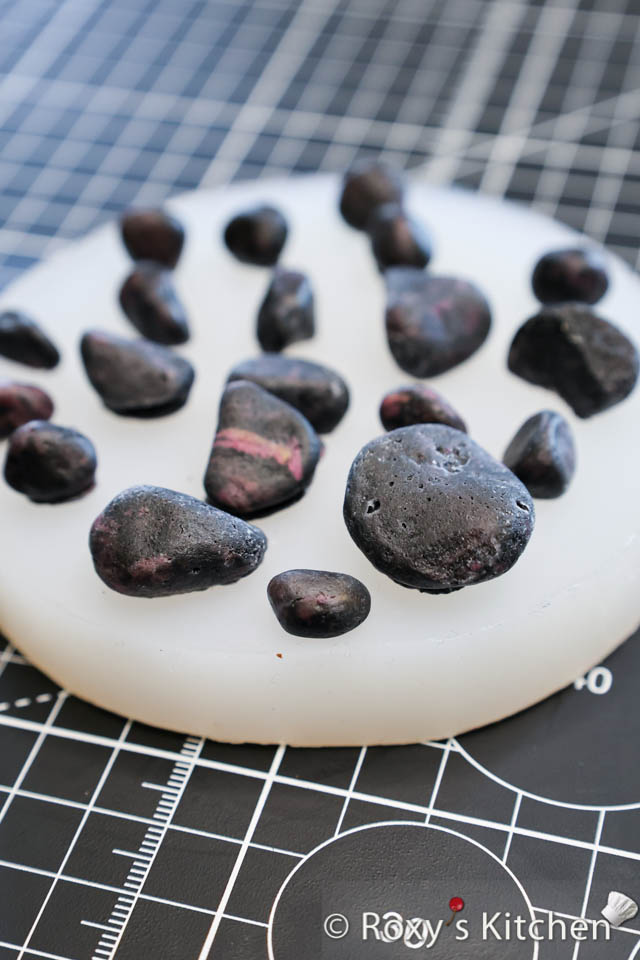


[…] I made all the underwater decorations – sharks, seaweed, rocks, corals – using homemade modeling chocolate (mostly black and teal colours) and silicone molds. You can find the recipe for modeling chocolate here and a post on How to Make Realistic-Looking Rocks or Pebbles. […]