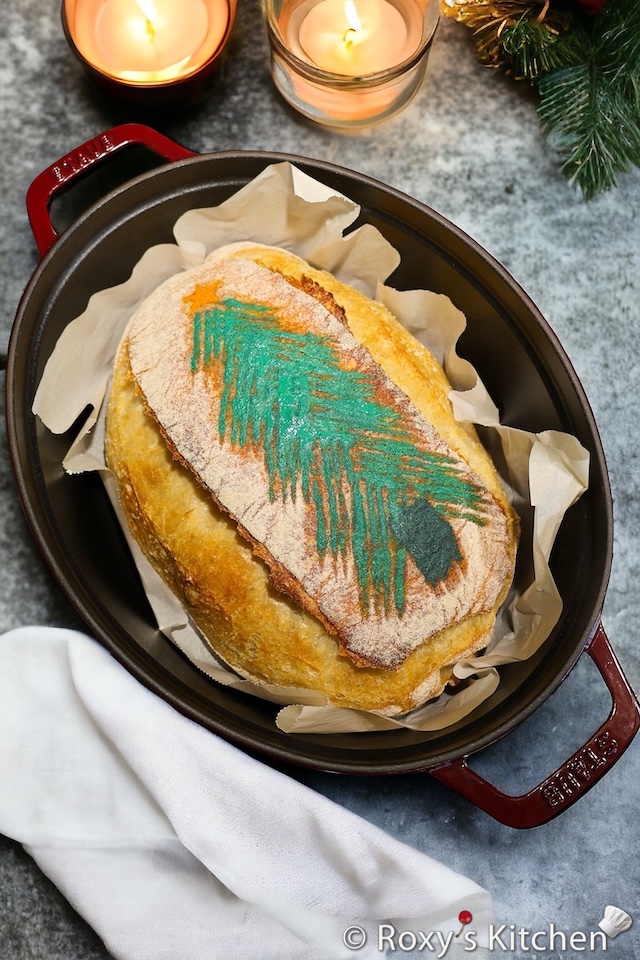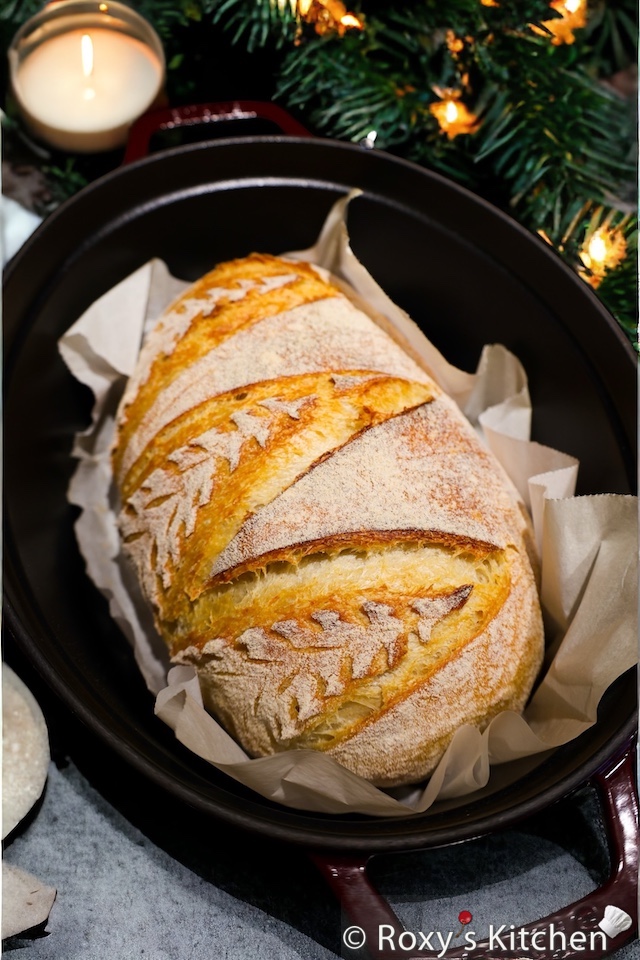
Get into the holiday spirit by adding a festive touch to your bread! In this post I’ll show you How to Make Christmas Trees on Bread. These simple techniques will turn your basic loaves into beautiful Christmas-themed ones, perfect for the holiday season. Whether you want to score a crisp tree pattern or paint one on, this guide will show you how to create a unique, eye-catching bread design.
What You’ll Need
- Your proofed loaf of bread (sourdough or regular)
- Rice flour and a small sieve for dusting the top
- A sharp bread lame (or a very sharp knife)
For the painted Christmas tree:
- Green and yellow oil-based food colouring (I use the ones from Color Mill); the green tends to be concentrated and darker in colour if used as is so I prefer to mix that with a bit of white oil-based food colouring to give it a more natural green look
- A plastic fork
- A small brush
- A small pair of scissors
Directions
Watch this video tutorial or read the instructions below:
Preheat your oven along with your Dutch oven, typically around 465°F (240°C).
Prepare your bread as usual by shaping the dough into a round or oval loaf and letting it proof in a banneton or proofing basket. I recommend an oval loaf for the scored Christmas trees, but either oval or round works well for the painted version.
How to Score Christmas Trees on Bread
If you want crisp lines, you can place the proofed dough in the freezer for about 30-45 minutes before scoring. I didn’t this time but chilled dough is often easier to score, especially for intricate designs.
Before scoring, lightly dust the top of the loaf with rice flour. This will help the Christmas tree design stand out more clearly after baking. Use a small sieve for an even flour coating.
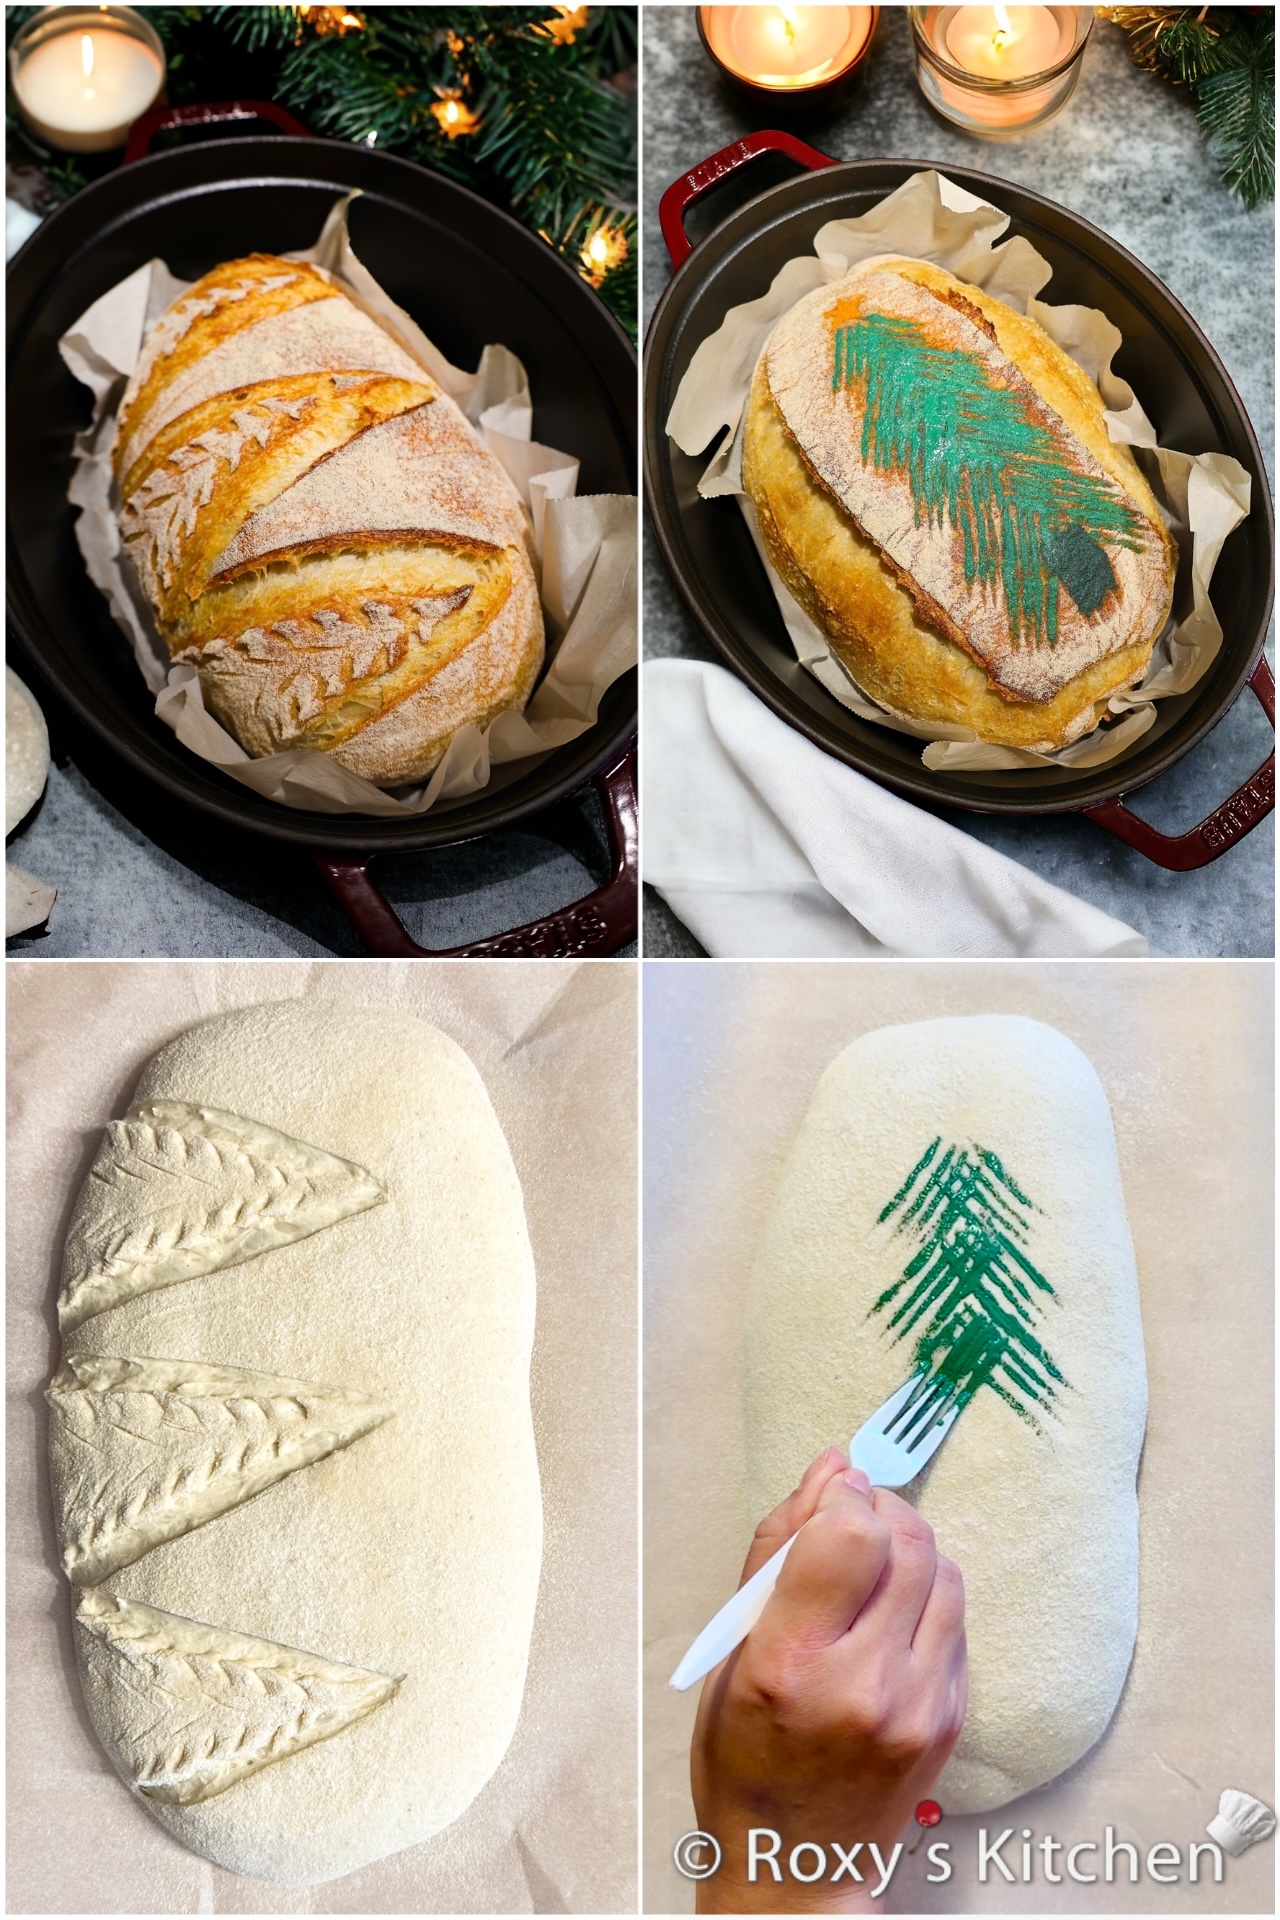
Using your bread lame or sharp knife, score the outline of the Christmas tree. For a 12-inch (30 cm) oval loaf, you can score 3-4 Christmas tree outlines.
Using a small pair of scissors, carefully add small cuts along the outline of the tree to represent the tree’s texture and branch lines.
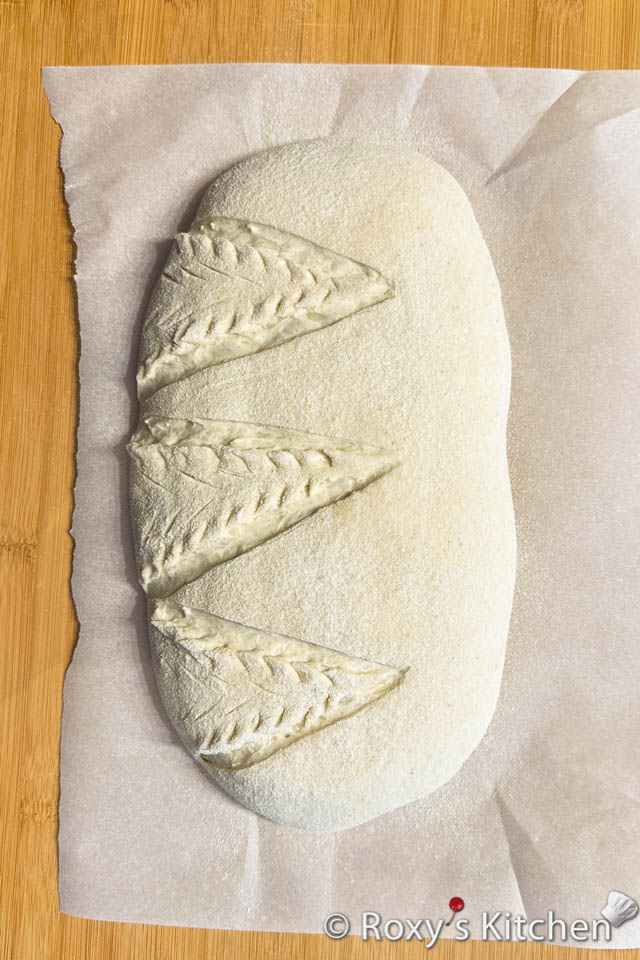
Make a few vertical cuts on each tree. Keep the scoring shallow so that it creates light marks on the bread without expanding too much during baking.
Bake your loaf in the Dutch oven for 25 minutes with the lid on, then remove the lid and bake for an additional 20-25 minutes without the lid. The Christmas tree design will open up slightly during baking, and the flour coating will make the tree stand out beautifully.
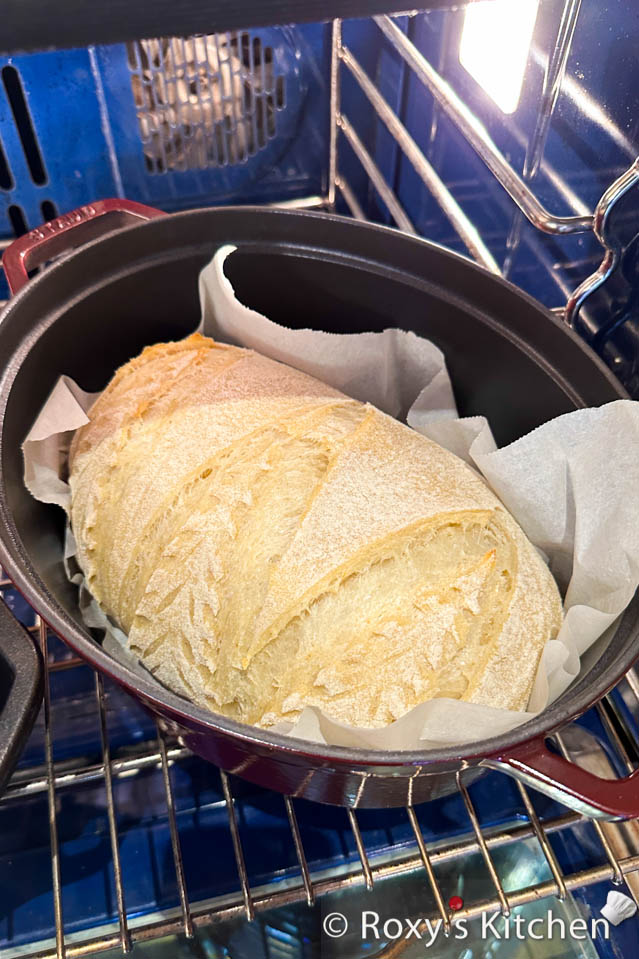
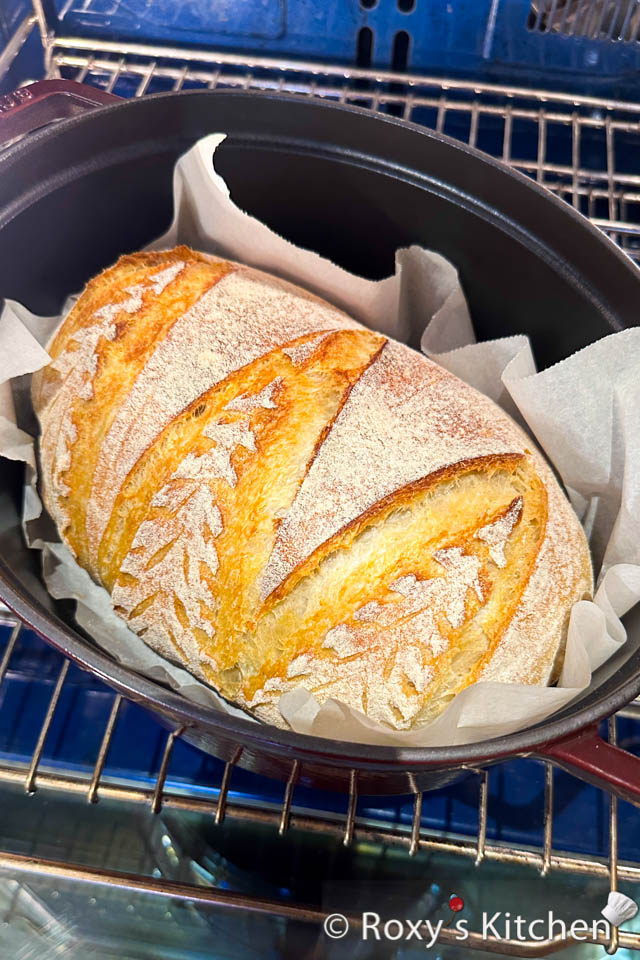
How to Paint Christmas Trees on Bread
Just like with scoring, lightly dust the top of the loaf with rice flour. This will help the Christmas tree design pop more after baking.
Mix the green food colouring with a little bit of white until you get a green colour that you like.
Dip the back of a plastic fork into the green food colouring. Press and drag the fork from the middle of the loaf to the edge to create the tree branches.
Use a darker green, brown, or black oil-based food colouring to create the tree trunk.
Use a small brush dipped in yellow oil-based food colouring to paint a star on top of the tree.
Score the dough on each side with a sharp knife or blade to allow for controlled expansion during baking. That way your design will remain intact.
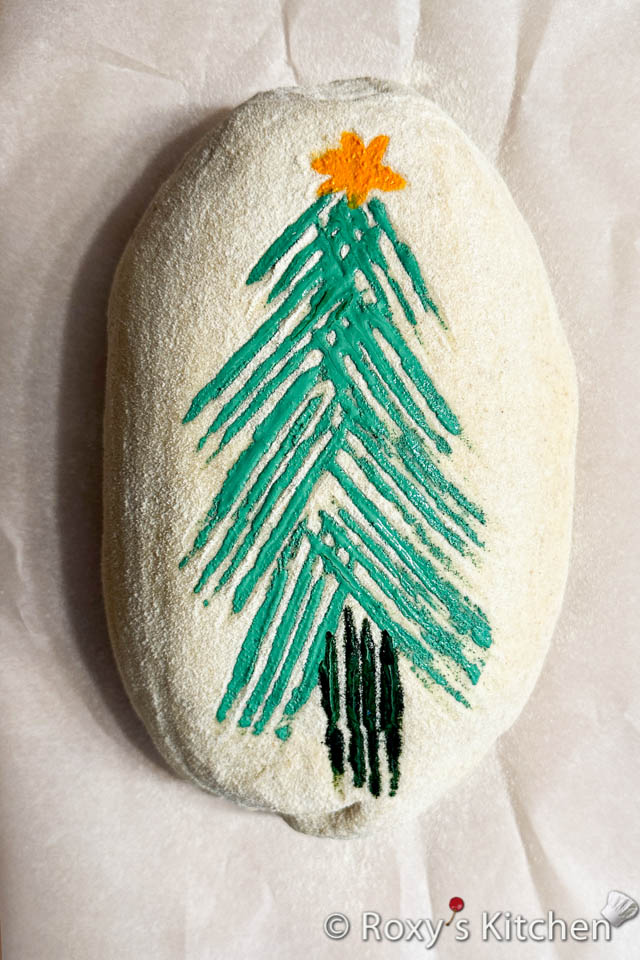
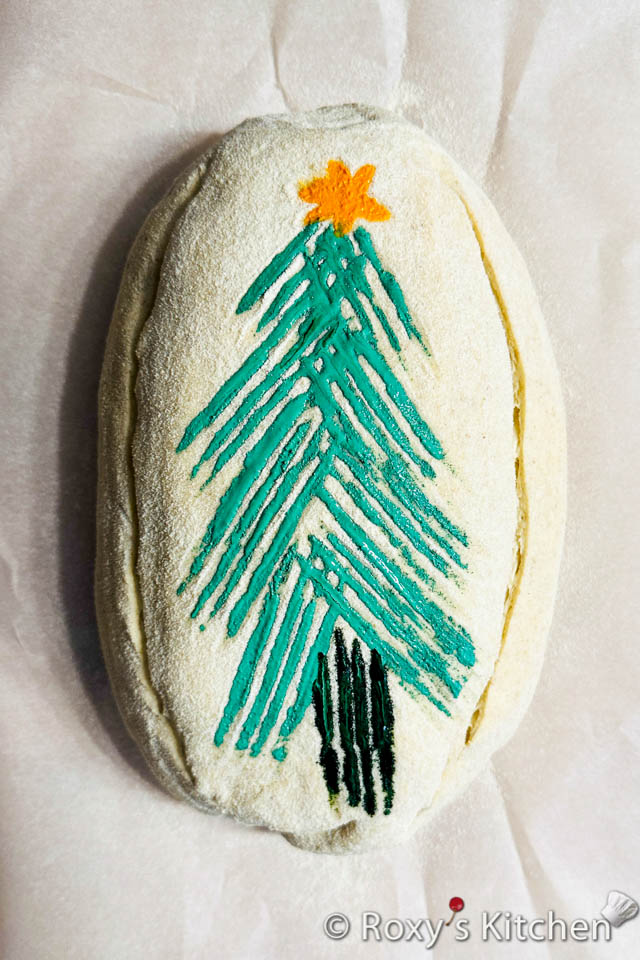
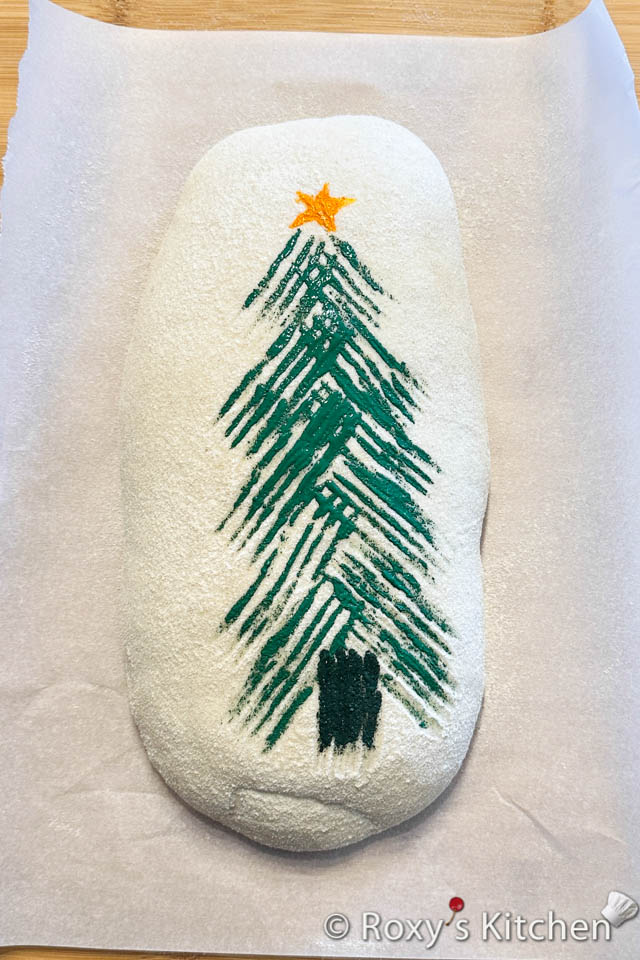
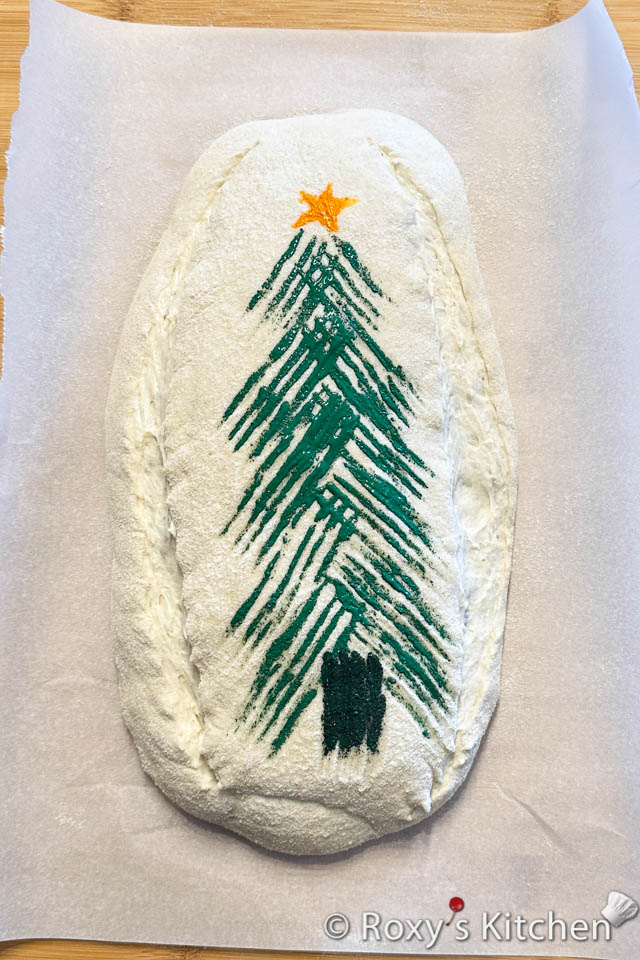
Bake your loaf in the Dutch oven as usual. Once done, you’ll have a beautiful, festive green Christmas tree design on your bread.
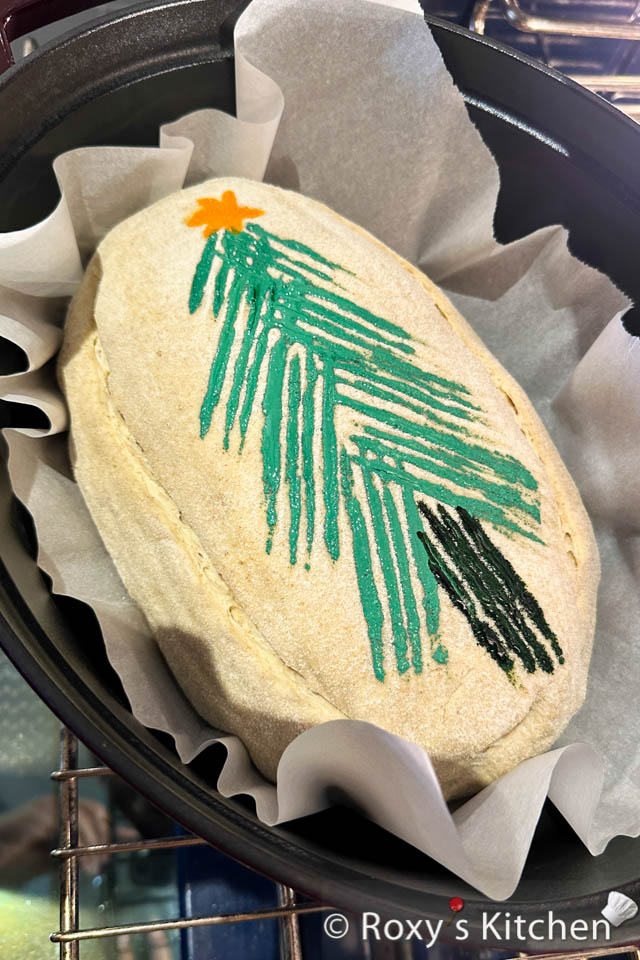
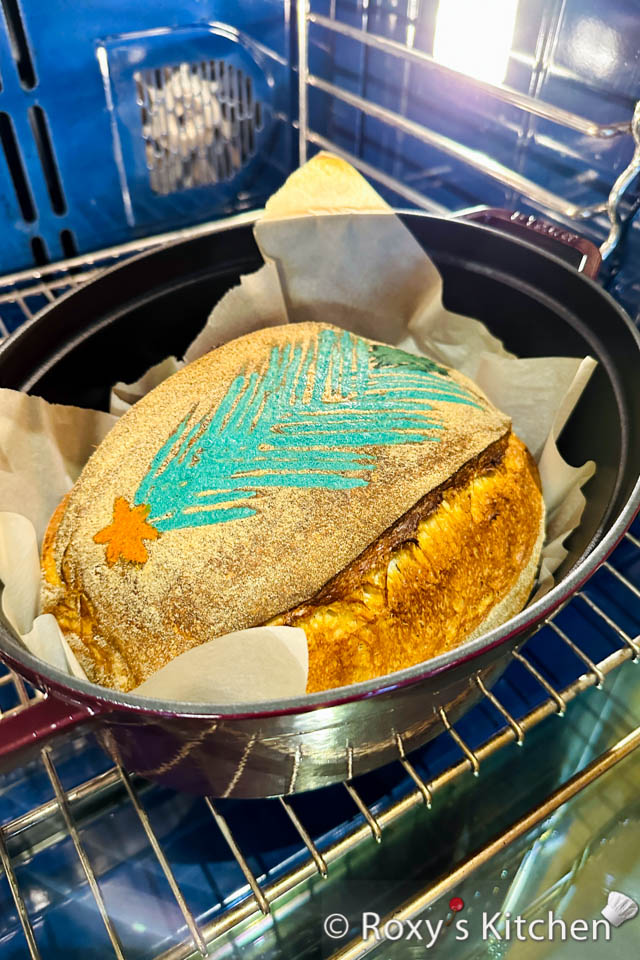
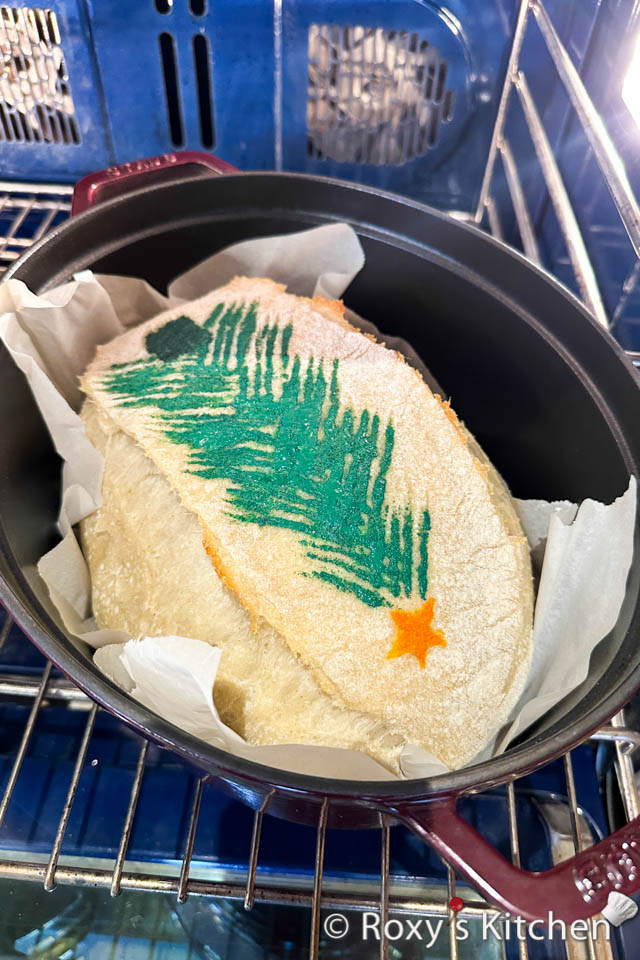
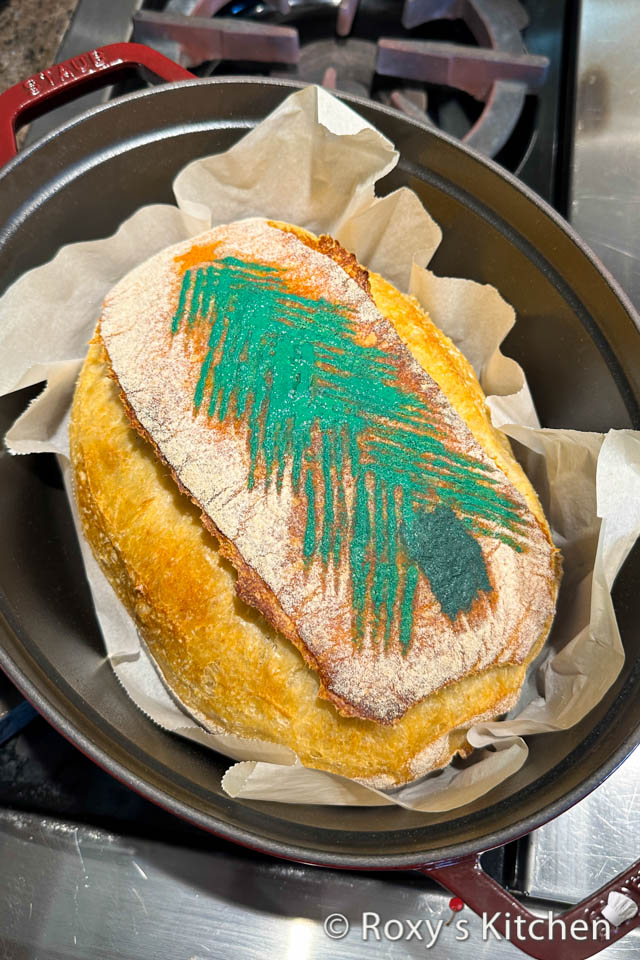
If you notice any excess food colouring, gently tap the design with a dry paper towel to remove it.
For this tree’s trunk only, I used green water-based food colouring diluted with a bit of water but it bled during baking. So I recommend using oil-based colours since they don’t bleed during baking and provide a cleaner finish like you can see on the rest of the Christmas tree.
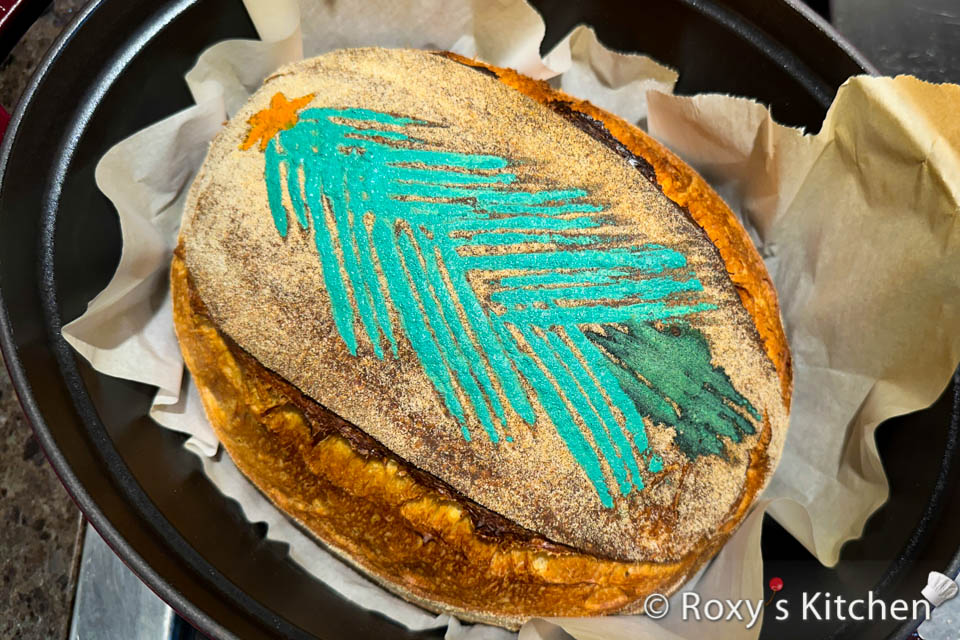
Also, avoid using too much food colouring as the design might look a bit messy. After baking, if you notice any excess food colouring, gently tap the design with a dry paper towel to remove it.
Enjoy your beautifully decorated bread with a festive touch! Whether you score or paint, this fun holiday technique will surely impress your family and friends. Happy baking!
