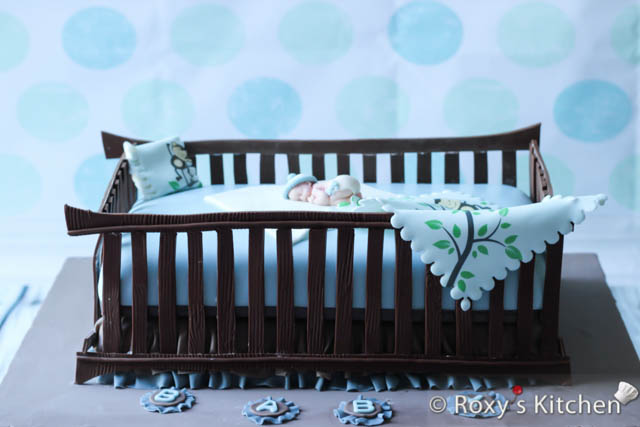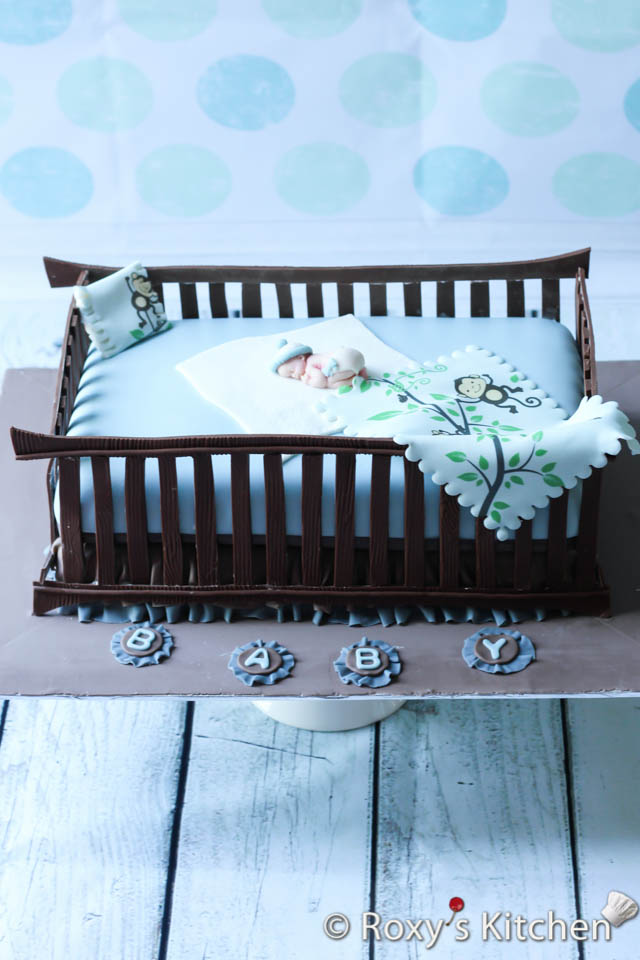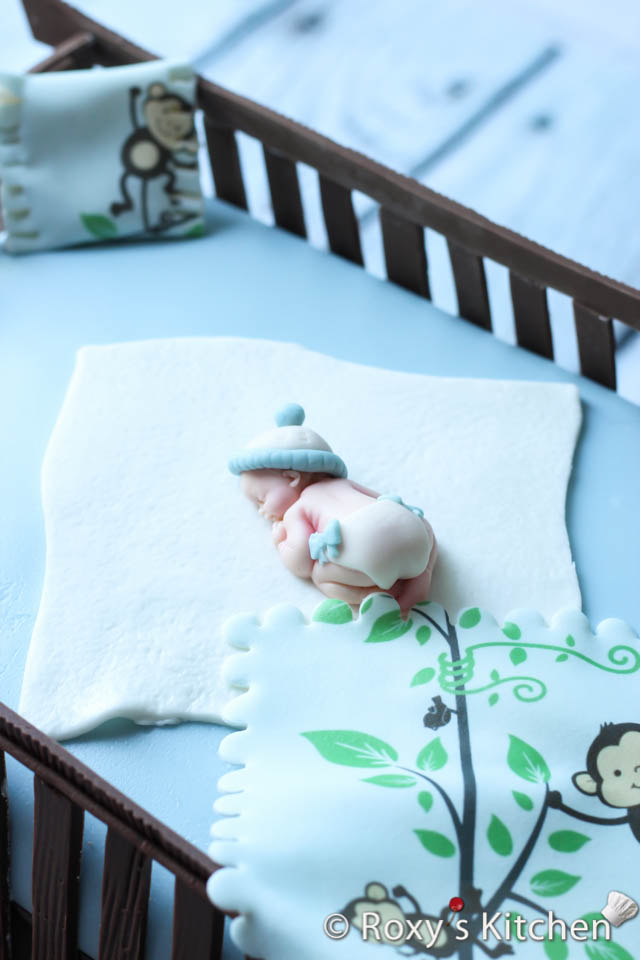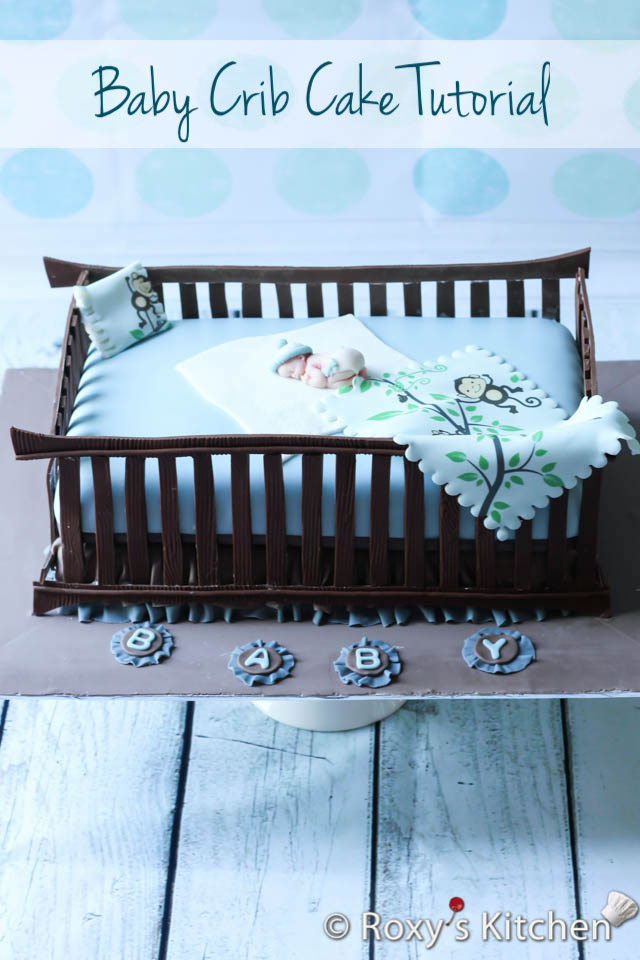
I made this Baby Crib Cake for my godson’s baby shower about 8 years ago. I remember having so much fun designing it and making the slats with the wooden grain and the crib skirt adorned with beautiful ruffles. The sleeping baby on top is the cutest and it’s easily made using fondant and a silicone mold.
Through detailed instructions and accompanying pictures, I will guide you through each stage of crafting this whimsical baby crib cake. It is actually not that hard to make and probably one of the easiest 3D cakes I made.
Ingredients
- 16 eggs
- 90 ml water (16 Tbsp)
- 300 g flour
- 480 g sugar
- 8 Tbsp ground walnuts
A 43 cm x 43 cm (17’’ x 17’’) square pan greased and lined with parchment paper. You can also bake the cakes in two smaller, rectangular pans, but divide the cake batter accordingly.
Sugar Syrup to Moisten the Cake:
- 400 ml water
- 10 Tbsp sugar
- 6 Tbsp rum extract
Whipped Chocolate Ganache Filling:
- 300 g dark chocolate (baking or couverture chocolate)
- 600 ml whipping cream
- 200 g ground walnuts
Covering the Cake:
- 3.2 kg (7 lbs) white fondant
- 900g (~2 lbs) chocolate or brown fondant + 1 tsp of Tylose (CMC) powder which will help the fondant used for the crib slats dry faster; you can also use gum paste instead of fondant as this dries faster too
- gel food colouring – ivory and rose petal colour for the baby, colours of your choice for the crib mattresses and ruffles – I made the crib mattresses white and blue and the ruffles in a blue greyish colour and a lighter brown colour
Other Tools/Items:
- a cake board that’s at least 30 cm x 50 cm (12’’ x 20’’), a bit bigger than the crib cake
- a 23 cm x 38 cm (9’’ x 15’’) cake board
- 4-5 Boba plastic straws or cake dowels
- sleeping baby silicone mold
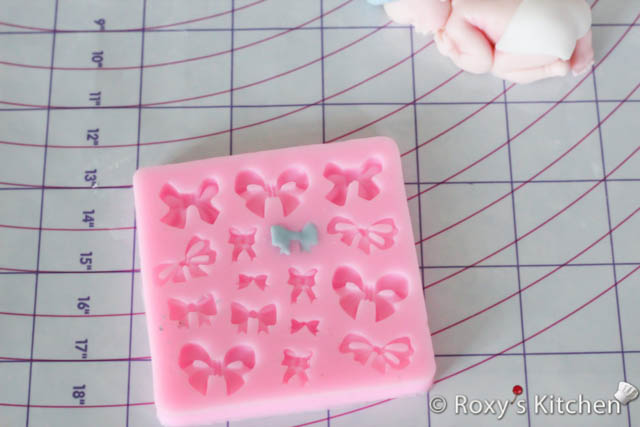
- tiny bow silicone mold
- pink petal dust to brush on the baby to give it a bit of colour and definition + cocoa powder for brushing on the baby’s head/hair
- fondant cone & ball tools to make the ruffles
- round frill cutter to make the edges around the baby blanket
- tree bark fondant impression mat
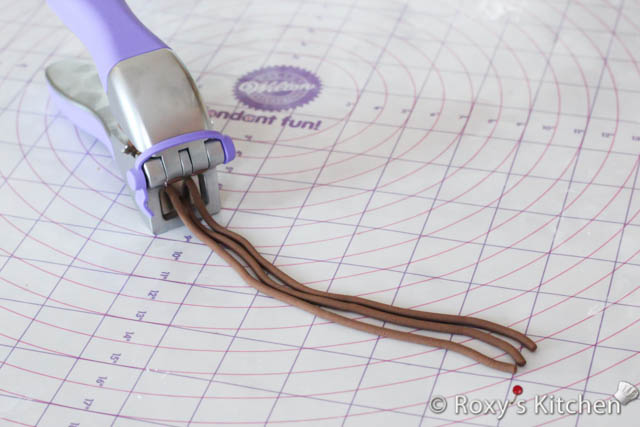
- clay extruder to make thin ropes
- small paint brush
- corn starch for dusting your work surface while working with fondant
- rolling pin
- X-Acto knife, a pizza cutter or any other sharp knife you have.
- printer with edible ink and paper if you want to make the design with monkeys on the baby blanket
- small circle cutters (two sizes) and letter cutters to make the “BABY” sign
- fondant smoother (optional)
- fondant shaping foam mat (optional)
- brown ribbon to wrap around the base of the crib mattress
Directions
Making the Cake
Use the ingredients listed above and follow the step-by-step instructions in this other post to make your square cake.
Bake the cake, let it cool off and cut it in half. Then, cut each half horizontally in two.
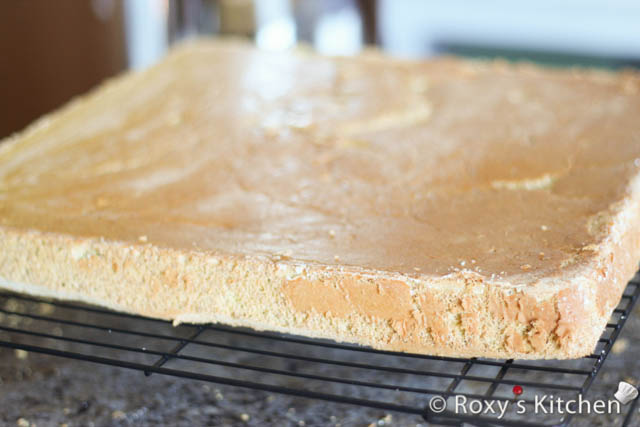
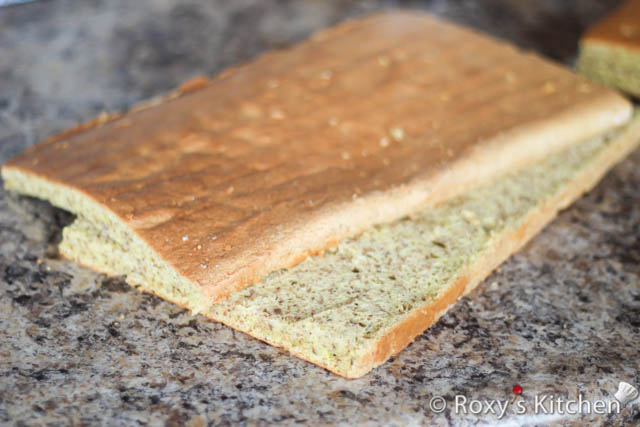
Make your sugar syrup by boiling the water with the sugar and adding the rum extract at the end. Let it cool off.
Making the Filling
Make the whipped chocolate ganache following the steps in this recipe. Make this at least 8 hours before you are ready to assemble the cake as it needs to cool off in the fridge before whipping it.
Set aside 200 g of the whipped ganache to crumb coat the cake before covering it with fondant.
Then, add the ground walnuts to the remaining whipped ganache and fold them in with a spatula.
Assembling and Decorating the Baby Crib Cake
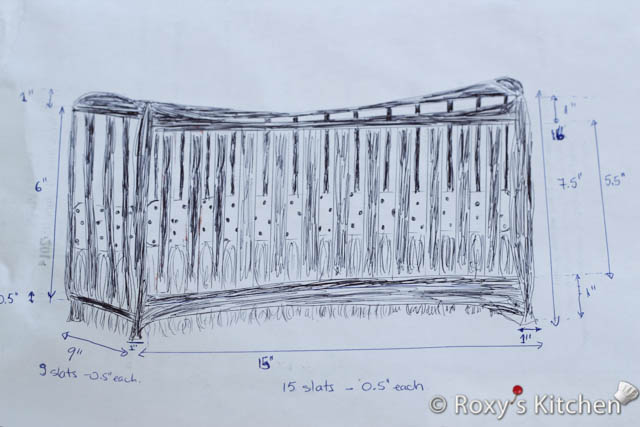
Before we get started here’s my rough sketch of the cake. I’m terrible at drawing but I’m thinking that this might help you visualize the cake better and see the measurements.
Making the Crib Slats
You need to make these 2-3 days in advance so that they have enough time to dry out and harden. If not, they will start bending once placed around the cake. You will see in some pictures that some of mine are slightly bent.
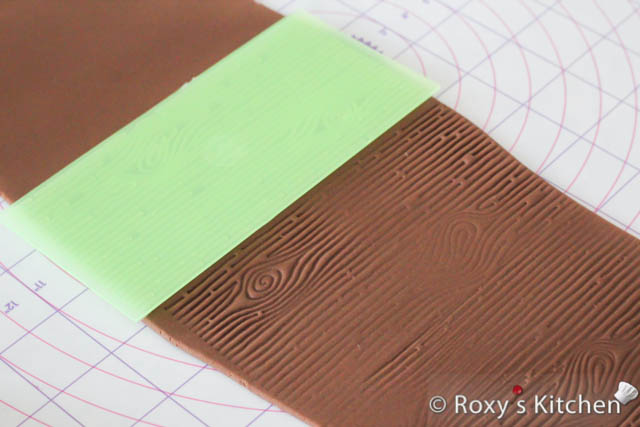
Sprinkle some corn starch on your work surface, knead and roll your chocolate fondant mixed with Tylose (CMC) powder.
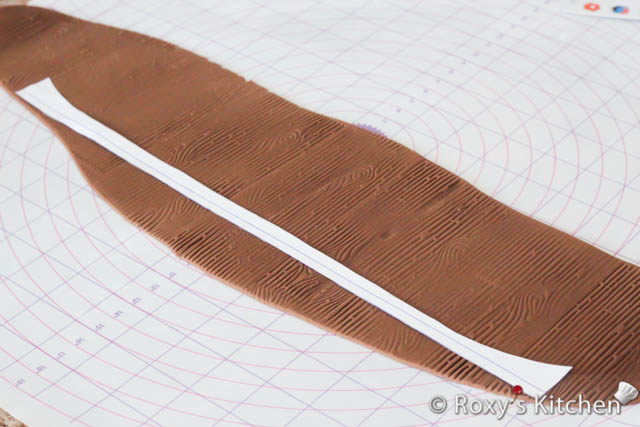
Gently press the tree bark fondant impression mat onto the fondant to give it the wood effect.
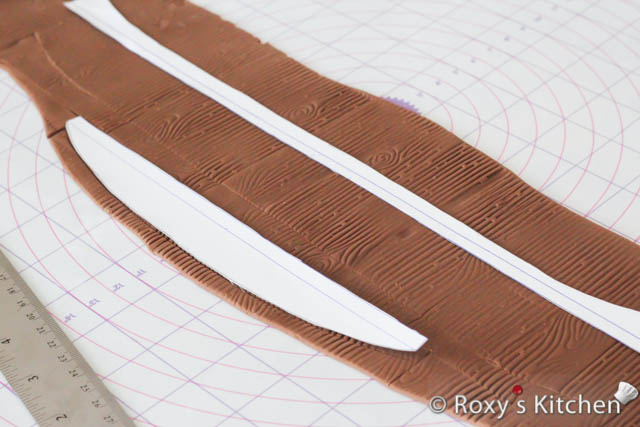
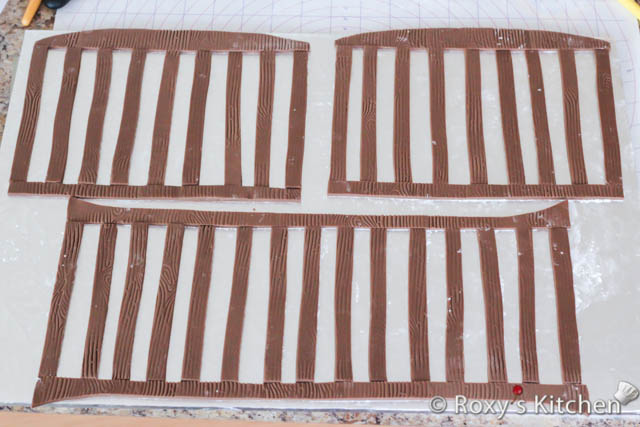
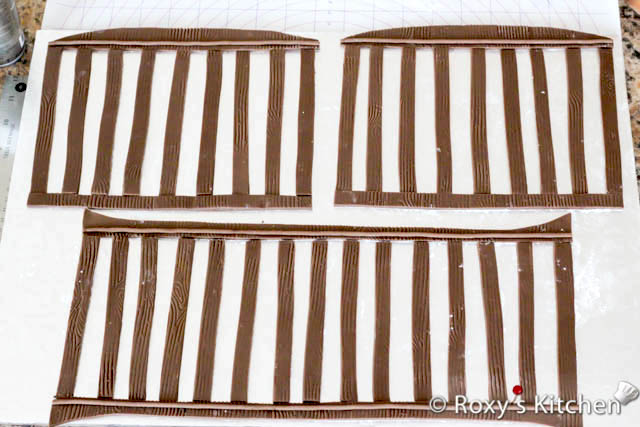
Now you need to cut the individual pieces. It might be easier if you create some paper templates for all the crib slats and wooden pieces you need. Here’s mine:
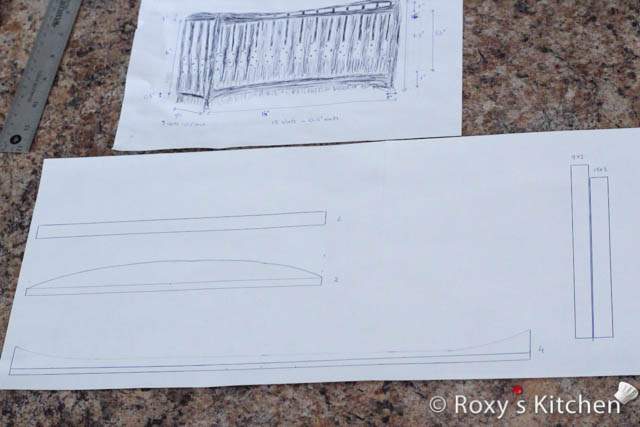
You need to cut:
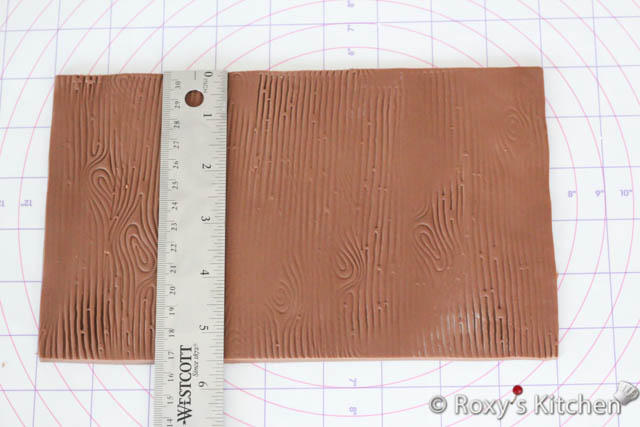
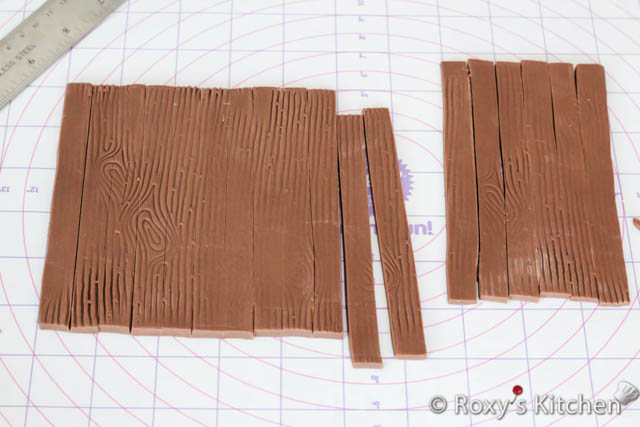
- 15 strips that are 1.3 cm (0.5’’) wide and 14 cm (5.5’’) tall, for the front and back slats
- 9 strips that are 1.3 cm (0.5’’) wide and 17 cm (6.5’’) tall, for the side slats
- 4 bigger strips that are a bit longer than the cake and 2.5 cm (1’’ wide); these are used to make the top and bottom wooden pieces for the front and back of the crib
- 2 strips that are 23 cm (9’’) long and 2.5 cm (1’’) wide with one strait edge and one round edge; these are the wooden pieces on the sides and at the top of the crib
- 2 strips that are 23 cm (9’’) long and 1.3 cm (0.5’’) wide with straight edges; these are the wooden pieces at the top of the crib, on the sides
Place all the pieces on a straight surface powdered with cornstarch and let them fully dry. I placed mine on parchment paper on a cake board so I could easily move them out of the way.
Assembling the Cake
Spread some filling on your big cake board and place the first cake layer on top. Moisten it with sugar syrup and spread half of whipped chocolate ganache with walnuts on top. Place the second cake layer on top and moisten it with sugar syrup. This cake will be the base of your crib.
Crumb coat the cake with a thin layer of the ganache you saved.
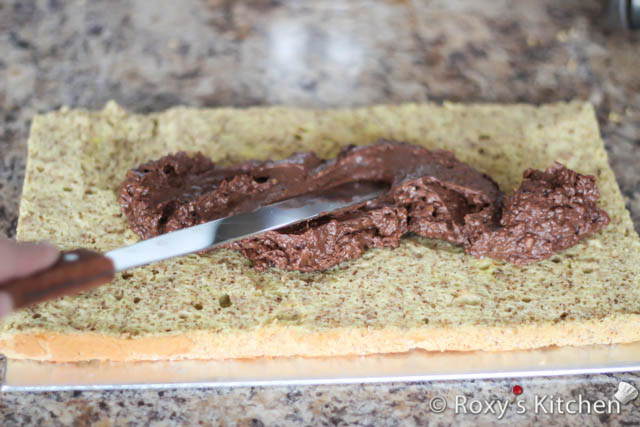
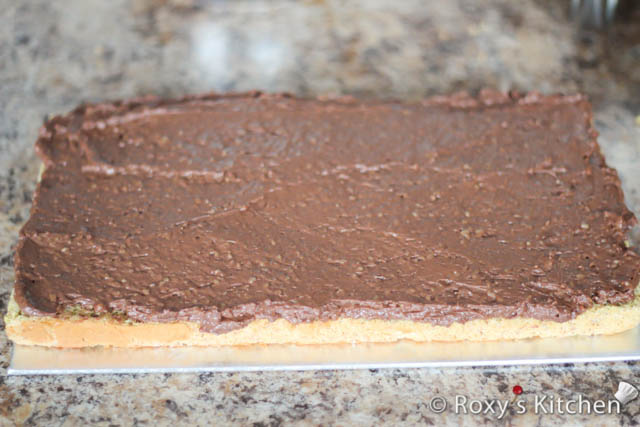
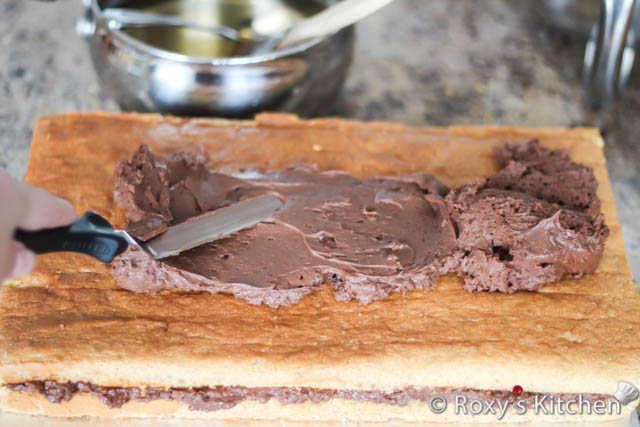
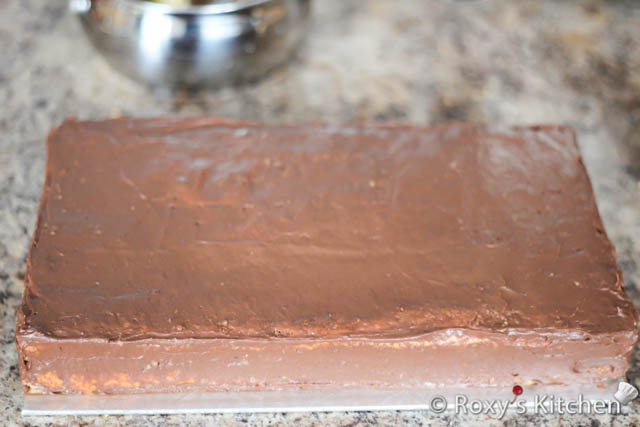
Spread some filling on the 23 cm x 38 cm (9’’ x 15’’) cake board. Repeat the steps to fill the second cake. This cake will be the crib mattress that’s covered in blue fondant.
Refrigerate the cakes for 1-2 hours.
Covering the Cakes with Fondant
Sprinkle some powdered sugar or cornstarch on your work surface. Knead 1/3 of your white fondant until it has a workable consistency and it doesn’t feel and look dry.
Use a measuring tape or a piece of string to measure the top and sides of the cake so that you know how much you should roll your fondant. Roll out the fondant in the approximate shape of your cake and as wide/long as the measurements you took. As you are rolling it make sure you lift the fondant occasionally and rotate it 45 degrees to make sure it doesn’t stick to your work surface. If it sticks lift the fondant and sprinkle more powdered sugar or cornstarch.
Gently lift the fondant over the rolling pin and place it on the side of the cake. Start unrolling the fondant from the side of the cake and across the top to the other side.
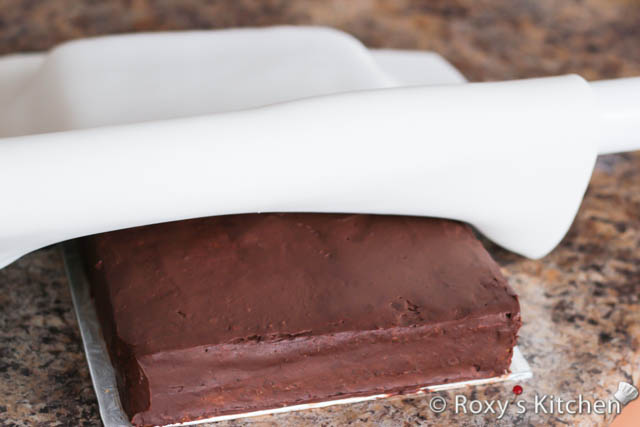
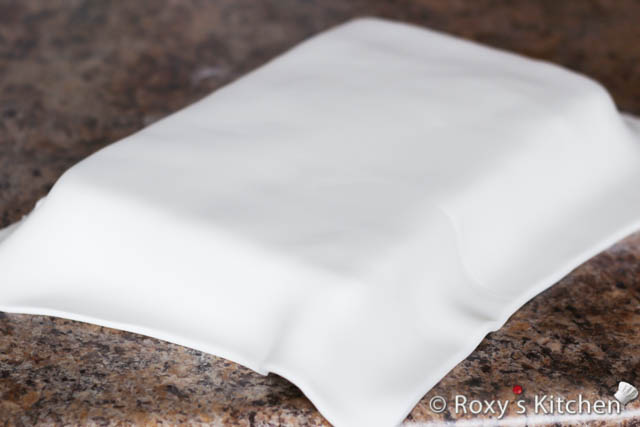
Smooth the fondant with a fondant smoother (or the palm of your hand) starting from the top. Start to gently pull the fondant out and down around the sides of the cake using one hand and spread the excess fondant and smooth it out using a fondant smoother (or your other hand).
Keep turning the cake and repeating these steps until the sides are smooth and without any ruffles formed towards the bottom. It’s better if you use a fondant smoother since the pressure of your hands could leave marks and the warmth from your hands might make the fondant sticky.
Use your fondant smoother to get rid of any wrinkles and air bubbles as well. If you see any air bubbles, insert a pin on an angle, release the air and smooth the area again.
Trim the edges at the bottom using an X-Acto knife, a pizza cutter or any other sharp knife you have.
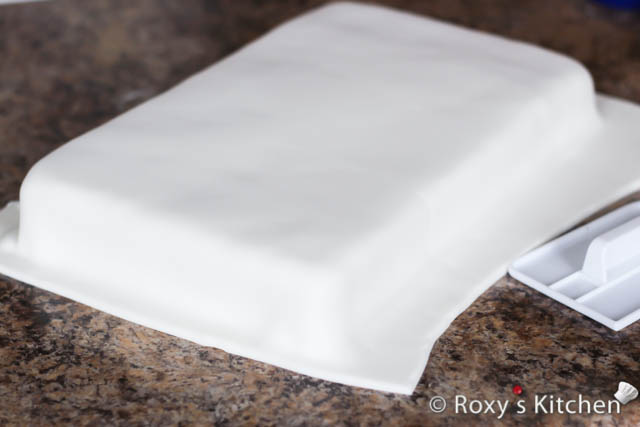
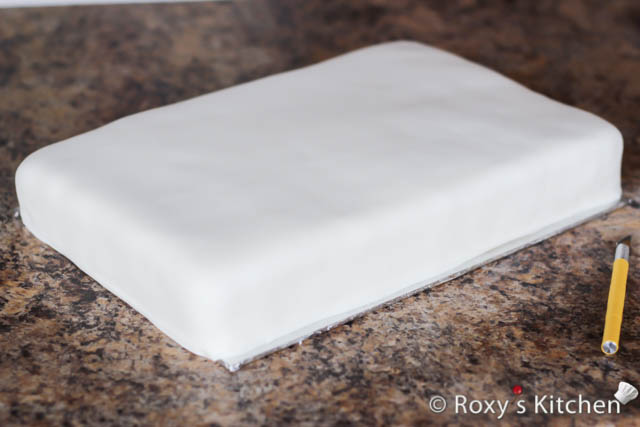
Colour 1/3 of the white fondant in light blue to make the crib mattress.
Repeat the same steps as above to cover the second cake placed on the smaller cake board.
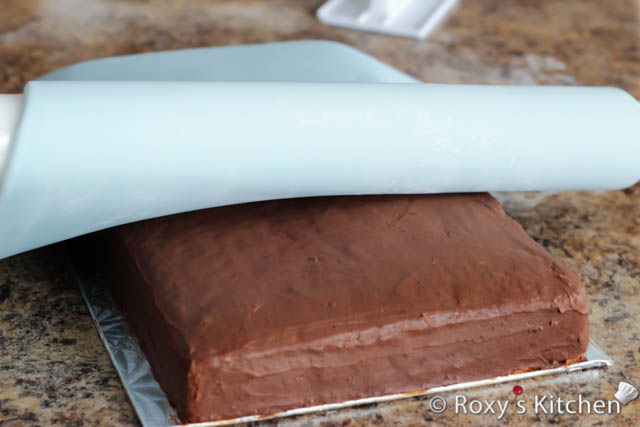
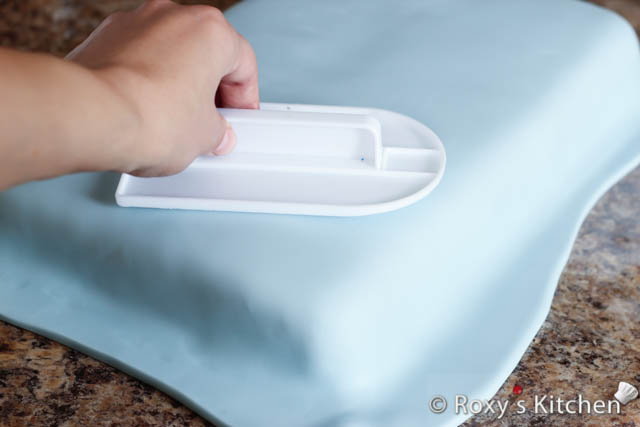
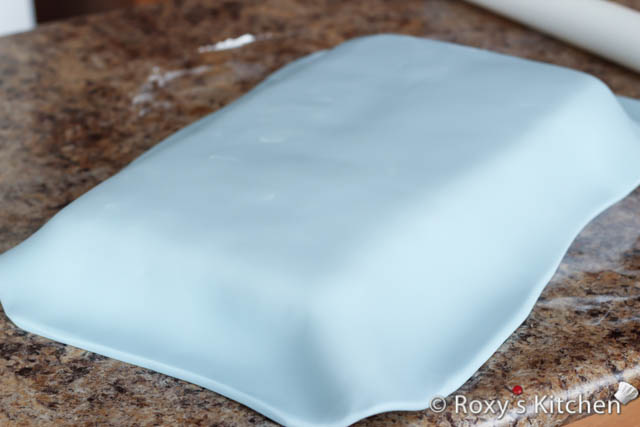
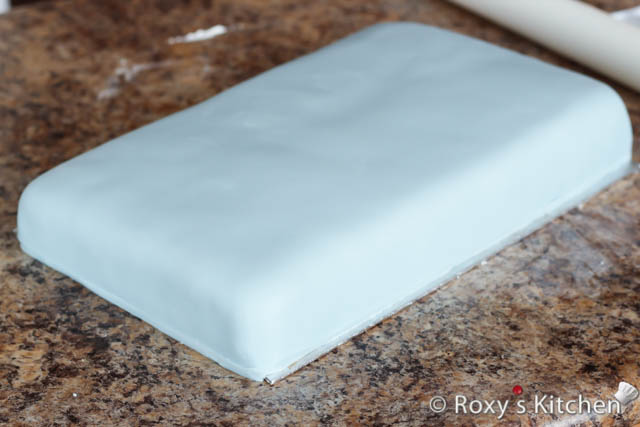
Cut the boba straws to the height of the cake covered in white fondant and insert them into the cake.
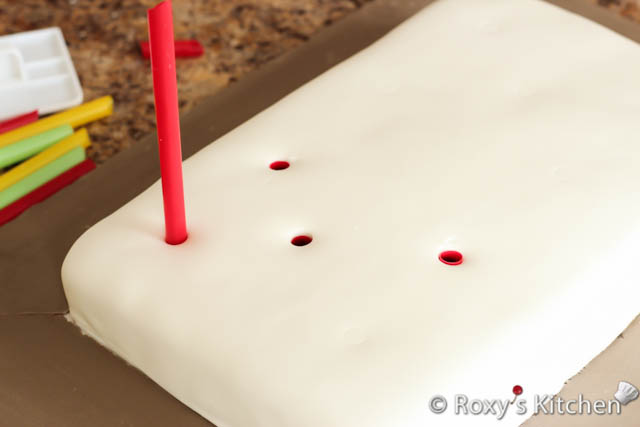
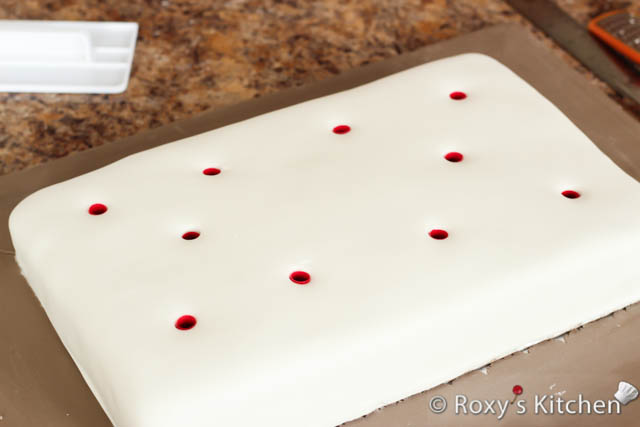
Making the Fondant Decorations
Crib Skirt & Dust Ruffles
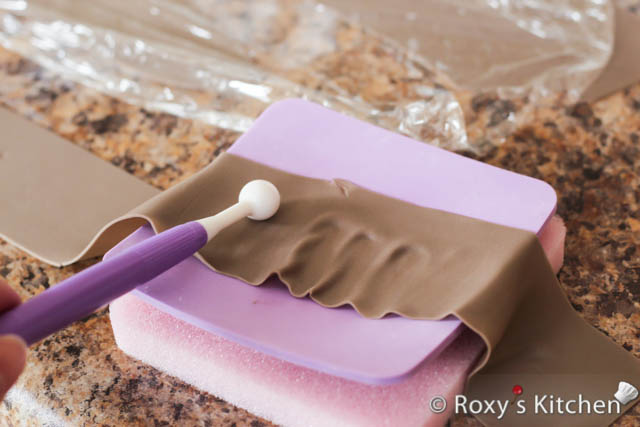
For the crib skirt and dust ruffles, I used two shades of fondant.
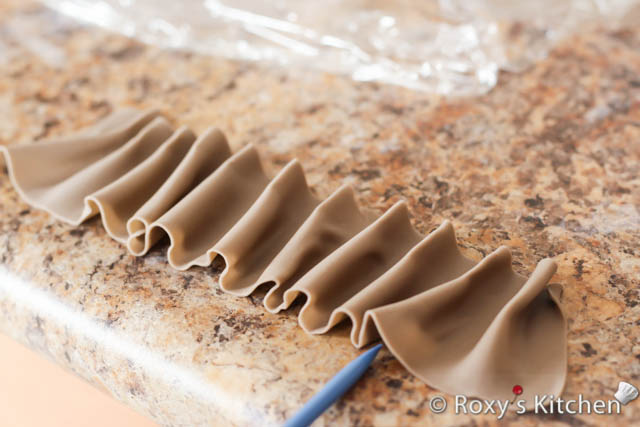
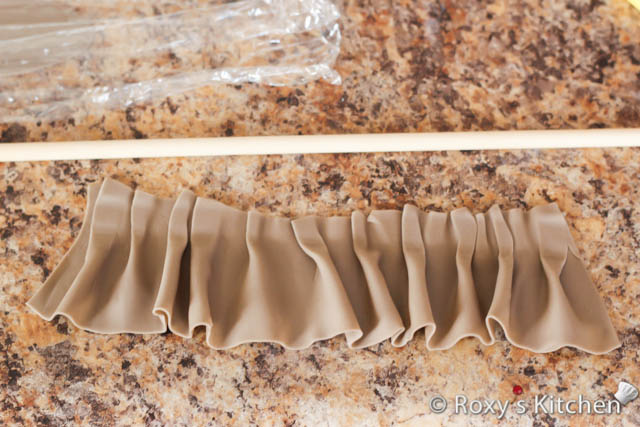
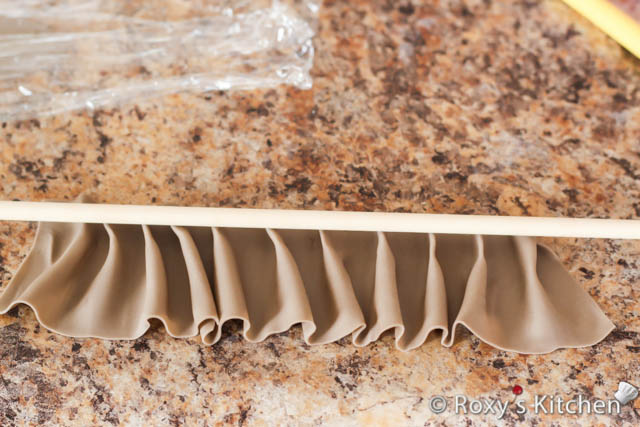
I rolled very thin strips of fondant and then made the ruffles using the fondant ball tool. You can use a pasta machine to roll the fondant faster. But note that you have to cover your rolled fondant with plastic wrap otherwise it will dry out.
Place the part you are ruffling on your fondant shaping foam mat. You can place it straight on the counter top but you have to use the right amount of cornstarch to prevent it from tearing /sticking to your work surface… the mat it’s supposed to make it easier for you to make the ruffles without tearing your fondant.
Take your fondant ball tool, place it about 1 inch (2.5 cm) in on the fondant strip and rock it back and forth while pressing down slightly. This will create a nice ruffle effect.
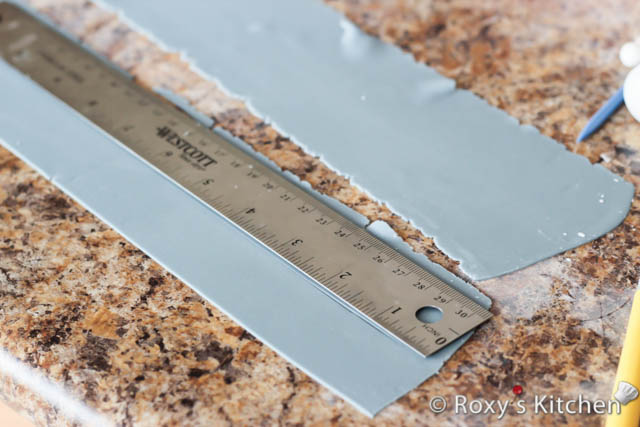
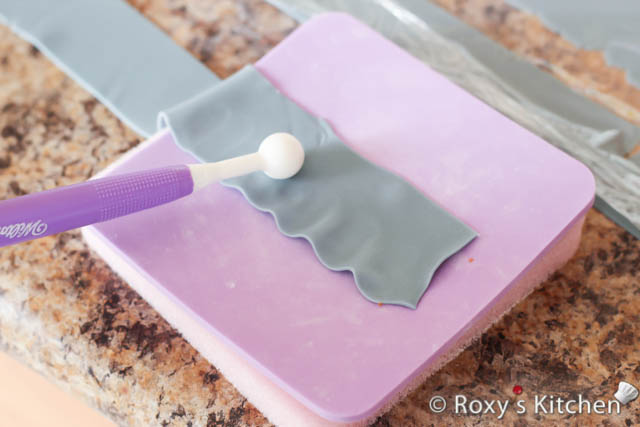
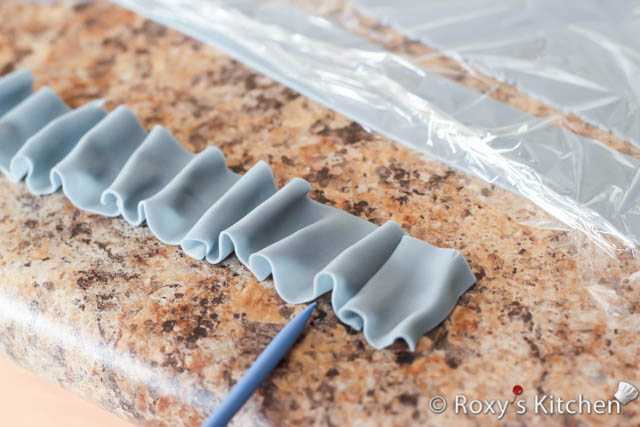
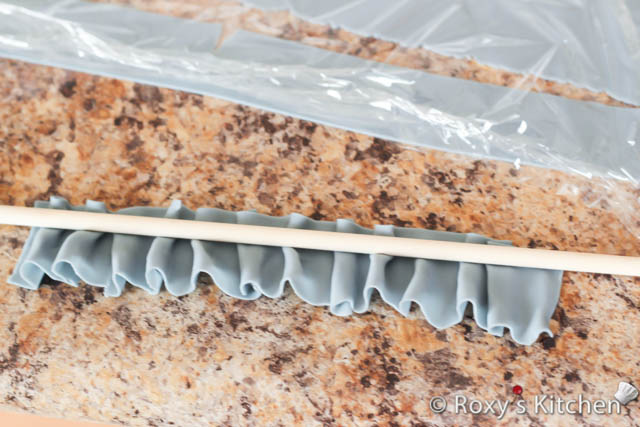
You can create four sets of ruffles in each colour – one for each side of the crib. Or, you can work with smaller pieces, it will be easy to hide the seams.
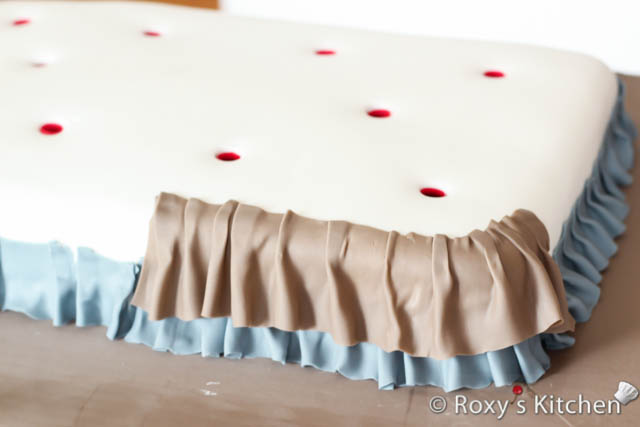
Brush some water on the cake and attach the first set of ruffles.
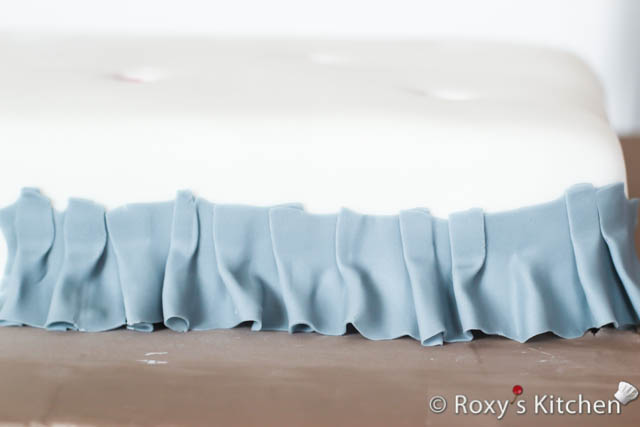
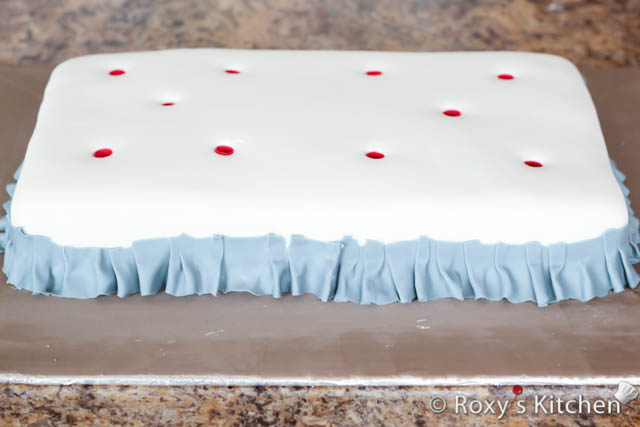
Make the second set of ruffles and attach them to the cake. Overlap them over the blue ruffles.
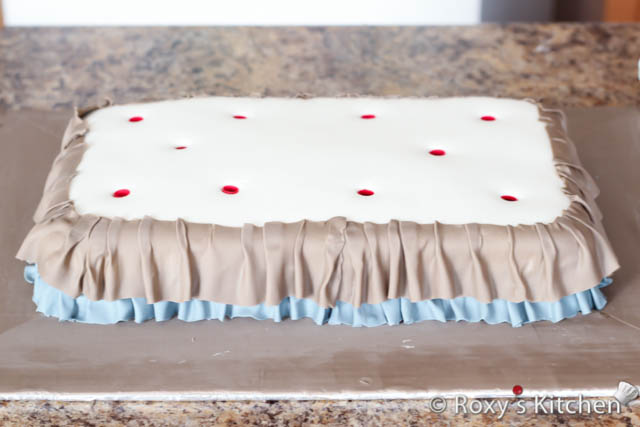
Assembling the Baby Crib Cake
Spread a bit of frosting on top of the white cake and place the blue mattress cake on top.
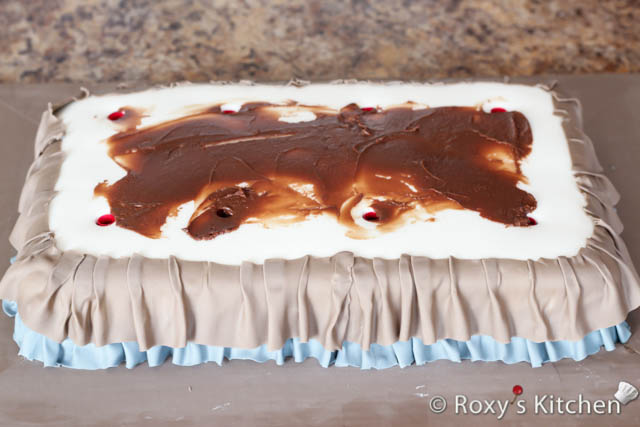
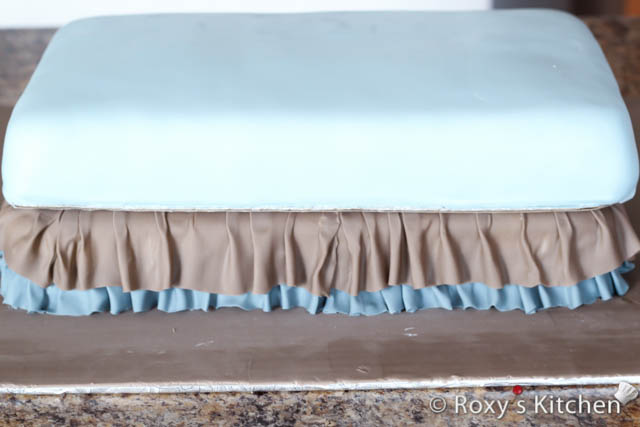
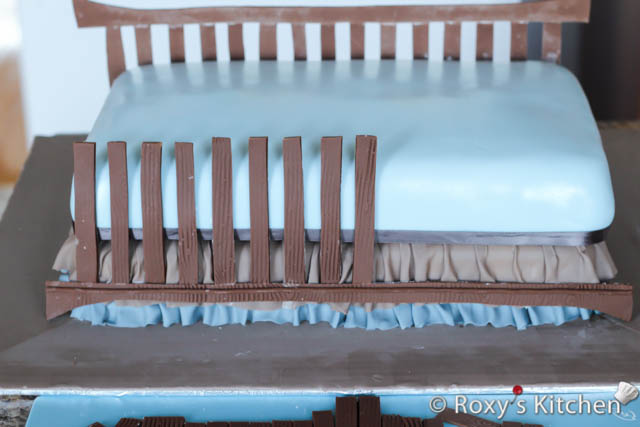
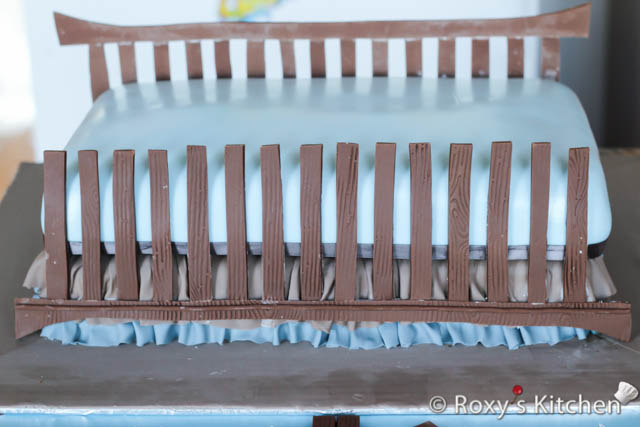
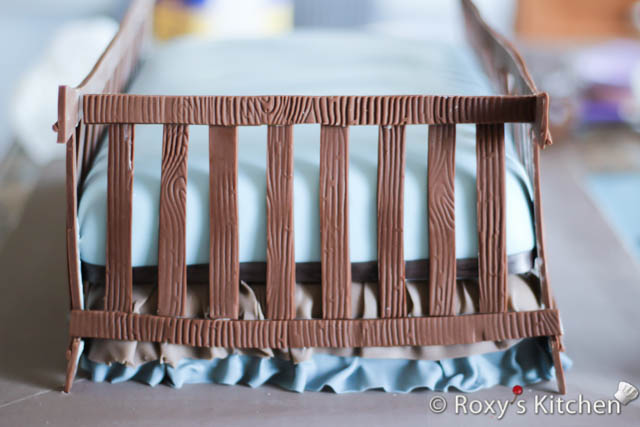
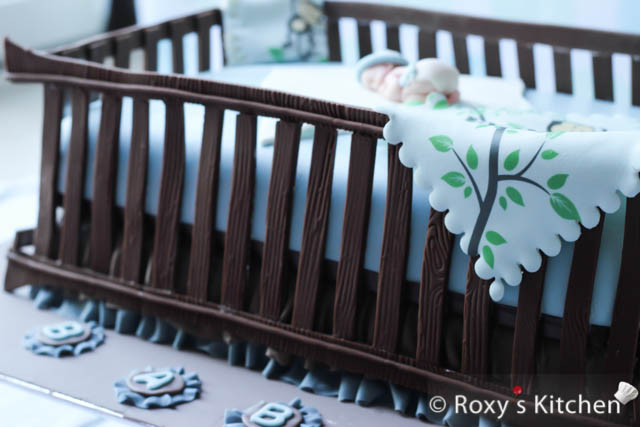
Start placing all the wood pieces around the cake. Glue them together and to the cake by brushing a bit of water or edible glue.
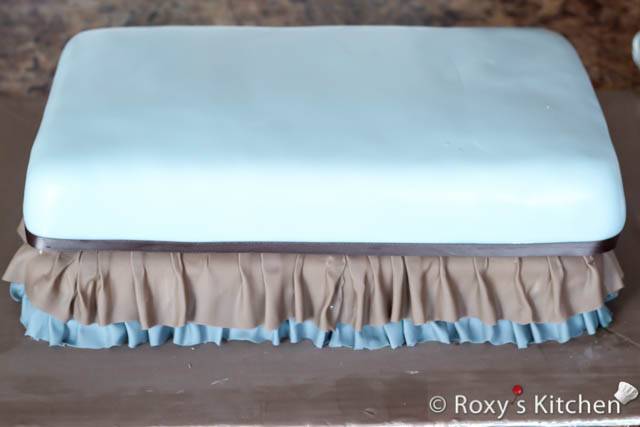
Sleeping Baby
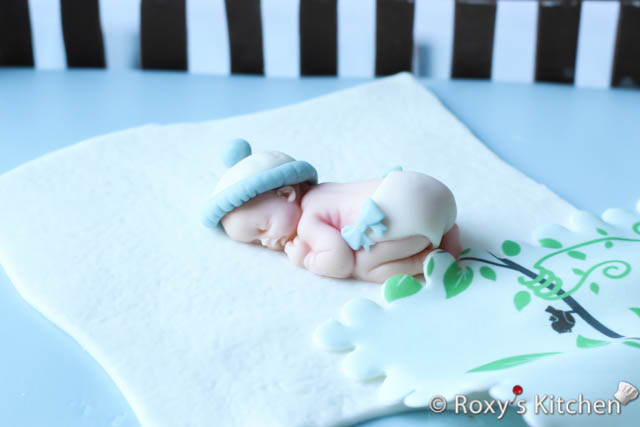
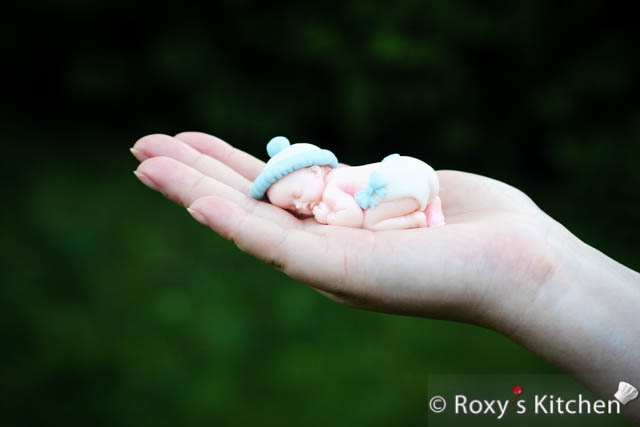
To make the sleeping baby, colour a bit of white fondant with ivory and rose petal gel food colouring.
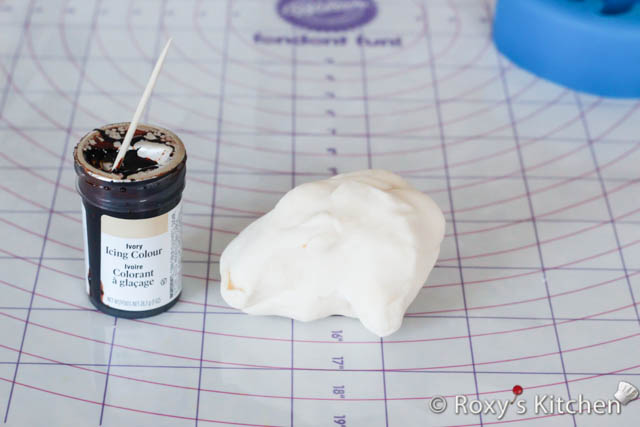
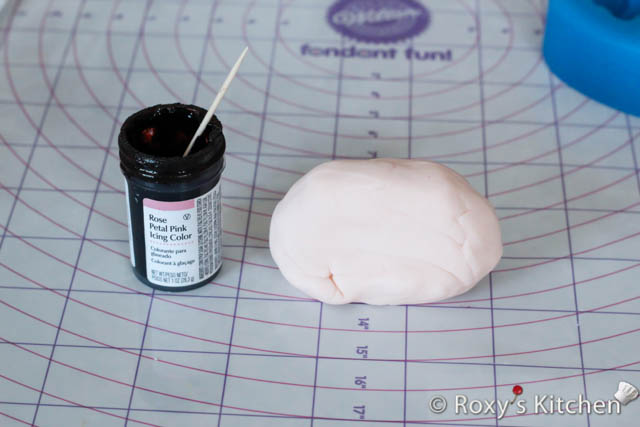
Dust your sleeping baby silicone mold with a bit of cornstarch and press the fondant into the mold.
Remove the excess fondant using a blunt blade. Don’t use a knife as you might cut the silicone.
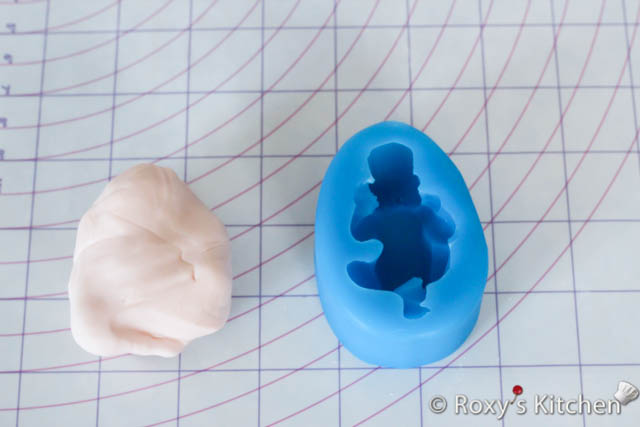
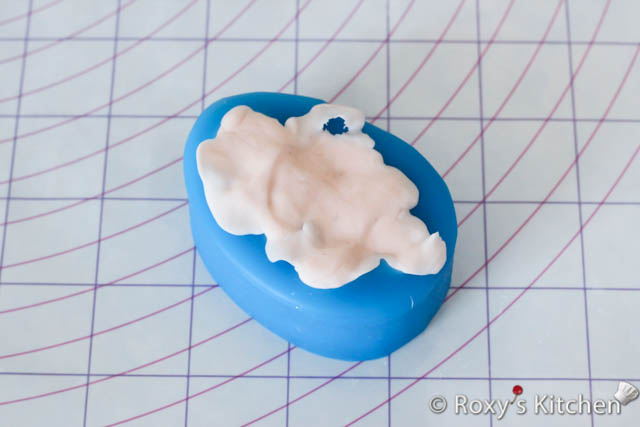
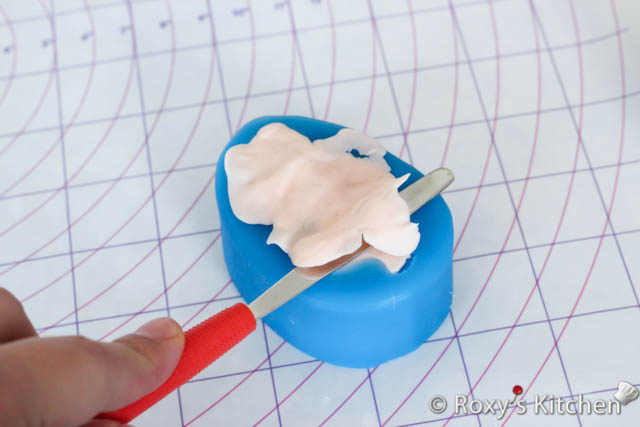
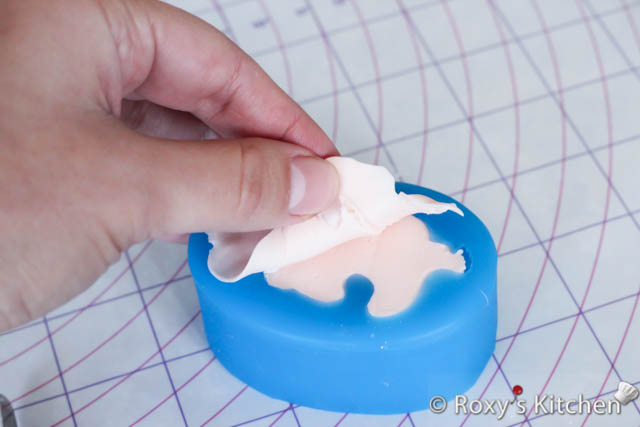
Carefully remove the baby from the mold.
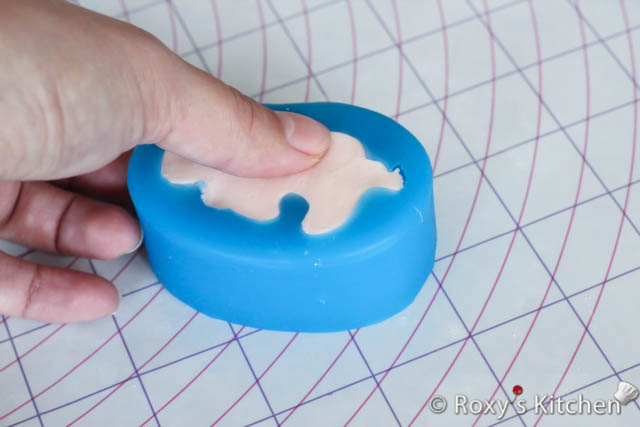
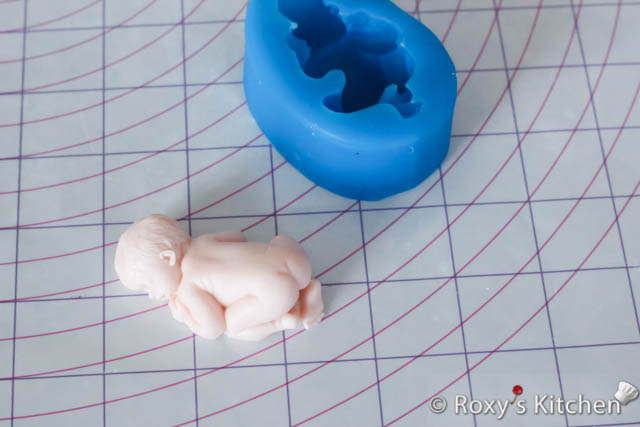
Brush a bit of pink petal dust around the joints and creases to give it more colour and definition. Brush a bit of cocoa powder on its hair to make it brown.
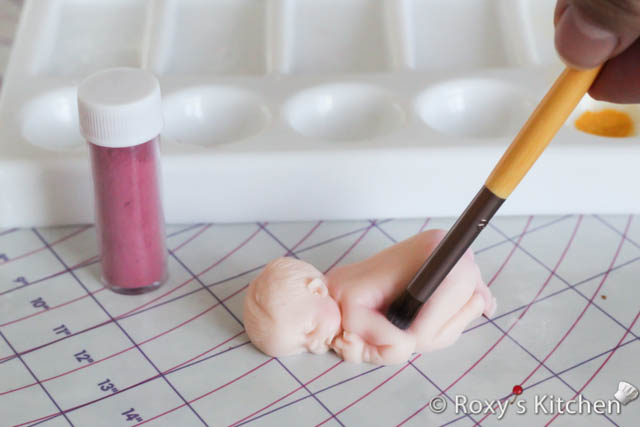
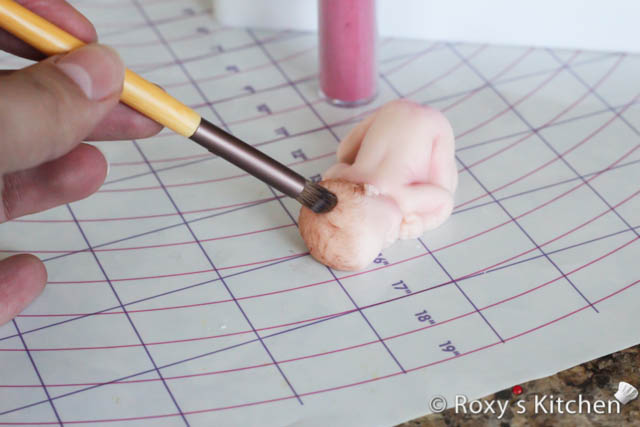
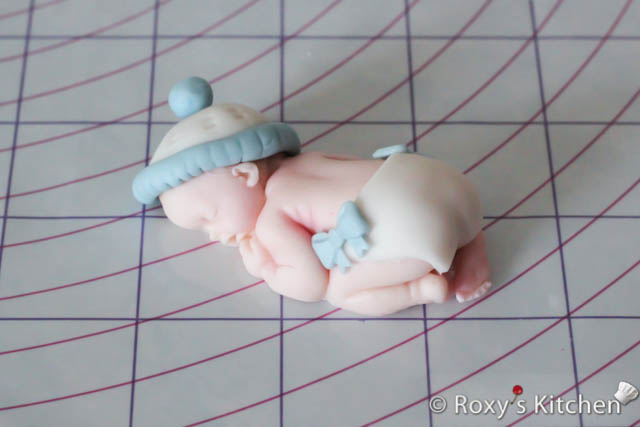
Make a diaper out of white fondant. Brush a bit of water on the baby’s bum to attach the diaper.
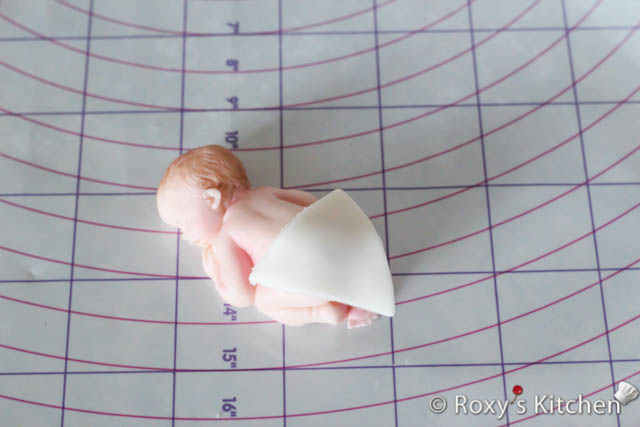
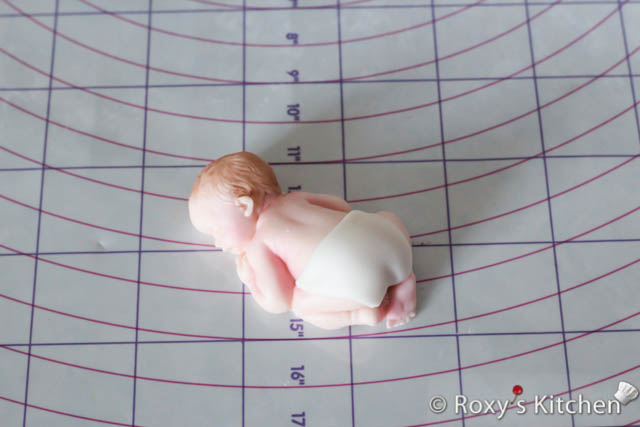
Make the baby’s hat out of white and blue fondant. I used the embosser in the picture for the pattern on the hat.
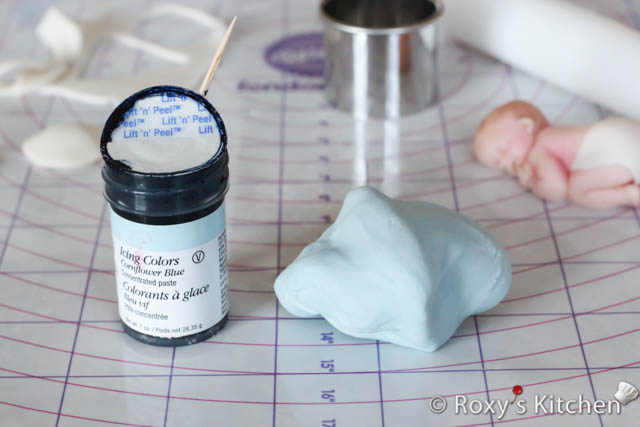
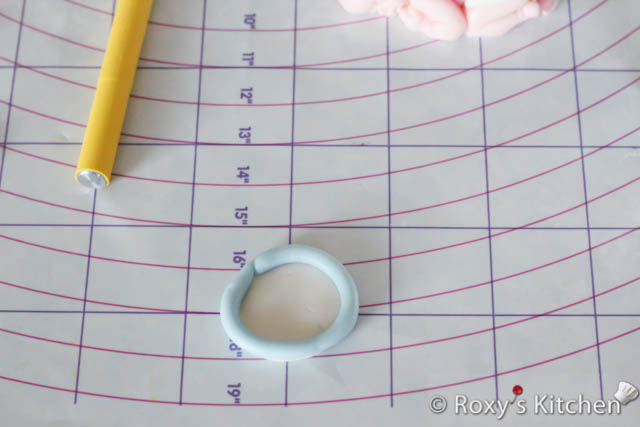
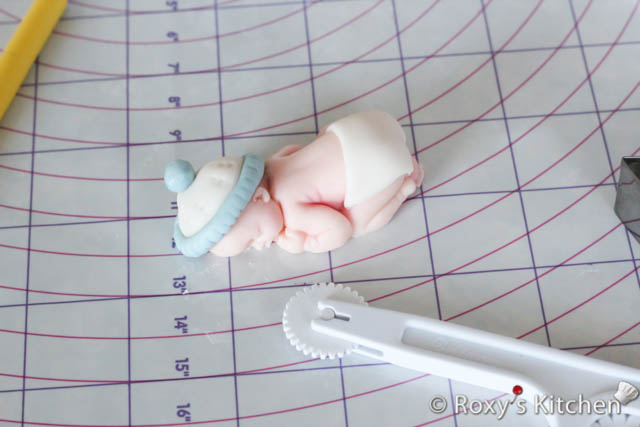
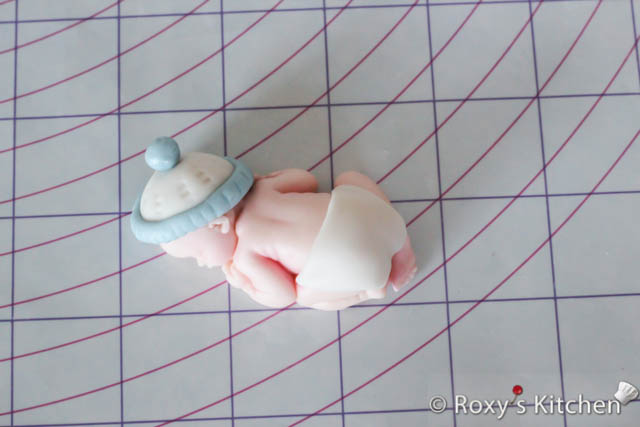
Make tiny bows using blue fondant and the silicone mat.
Other Fondant Decorations
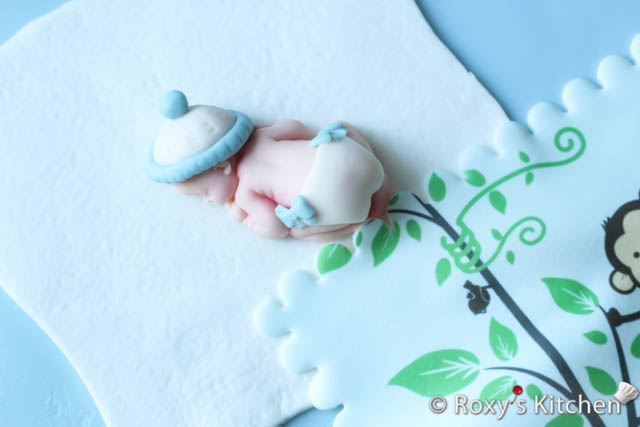
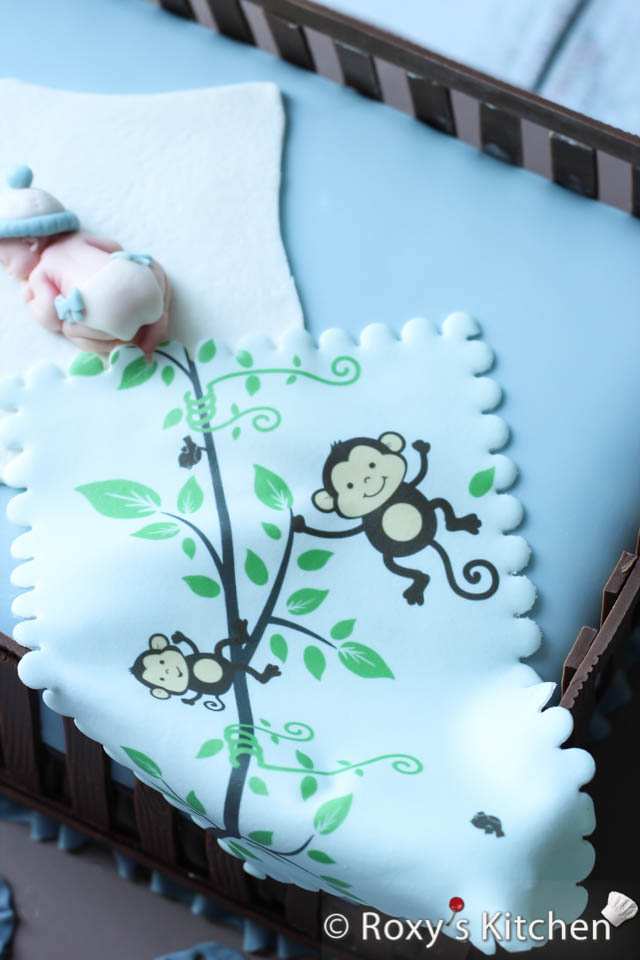
To make the blanket with monkeys print your image on edible paper using edible ink. I used an image I found online but didn’t save the source at that time. Any image of your choice would work, you should be able to find plenty with monkeys. Then, roll a piece of white fondant, brush it with a bit of water and place the edible printout on top.
Cut the edges using the round frill cutter as seen in the picture.
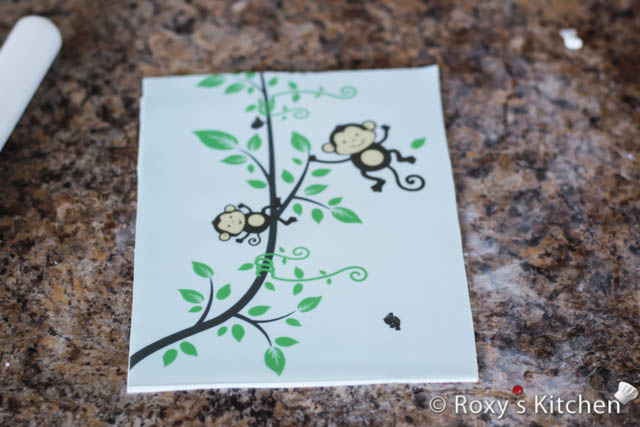
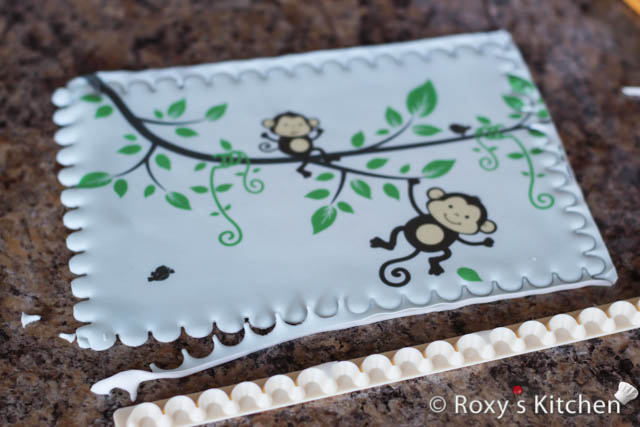
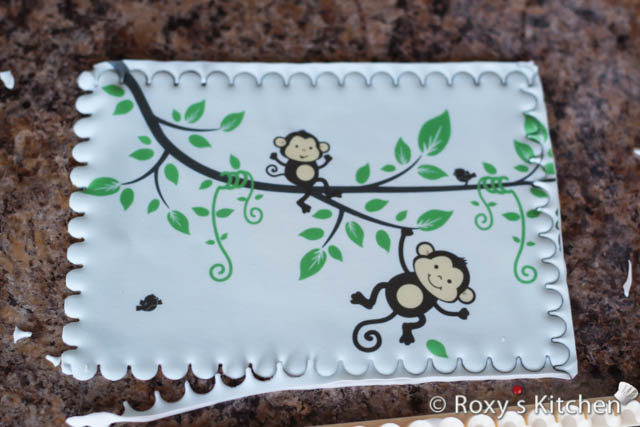
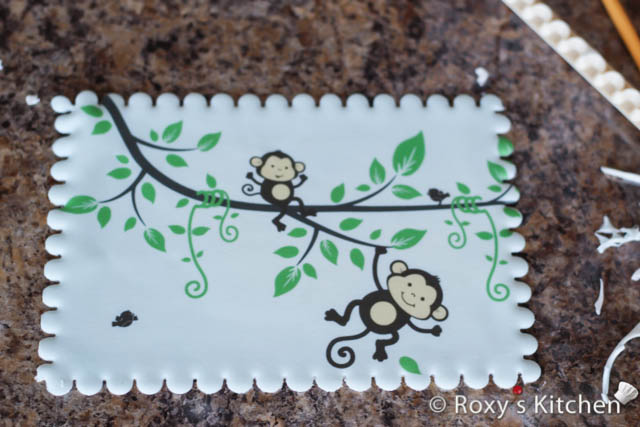
The white blanket that the baby is placed on is made using this impression mat but you can simply use rolled white fondant cut in this shape instead.
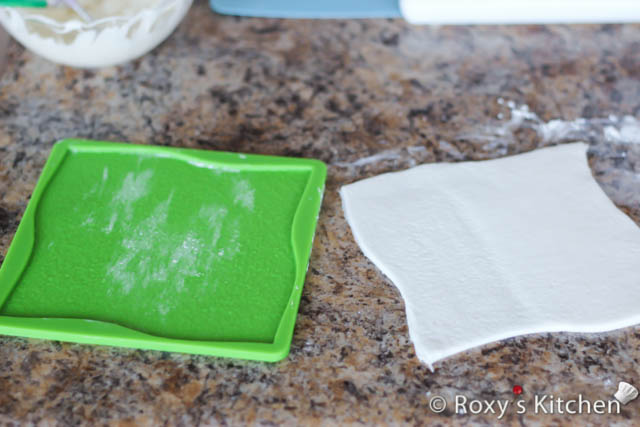
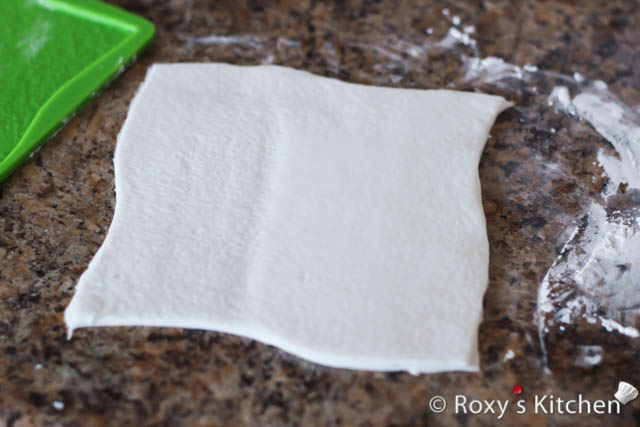
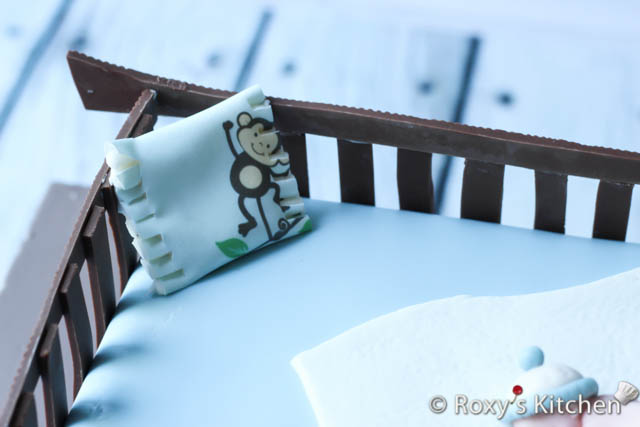
For the pillow, I just shaped it out of white fondant, wrapped it in the same design with monkeys printed on edible paper and used a pair of scissors to make the frayed edges.
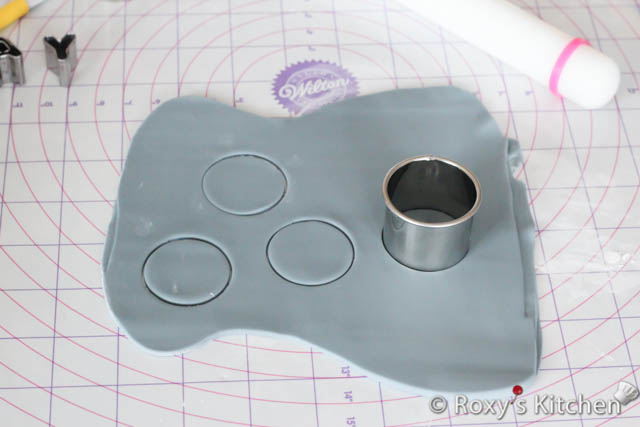
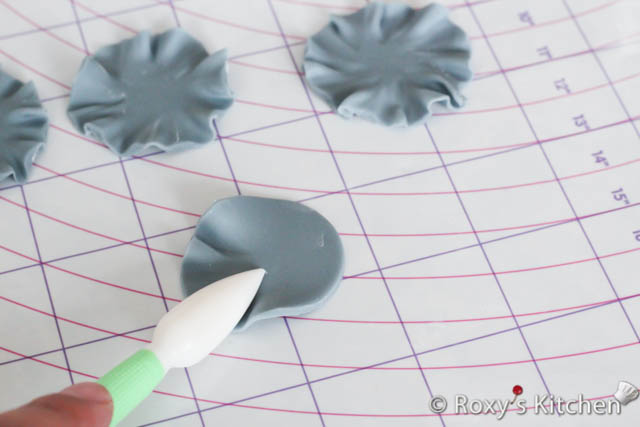
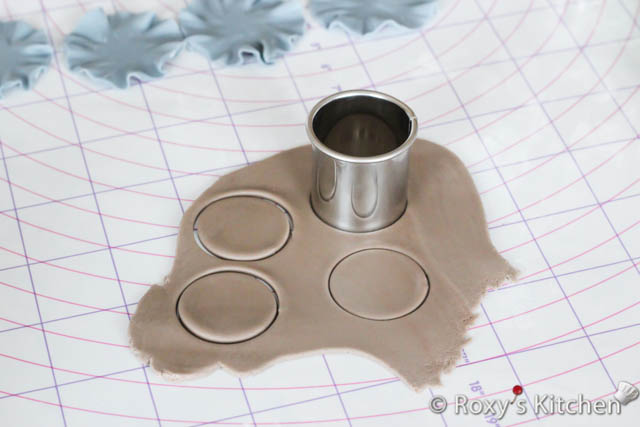
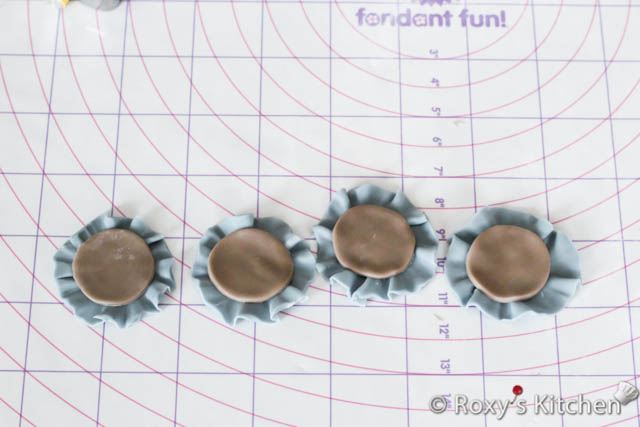
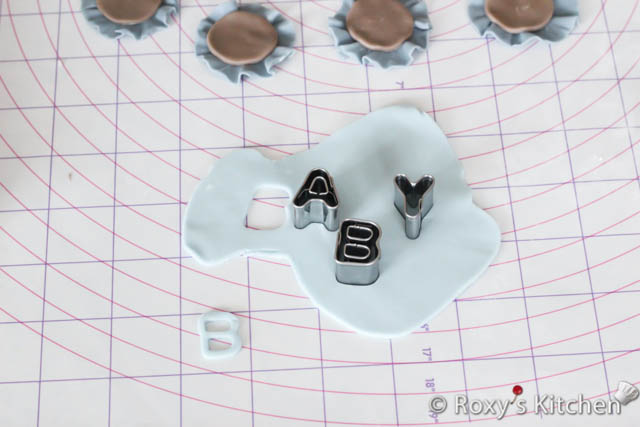
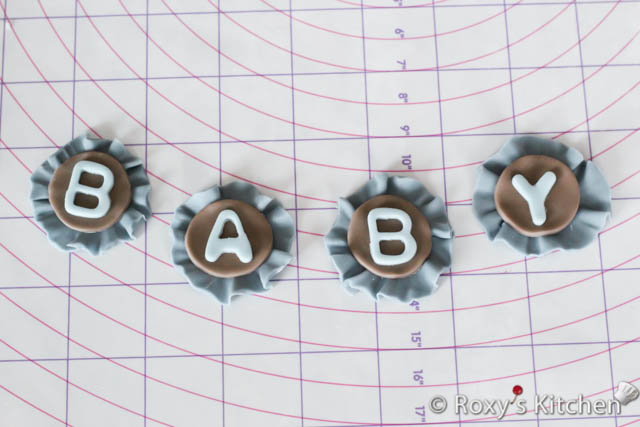
Lastly, I made the ‘BABY’ sign by cutting circles in two colours and sizes out of rolled fondant. I made similar ruffles on the edges of the bigger circles using the same method as for the bed skirt. Then, I cut the BABY letters using letter cutters and I glued everything together using a bit of water.
