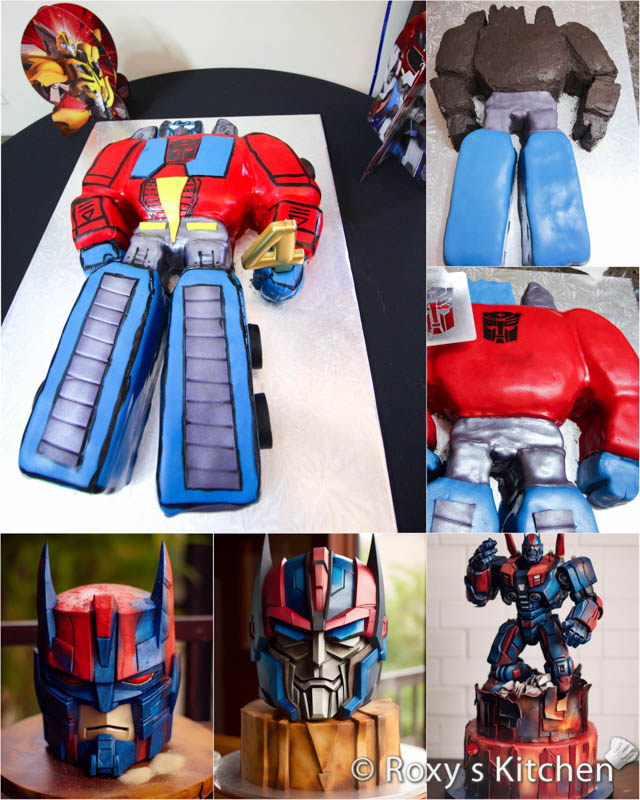
In this post, I’ll show you how to make an easy Optimus Prime Cake for a Transformers-themed birthday party. About 6 years ago, I made an Optimus Prime cake for my oldest boy. He was 4 at that time. As with some of my old cakes, I’m sharing a mini tutorial with step-by-step pictures today instead of my long & detailed cake tutorials.
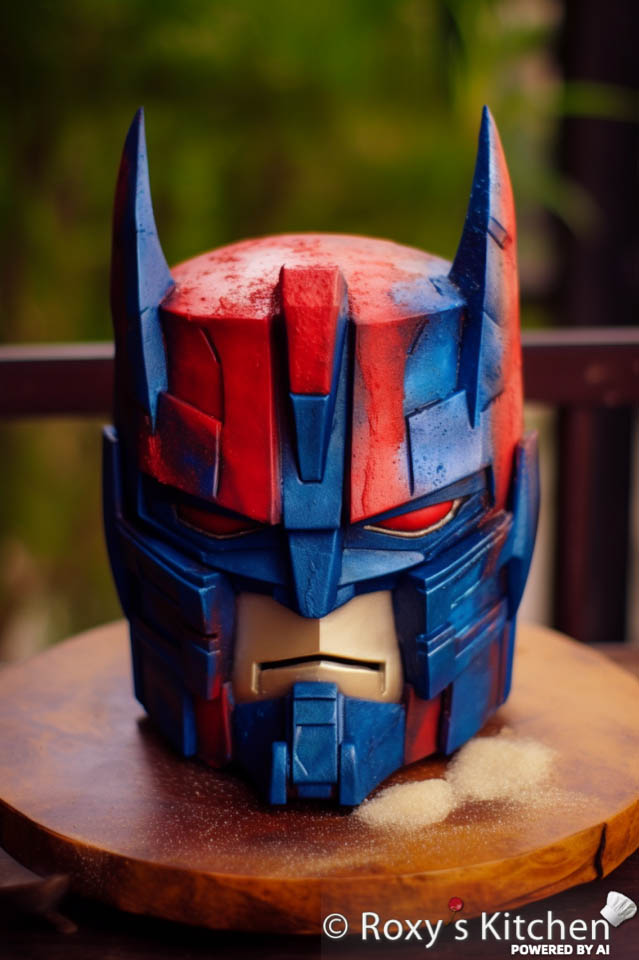
I’ll also share some more Optimus Prime 3D cake designs generated with an AI-powered app. If you want to know more about this, read my other post: Cake Designs in the Age of AI: More Personalized and Creative Than Ever Before.
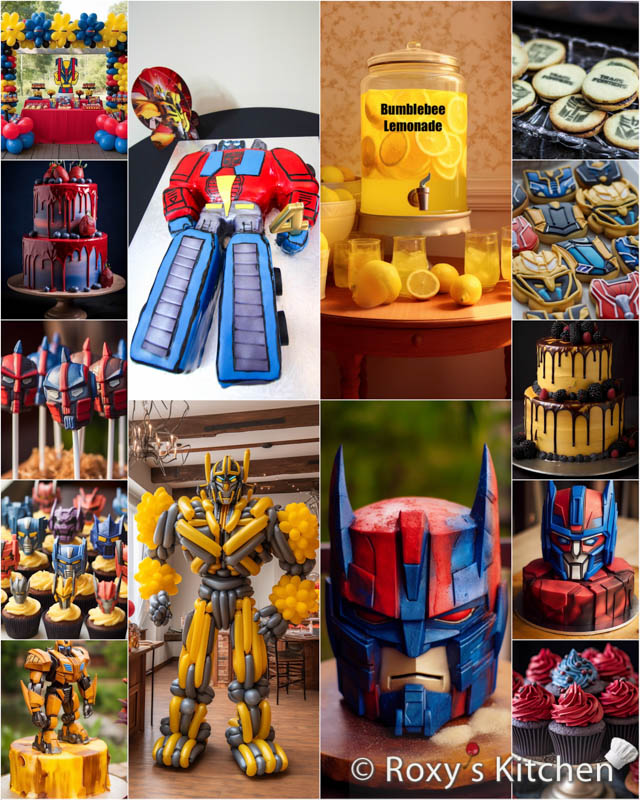
Check out this other post, if you’re organizing a Transformers-themed birthday party and are looking for more ideas, from decorations and fun activities to desserts, snacks and drinks.
The Making Of… an Optimus Prime Cake
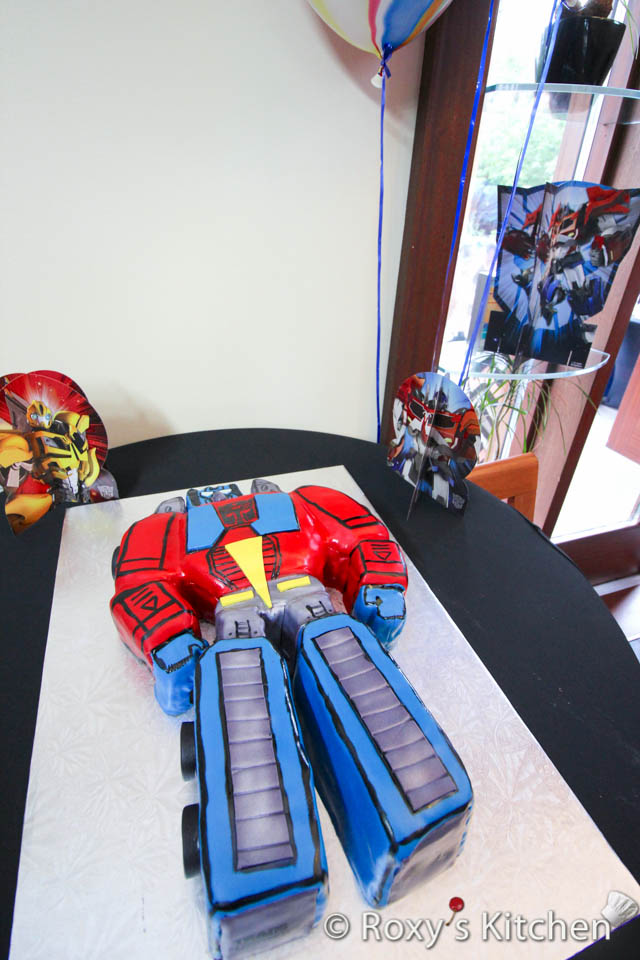
Here is how I made the Optimus Prime Cake:
Step 1: A simple sheet / rectangular cake is sufficient to make this Optimus Prime cake. You can use my recipe for perfectly moist chocolate cakes/cupcakes to bake the cake. You can use simple syrup to moisten the cake layers if you want the cake extra moist.
Step 2: Make your favourite cake filling. I filled the cake with this chocolate filling with walnuts.
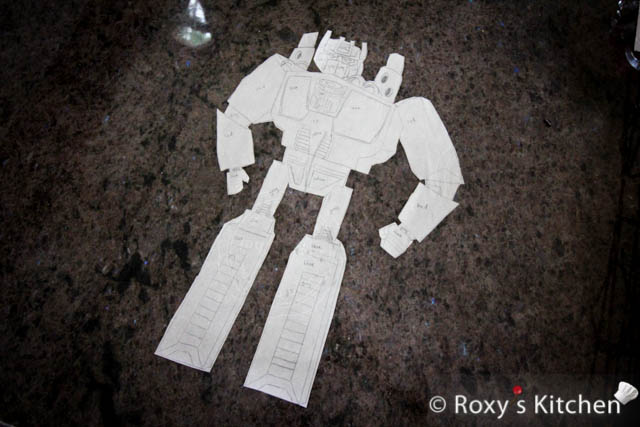
Step 3: You might need to make a paper template so that you can use it as a guide to carve the cake. I made one and labeled each part with the colours I wanted to decorate the cake. Here’s a larger/better-quality image of my template so you can see the annotations. You can draw it with a pencil on a piece of parchment paper. Feel free to print out an image off the internet to use it as a guide. Just search for “Optimus Prime colouring page” and you should find plenty of images.
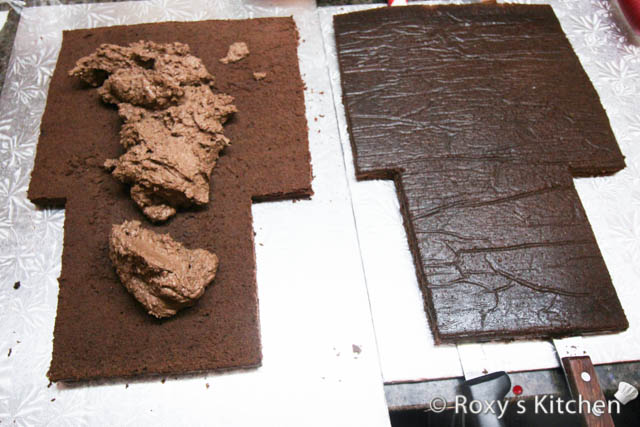
Step 4: Once you have the sheet cake baked, cut it horizontally in two. I also roughly cut the cake layers in the shape of my template. Fill the cake and freeze it for 1-2 hours (cover it with plastic wrap before) as it’s easier to carve it without it crumbling. If not, at least store it in the refrigerator for a few hours.
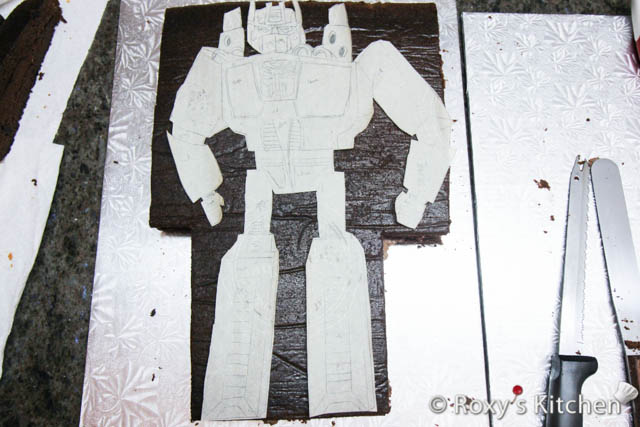
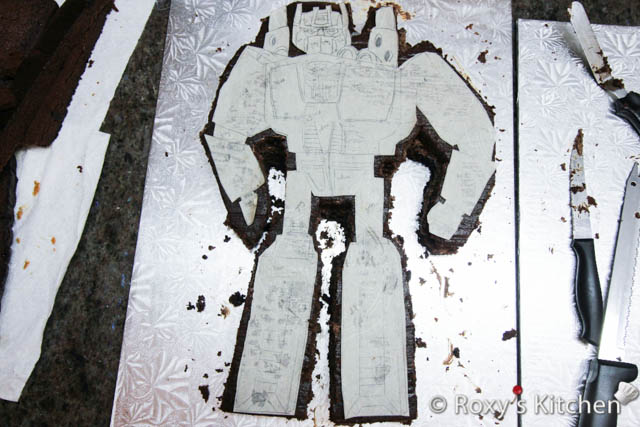
Step 5: Carve Optimus Prime’s body using a serrated knife. If you cut too much into the cake, you can always fix it using your cake scraps. Just crumble a piece of cake and mix it with a bit of filling and use this mixture to patch up any gaps.
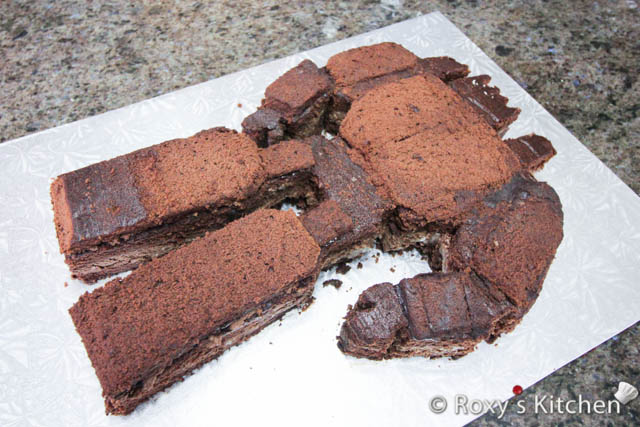
Step 6: Use unwhipped chocolate ganache / firm frosting to cover the cake. You need to apply a thin layer of ganache to crumb coat the cake. Then, keep it in the fridge for 1-2 hours and apply another layer of chocolate ganache. You can smooth it out as much as you can with a small offset spatula.
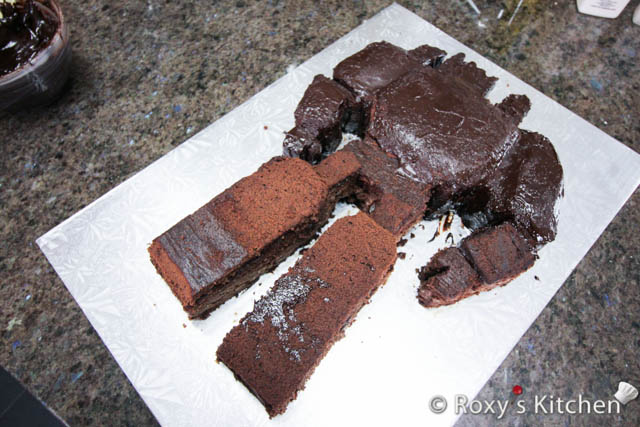
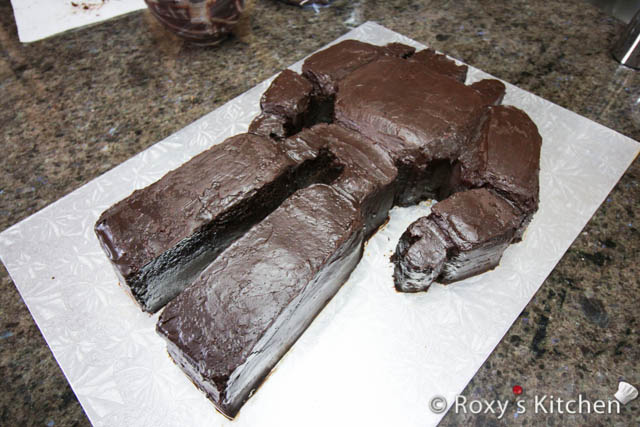
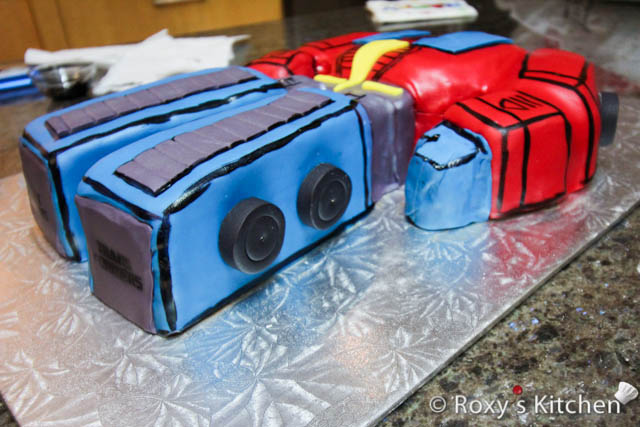
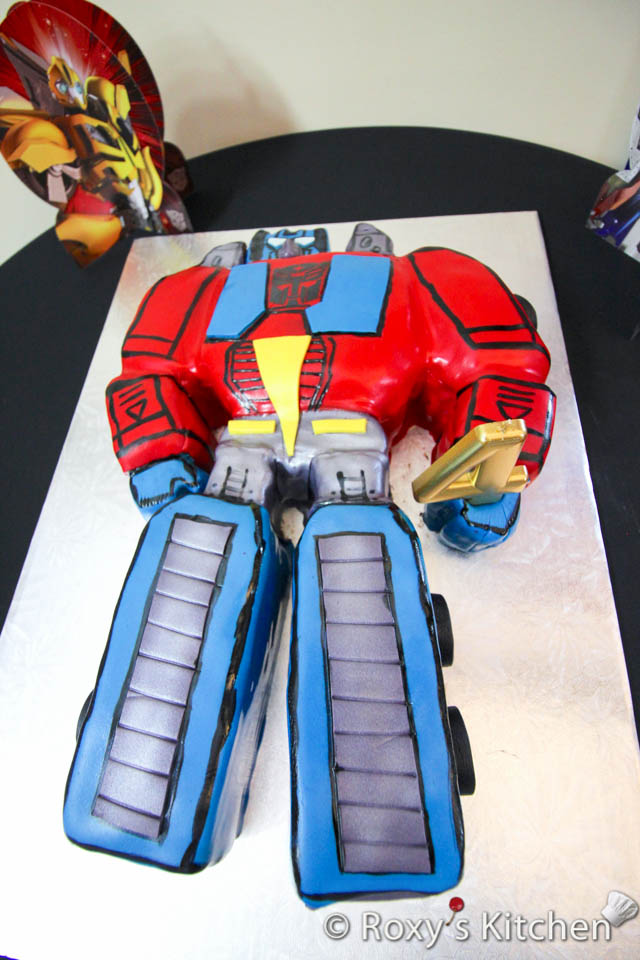
Step 7: To cover the cake with fondant, first knead the fondant until it has a workable consistency and it doesn’t feel and look dry. It should become soft and pliable. Cover the cake in fondant, one colour/section at a time, as seen in the pictures.
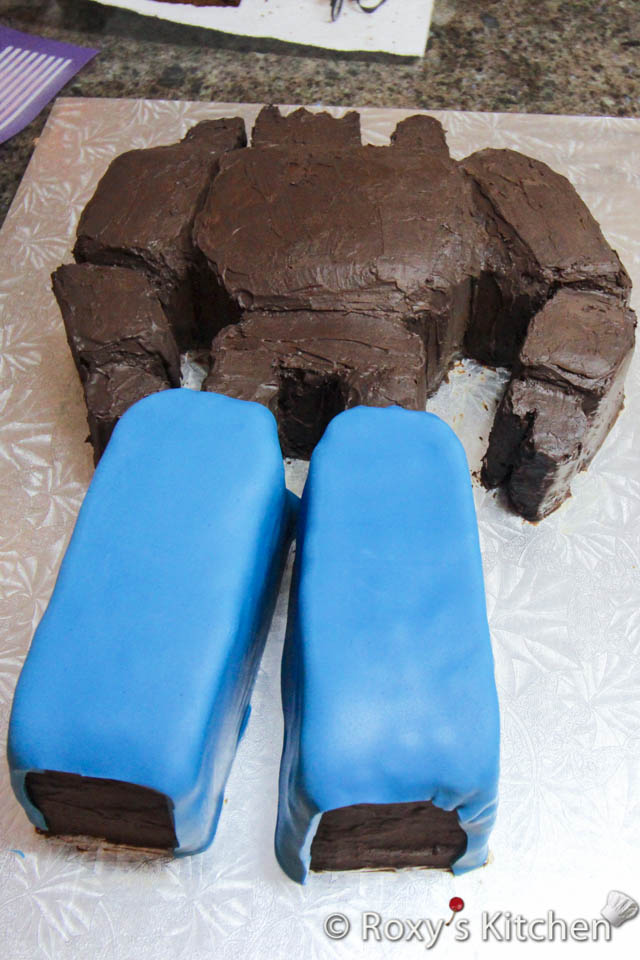
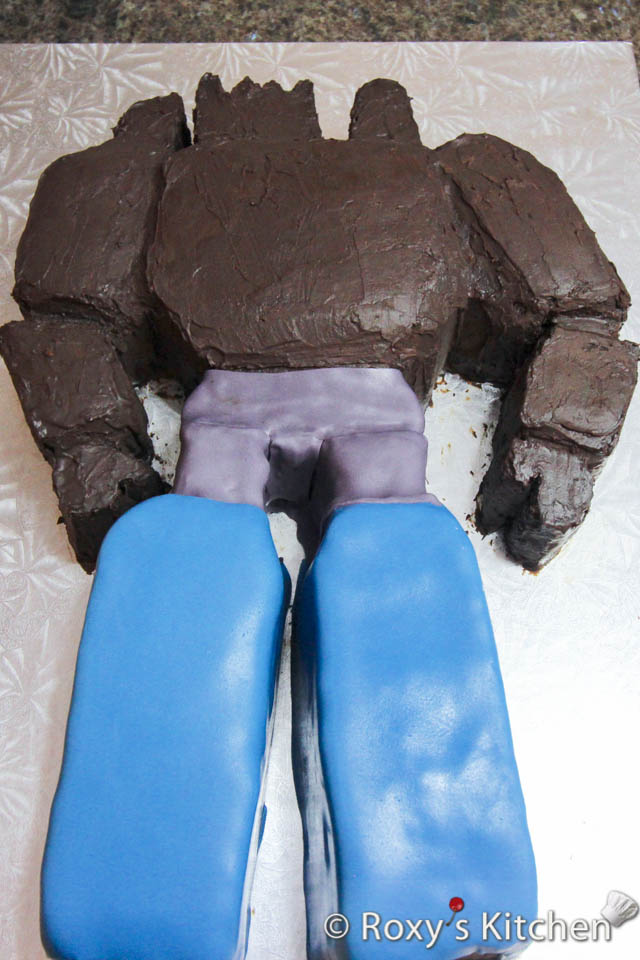
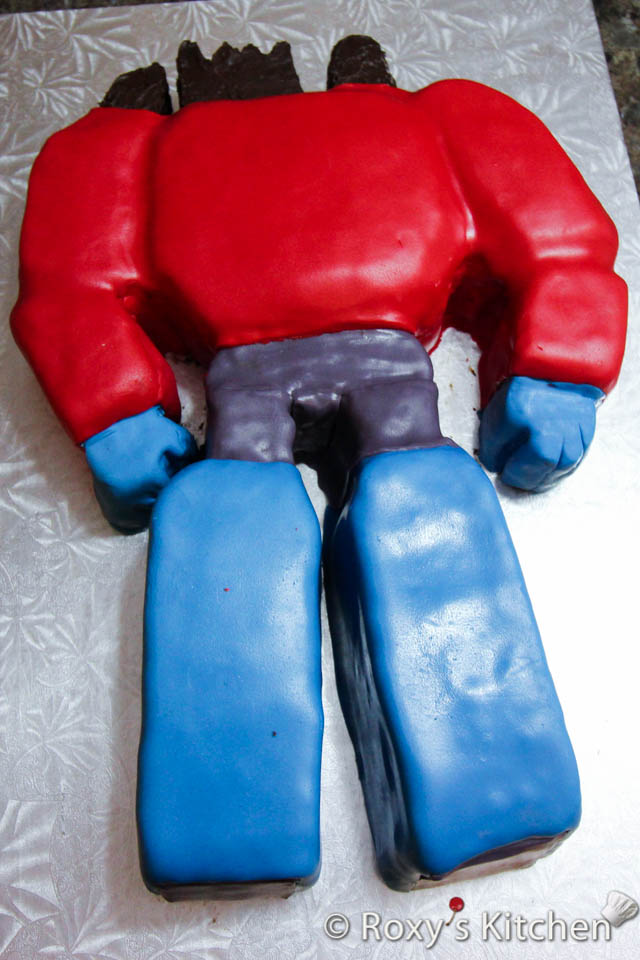
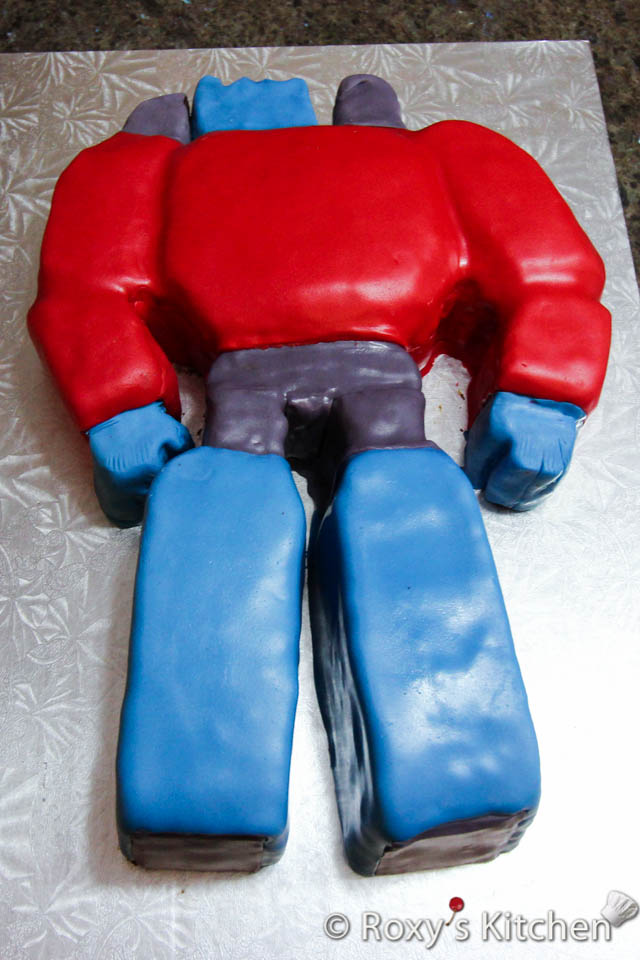
Step 8: I used a “TRANSFORMERS” stencil and another one with the transformers autobot logo symbol to make these designs on Optimus Prime’s chest and feet. I used an airbrush with black airbrush colour to apply the designs. However, you can also use a paint brush to make this. Just secure each stencil in place with small pins. Make sure it is firmly attached to prevent any movement during the painting process. Dip a small food-safe paintbrush into the paint and lightly brush it onto the exposed areas of the stencil. Use gentle, dabbing motions rather than sweeping strokes to avoid smudging the design. Start from the edges of the stencil and work your way toward the center. Take care not to apply too much pressure that might cause the paint to bleed under the stencil. Once you’ve painted the entire design, carefully lift the stencil straight up and away from the cake. Take your time to prevent any smudging or smearing of the painted areas. If any areas require touch-ups or cleaning, use a clean, small paintbrush lightly dipped in water or edible alcohol to correct any mistakes or remove excess paint.
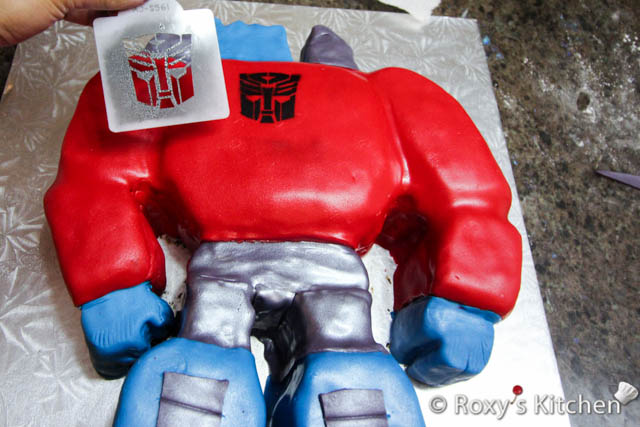
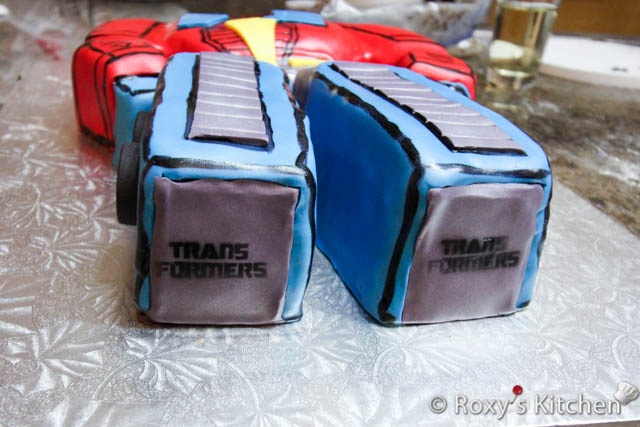
Step 9: Now, moving on to adding the final details. Brush the grey fondant with silver decorative cake paint or just a silver lister dust. Trace the black outline and other details using a thin paint brush and food colouring. Mix a bit of black gel food colouring with a drop of clear alcohol (such as vodka) or food-grade extract to achieve a paint-like consistency.
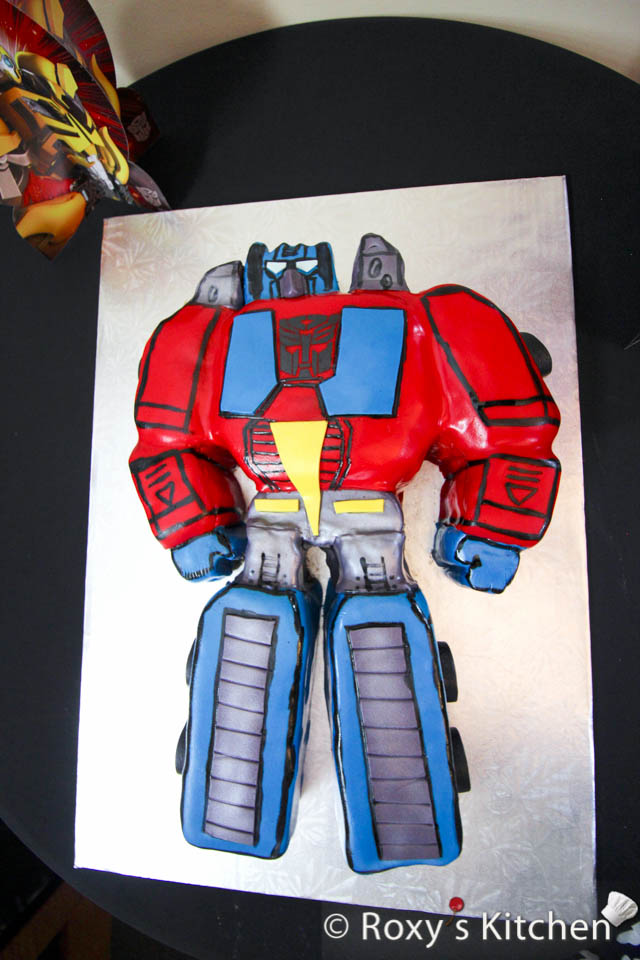
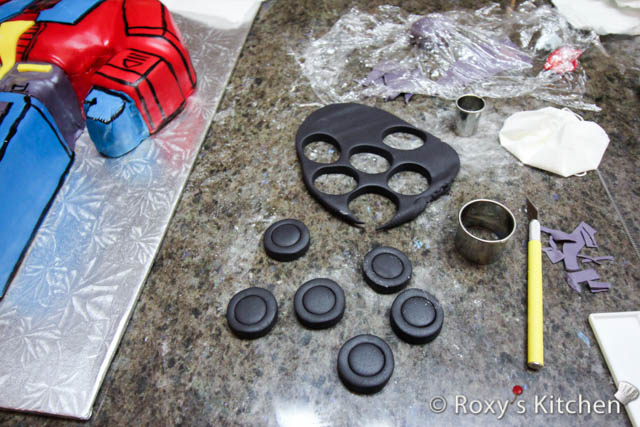
I did not use any special cutters to make the smaller shapes/details other than a circle cutter as seen below. You just need to use your template as a guide and an X-acto knife or a very sharp knife to cut out the individual shapes. Attach the small fondant pieces to the cake by brushing a bit of water.
Other Optimus Prime Cake Designs
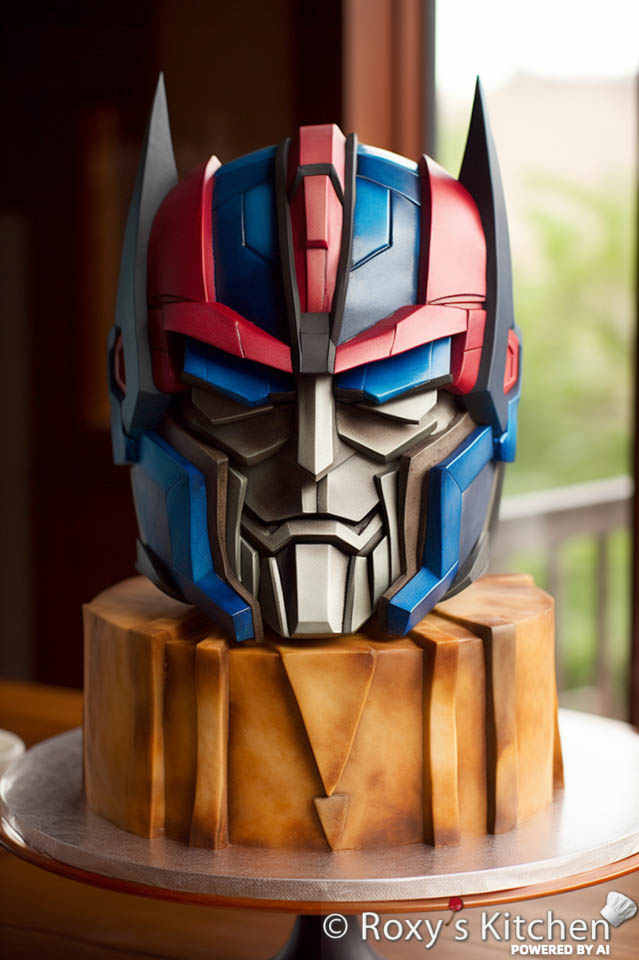
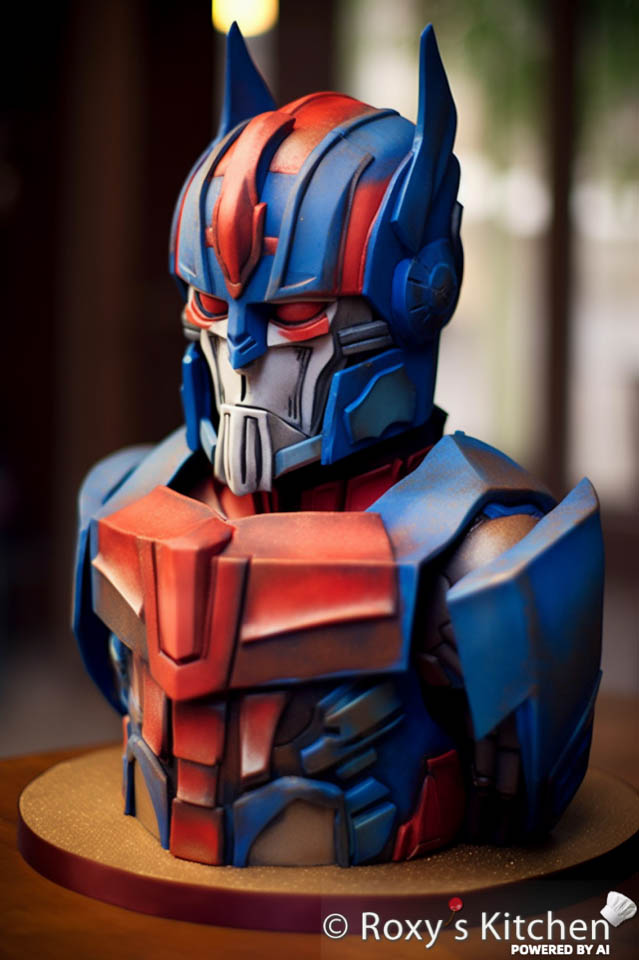
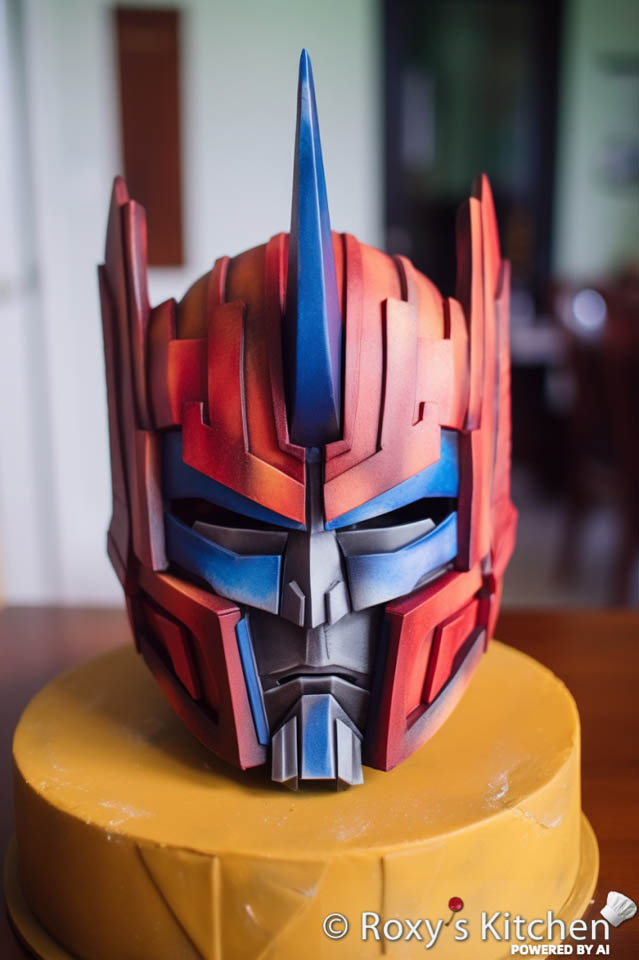
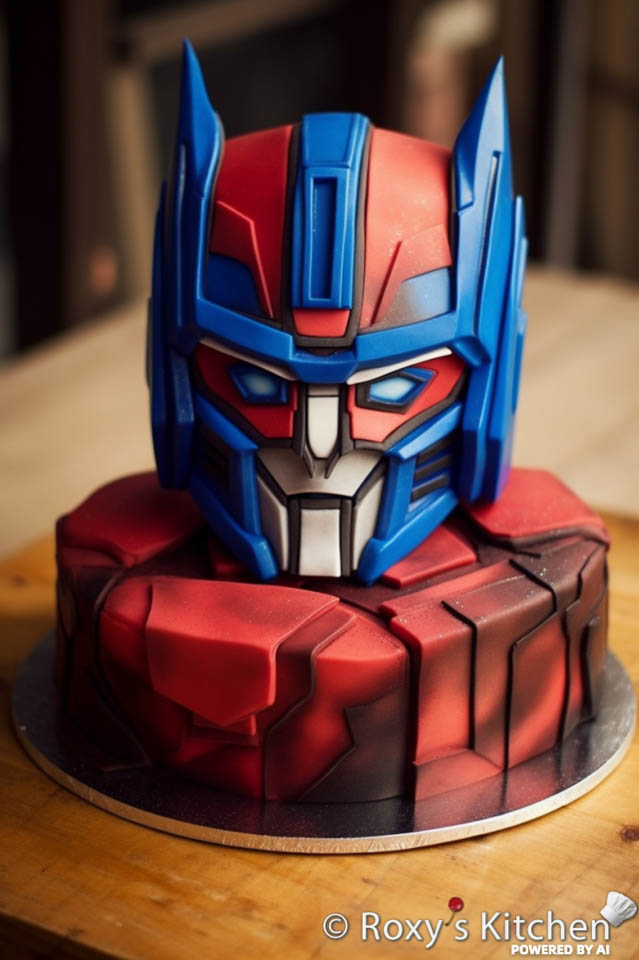
Here are all the Optimus Prime cake designs for inspiration from 3D Optimus Prime cakes to simpler cakes in shades of blue and red, just like the popular transformers robot.
One-tier Cakes with Optimus Prime’s Head and/or Bust
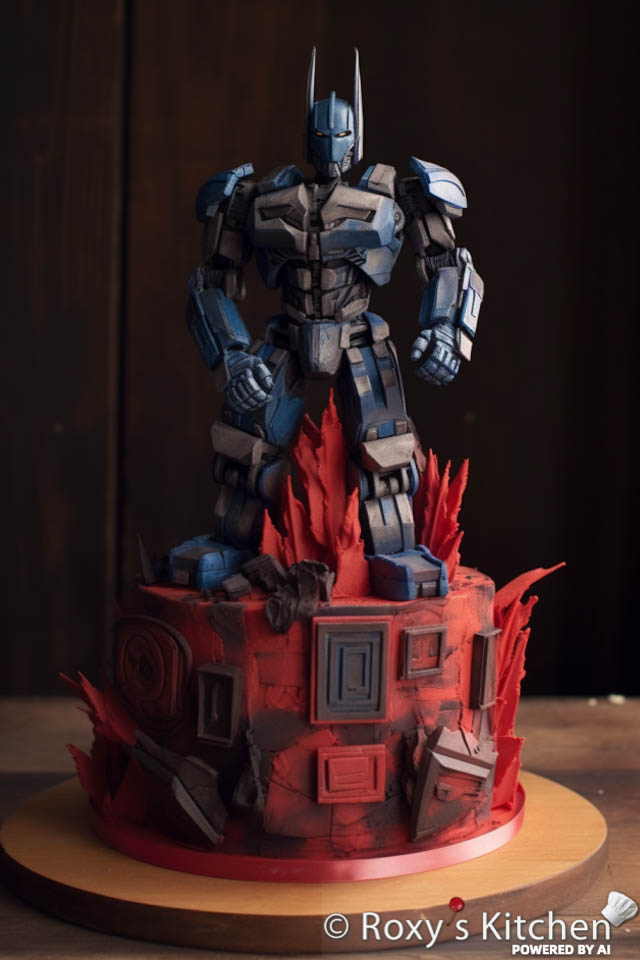
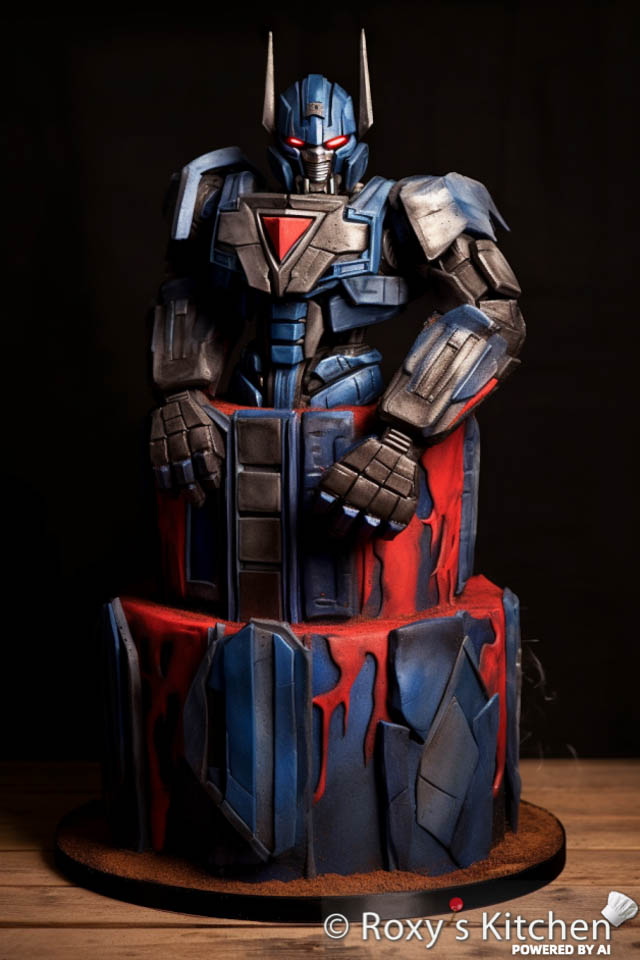
Two-tier Optimus Prime-Inspired Cakes
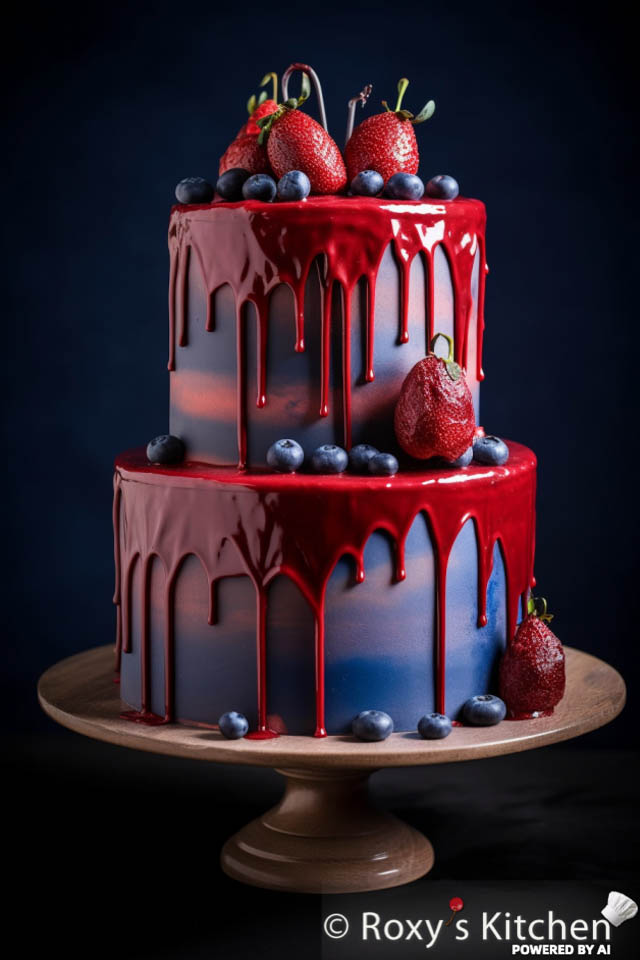
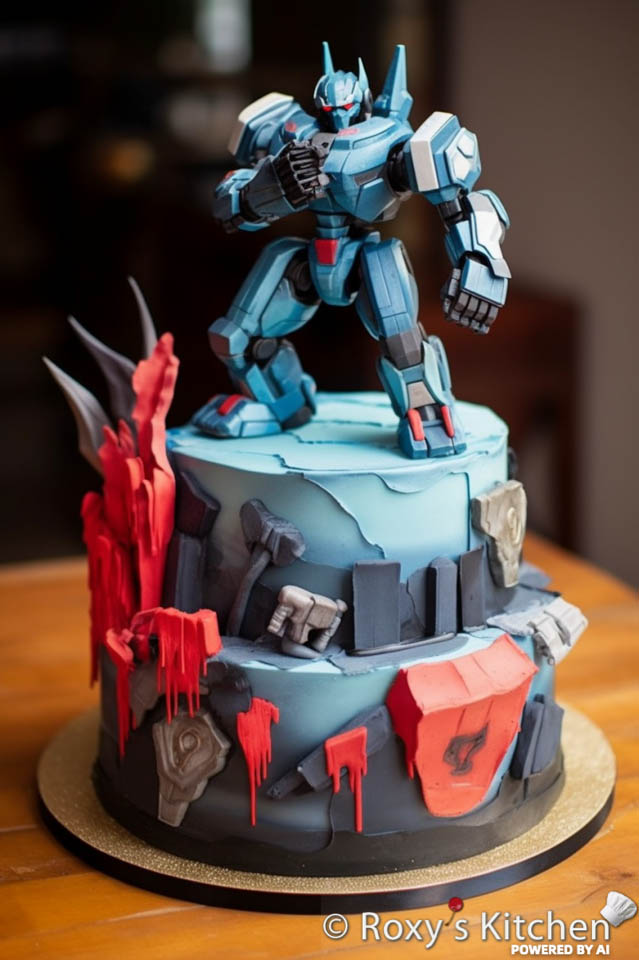
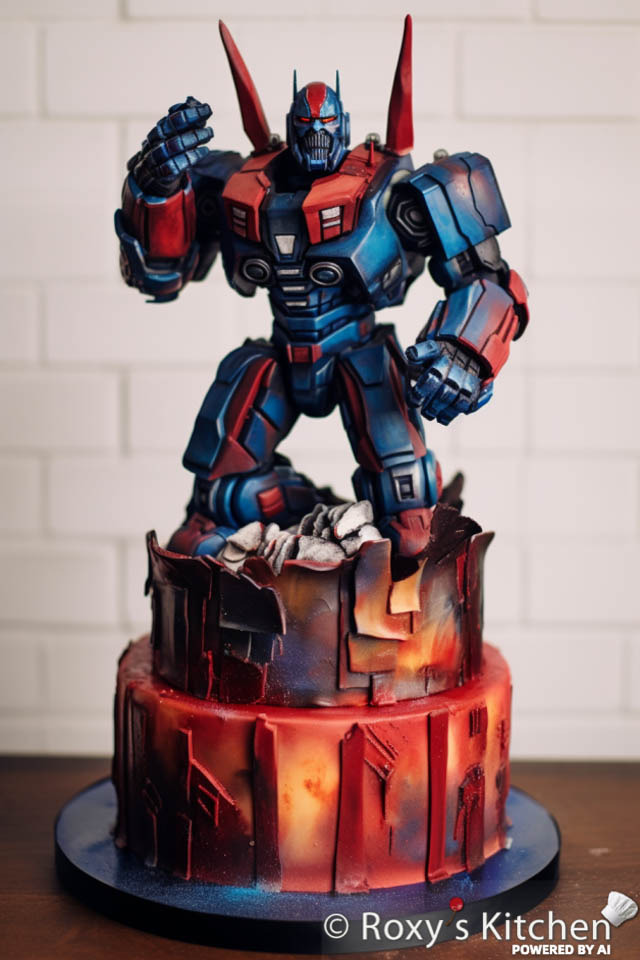
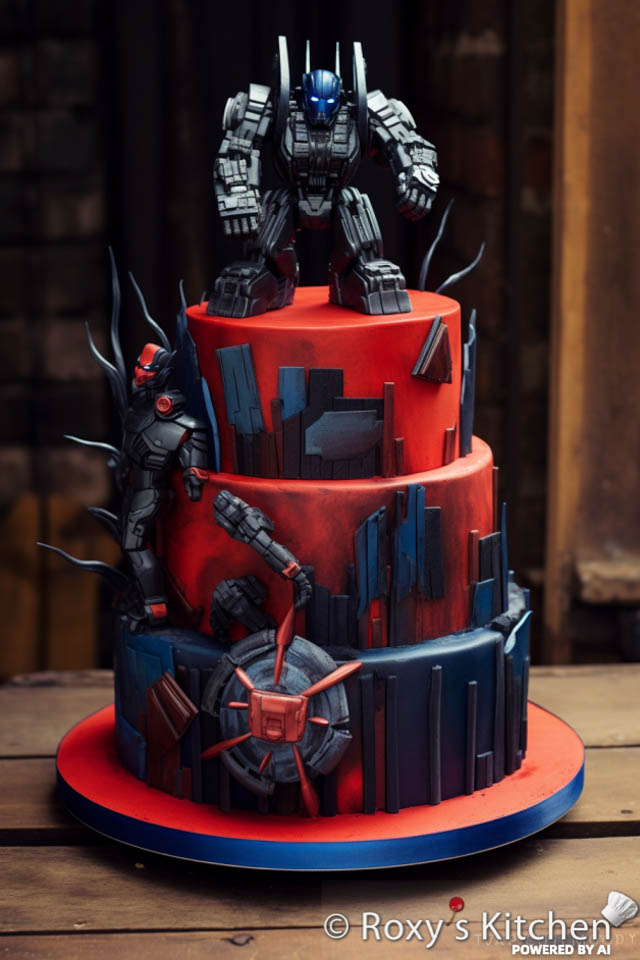
Three-tier Optimus Prime-Inspired Cakes
You might also like…
Transformers-themed Birthday Party Ideas




[…] the characters to life. If you want to make your own cake, I have a full tutorial on how to make this Optimus Prime cake so check my other post for […]