I’ve never told you this but I’m so proud of my husband George, his web accessibility work and dedication to make the (web) world a better world for people with disabilities. Have you ever thought if your blog is including everyone you thought it was? We as bloggers should spend more time to make our content accessible to everyone within our niche – regardless of disability. From adding descriptions (alt text) to images to making our blogs keyboard accessible. This does not only make our information accessible but it also helps with search engine optimization (SEO). I try adding a meaningful alt text to my images especially since my blog is all about step-by-step pictures and instructions but I must admit that I need to do a better job at having a fully accessible website (it’s been on our to-do list for a while now :-P).
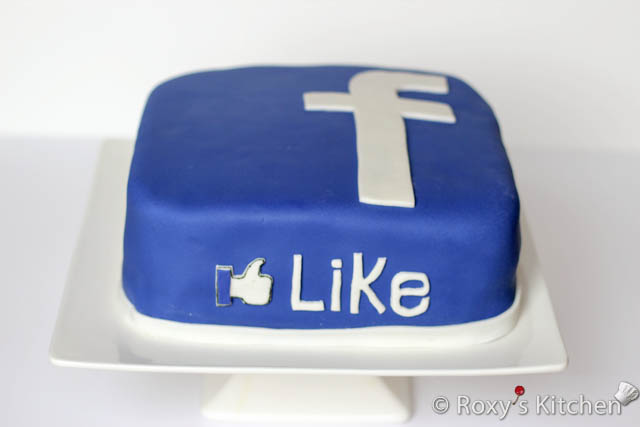
And now back to baking :)… I made a surprise cake for hubby to celebrate his new job at Facebook. What would the world be like without Facebook – pretty darn boring, right?! While we are at this you can LIKE my Facebook page to be the first one to see what’s cooking & baking in Roxy’s Kitchen :).
Time: 140 min, Prep: 90 min. Cook: 50 min.
Servings: 20-24
Ingredients:
For cake:
- 10 eggs
- 10 Tbsp water
- 14 Tbsp all-purpose flour
- 6 Tbsp cocoa powder
- 20 Tbsp sugar
- 6 Tbsp ground walnuts
You also need a 9-inch square pan greased with butter and floured.
For filling:
- 900 g semi-sweet chocolate
- 1l whipping cream
- Rum extract
- 8 Tbsp ground walnuts
For syrup to moisten cake:
- 200 ml boiled water
- 5 Tbsp sugar
- 1.5 Tbsp rum extract
For decorating cake:
- White or Ivory Fondant ( 1.5 pounds)
- Royal blue and burgundy food colouring
- Fondant tools: smoother (or palm of your hands), roller, cutter (or a regular knife)
- Black or navy edible colour marker
Directions:
The cake, filling and syrup to moisten the cake are exactly as the ones for my Topsy Turvy cake so you can check out the step-by-step instructions there. Just a slight change to the filling – I mixed the ground walnuts with only 2/3 of the chocolate ganache and saved the remaining to crumb coat the cake (instead of using buttercream).
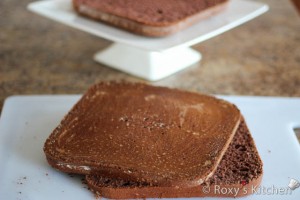
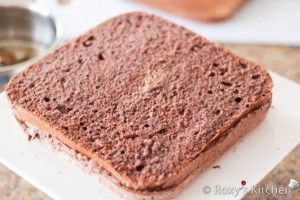
After you’ve baked the cake in the square pan, let it cool off and cut it horizontally in three. The cake should be turned upside down since the bottom of the cake always has a nice and flat surface.
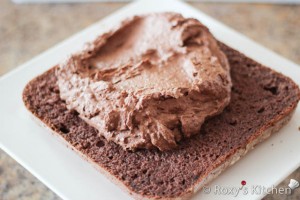
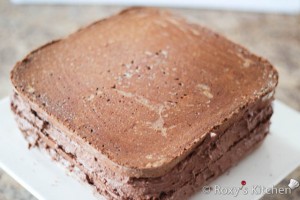
Place the first layer of the cake, moist it with syrup and spread half of the chocolate ganache and walnut filling. Add the next layer, moist with sugar syrup and spread chocolate ganache again.
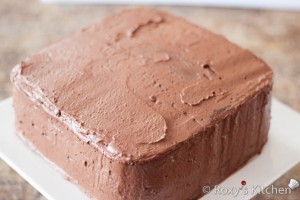
Add the last layer and crumb coat the cake using the chocolate ganache without the walnuts for a smoother texture.
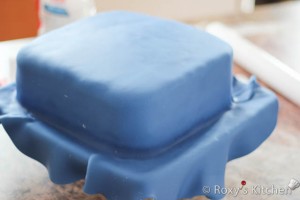
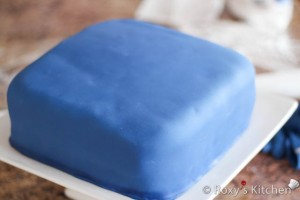
To make the Facebook blue shade I used royal blue and burgundy food colouring. Just add a little colouring at a time until your reach the desired shade.
Use a measuring tape or a piece of string to measure the top and sides of the cake. So if you measured 9 inches across the top and your cake is 4 inches tall that is 17 inches of cake in total so you need to roll out the fondant at least 17 inches.
Sprinkle some powdered sugar onto your work surface, roll out the fondant and cover the cake. Smooth the fondant with the palm of your hands or a fondant smother and trim the edges at the bottom.
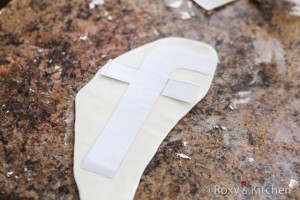
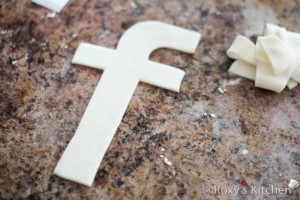
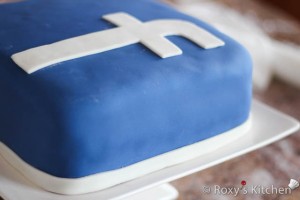
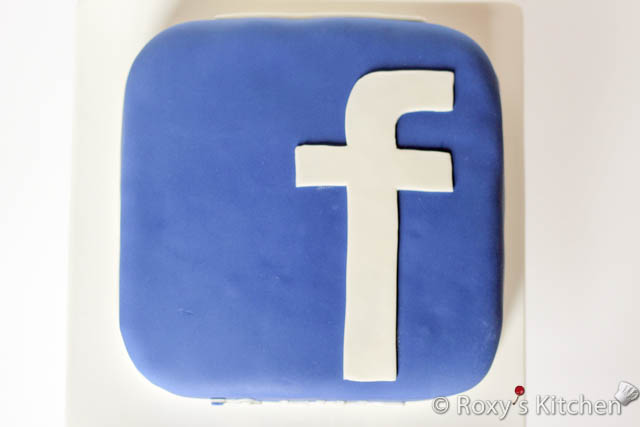
For the letter on top I made a paper template (you can draw it or I’m sure you can find a good Facebook logo online to print out). Roll out a small piece of white fondant fairly thin, place the template on top and using a cutter or a sharp knife cut around it. Attach it to the cake using water or sugar syrup.
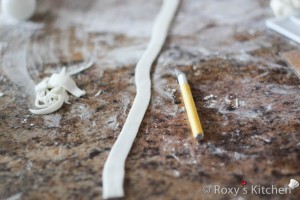
I also rolled out a long strip of white fondant – 1/3 inch wide – and placed it around the bottom of the cake.
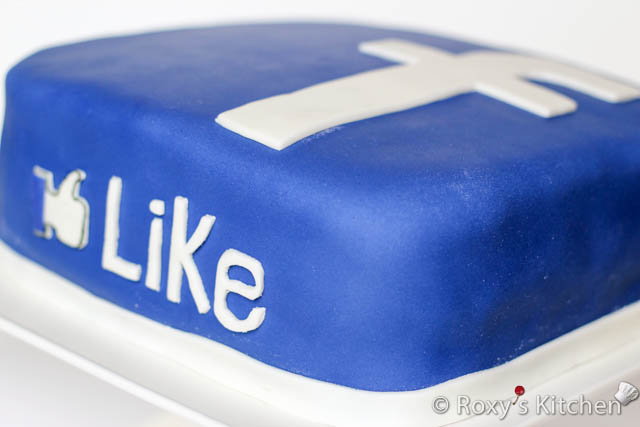
I cut out the hand and the letters for the Like button out of white fondant. Then I placed a tiny strip of blue fondant on the hand and used a black edible colour marker to draw an outline around the edge of the hand. Again, you can attach them to the cake using water.
I had so much fun making this cake and really it wasn’t hard at all! If you have a Facebook page I hope you’ll feel inspired and bake this cake to celebrate your amazing milestones and Fans on Facebook ;).









[…] como por exemplo um bolo com tema do Facebook para os mais antenados. (Veja o passo a passo do Bolo do Facebook […]