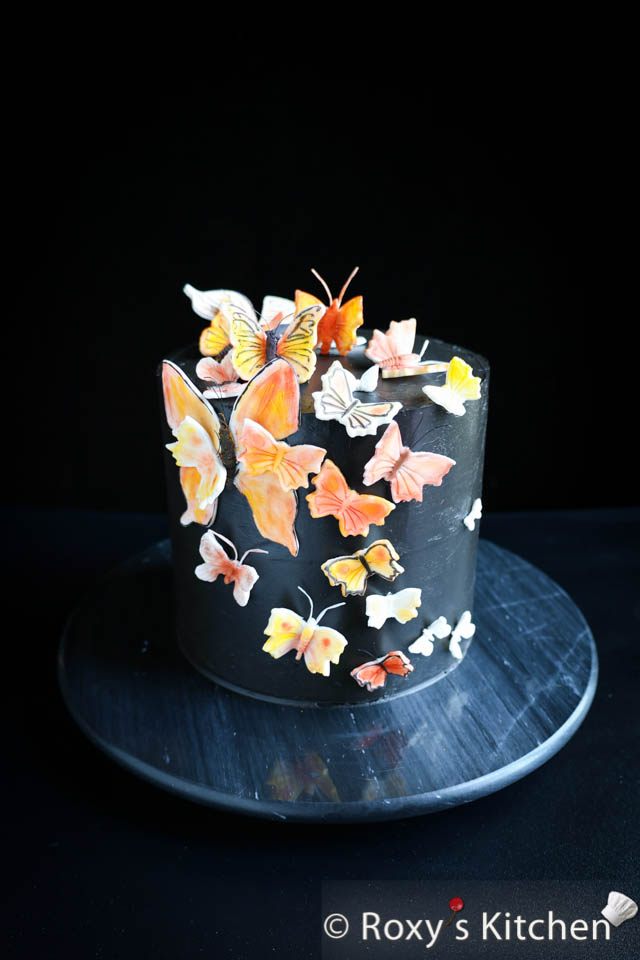
Creating an elegant Black Cake with Butterflies is an exquisite way to celebrate a special occasion.
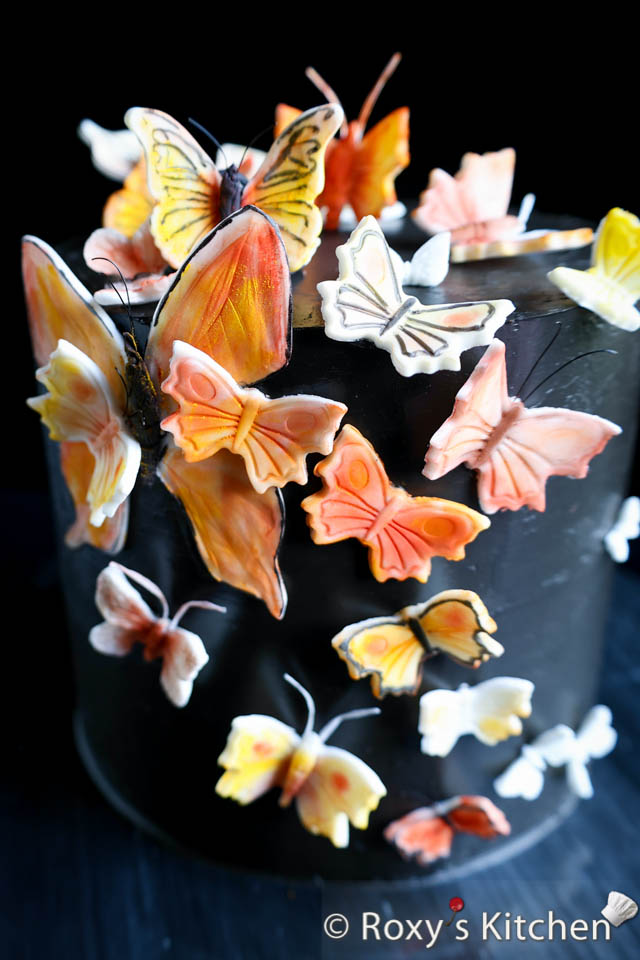
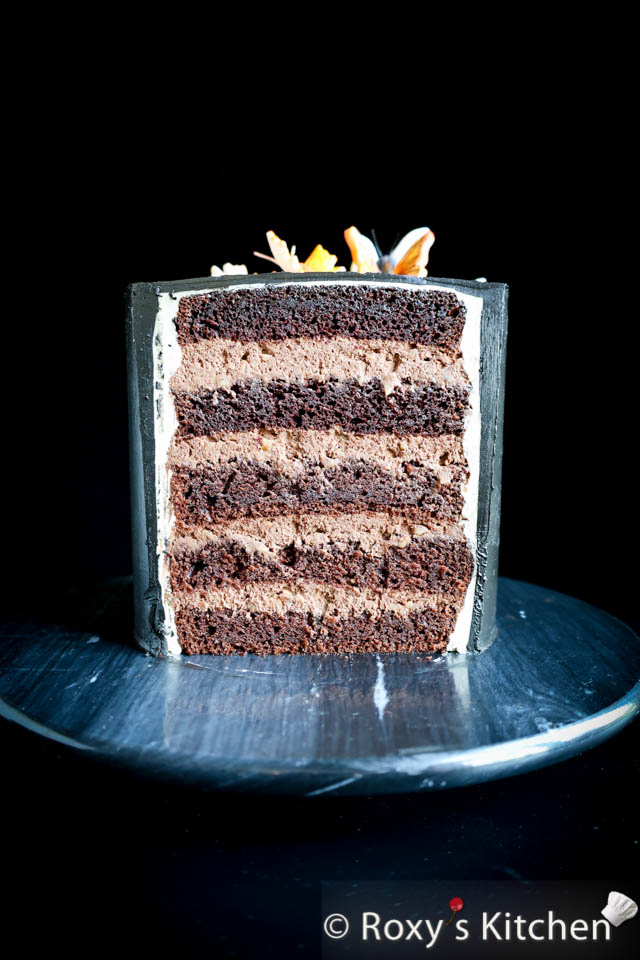
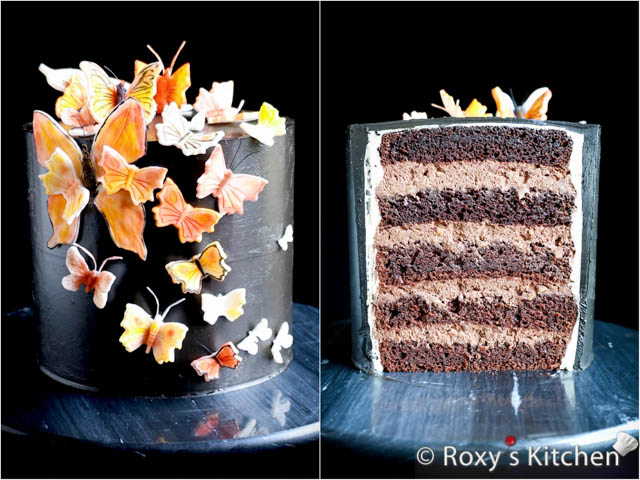
This 1-tier, elegant black cake is adorned with vibrant butterflies made out of fondant. It is a moist chocolate cake filled with whipped chocolate ganache with walnuts and frosted with Swiss meringue buttercream.
Black cakes have become increasingly popular in recent times. They exude a sense of mystery and elegance, making them perfect for special occasions and celebrations. The rich, dark hue creates a captivating canvas upon which vibrant decorations can truly shine.
The key to mastering this type of cake is achieving a super black frosting. To learn how to do this, you can read my instructions below or my prior post which is even more detailed – How to Make Super Black Buttercream.
Ingredients/Tools
Moist Chocolate Cake
Follow the directions in this Moist Chocolate Cake recipe and the ingredients below to make five 15 cm (6 inch) cake layers. You can divide the batter between two pans, 2/5 of the batter in a pan and the rest in another pan. Then cut the first cake horizontally in two and the second one in three.
- 6 eggs
- 415 g sugar
- 220 ml vegetable oil
- 220 ml brewed coffee, room temperature
- 380 g yogurt
- 450 g all purpose flour
- 75 g cocoa powder
- 1 Tbsp baking powder
- 1/2 Tbsp baking soda
- a pinch of salt
Sugar Syrup to Moisten the Cake (optional)
- 200 ml water
- 5 Tbsp sugar
- 2 Tbsp vanilla or rum extract
Prepare the simple sugar syrup by boiling the water with sugar. Then, add the flavours when it starts boiling and remove from the heat. Let it cool off.
Chocolate Walnut Filling
Make the Chocolate Walnut Filling using the directions in this recipe and these ingredients:
- 300 g (2/3 lbs) semi-sweet chocolate (baking or couverture chocolate)
- 600 ml (2 1/2 cups) whipping cream
- 150 g (1/3 lbs) ground walnuts
Swiss Meringue Buttercream for Covering the Cake
Make Swiss Meringue Buttercream by following the instructions in this recipe and the ingredients below.
- 4 large egg whites
- 200 g (1 cup) sugar
- 1 Tbsp vanilla extract
- 450 g (2 cups / 4 sticks) unsalted butter, at room temperature & cut into cubes
- a pinch of salt
- black gel-based or oil-based food colouring. If you want to add less food colouring, then make chocolate Swiss meringue buttercream by adding 30 g of melted dark chocolate to 1/4 of the buttercream you’re saving to colour in black. It’s always easier to make black buttercream if you start with a darker frosting base.
Fondant/Gum Paste Butterflies
I made all the butterflies using gum paste. Please see this post for its of supplies and instructions to make them – How to Make Fondant/Gum Paste Butterflies.
You can also purchase butterflies that are already made out of wafer paper or acrylic butterflies. They are available on Amazon.
Other Tools/Items
- a serrated knife for carving the cake
- a spatula
- a cake scraper/smoother or a bench scraper
- 20-25 cm (8-10’’) cake board or flat cake platter
Directions
Filling and Stacking Your Cake
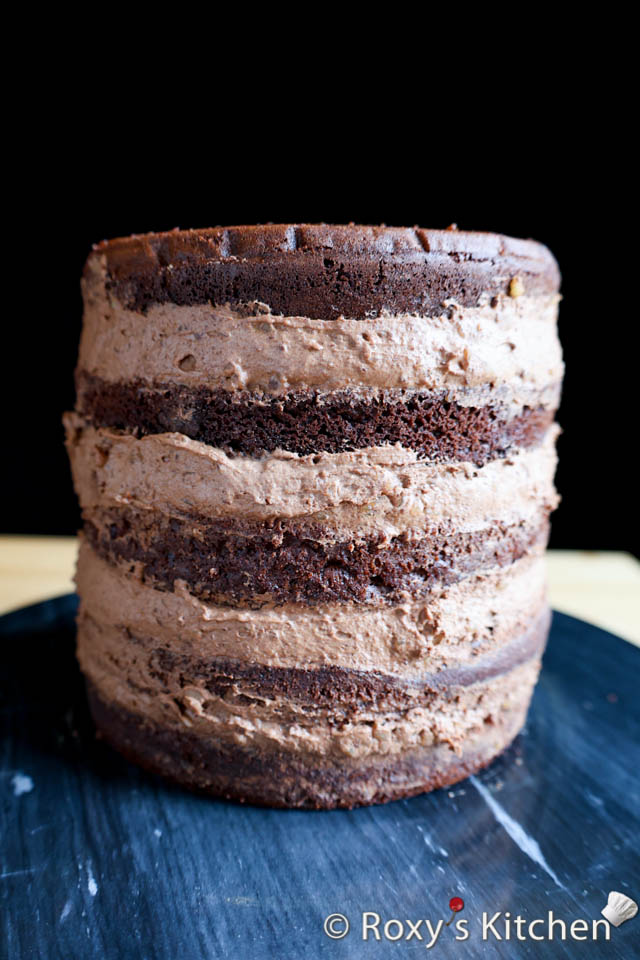
Make the cakes and the filling based on the recipes and instructions above. Cut the dome of the cakes using a serrated knife. Cut and level each cake layer.
Then, spread a bit of frosting in the middle of the cake board/platter and place your first cake layer on top. Fill and stack the rest of your cake – cake layer moistened with sugar syrup, chocolate walnut filling etc..
Ensure the cake is levelled. You might need to press down on the side that is higher to help move the frosting around and level the cake.
Crumb Coating Your Cake & Applying a Layer of White Frosting
Make Swiss meringue buttercream by following the instructions in this recipe.
Set aside about 1/4 of your Swiss meringue buttercream in which you will add black oil-based food colouring to make the black ganache later on. If you want to add less black food colouring, then make chocolate Swiss meringue buttercream by adding 30 g of melted dark chocolate to 1/4 of the buttercream you’re saving to colour in black. It’s always easier to make black buttercream if you start with a darker frosting base. Melt the chocolate, let it cool to room temperature and mix it in with a spatula or the paddle attachment of your mixer.
Crumb coat the stacked cake with a thin layer of white buttercream. To do this, apply a thin layer of buttercream all over the cake to seal in the crumbs. Use an offset spatula or a bench scraper to spread the buttercream evenly and smooth out any imperfections.
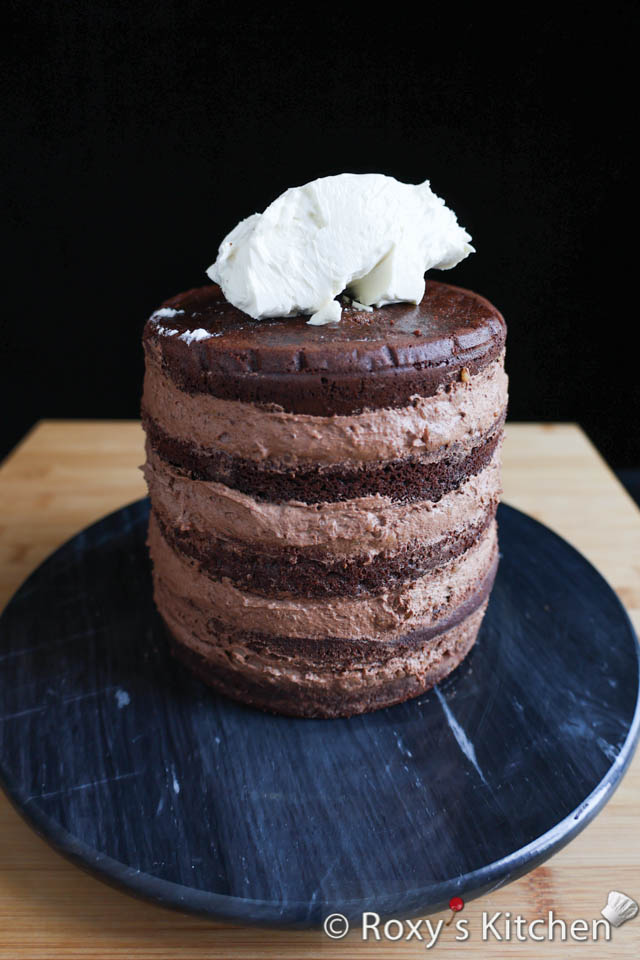
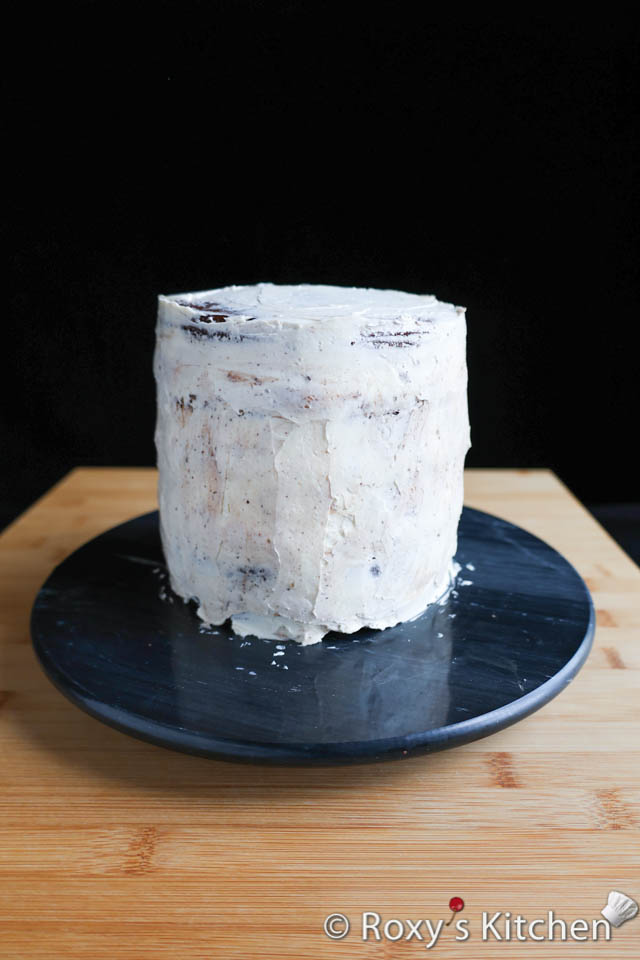
Place the crumb-coated cake in the refrigerator for about 15-30 minutes to allow the buttercream to firm up. Chilling helps to set the crumb coat and makes it easier to achieve smooth sides and sharp edges.
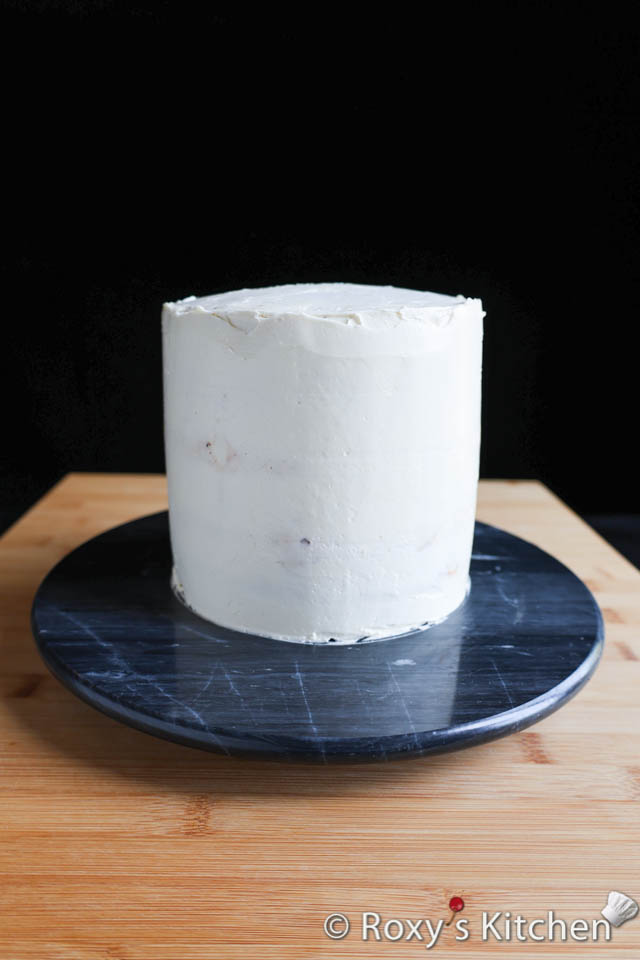
Once the crumb coat is chilled, apply a thicker layer of white buttercream to the entire cake. For black cakes, it’s always better to not make the entire frosting black if you don’t want to see your guests with black teeth and also use a ton of food colouring. Hence why, we’re applying a thicker layer of white frosting.
Start by adding a generous amount of white buttercream on top of the cake, then work your way down the sides. Use an offset spatula or a bench scraper to spread the buttercream evenly and create a smooth surface.
Smooth the sides by holding a long, straight-edged spatula or a cake scraper / smoother against the side of the cake, with the edge touching the cake’s surface. Rotate the cake while keeping the spatula or cake scraper steady against the cake, removing any excess buttercream and creating a smooth finish. Repeat this process until the sides are smooth and even.
Place the frosted cake in the refrigerator for 30 minutes.
Making the Black Buttercream and Applying the Last Layer of Frosting
While the cake is chilling, colour the buttercream you saved earlier in black. If you want to add less food colouring, then make chocolate Swiss meringue buttercream by adding 30 g of melted dark chocolate to 1/4 of the buttercream you’re saving to colour in black. It’s always easier to make black buttercream if you start with a darker frosting base.
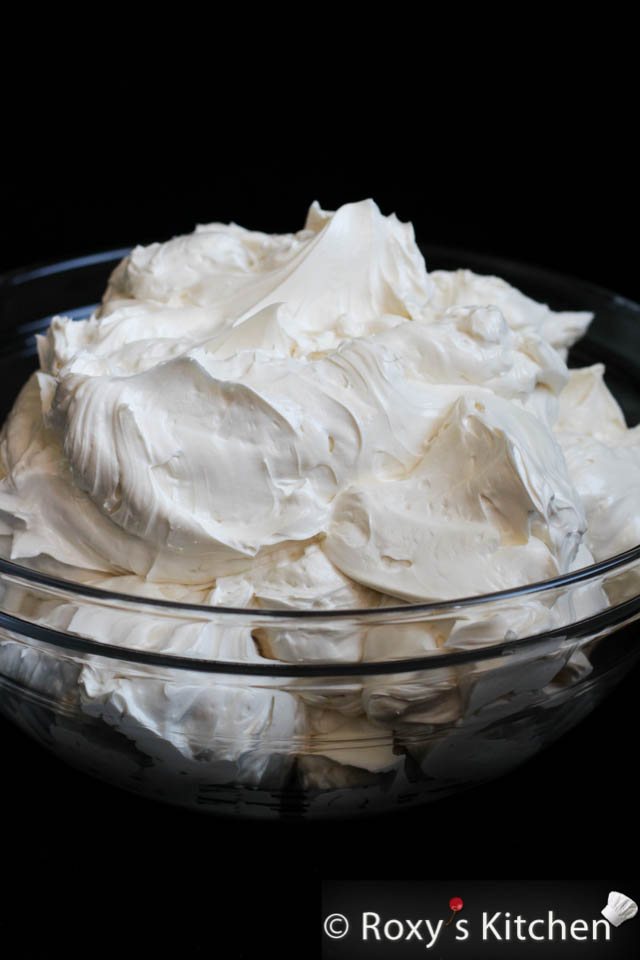
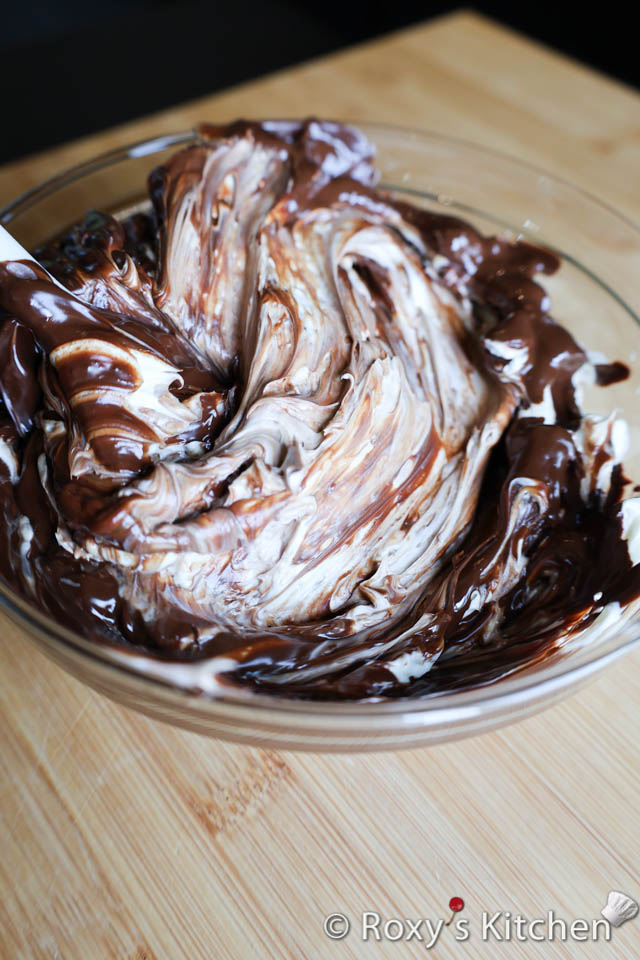
In order to achieve a super black buttercream, there is an easy trick that gives you great results every time. Begin adding the black gel food colouring to the buttercream. Start with a small amount and mix it in thoroughly. Gradually add more food colouring until you reach a dark grey colour. Then, blend everything for 15-20 seconds using an immersion blender. By using an immersion blender, you can efficiently combine the ingredients, emulsify the butter and liquid, and disperse the black food colouring particles. This results in a smooth, well-mixed, and intensely black buttercream. You can read my other post to better understand the science behind using an immersion blender – How to Make Super Black Buttercream.
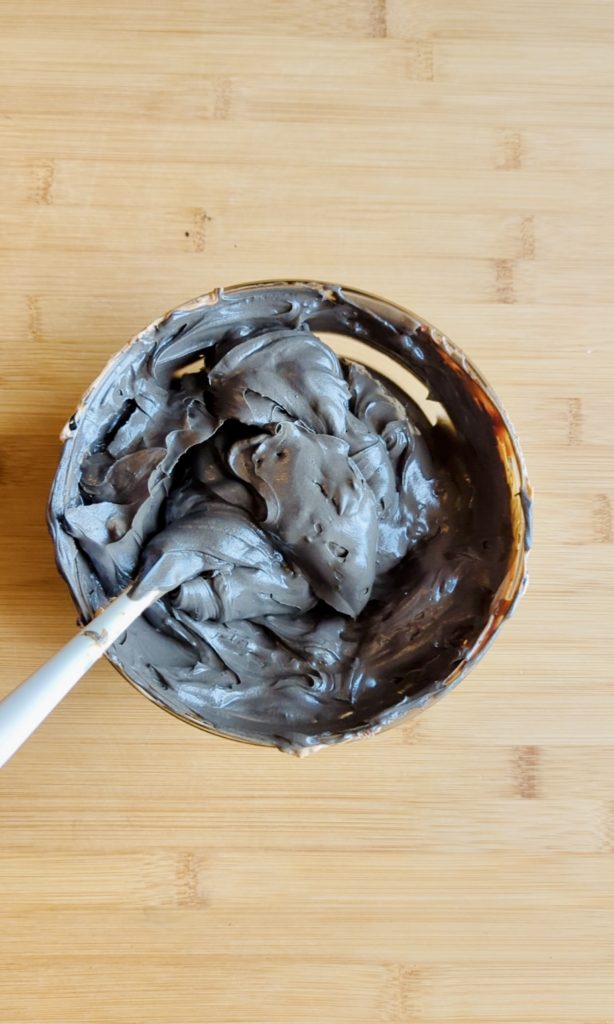
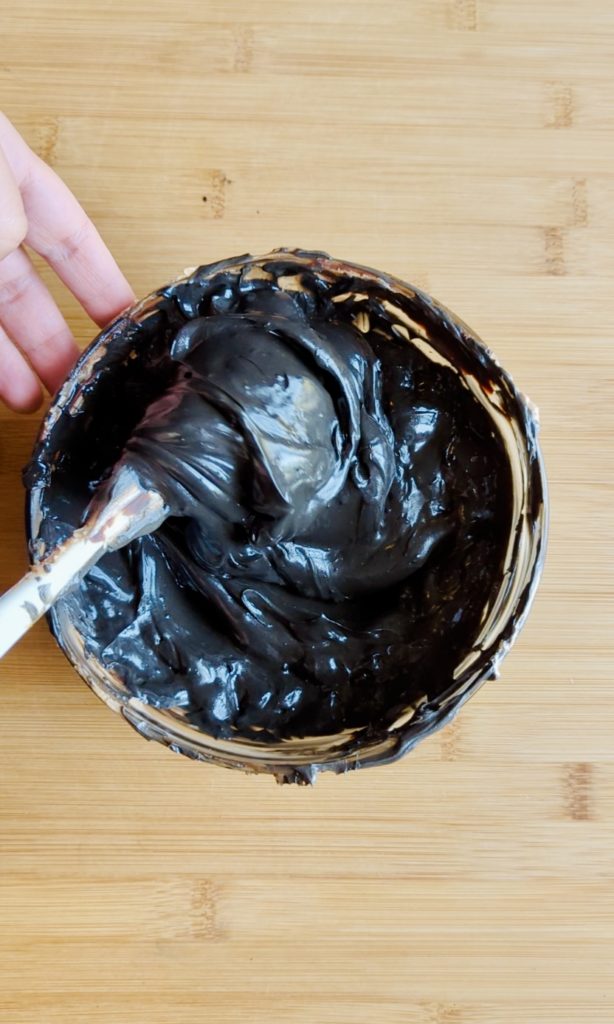
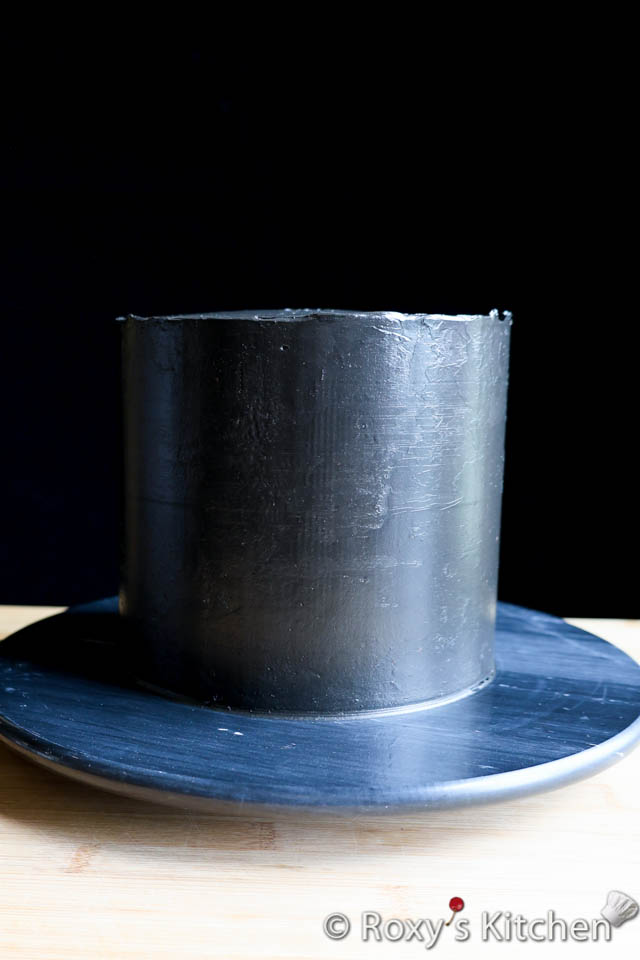
Once the frosted cake is chilled and you have the black buttercream ready, apply the last layer of buttercream and smooth it out very well using an offset spatula and cake scraper / smoother.
To achieve sharp edges, hold the spatula or cake scraper against the side of the cake at a slight angle, tilting it inward. Gently press the edge of the spatula or bench scraper against the buttercream, creating a clean, sharp line at the top edge of the cake. Repeat this process around the entire cake until you achieve sharp edges.
Finally, use an offset spatula or a cake scraper to smooth out the top surface of the cake, ensuring it is level and free from any imperfections.
Use the same method as before to smooth the sides of the cake and create sharp edges.
Decorating the Cake with Butterflies
Follow the instructions in this post to make the colourful butterflies out of fondant/gum paste. You can also purchase butterflies that are already made out of wafer paper or acrylic butterflies. They are available on Amazon.
Apply a bit of melted chocolate or black frosting on the back of each butterfly to attach them to the cake.
