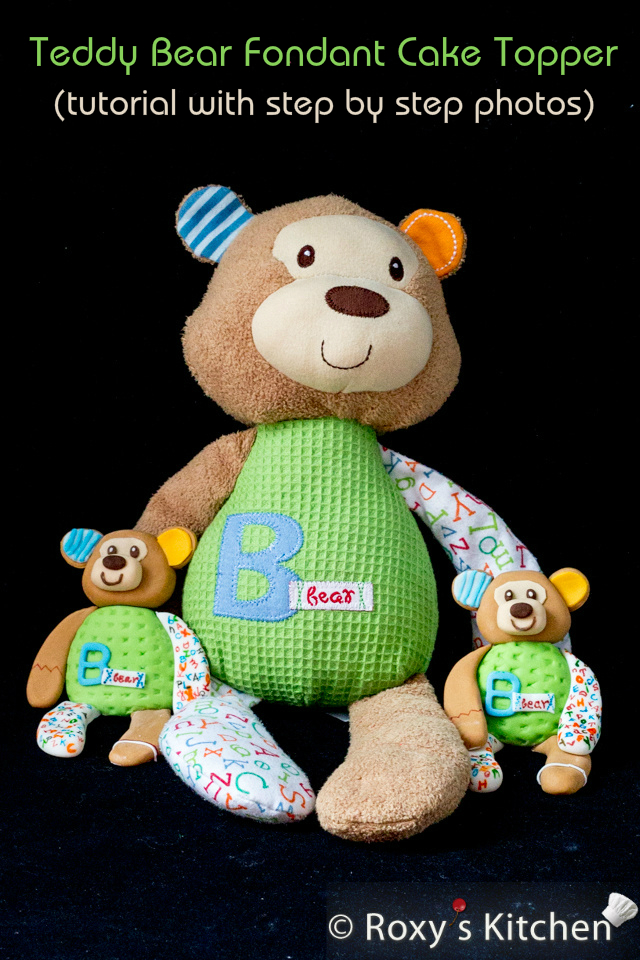
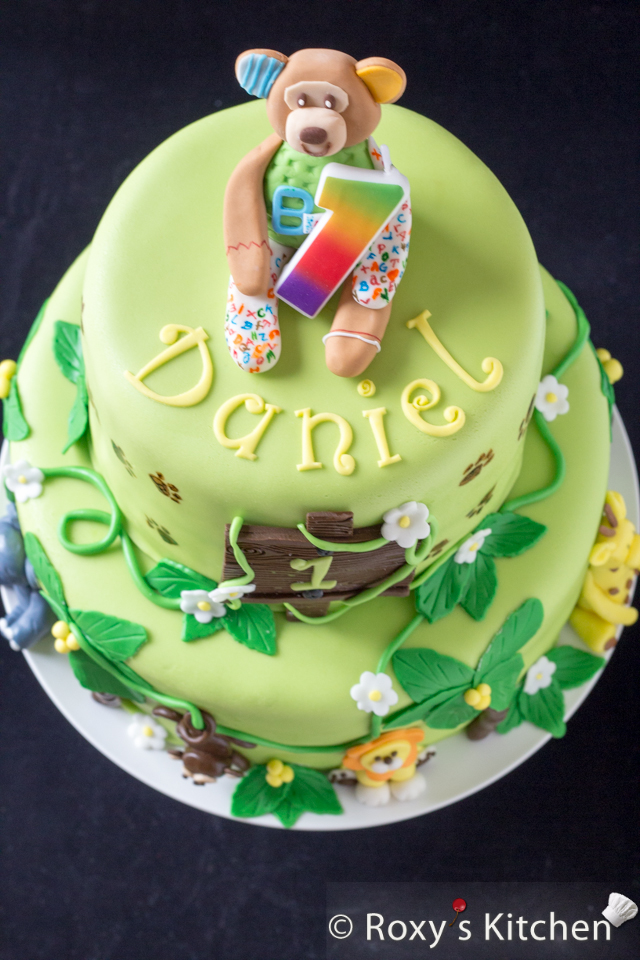
As promised, here is the full tutorial for making the cutest Teddy Bear Fondant Cake Topper, the one I showed you in Part I of my Safari / Jungle Themed First Birthday Party post.
Here are all the posts from Daniel’s birthday party in case you missed them:
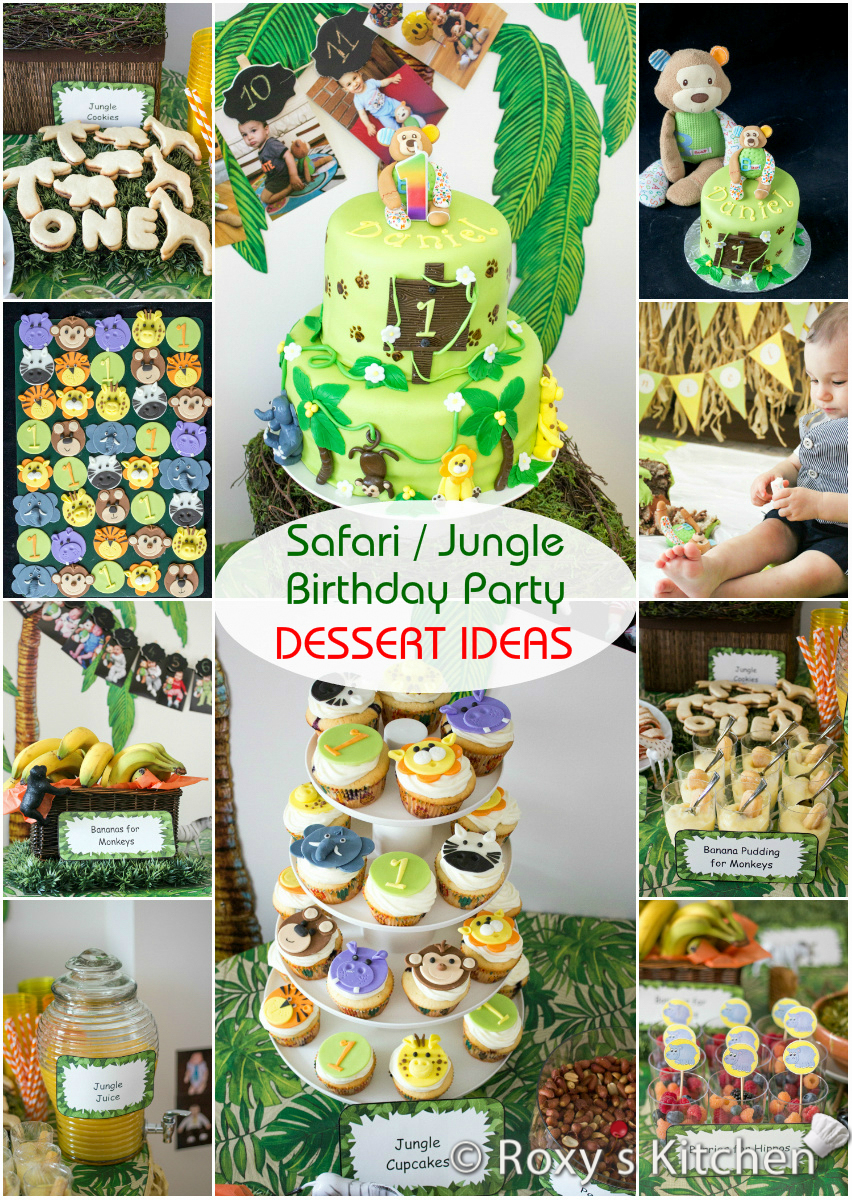
Part I – Dessert Ideas
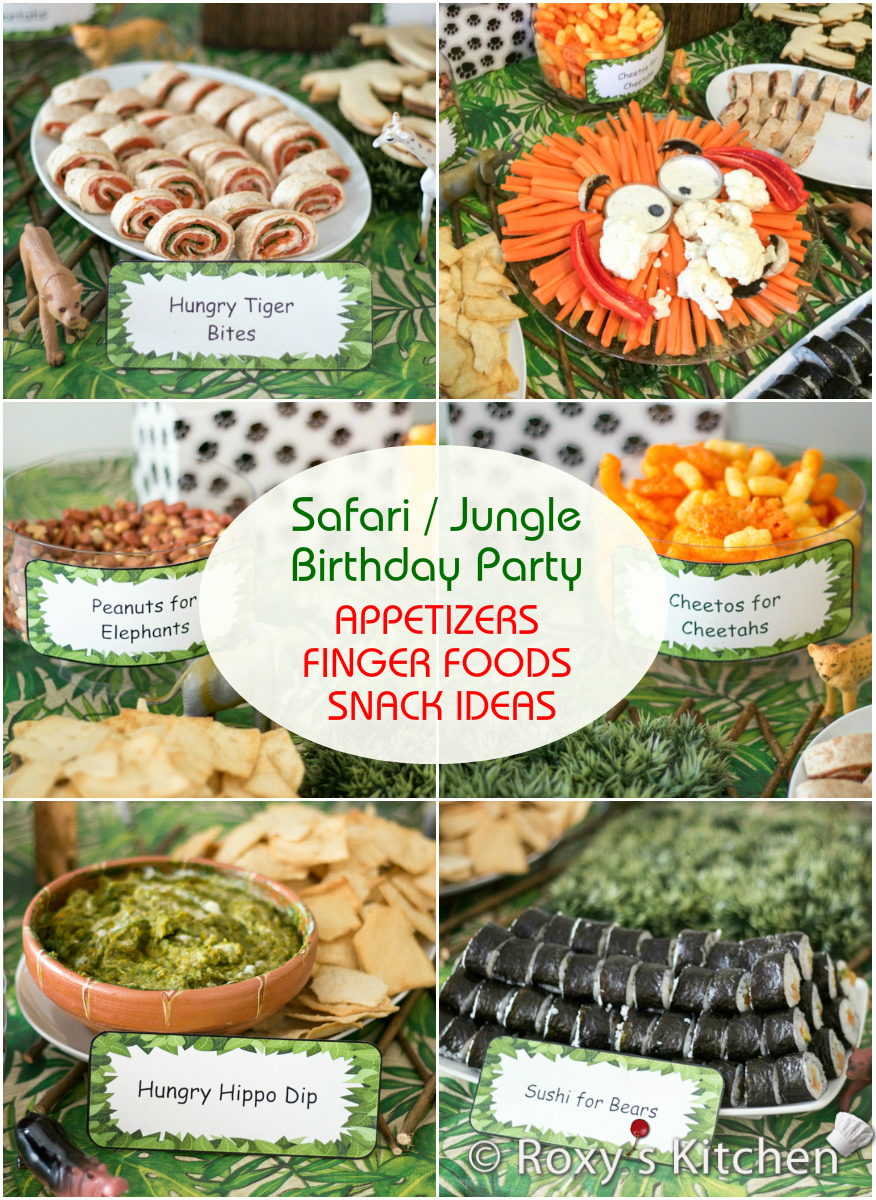
Part II – Appetizers, Finger Foods & Snack Ideas
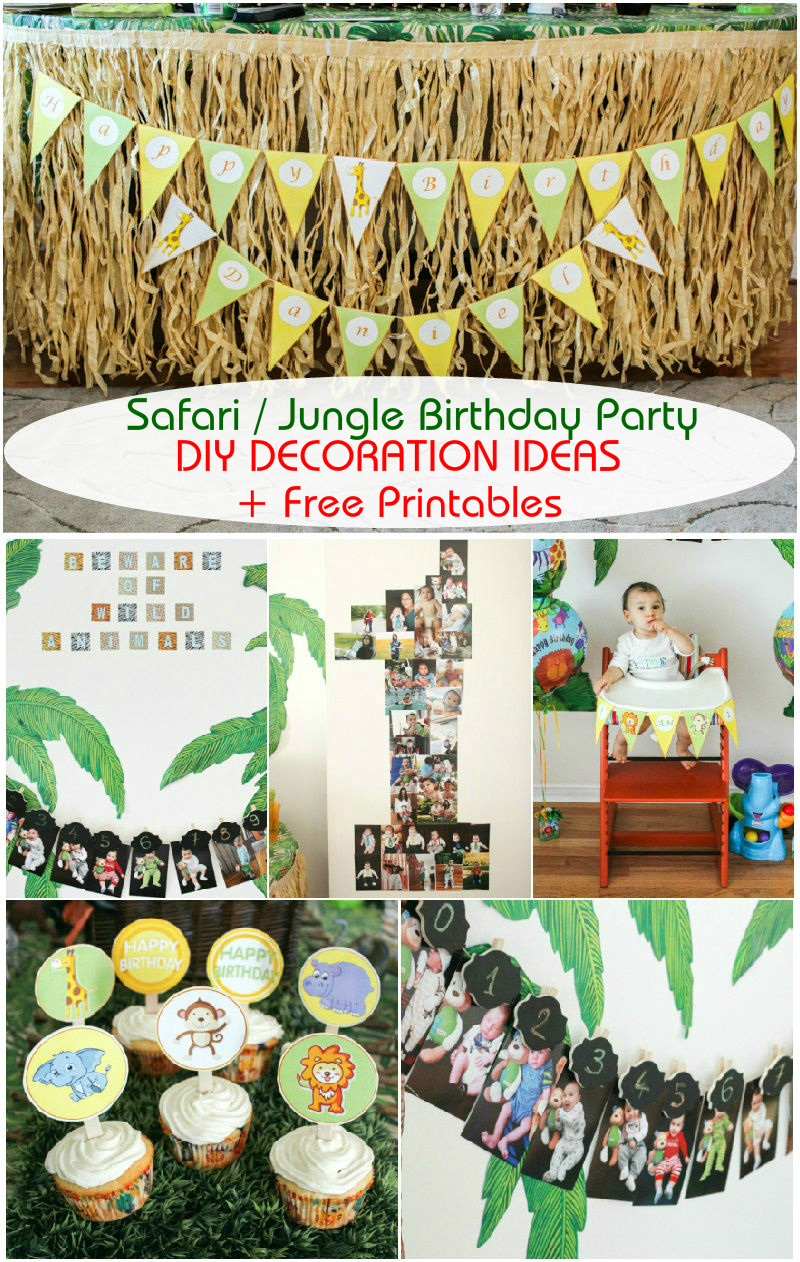
Part III – DIY Decoration Ideas + FREE Printables
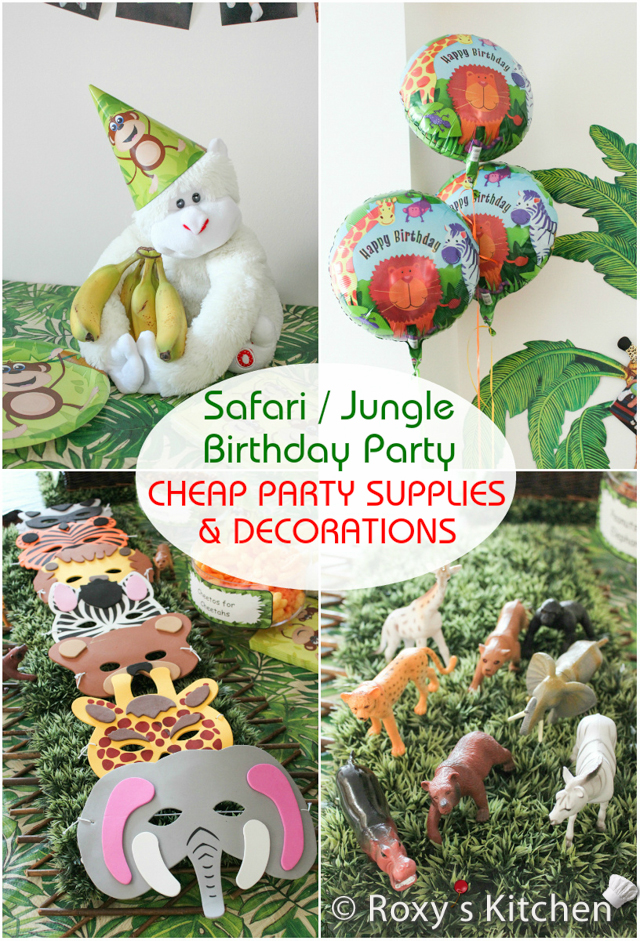
Part IV – Cheap Party Supplies & Decorations
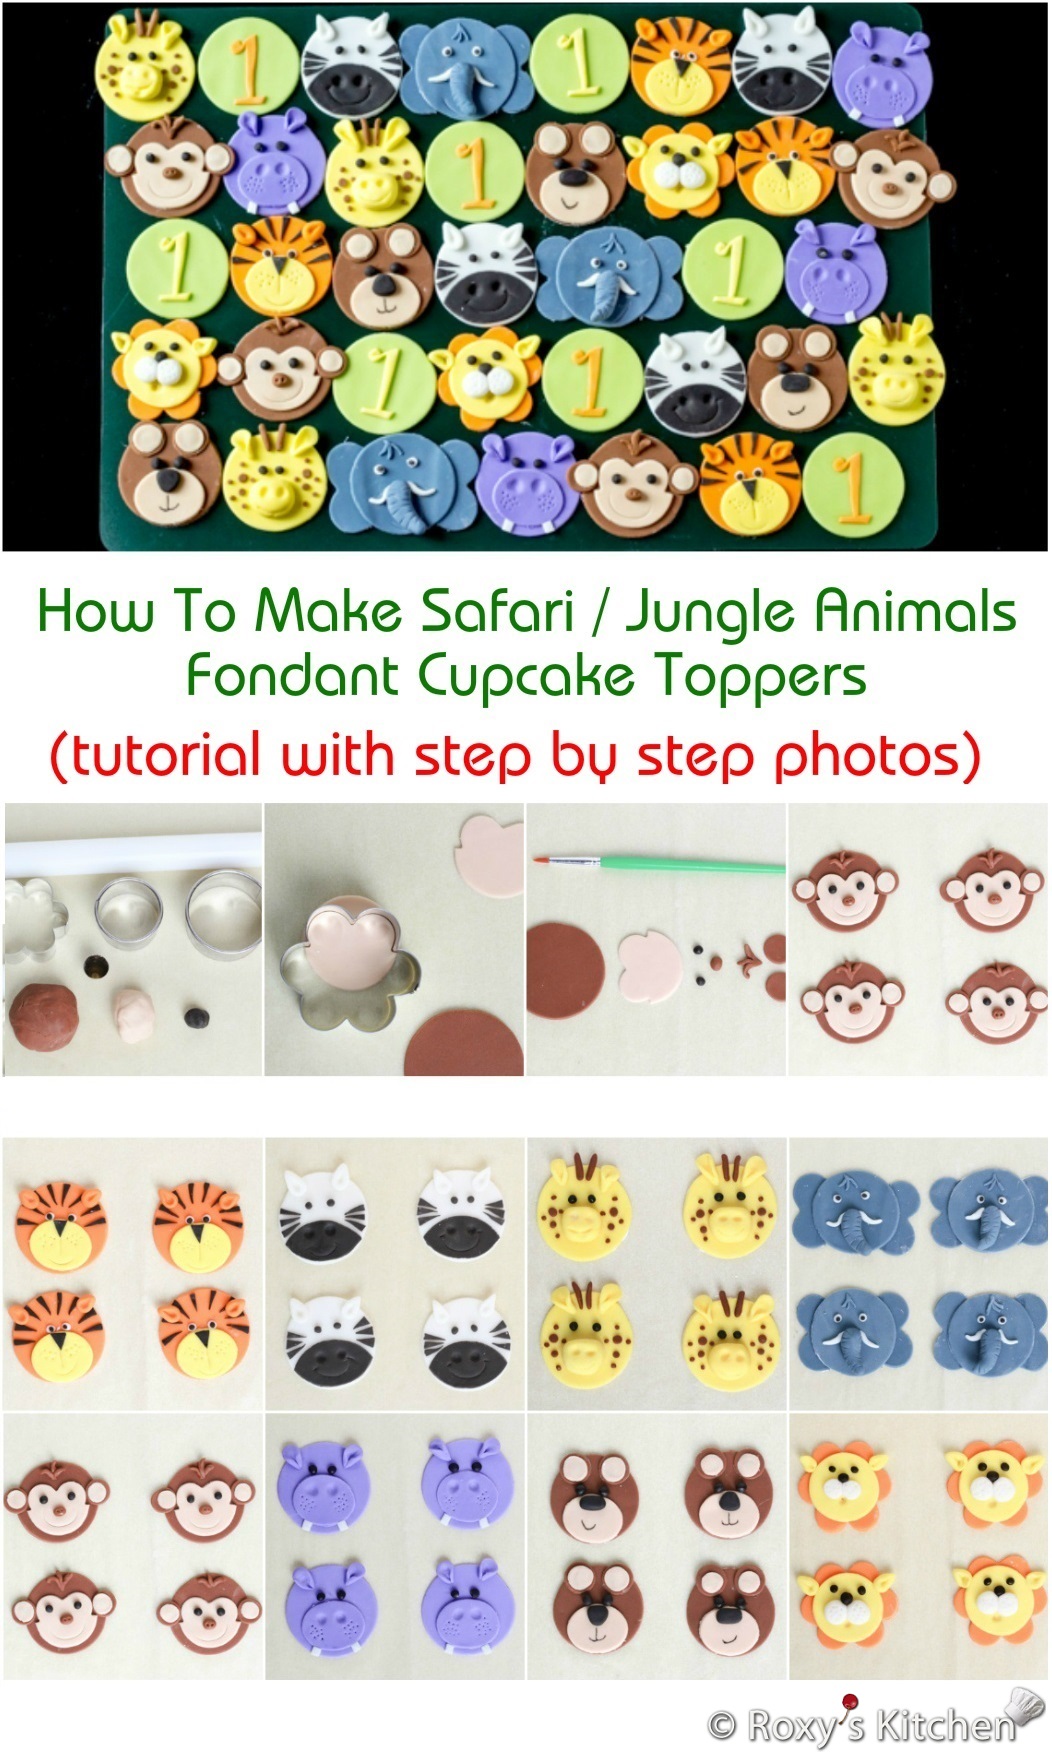
How to Make Safari / Jungle Animals Fondant Cupcake Toppers – Tiger, Zebra, Giraffe, Elephant, Monkey, Hippo, Bear, Lion
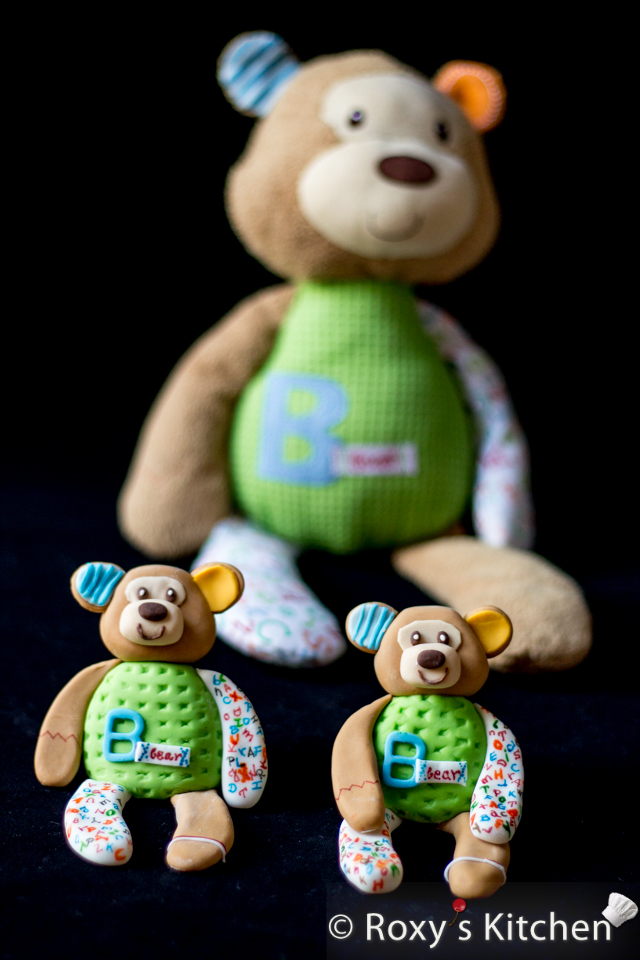
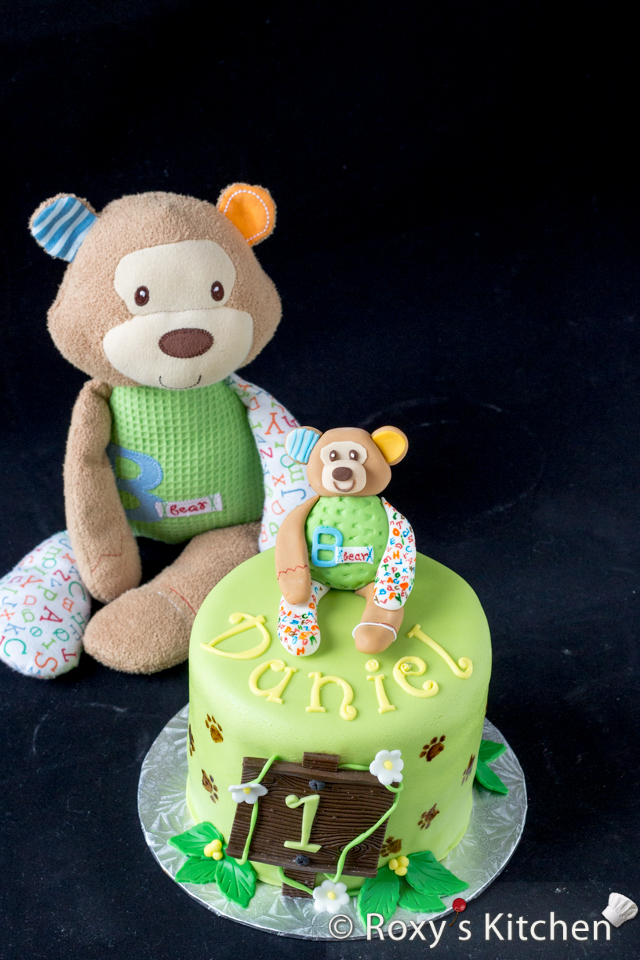
This fondant topper is a replica of our son’s favourite teddy bear. I actually made two of these, one for the big cake and the other for his smash cake. This plush bear was the first (and only) teddy bear I bought him because I loved the bright colours and patterned fabric which are known to promote visual stimulation and tactile exploration for little babies. You can get it on Amazon and it’s fairly cheap *_*
I was delighted to see Daniel loved it so much so when he was about 12 weeks old, I started taking weekly pictures of him and his cute teddy bear. Here’s our set of pictures from weeks 12 to 29, wonderful times <3!
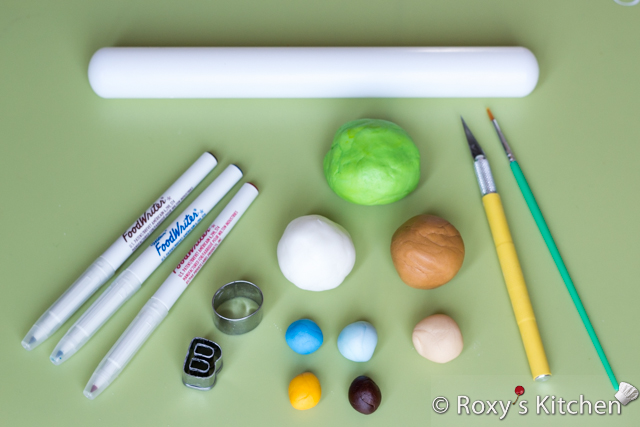
But back to our teddy bear tutorial now… it’s quite easy to make and you only need a few basic materials and tools:
- Green, white, medium brown, light brown, sky blue in both a darker and a lighter shade, orange and dark brown fondant
- Rolling pin
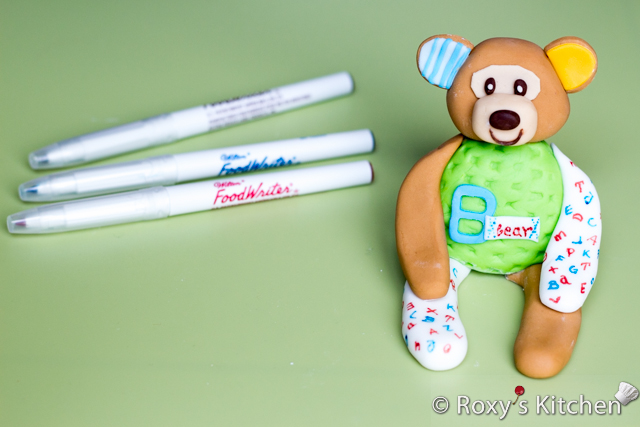
- Edible food decorating markers in various colors
- Meat tenderizer (yep, you read that right!)
- A small oval cutter and a small letter B cookie cutter
- 1 toothpick
- Some cornstarch for dusting
- Exacto knife or any other small sharp knife
- Edible glue – water works just as fine
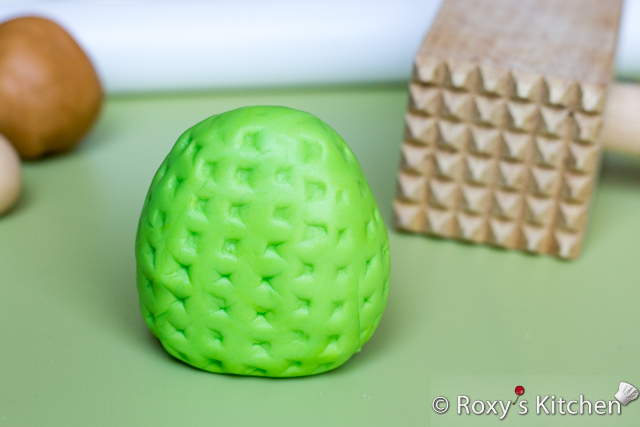
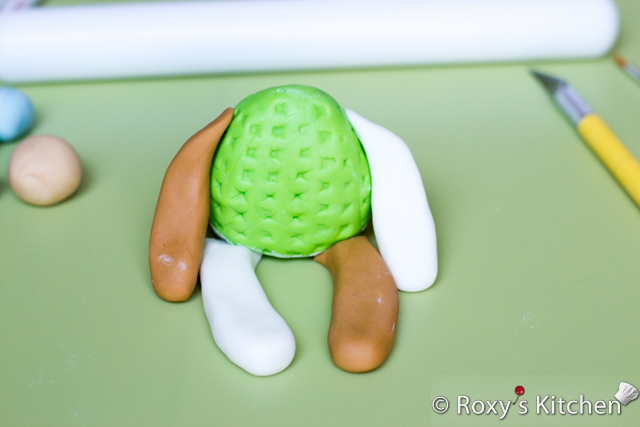
To make teddy’s body, knead the green fondant and roll it into a ball. Next shape the fondant ball into an egg shape and slightly flatten out the bottom.
Hold teddy’s body in one hand, take your meat tenderizer in your other hand and gently press it into the fondant all the way around the body to give it the patterned fabric look as seen below.
Take some medium brown fondant to make one leg and one arm. Knead the fondant and roll it into a sausage. Cut two pieces to form the leg and arm; your leg should be slightly longer and thicker than the arm. Start by smoothing the cutting end with your fingers and slightly flatten out the two ‘sausages’. Place them on the teddy to see if they fit nicely or they need more adjusting. Attach them to the bear’s body using some water or edible glue.
Repeat the steps to make the other leg and arm using white fondant. Attach them to the body as well using some water or edible glue.
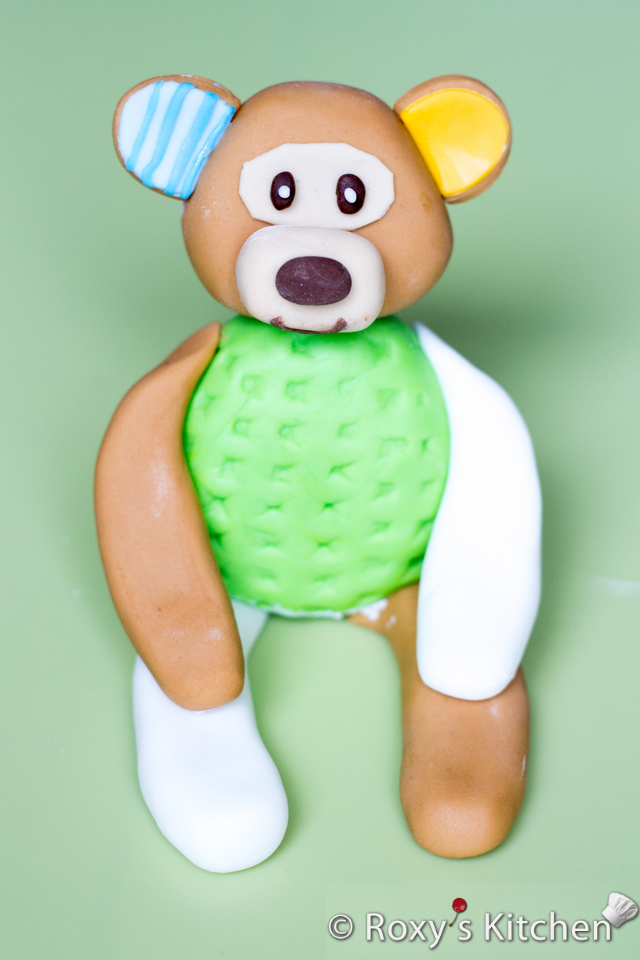
Take a piece of brown fondant, knead it and shape it into a ball. Place it on the body just to see if the proportion between the head and body looks fine.
Shape the ball into a pear shape and slightly flatten the top and bottom with your fingers. Flatten out the front and back a bit as well.
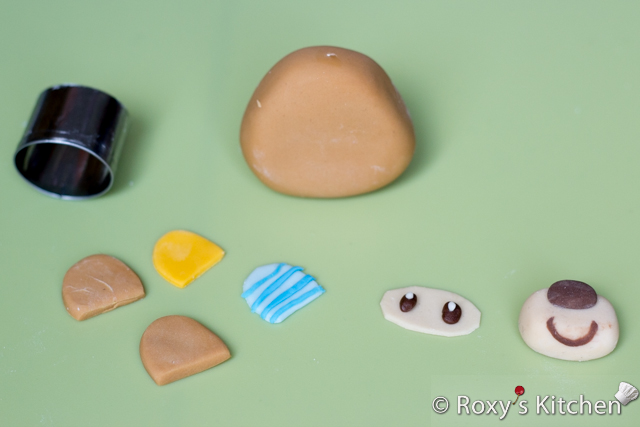
Take a small piece of light brown fondant and roll it into an oval shape. Roll a tiny oval shape of dark brown fondant to make the nose and glue it on. Make the mouth using dark brown fondant as well or you can use a brown edible marker to draw it. Roll out some light brown fondant to make teddy’s face (area around the eyes) and cut out an oval shape. Make the eyes using some dark brown fondant and two tiny balls of white fondant and attach them using some water.
Roll out some medium brown fondant, orange fondant and light blue. Using the oval cutter cut out two oval shapes out of brown fondant, one out of orange fondant and another one out of light blue fondant. Cut off 2/3 of each brown oval shape to make the ears. Cut off a bit more from the orange and blue oval shapes and glue them on top of the brown shapes. I’ve also attached a few strips of blue fondant in a darker shade on the blue ear.
Insert a toothpick into the bear’s body. Attach the head to the body with a bit of water, poking it into the toothpick. Attach the ears onto the sides of the head with a bit of water.
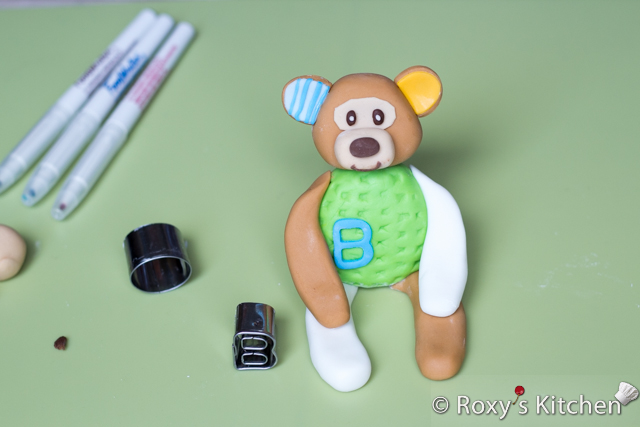
Roll out a bit of dark blue fondant and cut out a letter B. Glue it onto the bear’s body as seen in the picture.
Make the ‘bear’ tag from white fondant and use your food markers to write on it after it dries a bit. Attach it to teddy’s body using a bit of water. Lastly, write random letters on the white arm and leg using the food markers.
Voilà, you have a replica of the cutest teddy bear ever 
You might also like these posts…
Safari / Jungle Themed First Birthday Party – Dessert Ideas
Safari / Jungle Themed First Birthday Party – Appetizers, Finger Foods & Snack Ideas
Safari / Jungle Themed First Birthday Party– DIY Decorations + FREE Printables
Safari / Jungle Themed First Birthday Party – Cheap Party Supplies & Decorations
This post contains Amazon.com affiliate links for products I personally use and love. If you purchase a product through an affiliate link, your costs will be the same but I will receive a small commission which is used for hosting and running this site. I appreciate your support!





Just came across your website and OMW!! what wonderful tutorials you have posted….adore the Teddy that you did for Daniel’s 1st birthday….definitely going to sign up for future posts..
Thanks Charmaine! I’m glad you like them. I need to get back on track as I haven’t posted anything in a while :).