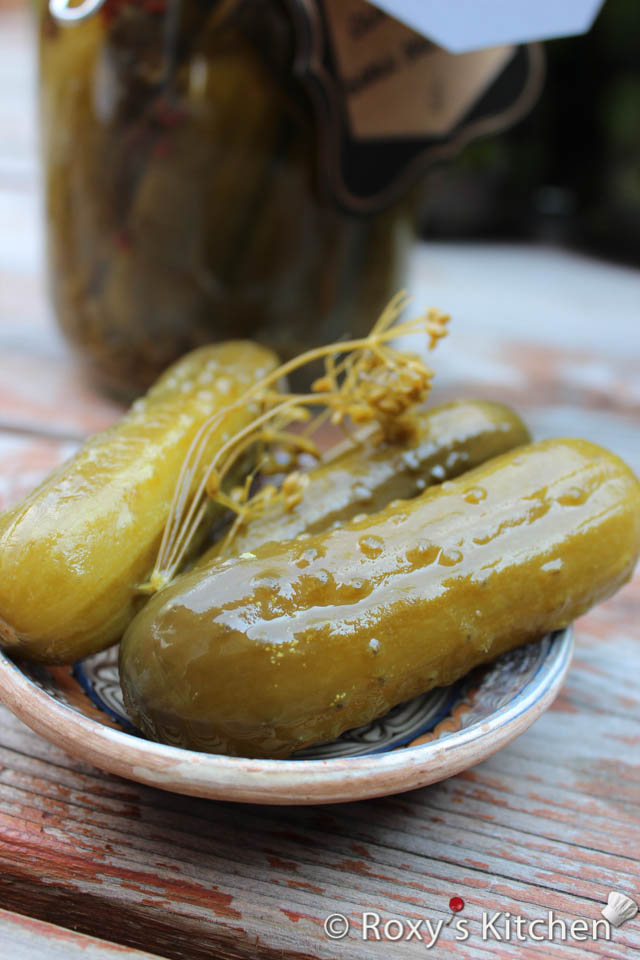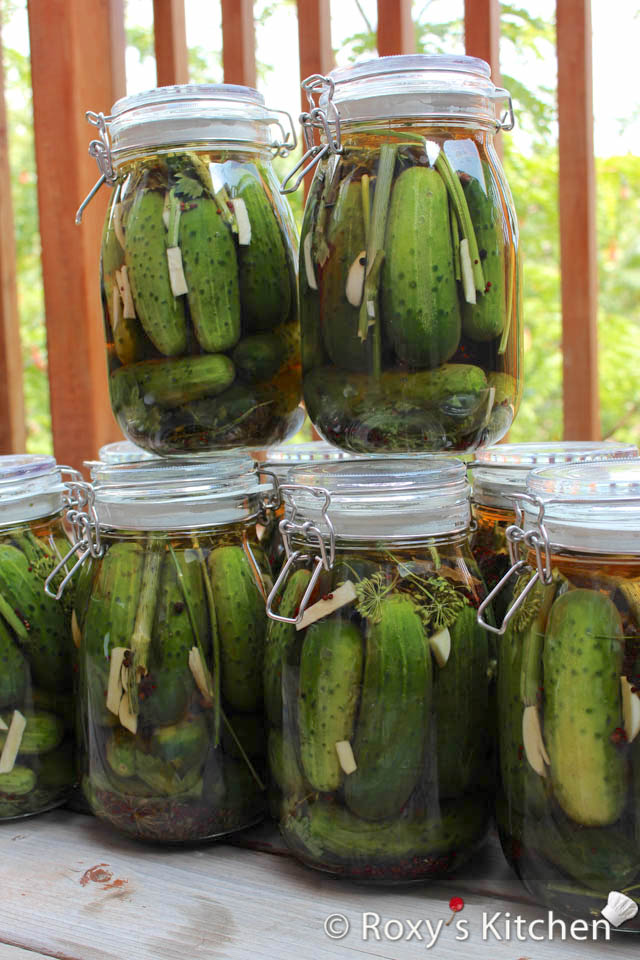
There’s something truly special about making your own Garlic & Dill Pickles at home. The crisp crunch of fresh cucumbers paired with the bold flavours of garlic, dill, and spices creates a timeless snack that brings back memories of family kitchens and summer harvests. This is my family’s old recipe which combines traditional pickling methods with a rich blend of ingredients to deliver pickles that are bursting with flavour. Whether you’re an experienced canner or new to the world of preserving, these garlic & dill pickles are a delightful way to enjoy the fruits of your labor all year round. Perfect for sandwiches, burgers, or straight from the jar, these pickles are sure to become a staple in your pantry.
Ingredients (12-14 jars of 1 l each)
- 2 l white vinegar (9% acidity)
- 8 l water
- 1 kg sugar
- 10 tablespoons (200 grams) pickling salt
- 5-6 dried bay leaves
- 2 tablespoons peppercorns
- 2 tablespoons mustard seeds
- 20 kg (45 lbs) pickling cucumbers
- 5-7 carrots, sliced (optional)
- 2-3 large onions, sliced (optional)
- 20-30 garlic cloves, peeled and cut in half lengthwise
- Dill stems & flowers (approximately 1-2 large bunches)
Equipment
- Clean jars & lids. Lids should have a gum binder that seals them against the top of the jar.
- 1 pot to make the brine
- 1 or 2 large pots to process the jars (if using water bath canning method) plus canning racks
- ladle for distributing the brine into jars
- tongs for handling jars
- funnel (optional, but helpful for pouring the brine)
Directions
Prepare the Jars:
Wash the jars in soapy water and rinse them thoroughly.
Sterilize the jars by boiling them in water for 10 minutes or by washing them in a dishwasher with a sterilize setting. Ensure the jars are completely dry before use.
You can also sterilize them in the oven. Allow the jars to drip-dry for 15-20 minutes and then place them in a pan (or right on the rack) in the oven set to 225°F (100°C) to sterilize the jars. Leave them there until you are ready to pack the jars. Make sure the lids are clean and dry as well before using them.
Prepare the Cucumbers & Vegetables:
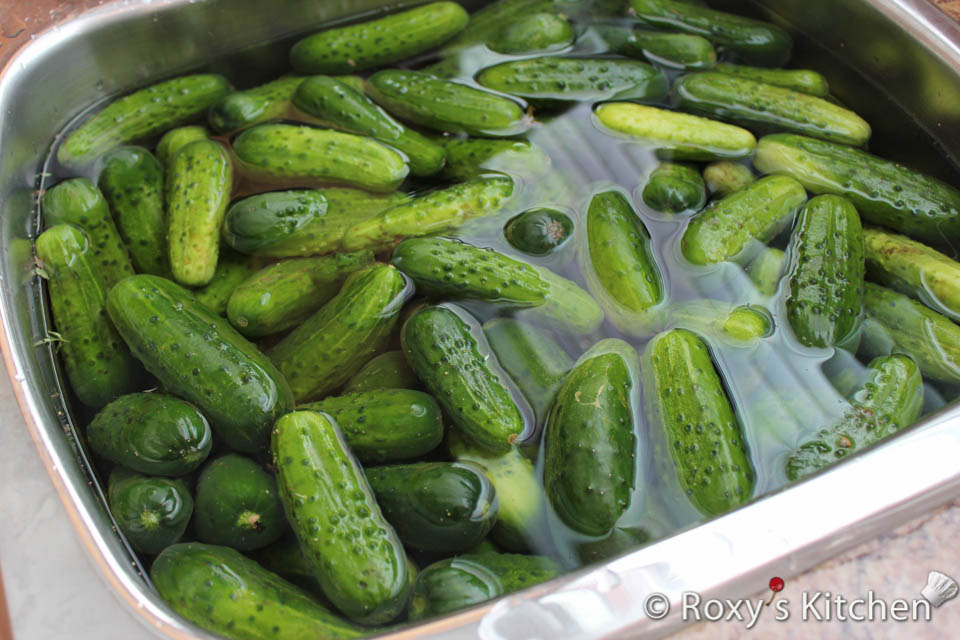
Wash the pickling cucumbers thoroughly. Remove any dirt and trim the ends if desired.
Peel and slice the carrots and the onions.
Peel the garlic cloves and cut them in half lengthwise.
Clean the dill, removing any dirt or debris.
Prepare the Brine:
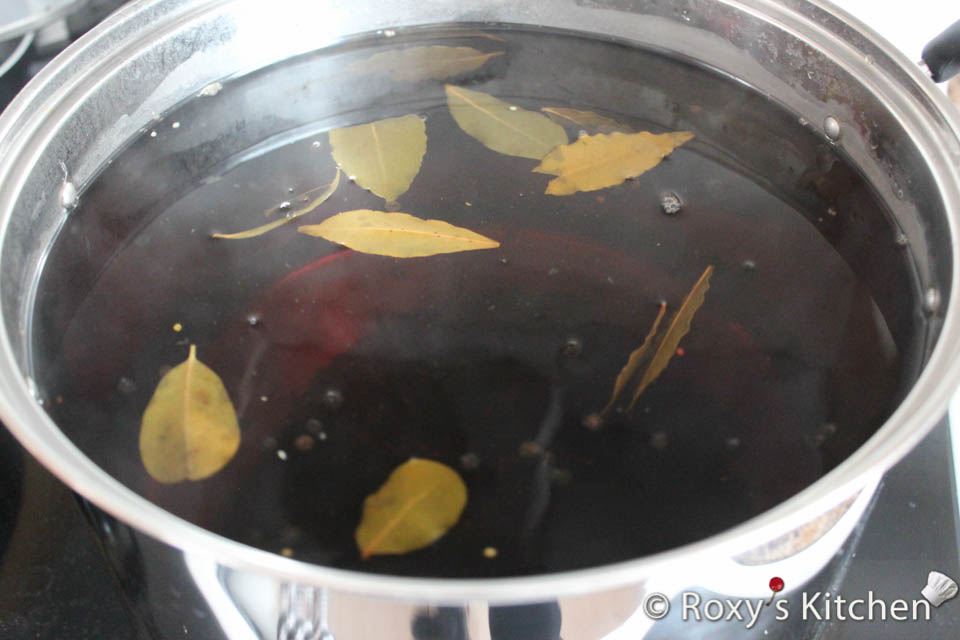
In a large pot, combine the white vinegar, water, sugar, and pickling salt. Stir well to dissolve the sugar and salt.
Add the bay leaves, peppercorns, and mustard seeds to the brine.
Bring the mixture to a boil, stirring occasionally to ensure everything is well mixed. Once it reaches a boil, reduce the heat to low and let it simmer for about 10 minutes.
Pack the Jars:
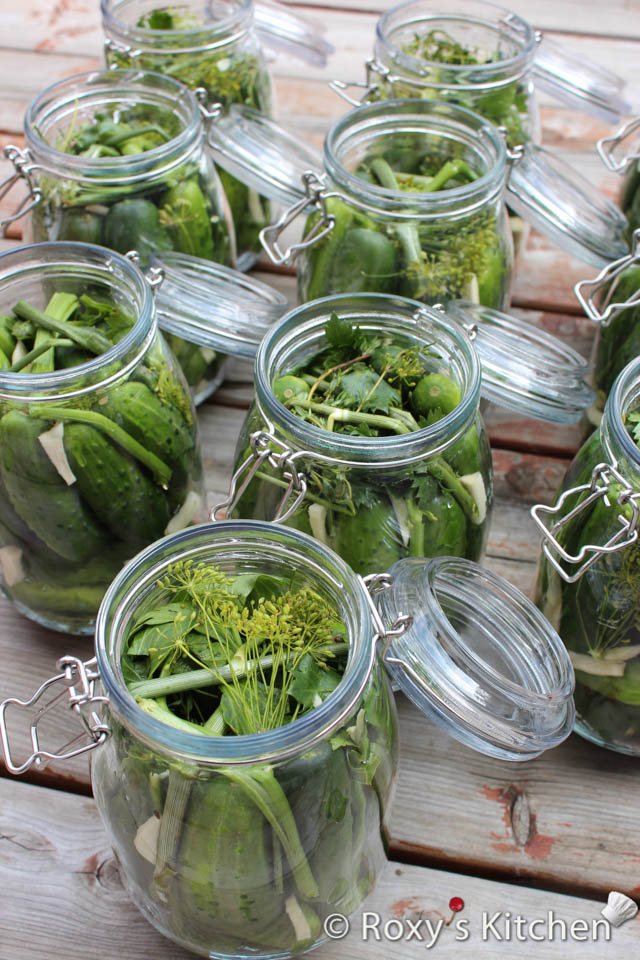
In each sterilized jar, add a few slices of carrot, a few slices of onions, several garlic halves, and a generous amount of dill stems and flowers.
Pack the cucumbers tightly into the jars, leaving about 1 inch of headspace at the top. Make sure the cucumbers are packed snugly but not so tight that they might break.
Distribute any remaining garlic and carrots evenly among the jars.
Add the Brine:
Using a funnel (if available), ladle the hot brine into each jar, covering the cucumbers completely. Leave about ½ inch of headspace at the top.
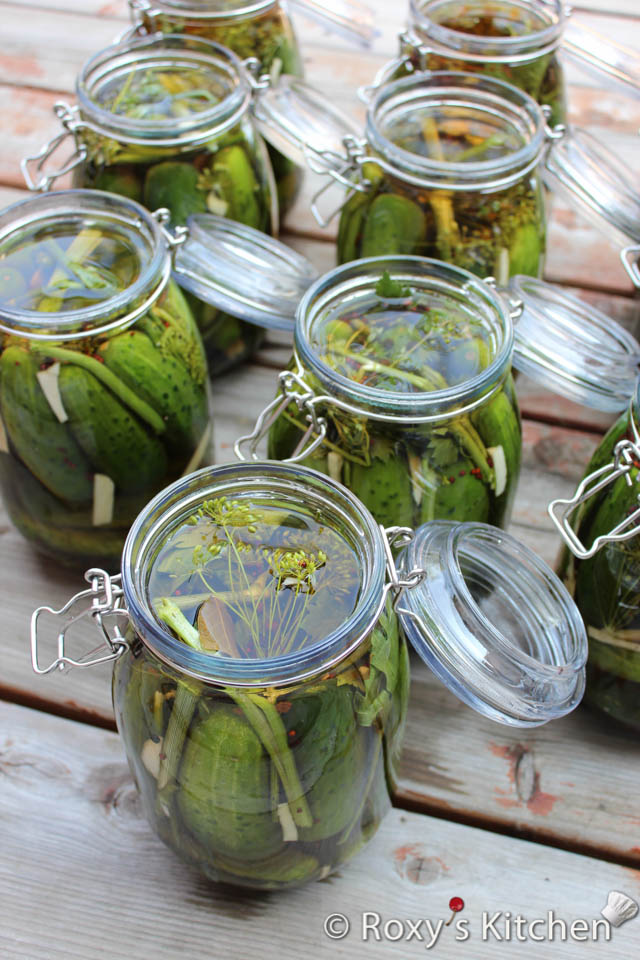
Use a clean spoon or spatula to remove any air bubbles by gently pressing down on the cucumbers.
Wipe the rims of the jars with a clean, damp cloth to ensure they are free of any brine or food particles.
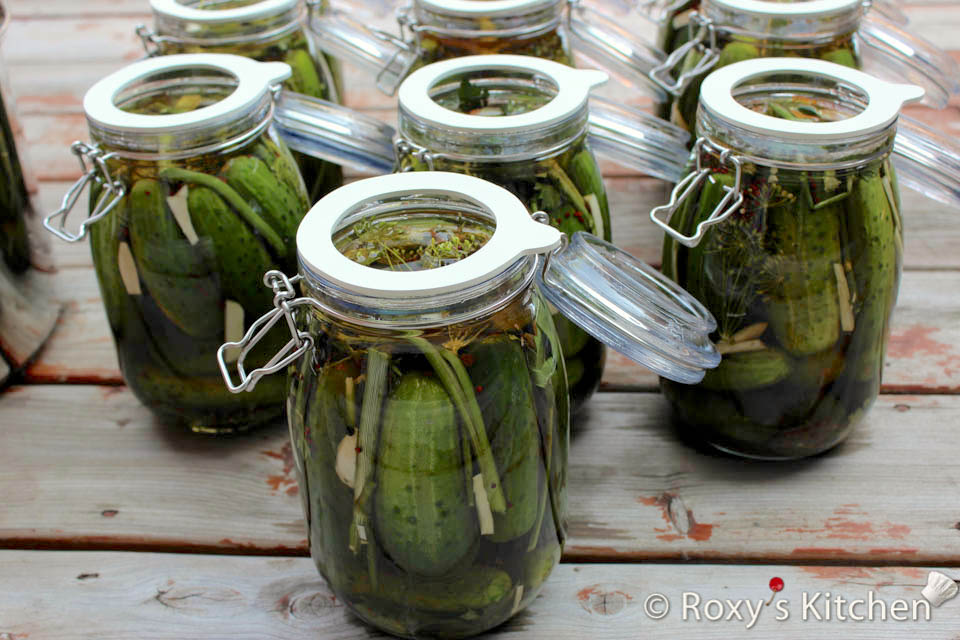
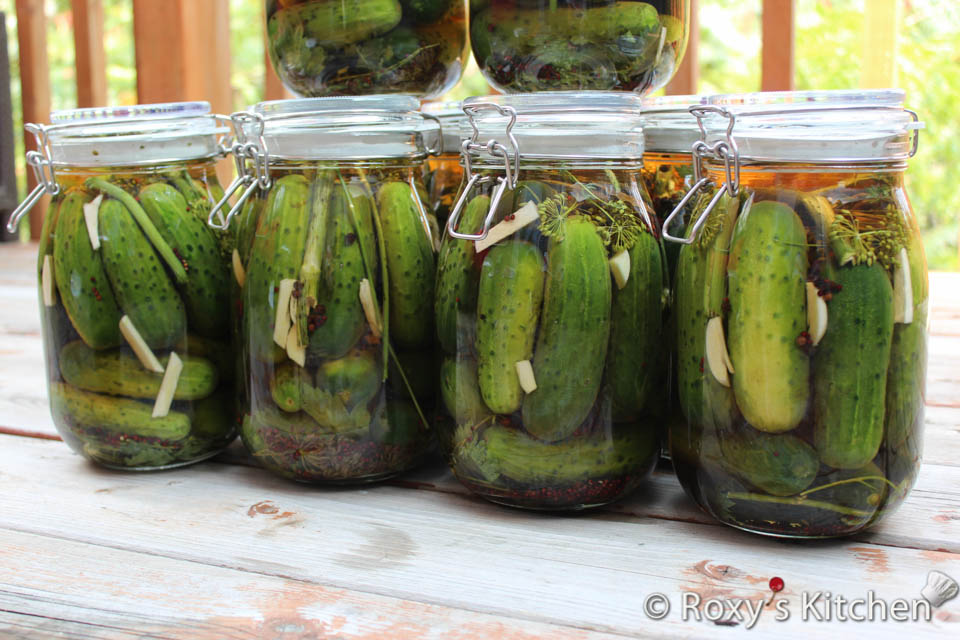
Seal the jars with their lids.
Process the Jars (Optional for Longer Storage):
If you plan to store the pickles for an extended period at room temperature, process the jars using a water bath canning method:
- Place the sealed jars in a large pot with a canning rack on the bottom and filled with boiling water, ensuring that the water covers the jars by at least 1 inch.
- Boil the jars for 10 minutes on low heat to create a vacuum seal.
- Carefully remove the jars using tongs and place them on a clean kitchen towel to cool.
- If using metal lids, listen for the “pop” sound, which indicates that the jars have sealed properly.
Allow the jars to cool completely at room temperature. Once cooled and if you’re using metal lids, you can check the seals by pressing down on the centre of each lid. If the lid does not pop back, the jar is sealed.
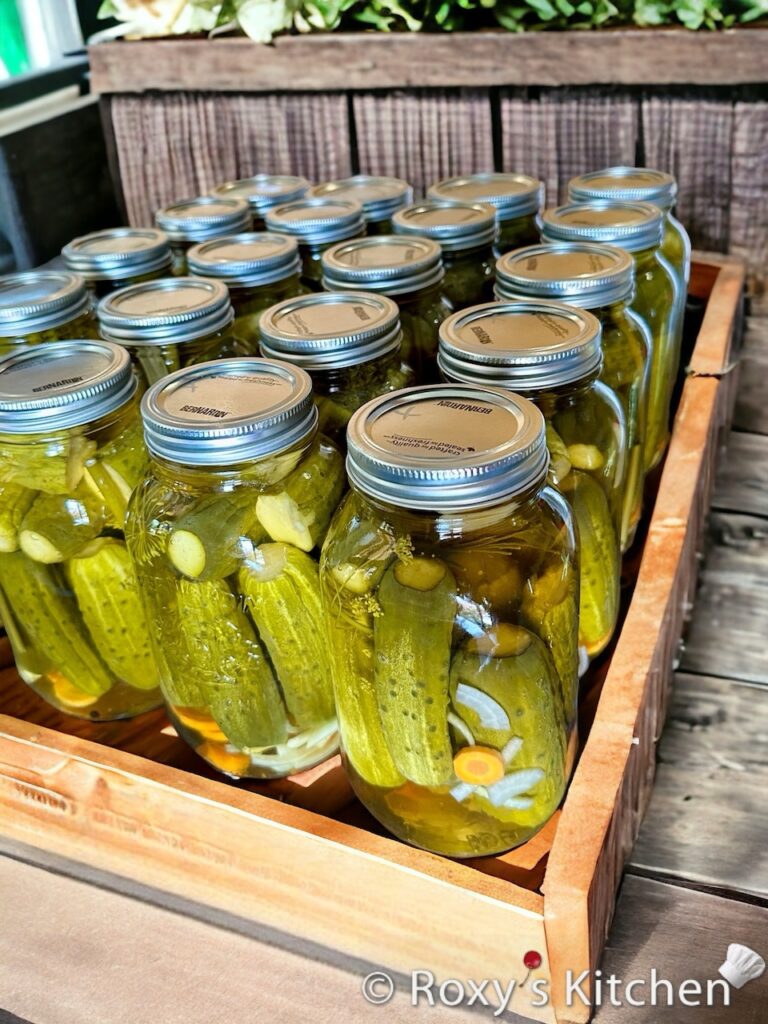
For best flavour, let the pickles sit for at least 2-3 weeks before opening.
If any jars have not sealed, you can either try processing them again in a water bath or just refrigerate them.
Enjoy these delicious Garlic & Dill pickles!
