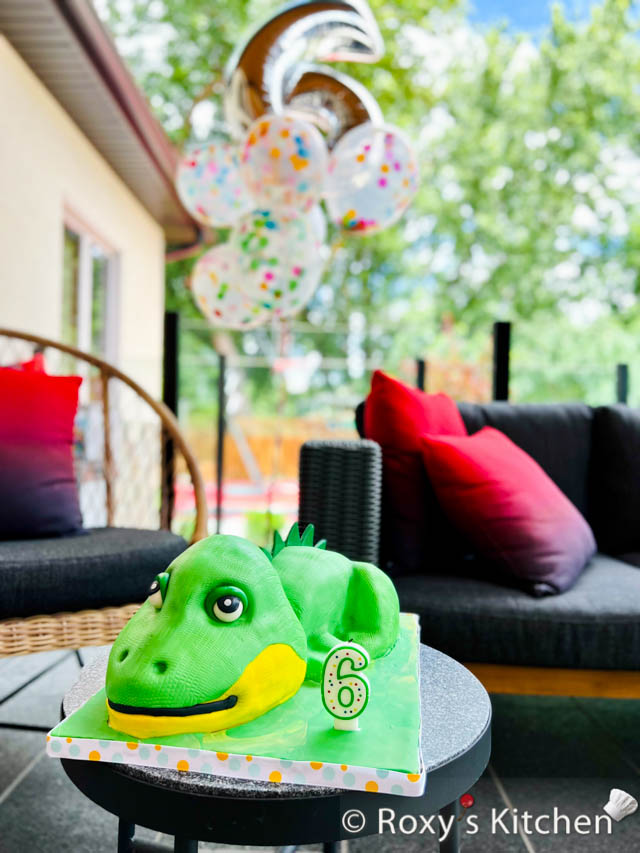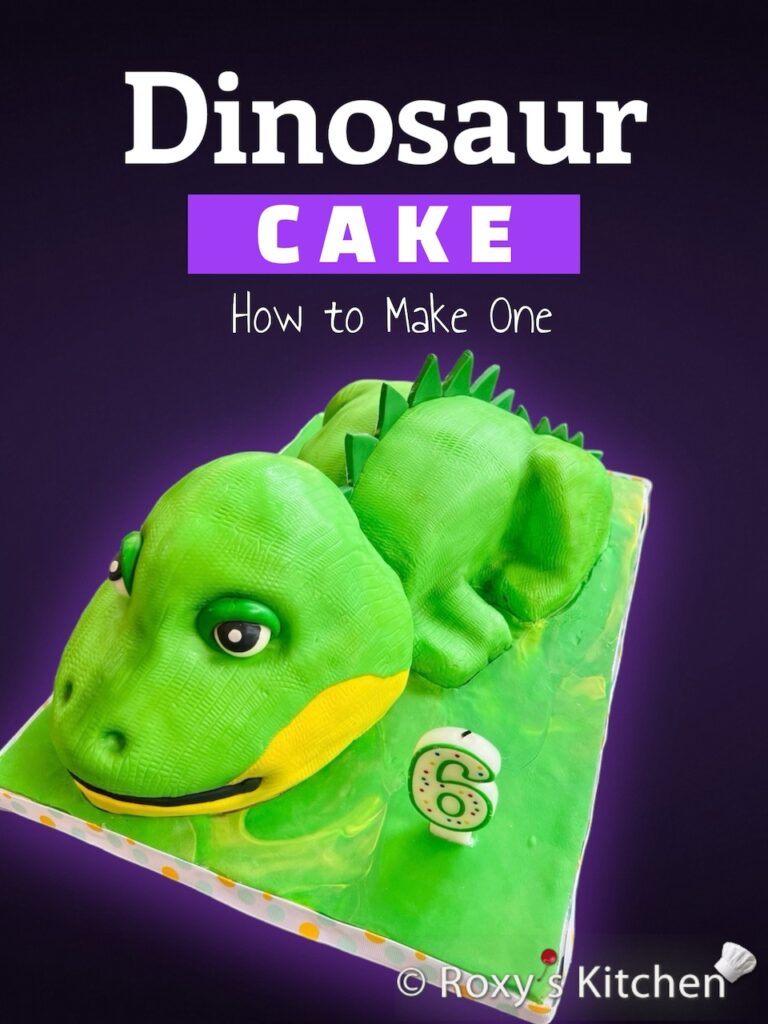
In this post I’ll show you How to Make a Green Dinosaur Cake. I made this Dino cake two years ago for my then, 6-year old boy. I tried replicating one of his dinosaur plush toys and I think it turned out prettier than that. You can watch this video to see how I made the cake or check out the short instructions and step-by-step pictures below.
Directions
For steps 1-4 please see the video above for the step-by-step instructions and the carving process. For the rest of the steps, you can also see the step-by-step photos below that show how I covered the Dinosaur Cake with ganache and fondant.
Step 1: You need to use five big round vanilla cake layers and two smaller ones. The ones I used were 28 cm (11 in) and 15 cm (6 in) in diameter. You can use this simple vanilla cake recipe or this perfectly most vanilla cake but adjust the ingredients as needed. Use simple syrup to moisten the cake layers, especially if you’re not making the moist vanilla cake.
Step 2: Make your favourite cake filling. I filled the cake with this raspberry cream cheese buttercream and fresh raspberries.
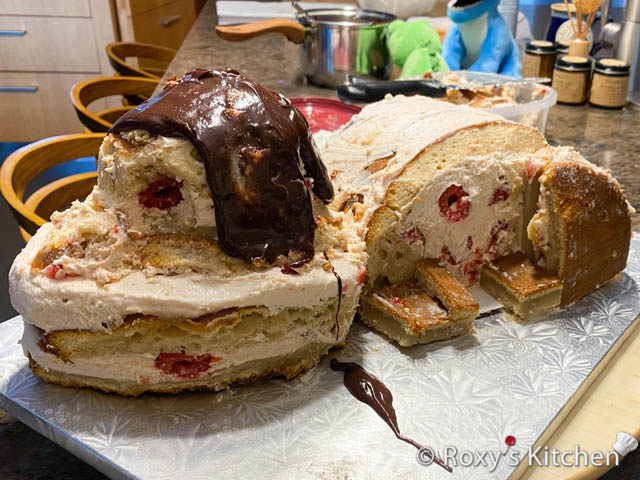
Step 3: Fill and stack your cake on two cake boards cut in the approximate shape of the dinosaur cake (one board for the head & one for the body). Use boba straws to add some extra stability to the cake. I cut in half the first large cake that I filled. The two halves need to be placed on the cake board next to each other, with the flat side down. Use some frosting to stick the two halves together. Once the cake is filled, cover it with plastic wrap and place it in the freezer for 2 hours. Freezing the cake makes it much easier to carve without it breaking apart.
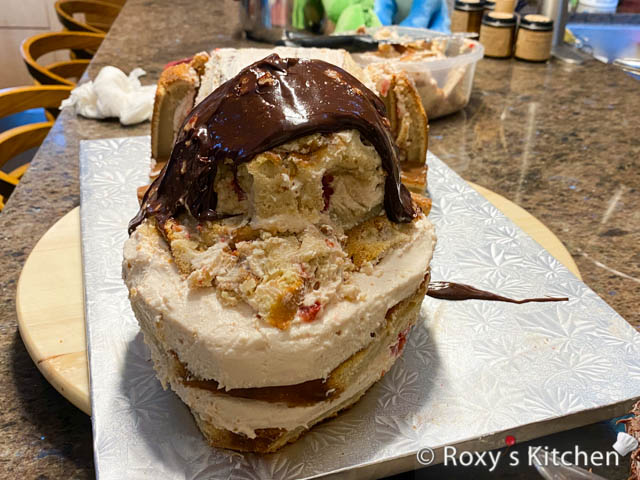
Step 4: Using a serrated knife, carve out the cake to give it the dinosaur shape. I did not use any templates for carving so you can watch the video to see better how I carved and shaped the dinosaur to make it come to life.
Use the cake scraps to build up the dinosaur’s legs and fill in any visible gaps. Then, place the cake in the fridge for 1 hour.
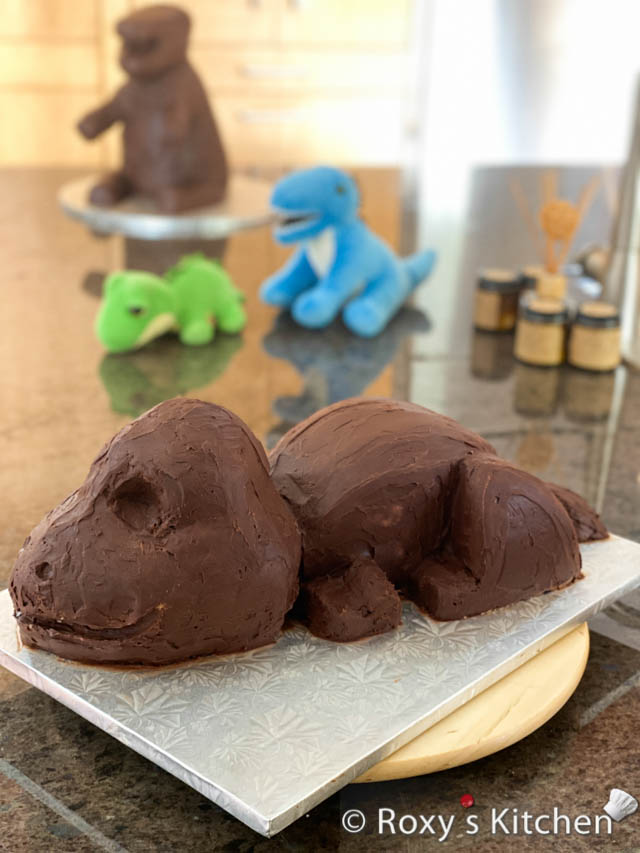
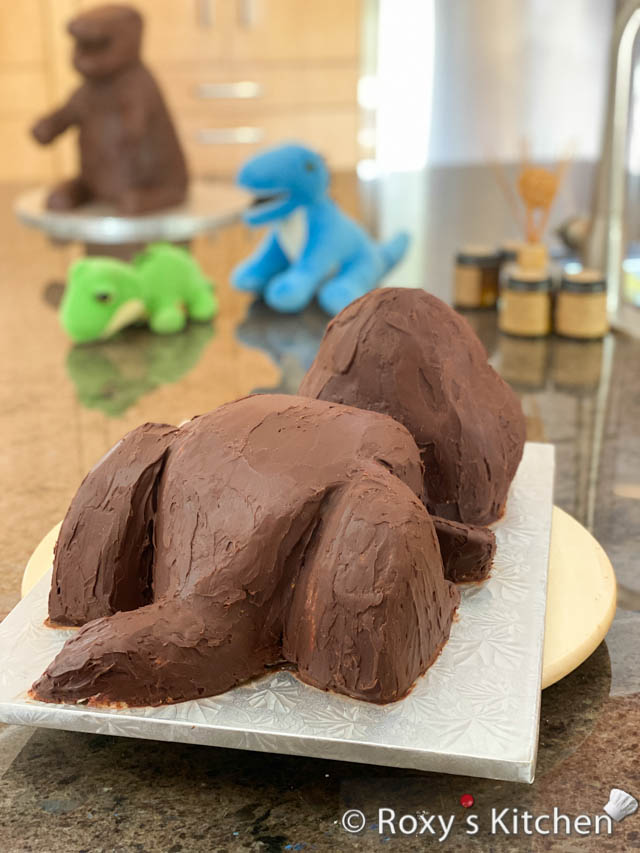
Step 5: I used my usual unwhipped chocolate ganache / firm frosting to cover the cake. You need to apply a thin layer of ganache to crumb coat the cake. You can smooth it out as much as you can with a spatula. Note that the ganache needs to have a thick pouring consistency when you work with it.
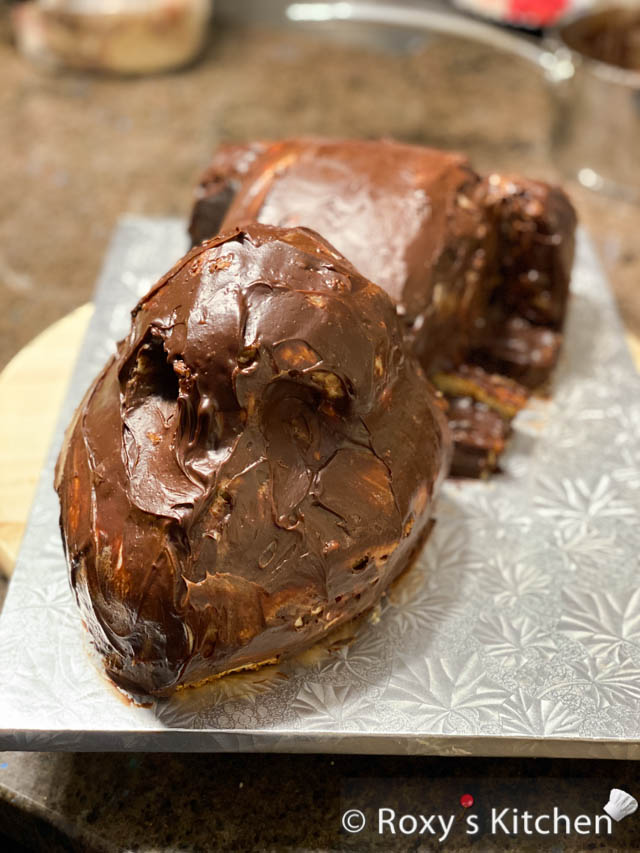
After applying the first coat, place the cake in the fridge for 2 hours. Then, apply another layer of chocolate ganache and smooth it out as much as possible with a flexible bowl scraper.
Lastly, place the cake in the fridge for another hour.
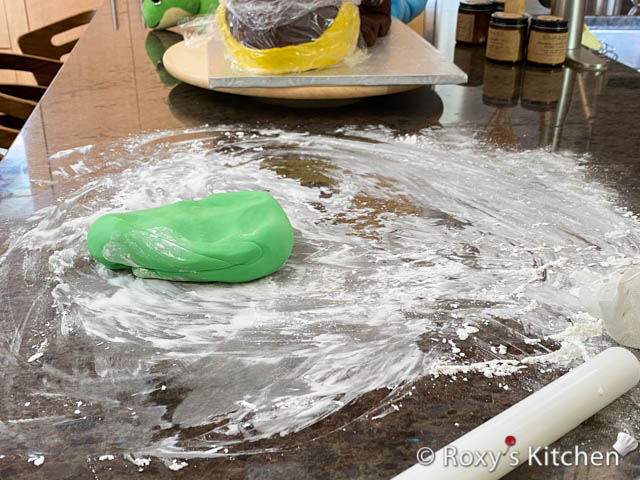
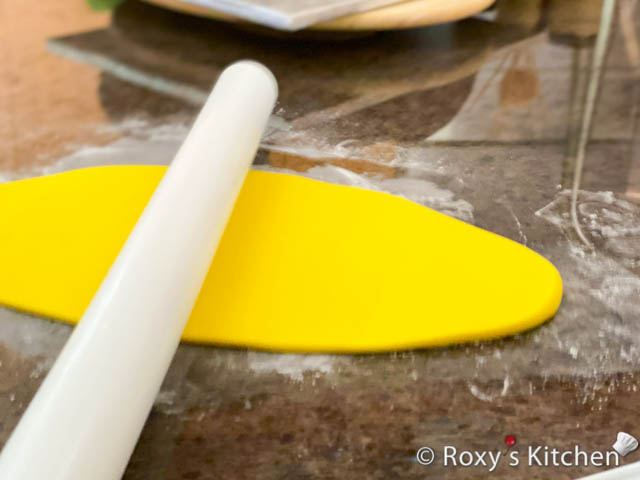
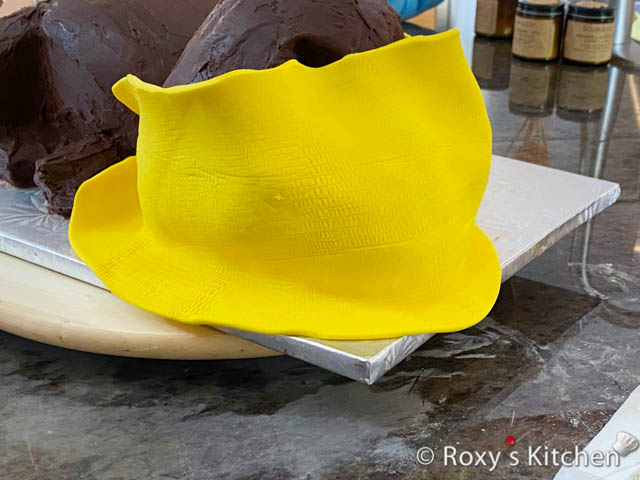
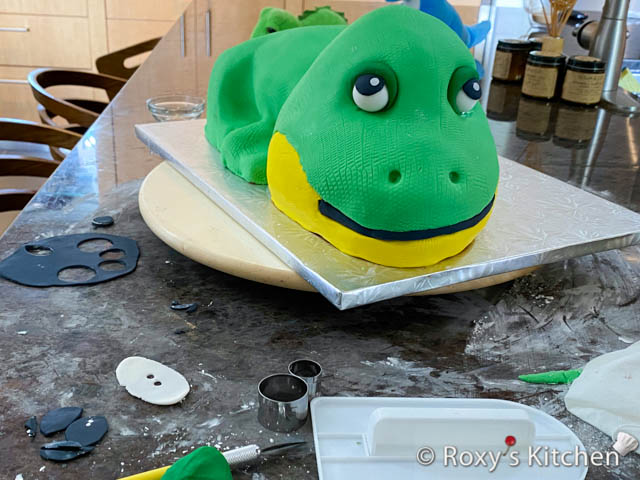
Step 6: I used fondant to cover the cake and make all the details. You will need mostly yellow and green fondant but some white and black fondant too.
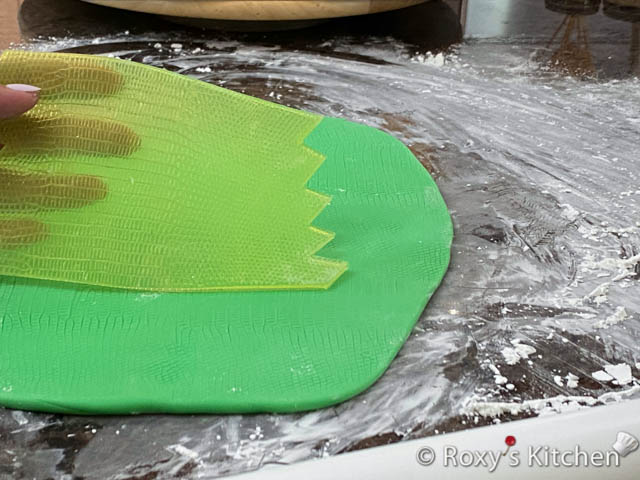
Apart from the usual fondant rolling pin and cornstarch to dust your work surface, you will need a silicone impression mat if you want to make the nice pattern on the dinosaur’s skin.
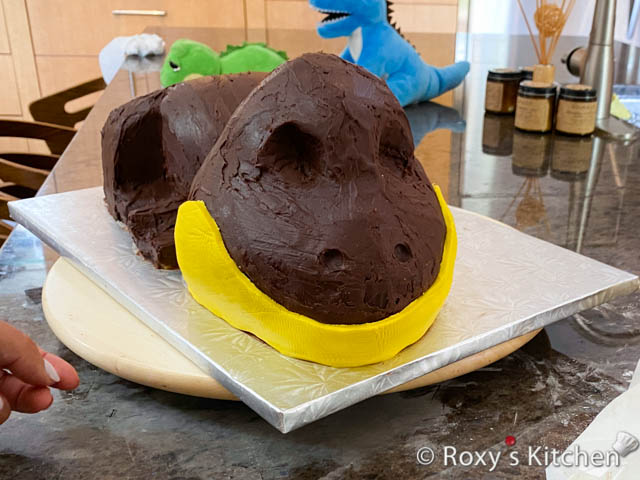
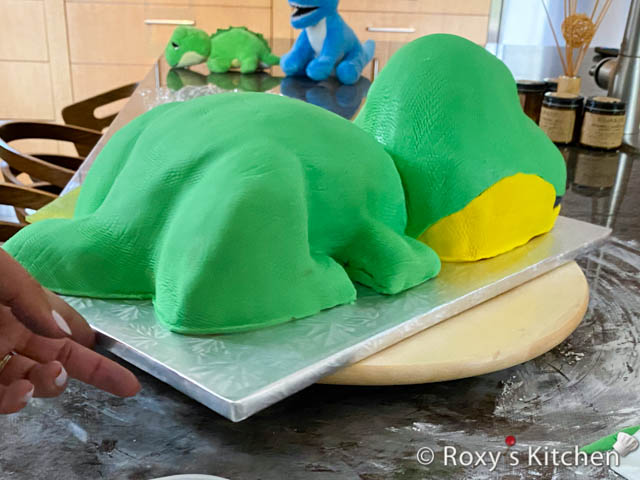
Cover the cake in sections – first the head, followed by the body.


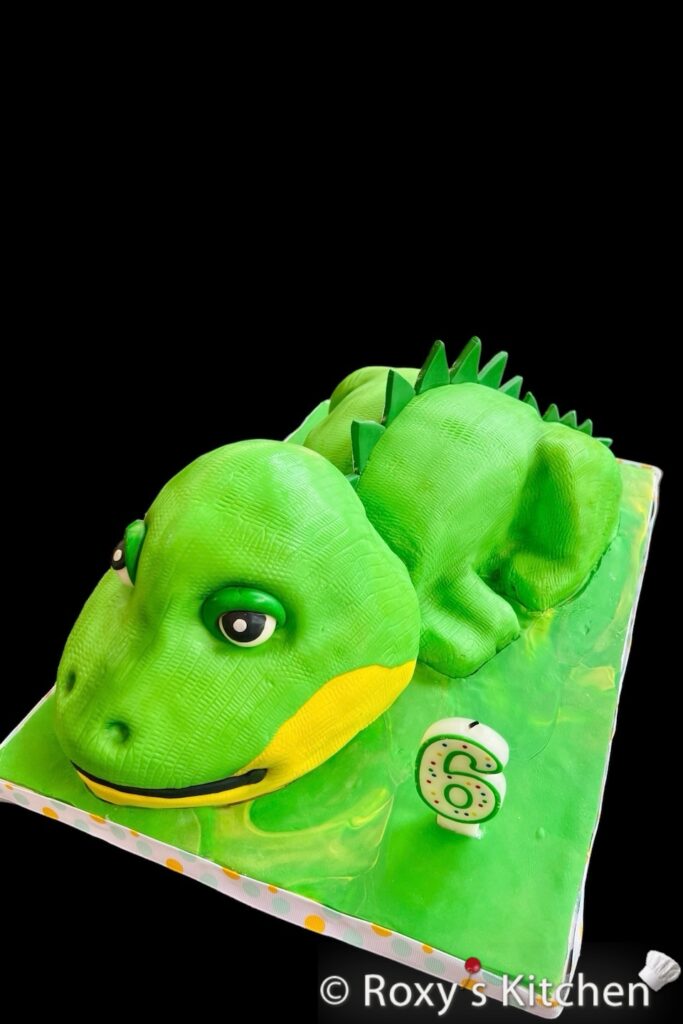
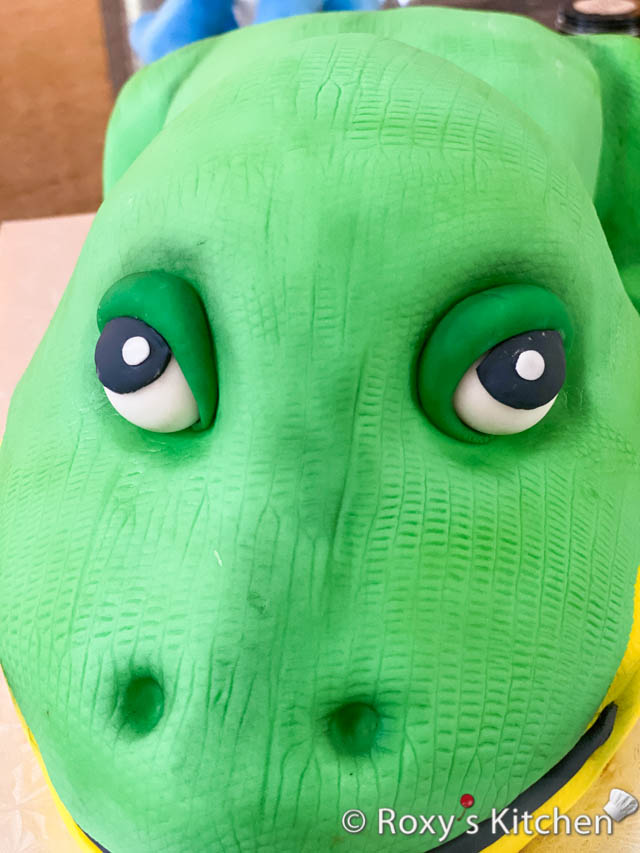
Make the eye sockets, eyeballs and pupils and attached them to the cake using a bit of water as glue.
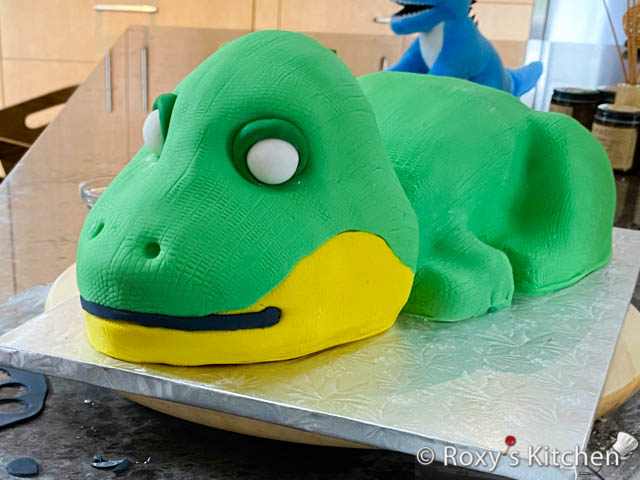
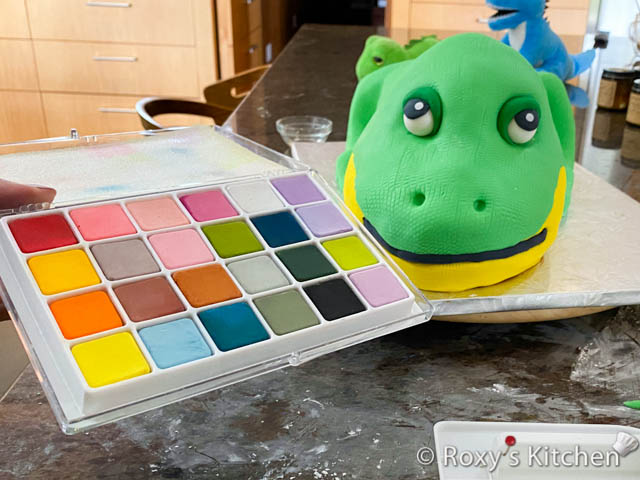
Step 7: Use edible powdered colours to brush on the cake around the joints and creases to add some depth and definition.
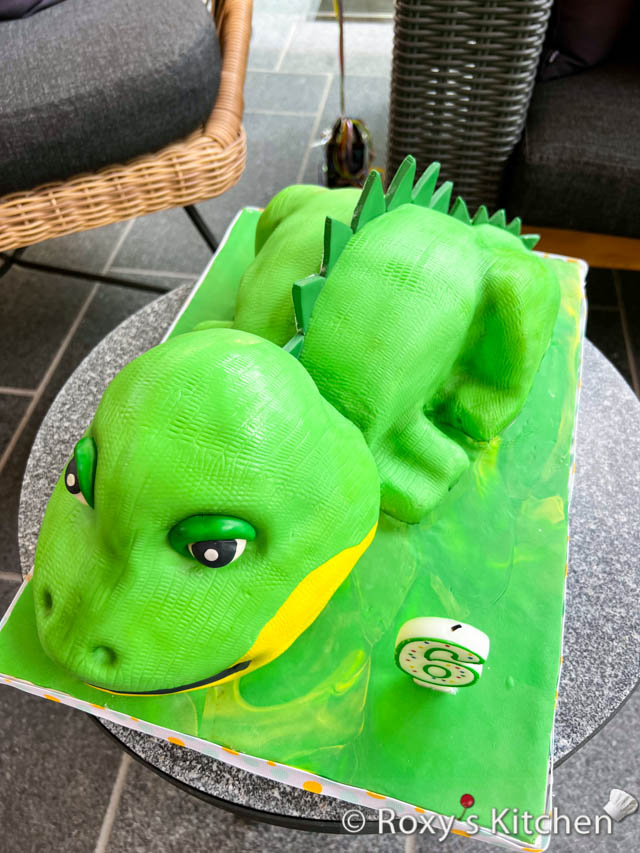
Step 8: Lastly, cut some triangles of various sizes and attach them along the spine of the dinosaur using some water as glue.
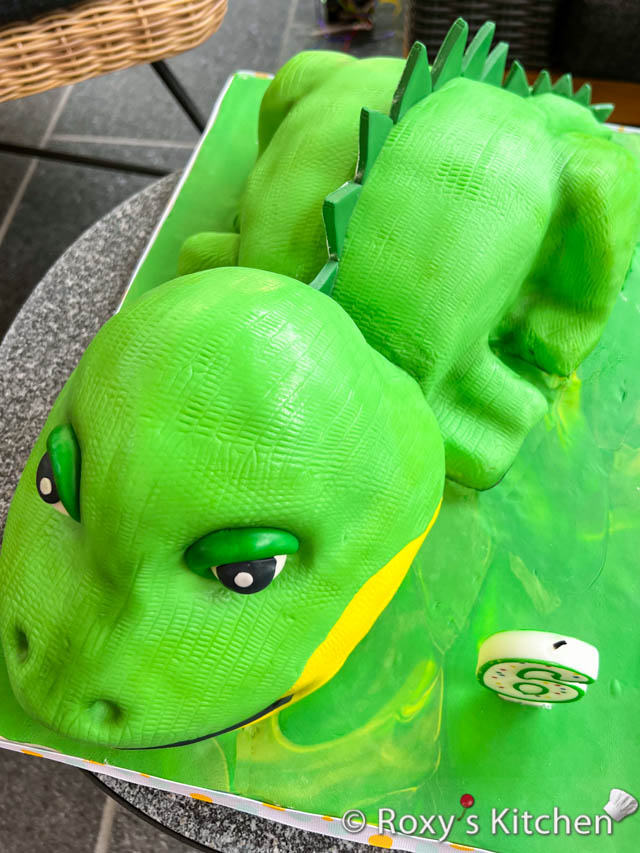

I hope you found this post on how to make a green dinosaur cake useful!